This 3D Model consists of files in StereoLithography (.Stl) format that is optimized for 3D printing.
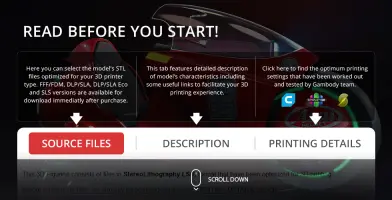
Before printing the files, we strongly recommend reading the PRINTING DETAILS section.
WHAT WILL YOU GET AFTER PURCHASE?
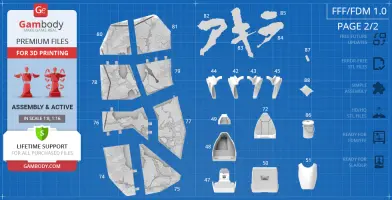
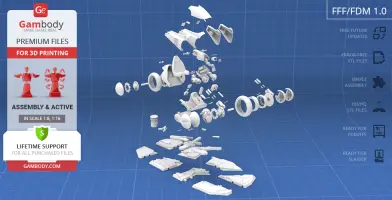
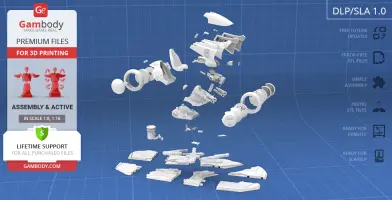
- 2 versions of Akira Bike STL files for FFF/FDM and DLP/SLA/SLS - files for both versions are available for download after the purchase
- STL files of high-poly Akira Bike 3D Model for 3D printing consist of 146 parts
- Sizes:
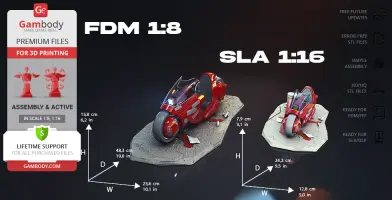
FFF/FDM: 158 mm tall, 256 mm wide, 483 mm deep
DLP/SLA/SLS: 79 mm tall, 128 mm wide, 242 mm deep
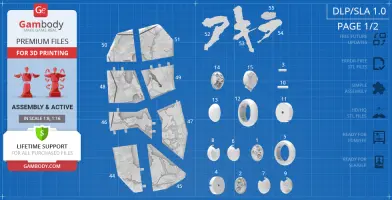
- Assembly Manual for FFF/FDM 1.0 and DLP/SLA/SLS 1.0 versions in PDF format
- Detailed settings that we provide as a recommendation for Cura, Simplify3D and Slic3r for the best print
- Full technical support from the Gambody Support Team
Detailed information about this 3D printing model is available in the DESCRIPTION section.
ABOUT THIS 3D MODEL
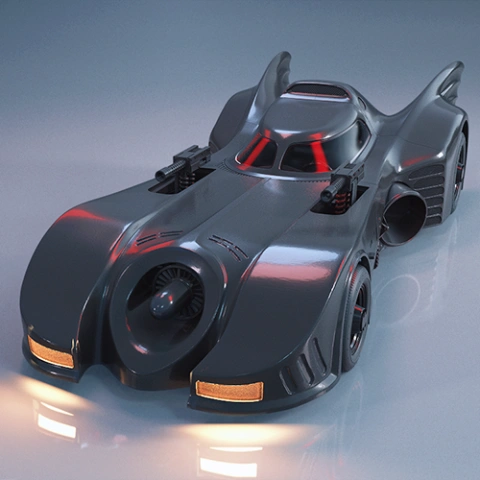
It's hard to overstate how big of an impact the legendary manga and anime by Katsuhiro Otomo has had upon popular culture worldwide. The 1988 action film AKIRA is widely regarded as a landmark in Japanese animation and a pivotal film for the growth in popularity of manga and anime in the Western world. The global anime hit spurred the cyberpunk genre, greatly influenced the art in the anime world, and set the scene for more big anime franchises! The film’s phenomenal animation, cyberpunk themes, and remarkable soundtrack made AKIRA a household name among the creators of all genres, and 3D artists are no exception.
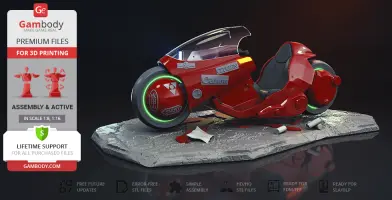
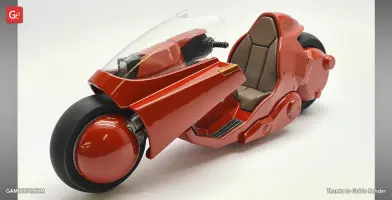
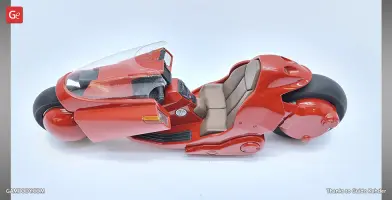
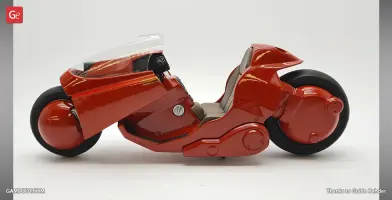
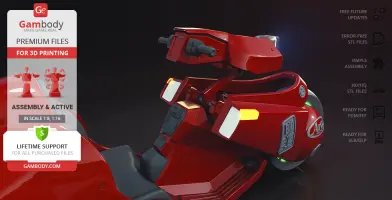
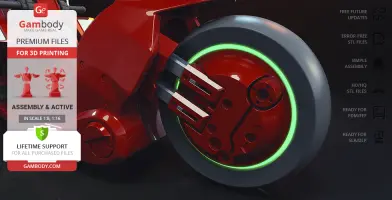
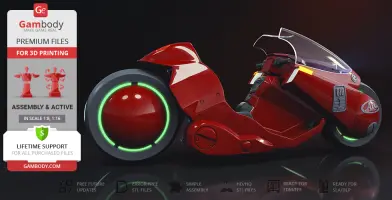
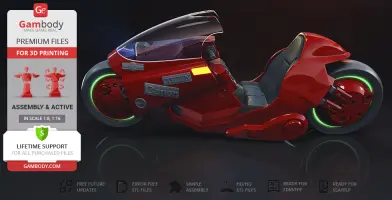
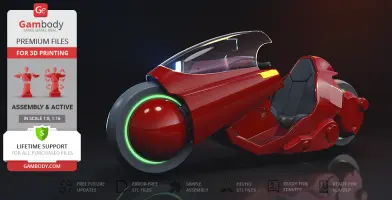
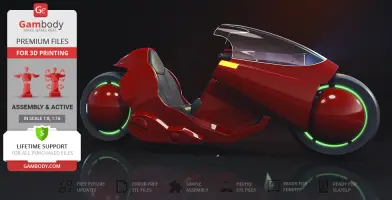
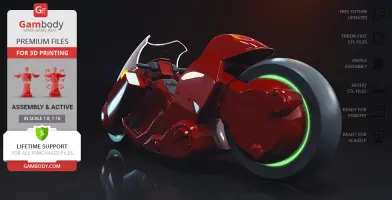
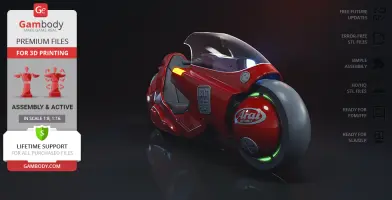
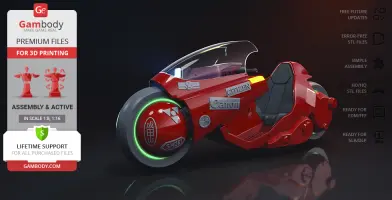
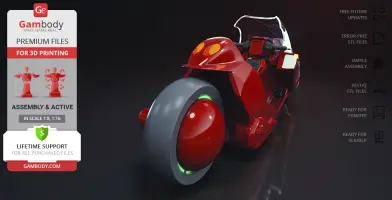
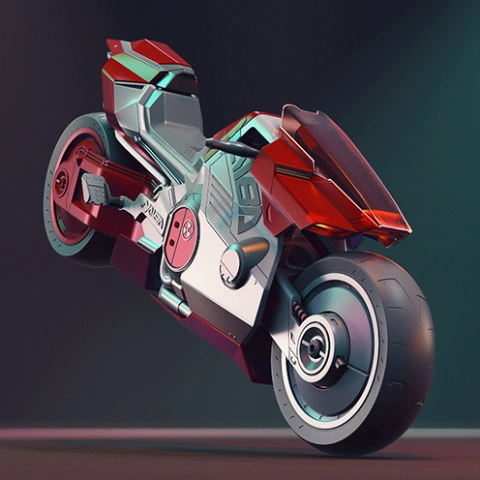
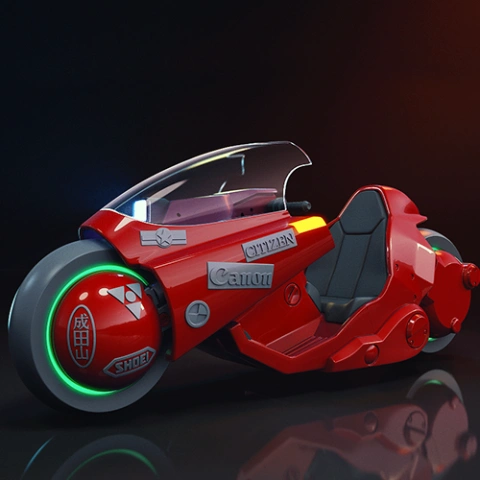
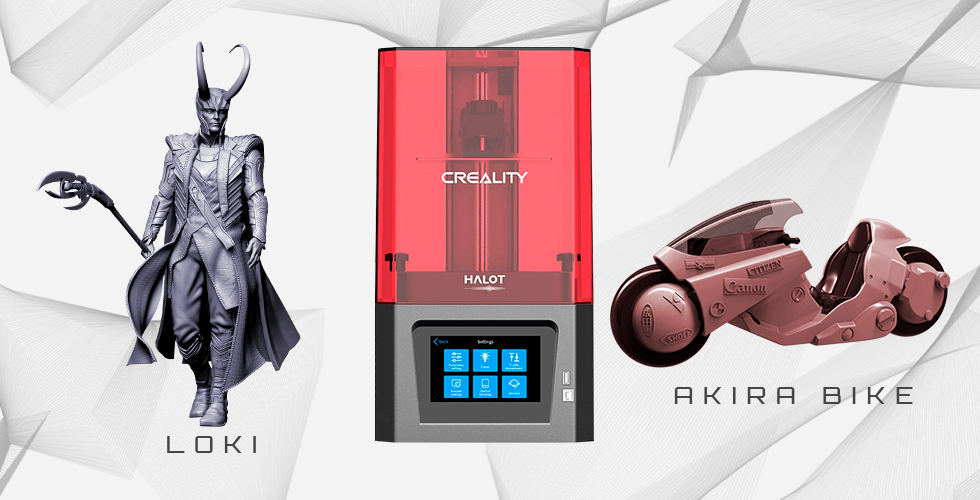
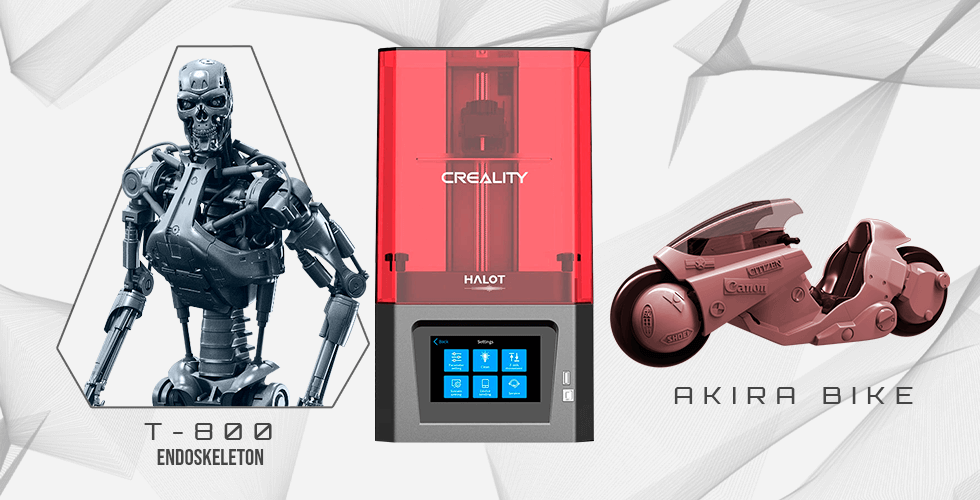
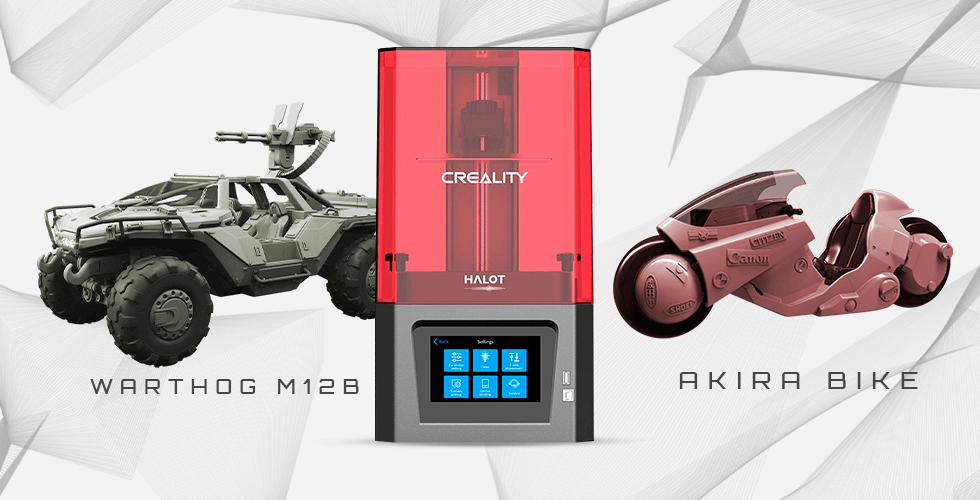
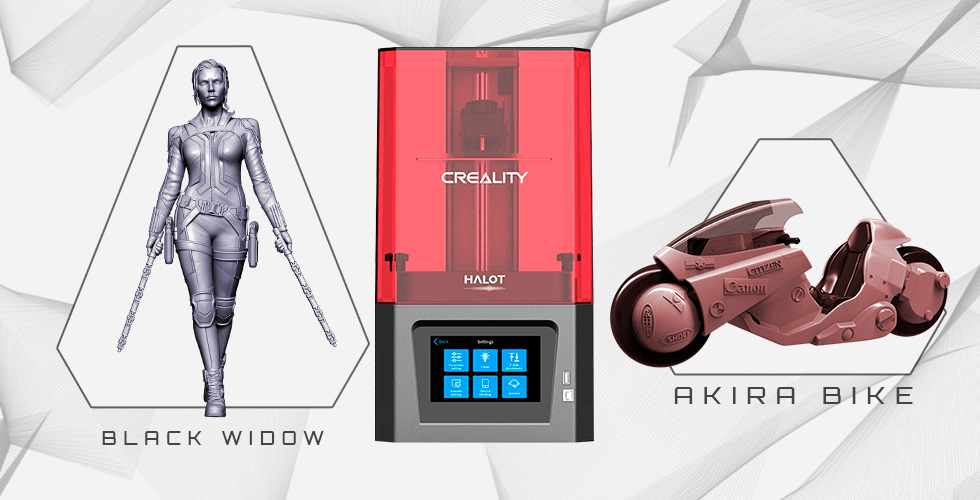
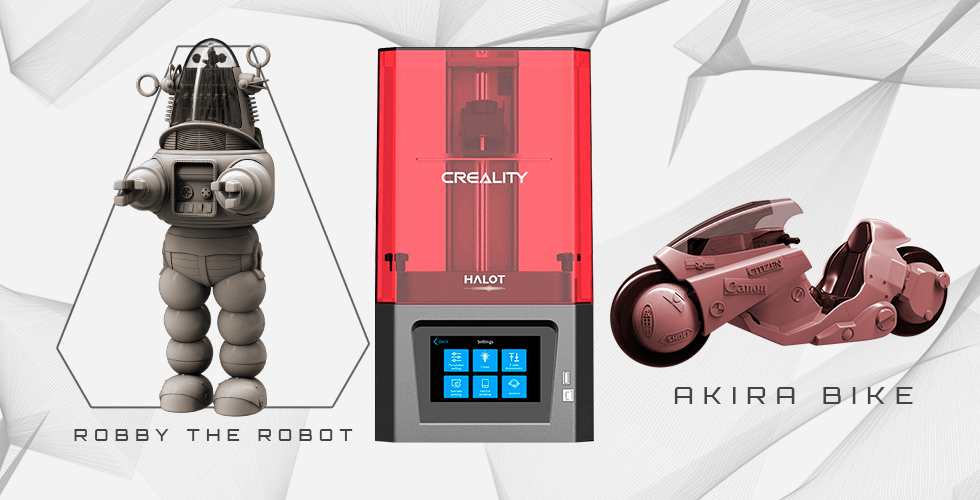
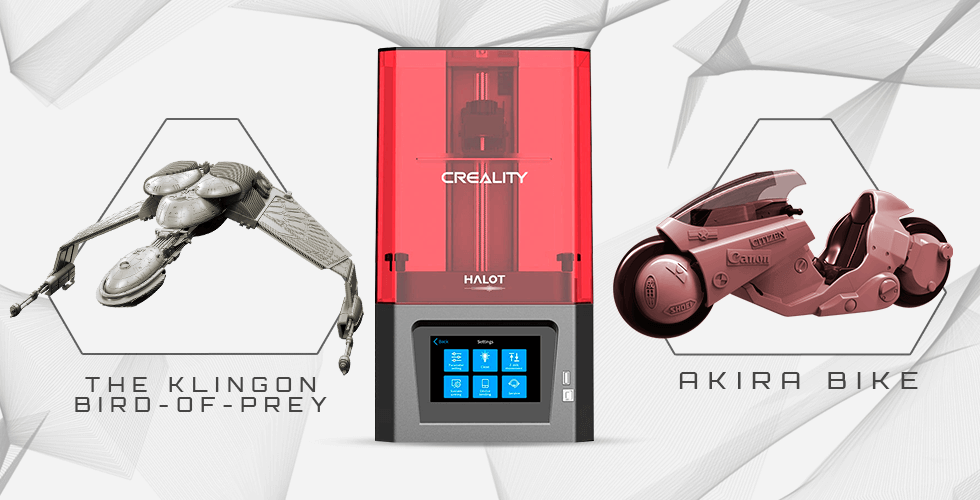
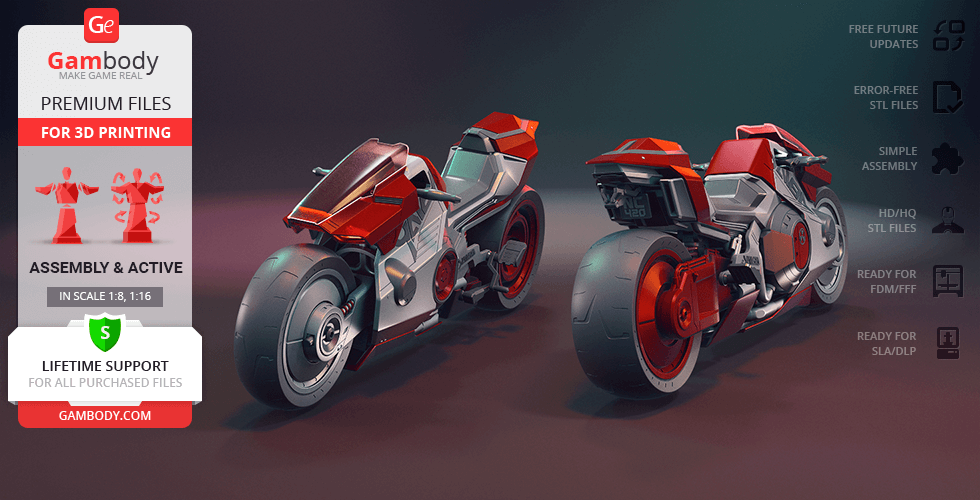
The blazing-red futuristic motorcycle ridden by the AKIRA hero Shotaro Kaneda has become a well-established iconic feature of the franchise and now, thanks to the mastery of our contributing author, “Akira Bike” was made accessible to all 3D printing enthusiasts. The aesthetically advanced bike for 3D printing boasts outstanding technological and design features that are waiting to be developed for your collection. After all, who wouldn’t want to get down to recreating the cult bike slide scene that will unlikely cease to be used and homaged again and again in animation and pop culture?
ADAPTATION FOR 3D PRINTING
Akira Bike 3D printing model is an action assembly model and its moderation and adaptation for different types of 3D printers took Gambody team 49 hours in total. In order to preserve the accurate likeness of the motorcycle, the model was divided into many parts that are to be assembled as if a real vehicle.
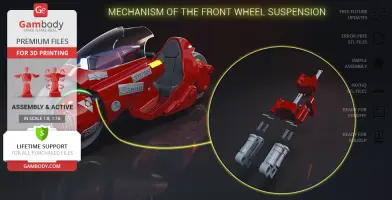
Taking into account the willingness of our customers to make their 3D printing projects as true to life as possible, Gambody team worked on the highly-articulated assembly of the vehicle that presupposes active suspension of the Shotaro Kaneda’s Bike. Thus, various special mechanisms were introduced into the model to make sure that the parts comprising the suspensions, as well as the details of the body, are authentic and functional (please, see "Versions' specifications", "Assembly video" and photo preview slider).
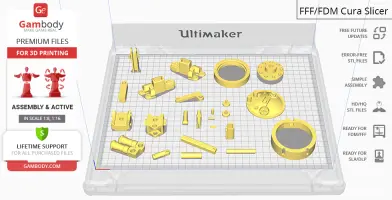
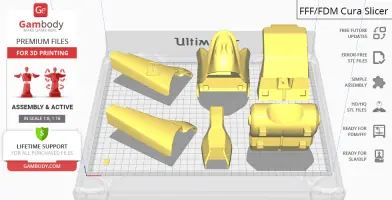
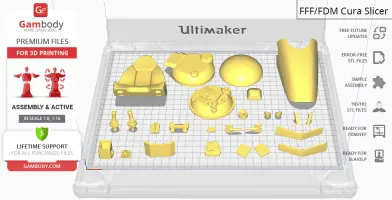
Moreover, the model was divided into as many assembly parts as needed to ensure the cleanest 3D printing result possible and to minimize the amount of material needed to print the generated support, e.g. the motorcycle’s handlebar, kickstand, windshield, pedals, review mirrors, seat, disk covers, etc. come as separate STL files.
All assembly parts are provided in STL files in recommended positions that were worked out in order to ensure the smoothness of the details’ surfaces after printing and so that the 3D printing beginners won't face difficulties when placing the parts on a build plate. We highly recommend that you watch "Assembly video" in the photo preview section before assembling the Akira Bike.
The model is saved in STL files, a format supported by most 3D printers. All STL files for 3D printing have been checked in Netfabb and no errors were shown.
The model's scale was calculated from the length of the Akira Bike which is 2947 mm. The 3D printing model's chosen scale is 1:8 for the FFF/FDM version and 1:16 for the DLP/SLA/SLS version.
VERSIONS' SPECIFICATIONS
FFF/FDM 1.0 version features:
- Contains 93 parts;
- A printed model is 158 mm tall, 256 mm wide, 483 mm deep;
- There are many assembly parts that need to be printed multiple times - the number of required copies (x5, x20 etc.) is indicated in the title of the file in “Source files” tab, e.g. file "_16_suspension_back_out_x 2" needs to be printed twice;
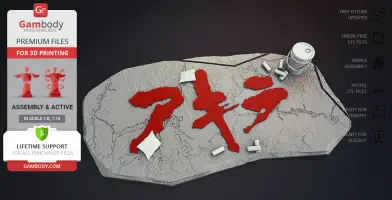
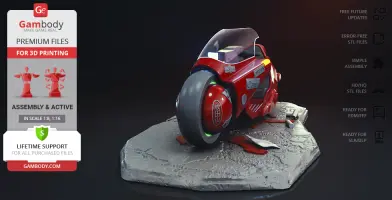
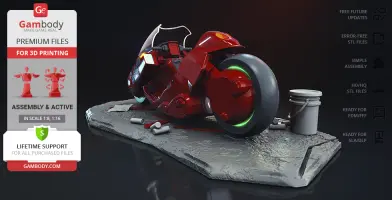
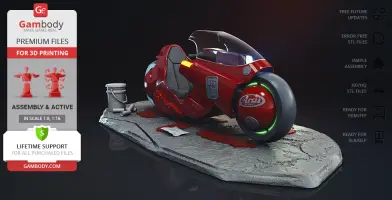
- Comes with a platform that has "Akira" written on it in Japanese;
- Also, the assembly kit includes various decorative objects that you can print in any quantity and arrange them on the platform in random order;
Suspension and wheels:
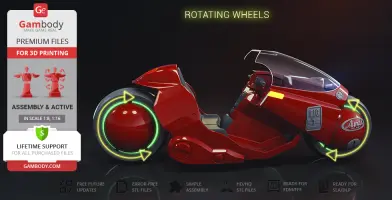
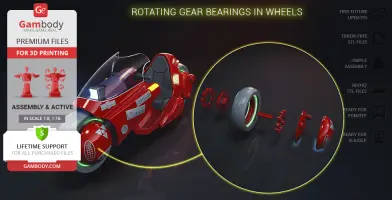
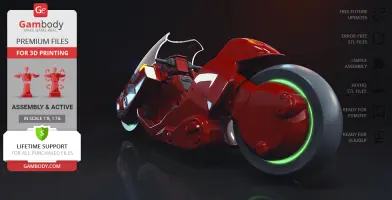
- There is a version with rotating gear bearings in both wheels, and a simplified version for you to choose from. Both are to be identically assembled to the body of the bike;
- Wheel tyres can be printed either with plastic filament or with flexible material;
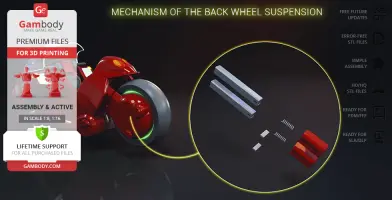
- Akira Bike features a complex active suspension and a simplified static suspension of the front and rear wheels. Both versions are to be identically assembled to the body of the bike;
- The assembly of the front and rear shock-absorbers requires 2 regular ball pen springs and additional "pins" made out of short pieces of regular 1.75mm filament;
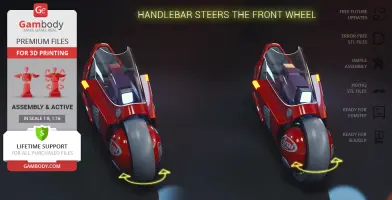
- Rotation of the handlebar steers the front wheel;
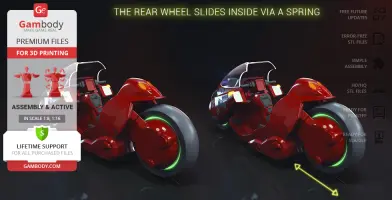
- The rear wheel slides inside via a spring;
Handlebar:
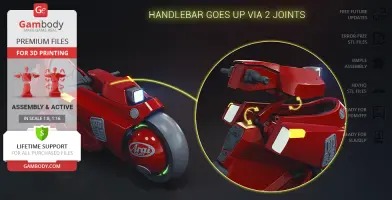
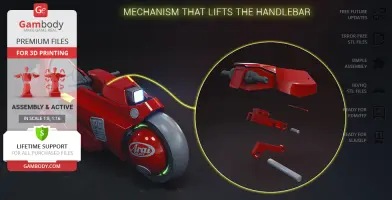
- There is a mechanism that lifts the handlebar via 2 joints;
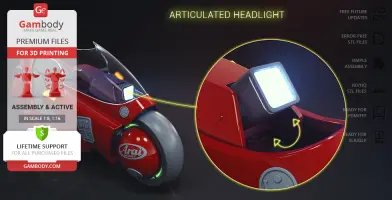
- The headlight can be articulated;
Body:
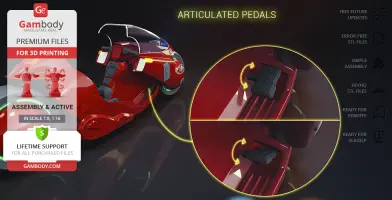
- The accelerator and brake pedals are articulated;
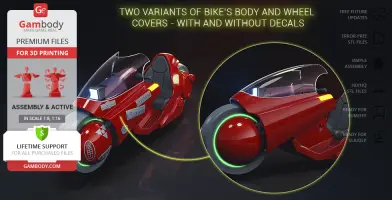
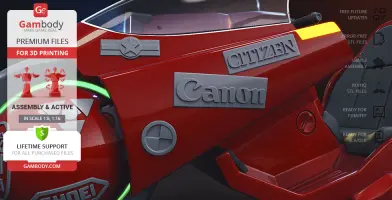
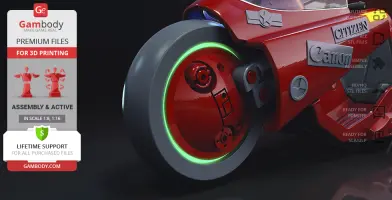
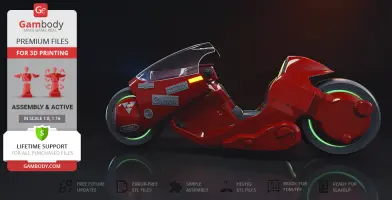
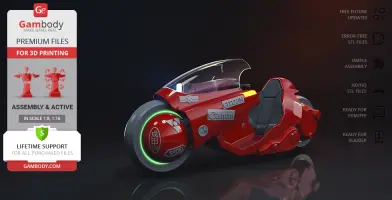
- There are two variants of bike’s body and wheel covers - with and without decals;
- The kickstand can lock in place, either up or down;
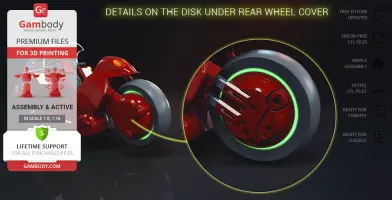
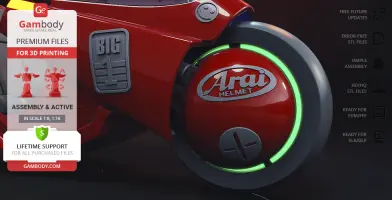
- You can choose to remove the front and rear disk covers to find the highly detailed inner disks;
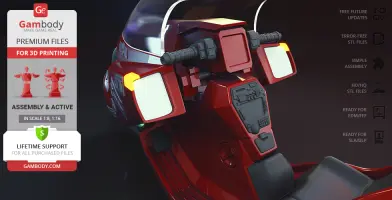
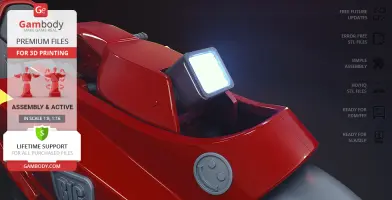
- The windshield, headlight, tail light, and sidelights are provided separately and can be printed with transparent filament; + the rearview mirrors were separated for convenient painting;
- You can light up the model's headlight, tail light, and sidelights. LED wiring can be easily installed throughout the body of the vehicle, while the battery can be hidden under the handlebar;
- All parts are divided in such a way that you will print them with the smallest number of support structures.
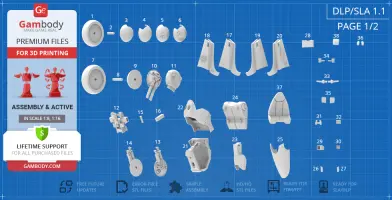
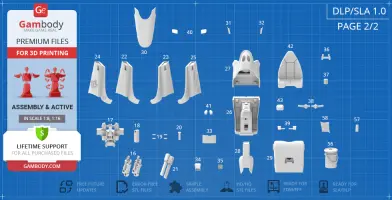
DLP/SLA 1.0 version features:
- Contains 58 parts;
- A printed model is 79 mm tall, 128 mm wide, 242 mm deep;
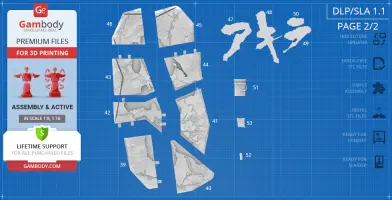
- Comes with a platform that has "Akira" written on it in Japanese;
- Also, the assembly kit includes various decorative objects that you can print in any quantity and arrange them on the platform in random order;
- The assembly of the version's parts requires additional "pins" made out of short pieces of a regular paper clip;
- Rotating front and rear wheel;
- The headlight can be articulated;
- The accelerator and brake pedals are articulated;
- There are two variants of bike’s body and wheel covers - with and without decals;
- The kickstand can lock in place, either up or down;
- You can choose to remove the front and rear disk covers to find the highly detailed inner disks;
- The windshield, headlight, tail light, and sidelights are provided separately and can be printed with transparent material; + the rearview mirrors were separated for convenient painting;
- You can light up the model's headlight, tail light, and sidelights. LED wiring can be easily installed throughout the body of the vehicle, while the battery can be hidden under the handlebar;
- All parts are divided in such a way to fit the build plates and to ensure that support structures are generated where needed.
DLP/SLA 1.1 version features:
- Contains 53 parts;
- A printed model is 79 mm tall, 128 mm wide, 242 mm deep;
- The updated DLP/SLA version with simplified wheels, suspension, and fixed clearances.
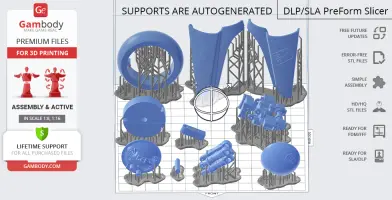
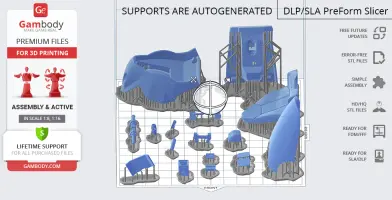
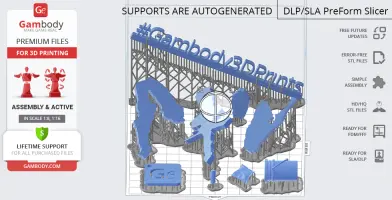
DLP/SLA Pre-supported 1.0 version features:
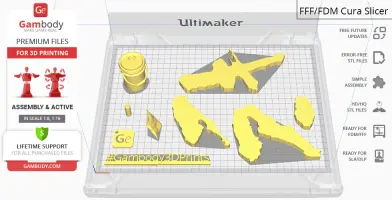
- Contains 14 parts (STL files from DLP/SLA 1.0 version sliced in groups);
- A printed model stands 79 mm tall, 128 mm wide, 242 mm deep;
- The STL files that this version comprises were pre-supported for bundles with Creality resin 3D printer, hollowed out, and have drain holes where needed.
You can get the model of Akira Bike for 3D Printing immediately after the purchase! Just click the green Buy button in the top-right corner of the model’s page. You can pay with PayPal or your credit card.
Watch the tutorial on how to assemble Akira Bike 3D Printing Model at Gambody YouTube channel.
Also, you may like Yaiba Kusanagi CT-3X 3D Printing Models, as well as other Anime 3D Printing Models.
_______
FAQ:
Where can I print a model if I have no printer?
How to get started with 3D printing?
How to set up my 3D printer?
How to choose right 3D model print bed positioning?
How to paint printed figurine?
Generic
Below you can find printing recommendations for Cura, Simplify3D, Slic3r and PrusaSlicer software.
Disclaimer: The following printing settings are a recommendation, not an obligation. The parameters can vary depending on the peculiarities of your 3D printer, the material you use, and especially the particular assembly part you are working with. Each part that any model comprises often needs preliminary review, and you are free to tweak the settings the way you find suitable.
Note:
- You can scale up the model (downscaling for FFF/FDM 3D printers is not recommended!);
- All connectors should be printed at 100% Infill.
Cura printing recommendations:
These are averaged settings which were tested in the Cura 5.2.1 slicer. Test models were printed on Anycubic Vyper, Creality Ender 3 Pro with PLA filament.
To avoid printing problems, we recommend the following settings: download
Simplify3D printing recommendations:
These are averaged settings which were tested in the Simplify3D 5.0.0 slicer. Test models were printed on Anycubic Vyper, FLSUN v400, Ender3 S1 with PLA filament.
To avoid printing problems, we recommend the following settings: download
Slic3r printing recommendations:
These basic 3D printing settings recommendations for beginners were tested in Slic3r 1.3.0 software. Test models were printed on Ultimaker 2, Creality Ender 3, Creality Cr-10S pro v2, Anycubic I3 Mega, Anycubic I3 MegaS, Anycubic Vyper with PLA and PetG filaments.
To avoid printing problems, we recommend the following settings: download
PrusaSlicer printing recommendations:
These basic 3D printing settings recommendations for beginners were tested in PrusaSlicer 2.3.1. Test models were printed on Ultimaker 2, Creality Ender 3, Creality Cr-10S pro v2, Anycubic I3 Mega, Anycubic I3 MegaS, Anycubic Vyper with PLA and PETG filaments.
To avoid printing problems, we recommend the following settings: download


Comments