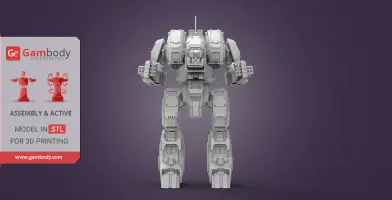
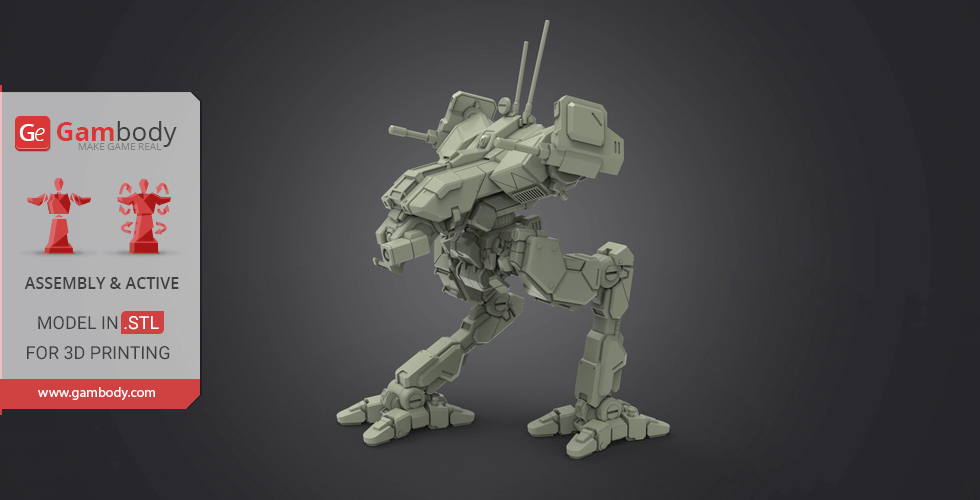
This 3D model consists of files in StereoLithography (.Stl) format that have been optimized for 3D printing.
Before printing the files, we strongly recommend reading the PRINTING DETAILS section.
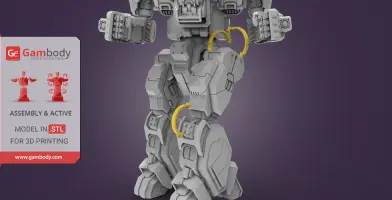
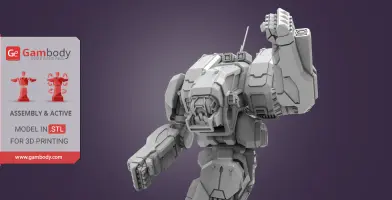
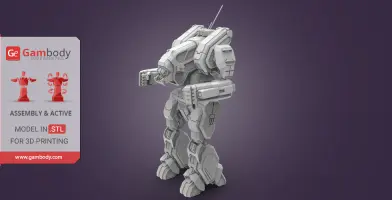
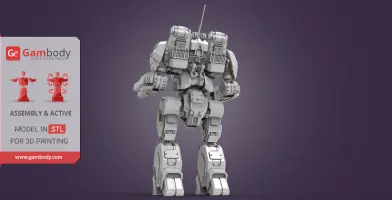
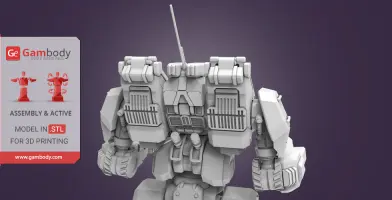
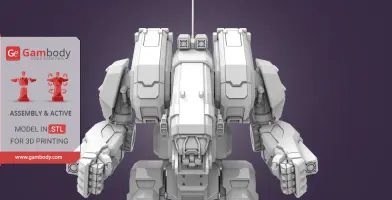
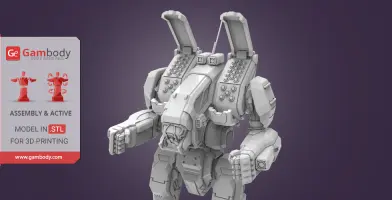
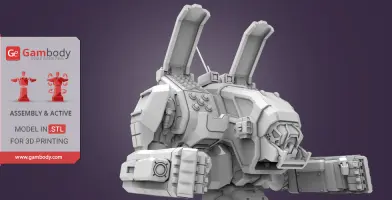
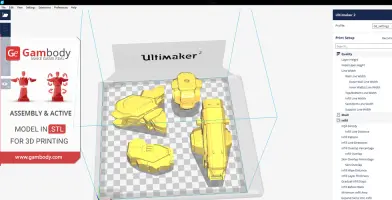
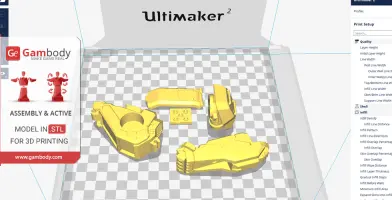
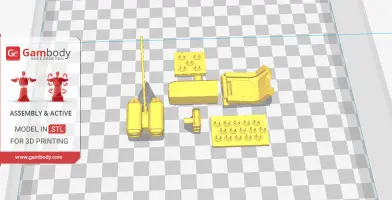
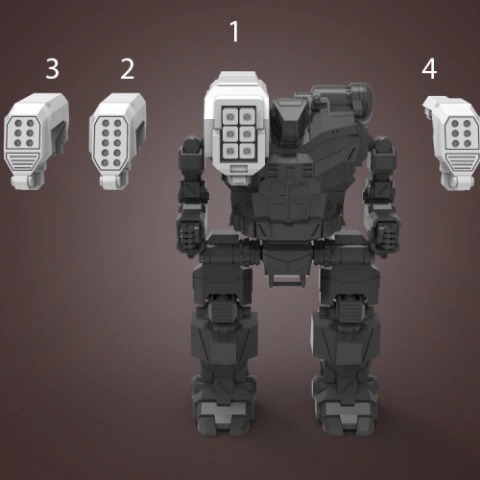
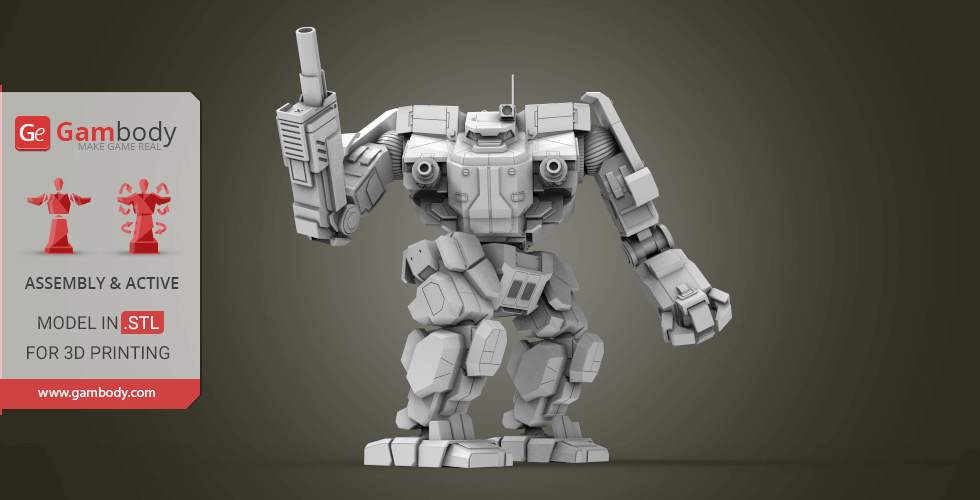
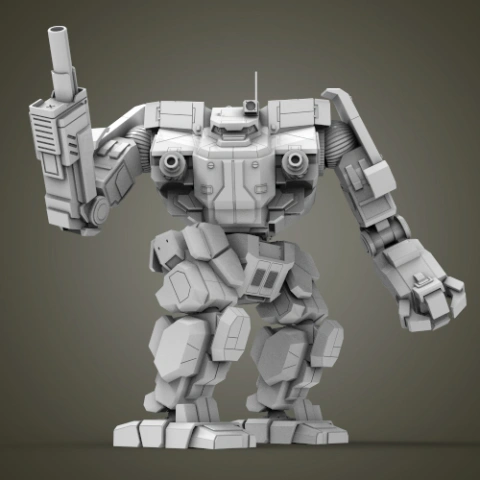
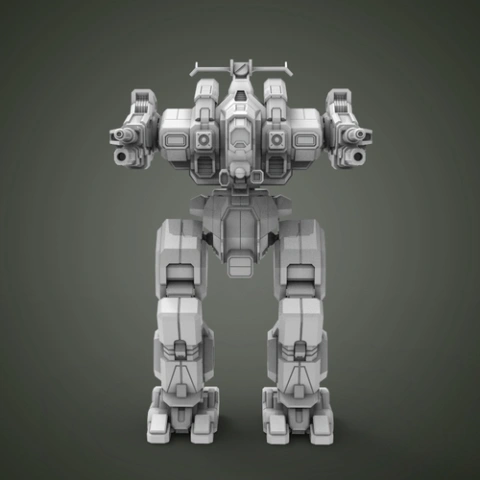
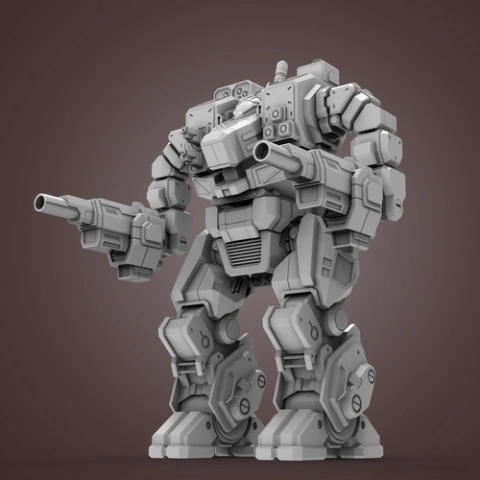
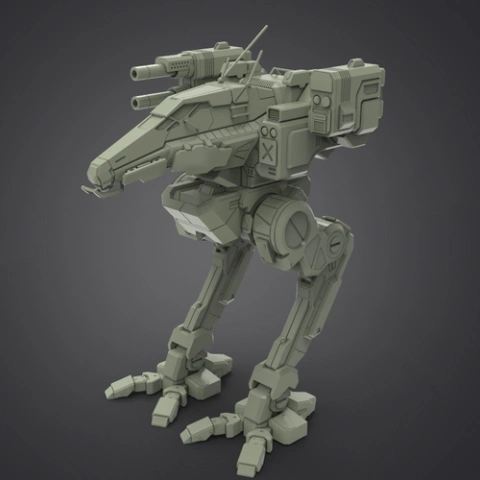
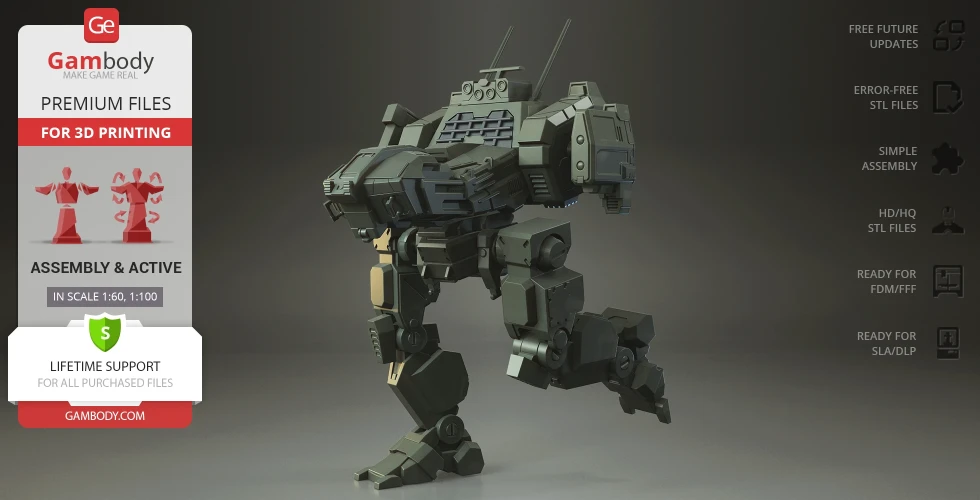
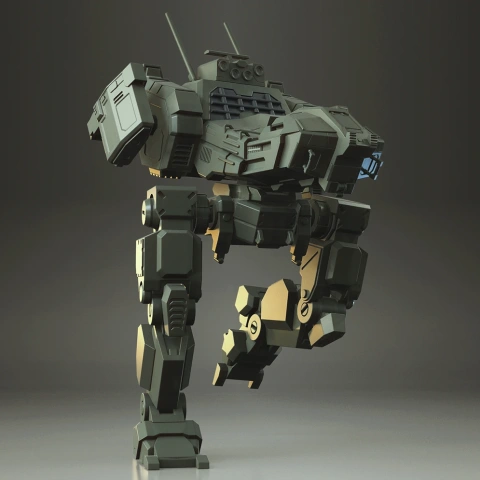
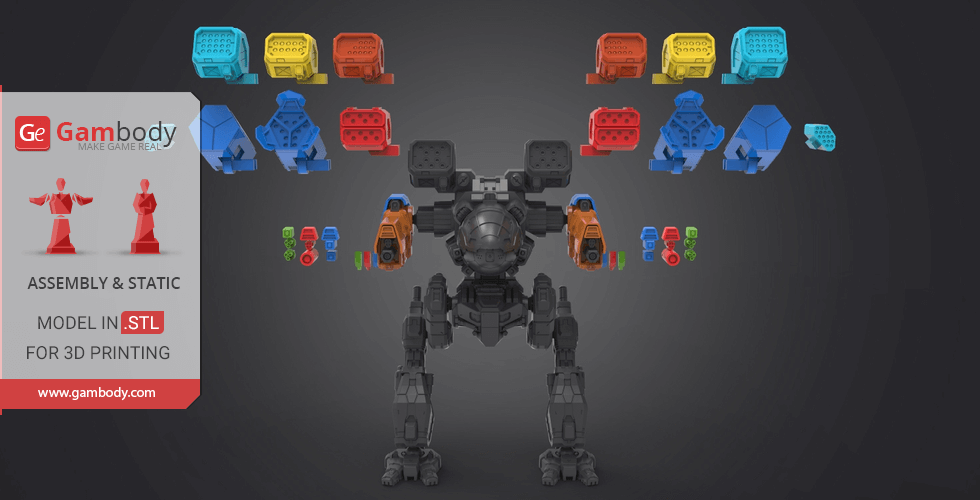
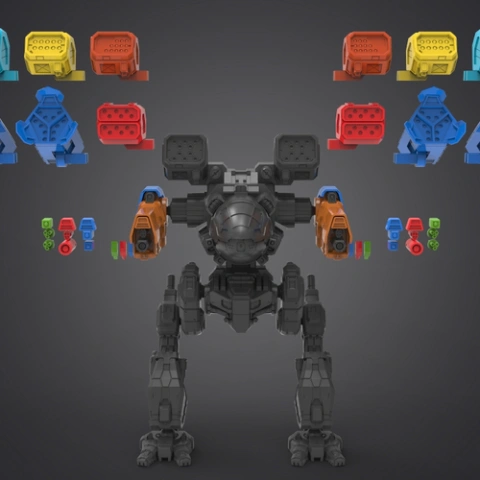
Version 2 and Version 3 are the files for Archer BattleMech 3D model optimized for 3D printing, the preview pictures of which you see above.
It is recommended:
- to print Version 1 STL files on FDM/FFF 3D printers - old version with old joints;
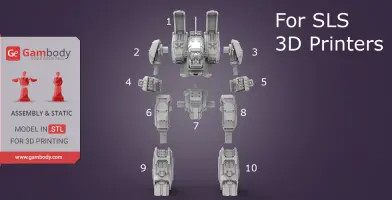
- to print Version 2 STL files on DLP/SLA/SLS 3D printers;
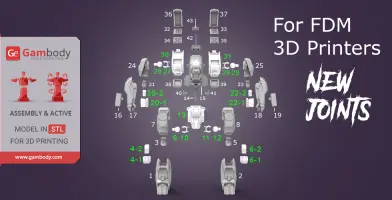
- to print Version 3 STL files on FDM/FFF 3D printers - new version with new joints.
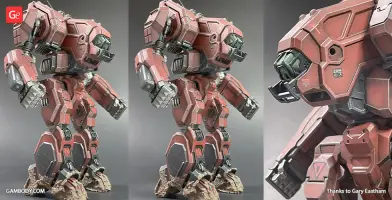
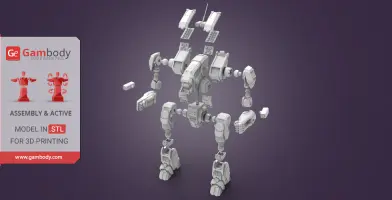
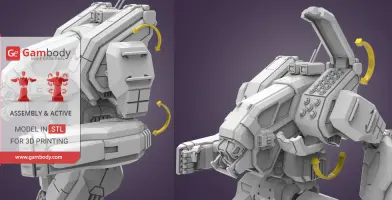
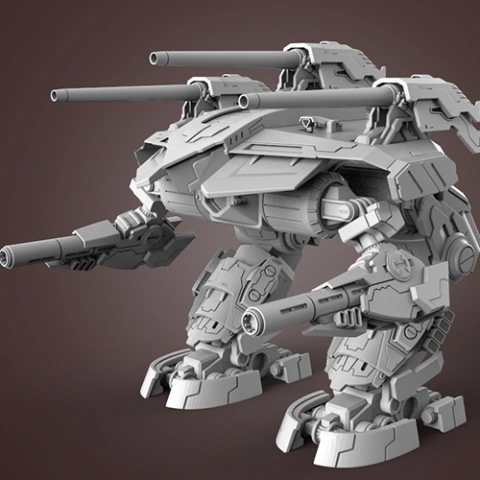
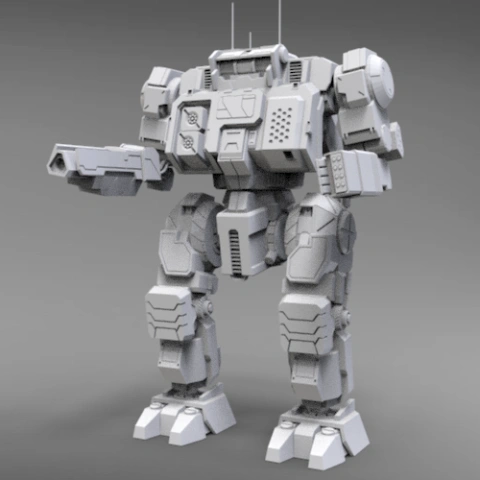
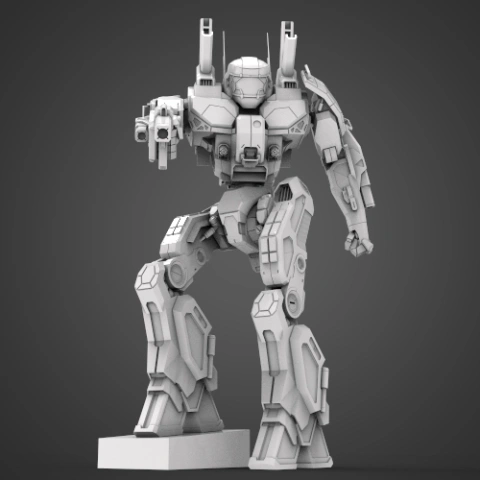
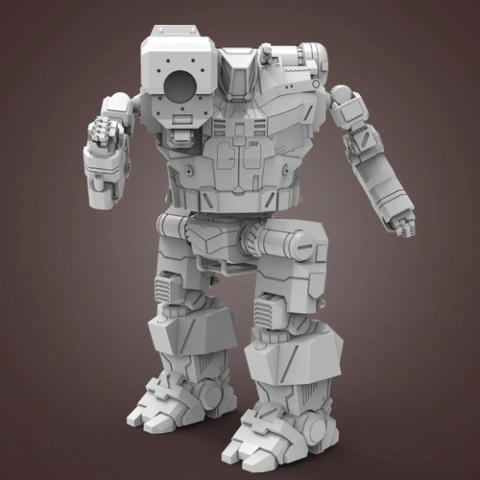
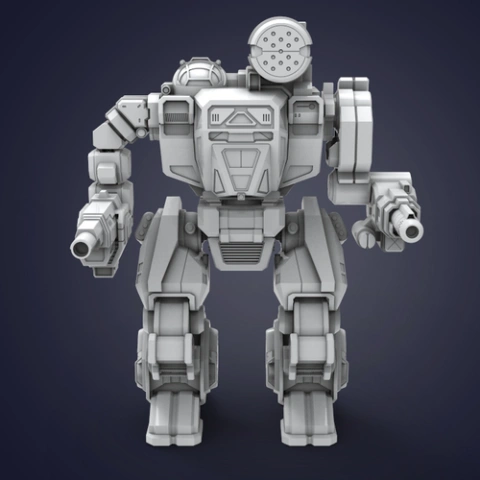
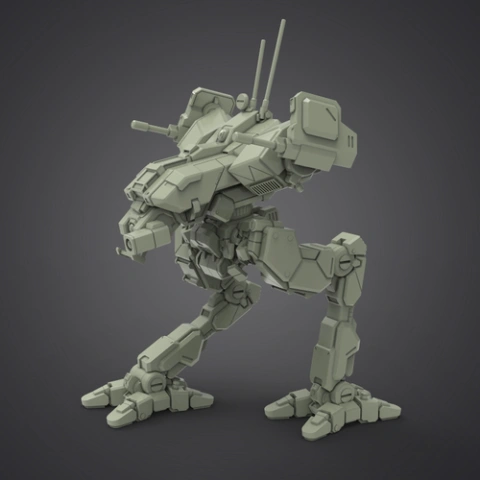
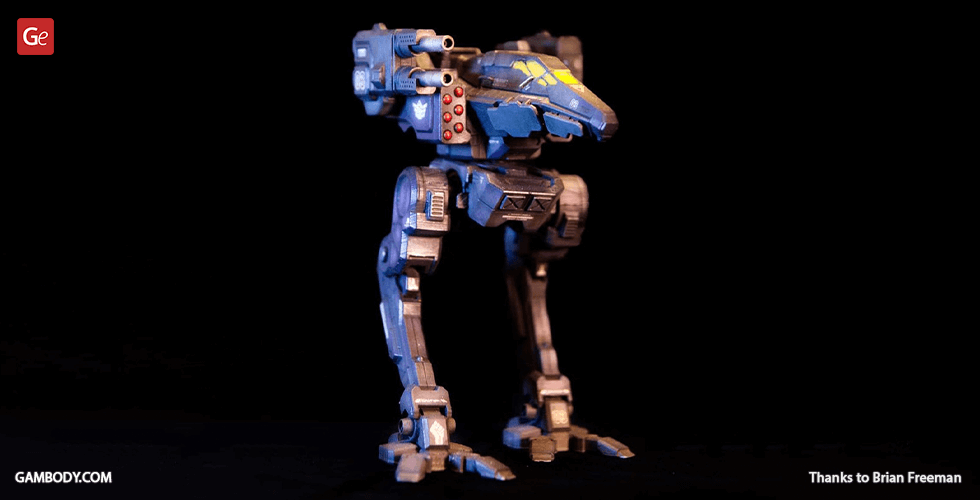
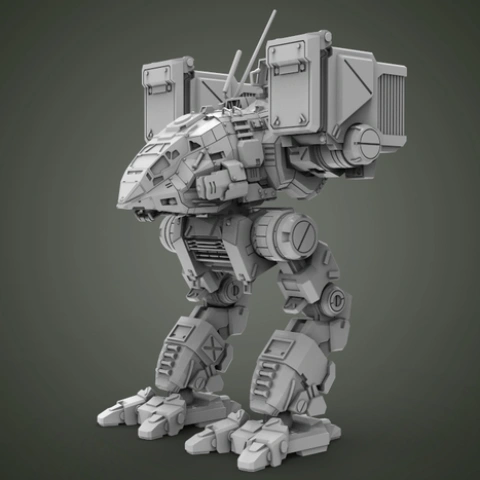
Meet Archer! MWO 3D Printing Miniature
Heavy fighting machine, one of the most popular characters in MWO.
It was created at the request of HAF Terran Hegemony for the new “heavy fire support for BattleMech” and it took almost 9 years to complete.
Technical specifications
- Tech Base: Inner Sphere
- Class: Heavy
- Mass: 70 tons
- Chassis: Earthwerk Archer
- Armor: Maximillian 100
- Engine: VOX 280
- Communications System: Neil 9000
- Targeting Tracking System: RCA Instatrac Mark XII
- Heat Sinks: 10
- Speed: 64.8 km/h
- Armament: 2x LRM-20s, 4x Medium Lasers
The complex engineering proposal included complicated, hard-to-repair stabilization equipment and advanced, computer-slaved sensors, meant to make the most accurate BattleMech in existence.
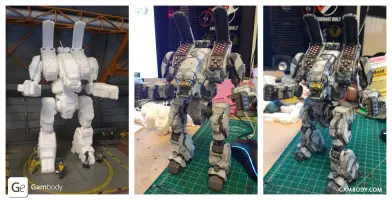
Now you can print this model of MechMonster directly on your 3D printer. A quality design that will not leave anyone indifferent. Beautiful lines and incredible accuracy. After 3D printing, it will look like it has just jumped from a video game right in your hands.
This is an excellent continuation of the collection of BattleMechs available on Gambody Marketplace. And you can get it!
All STL files for 3D printing have been checked for errors and corrected in Netfabb and show no errors.
Note: Before starting 3D printing the model, read the Printing Details for CURA 2.3.1 software.
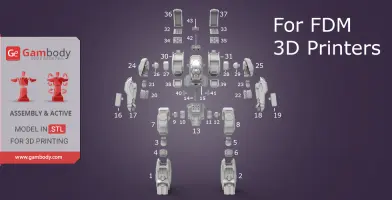
There are 43 parts for FFF/FDM version and 10 parts for SLA/SLS.
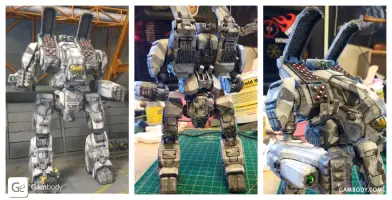
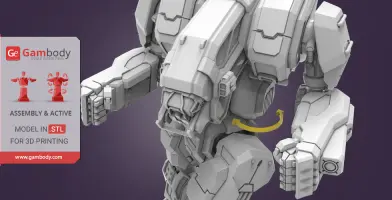
All limbs and rocket covers are movable!
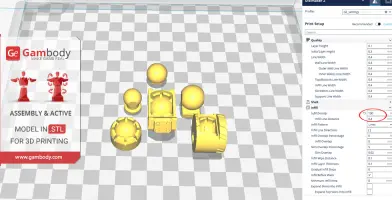
All parts of the joints must be printed at 100% infill.
In the SLS version, a special socket for arms and feet is developed so that you can adjust and fix them in nine different positions!
FFF/FDM version:
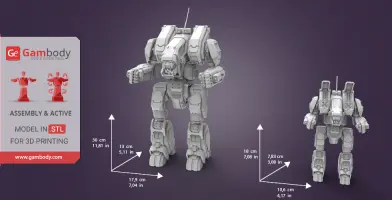
- Is 1:60 scale and after being printed will stand 300 mm tall, 179 mm wide, 130 mm deep;
- Is designed to save almost all movable elements its prototype has;
- Has removable hinges that should be printed at 100% infill to make them solid.
SLA/SLS version:
- Is 1:100 scale and will stand 180 mm tall, 106 mm wide, 78.3 mm deep;
- Has as few details as possible to keep printing costs down.
Watch the tutorial video on how to assemble Archer BattleMech 3D Printing Miniature at Gambody YouTube channel.
You can get Archer BattleMech 3D Printing Miniature right now! Just click the green Buy button in the top-right corner of the model’s page. You can pay with PayPal or your credit card.
Male and female pilots 3D printing miniatures are available for purchase at Gambody. They will become a perfect match for your mech.
________________________
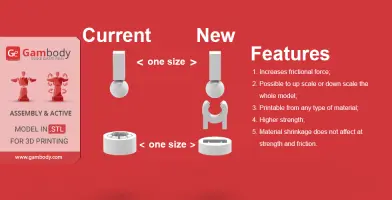
On 10.11.2017 new version of joints have been added.
To use new joints, you do not need to reprint the whole model of your Mech!
You can find detailed picture guidelines about how to use new joints in your model HERE.
With the new joints you will get next advantages:
- Increases frictional force
- Possible to up scale or down scale the whole model
- Printable from any type of material
- Higher strength
- Material shrinkage does not affect at strength and friction
New version is already available for download in “Source files” tab in Version 3 (FDM/FFF 3D printers).
_______
FAQ:
Where can I print a model if I have no printer?
How to get started with 3D printing?
How to set up my 3D printer?
How to choose right 3D model print bed positioning?
How to paint printed figurine?
Generic
This model was tested in Cura 2.7.0. and print on an Ultimaker 2 in PLA material.
Note:
- You can print new joints with 20-30% infill.
- With the new joints you can up scale or down scale the whole model.
- Connector should be printed at 100% infill.
- You should print old joints with 100% infill.
- With the old joints do not try to up scale or down scale the whole model since it will not be assemble or movable after scale changes.
- Using the PLA material you should increase the scale of old joints at 2-3% in your slicing program.
- Using the ABS/CPE material you should increase the scale of old joints at 1% in your slicing program.
To avoid printing problems, we recommend the following settings:
Quality
Layer Height: 0.1 mm
Initial Layer Height: 0.3 mm
Line Width: 0.4 mm
Wall Line Width: 0.4 mm
Outer Wall Line Width: 0.4 mm
Inner Wall(s) Line Width: 0.4 mm
Top/Bottom Line Width: 0.4 mm
Infill Line Width: 0.4 mm
Skirt/Brim Line Width: 0.4 mm
Support Line Width: 0.4 mm
Initial Layer Line Width: 100%
Shell
Wall Thickness: 0.8 mm
Wall Line Count: 2
Outer Wall Wipe Distance: 0.2 mm
Top Surface Skin Layers: 0
Top/Bottom Thickness: 0.8 mm
Top Thickness: 0.8 mm
Top Layers: 8
Bottom Thickness: 0.8 mm
Bottom Layers: 8
Top/Bottom Pattern: Lines
Bottom Pattern Initial Layer: Lines
Top/Bottom Line Directions: [ ]
Outer Wall Inset: 0 mm
Compensate Wall Overlaps: Check
Compensate Outer Wall Overlaps: Check
Compensate Inner Wall Overlaps: Check
Fill Gaps Between Walls: Everywhere
Horizontal Expansion: 0 mm
Initial Layer Horizontal Expansion: 0 mm
Z Seam Alignment: Shortest
Ignore Small Z Gaps: Check
Infill
Infill Density: 20%
Infill Line Distance: 3.5 mm
Infill Pattern: Grid
Infill Line Directions: [ ]
Infill Overlap Percentage: 10%
Infill Overlap: 0.4 mm
Skin Overlap Percentage: 5%
Skin Overlap: 0.02 mm
Infill Wipe Distance: 0.1 mm
Infill Layer Thickness: 0.1 mm
Gradual Infill Steps: 0
Infill Before Walls: Check
Minimum Infill Area: 0 mm2
Material
Enable Retraction: Check
Retraction Extra Prime Amount: 0 mm3
Retraction Minimum Travel: 0.8 mm
Maximum Retraction Count: 90
Minimum Extrusion Distance Window: 6.5 mm
Nozzle Switch Retraction Distance: 20 mm
Nozzle Switch Retraction Speed: 20 mm/s
Nozzle Switch Retract Speed: 20 mm/s
Nozzle Switch Prime Speed: 20 mm/s
Speed
Print Speed: 50 mm/s
Infill Speed: 50 mm/s
Wall Speed: 40 mm/s
Outer Wall Speed: 30 mm/s
Inner Wall Speed: 40 mm/s
Top/Bottom Speed 20 mm/s
Support Speed: 30 mm/s
Support Infill Speed: 30 mm/s
Travel Speed: 120 mm/s
Initial Layer Speed: 30 mm/s
Initial Layer Print Speed: 30 mm/s
Initial Layer Travel Speed: 72 mm/s
Skirt/Brim Speed: 30 mm/s
Maximum Z Speed: 0 mm/s
Number of Slower Layers: 2
Travel
Combing Mode: All
Avoid Printed Parts when Traveling: Check
Travel Avoid Distance: 0.6562 mm
Cooling
Enable Print Cooling: Check
Fan Speed: 100%
Regular Fan Speed: 100%
Maximum Fan Speed: 100%
Regular/Maximum Fan Speed Threshold: 10 s
Initial Fan Speed: 0%
Regular Fan Speed at Height: 0.27 mm
Regular Fan Speed at Layer: 2
Minimum Layer Time: 5 s
Minimum Speed: 10 mm/s
Support
Enable Support: Check
Support Placement: Everywhere
Support Overhang Angle: 50°
Support Pattern: Zig Zag
Connect Support ZigZags: Check
Support Density: 15 %
Support Line Distance: 2.3333 mm
Support Z Distance: 0.15 mm
Support Top Distance: 0.15 mm
Support Bottom Distance: 0.15 mm
Support X/Y Distance: 0.8 mm
Support Distance Priority: Z overrides X/Y
Minimum Support X/Y Distance: 0.2 mm
Support Stair Step Height: 0.3 mm
Support Stair Step Maximum Width: 5.0 mm
Support Join Distance: 2.0 mm
Support Horizontal Expansion: 0.2 mm
Support Infill Layer Thickness: 0.1 mm
Use Towers: Check
Tower Diameter: 3.0 mm
Minimum Diameter: 3.0 mm
Tower Roof Angle: 65°
Build Plate Adhesion
Build Plate Adhesion Type: Brim
Skirt/Brim Minimum Length: 250 mm
Brim Width: 8.0 mm
Brim Line Count: 15
Brim Only on Outside: Check
Mesh Fixes
Union Overlapping Volumes: Check
Merged Meshes Overlap: 0.15 mm
Special Modes
Print Sequence: All at Once
Surface Mode: Normal
Experimental
Extra Skin Wall Count: 0
Disclaimer: This model will look outstanding if printed on SLA/SLS 3D printer. The accuracy of the model printed on FFF printer can vary from the result shown in the pictures.


Comments