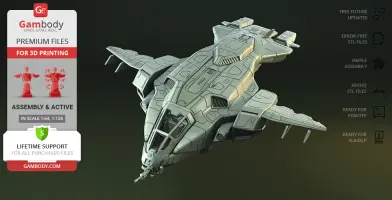
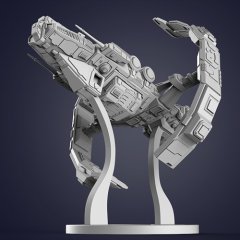
This 3D Model of the D77 Pelican from Halo consists of files in StereoLithography (.Stl) format that is optimized for 3D printing.
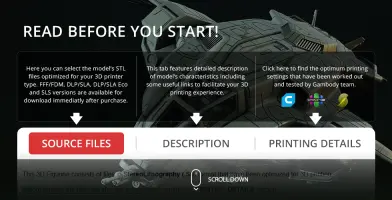
Before printing the files, we strongly recommend reading the PRINTING DETAILS section.
WHAT WILL YOU GET AFTER PURCHASE?
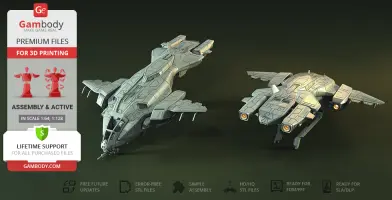
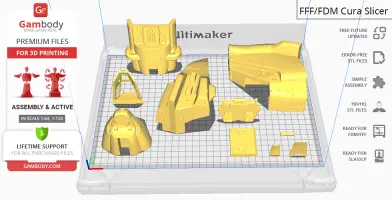
- 2 versions of Dropship 77-Troop Carrier STL files for FFF/FDM and DLP/SLA - files for all versions are available for download after the purchase
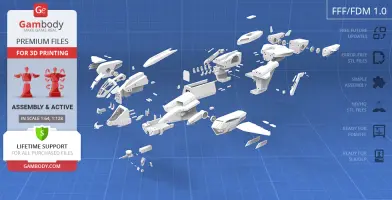
- STL files of high-poly Pelican Dropship 3D Model for 3D printing consist of 123 parts
- Sizes:
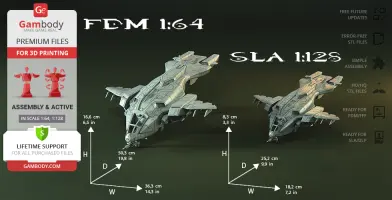
- FFF/FDM: 166 mm tall, 363 mm wide, 503 mm deep
- DLP/SLA: 83 mm tall, 182 mm wide, 252 mm deep
- Assembly Manual for FFF/FDM 1.0 and DLP/SLA 1.0 versions in PDF format
- Detailed settings that we provide as a recommendation for Cura, Simplify3D, Slic3r and PrusaSlicer for the best print
- Full technical support from the Gambody Support Team
Detailed information about this 3D printing model is available in the DESCRIPTION section.
ABOUT THIS 3D MODEL
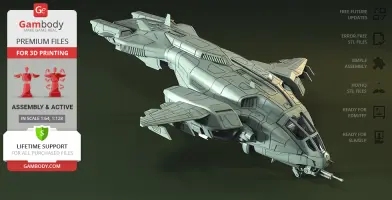
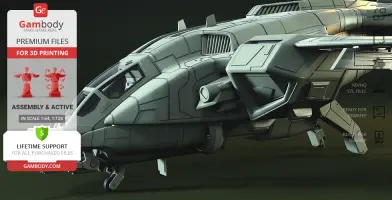
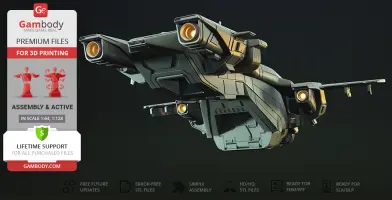
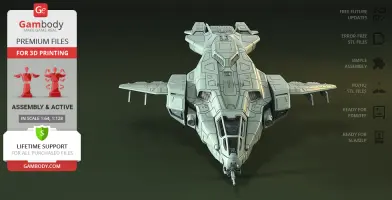
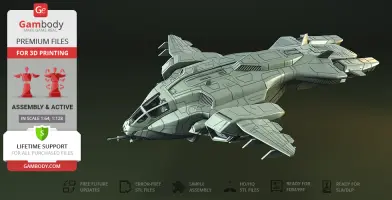
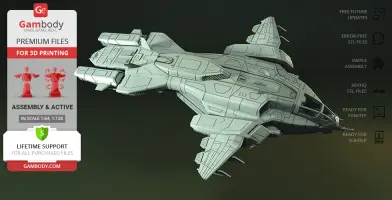
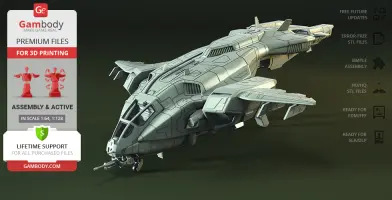
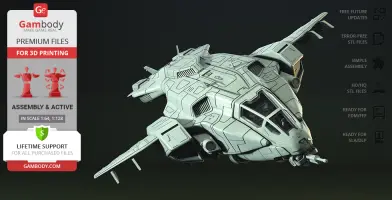
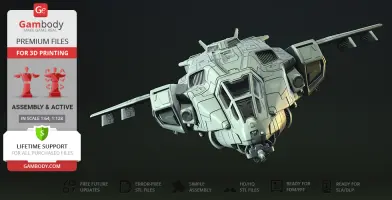
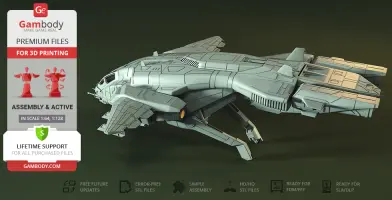
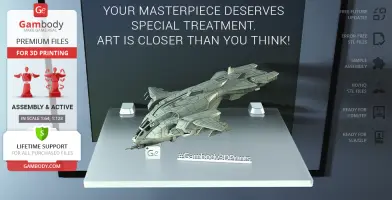
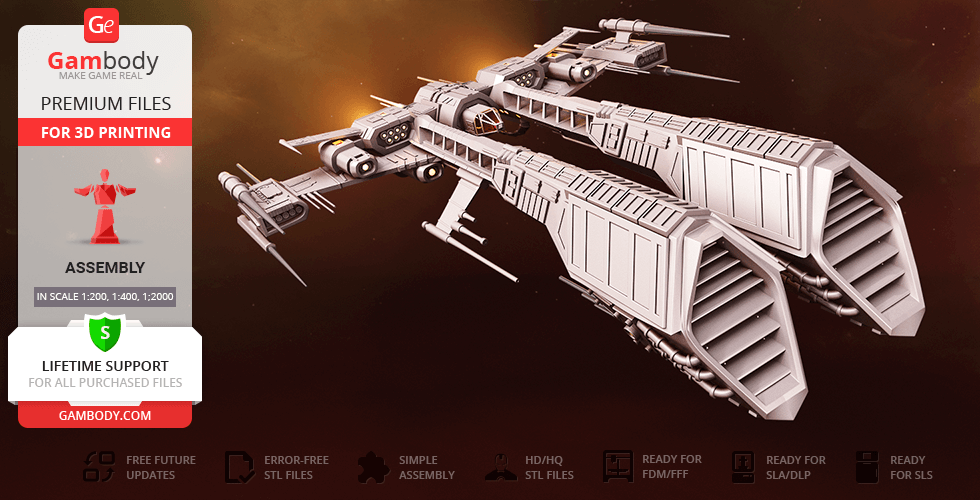
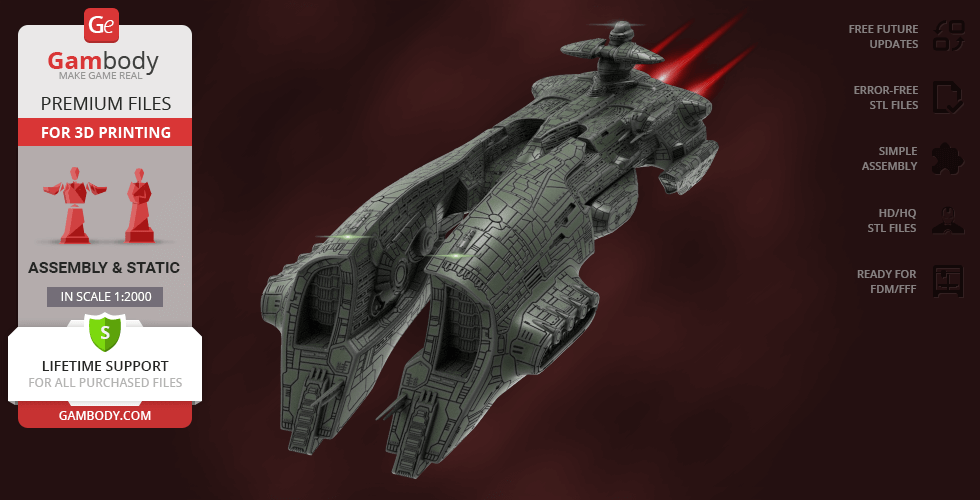
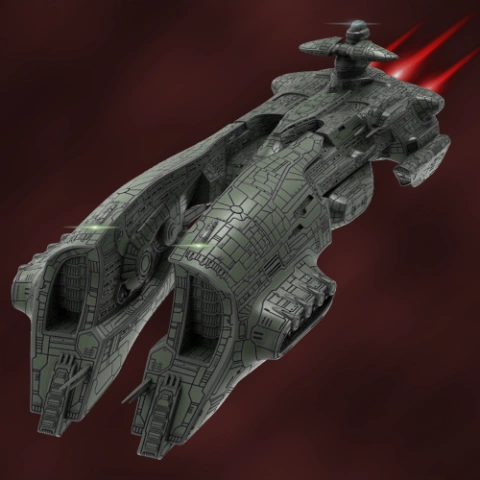
The versatile Dropship 77-Troop Carrier, also known as Pelican, has been helping the brave UNSC troops for more than 50 years. It is capable of medium-lift operations, swift dispatch of ground troops, and even fire support. But it seems as the craft has just been assigned another, no less important mission - becoming the most exciting 3D printing project for our hobbyists!
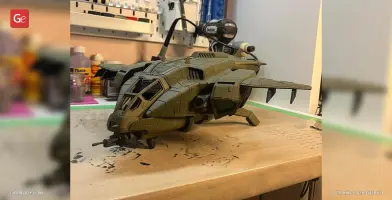
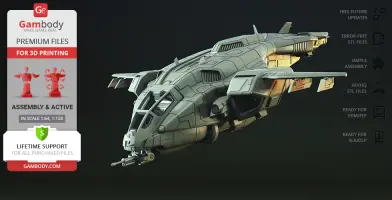
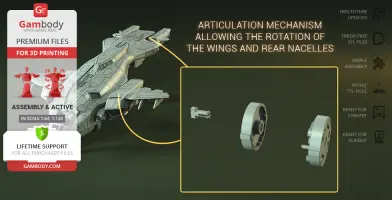
The highly detailed design of the infamous Pelican was meticulously prepared by our contributing 3D artist for your enjoyment. And with the help of Gambody engineers, the model came to life with lots of interesting articulation mechanisms that are worth exploring first-hand.
ADAPTATION FOR 3D PRINTING
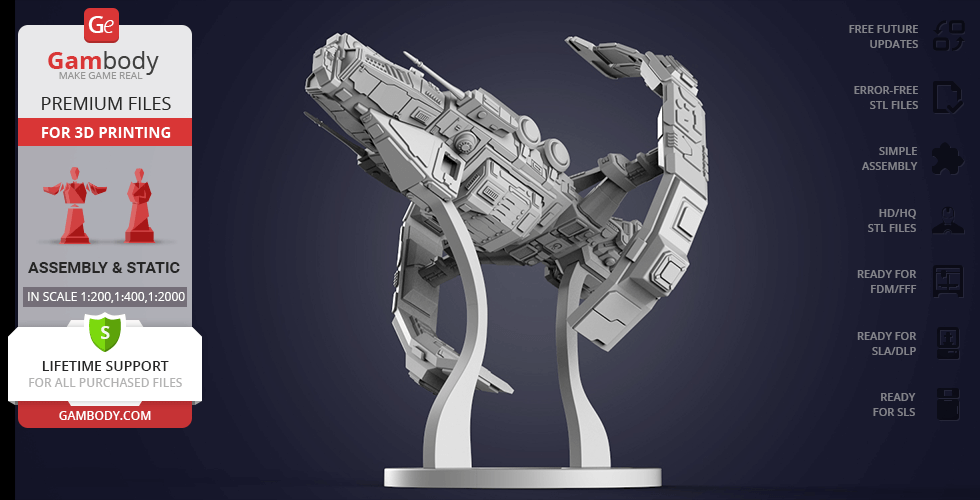
D77 Pelican for 3D printing is an active assembly model and its moderation and adaptation for different types of 3D printers took the Gambody team 50 hours in total.
For you to receive the cleanest 3D printing result possible, minimize the amount of filament needed for generated support, preserve the active elements introduced by Gambody engineers, the D77 Pelican model was divided into many assembly parts.
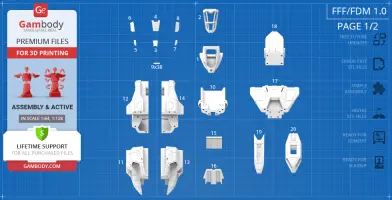
All assembly parts in the FFF/FDM 1.0 version are provided in STL files in recommended positions that were worked out in order to ensure the smoothness of the details’ surfaces after printing and that the 3D printing beginners won't face difficulties when placing the parts on a build plate. When downloading any model's file you will also receive "Assembly Manual" for FFF/FDM 1.0 and DLP/SLA 1.0 versions in PDF format. We highly recommend that you get acquainted with the “Assembly video” and "Assembly Manual" before getting down to the D77 Pelican model.
The model is saved in STL files, a format supported by most 3D printers. All STL files for 3D printing have been checked in Netfabb and no errors were shown.The model’s scale was calculated from the length of the D77 Pelican which is 3050 mm. The 3D printing model’s chosen scales are 1:64 for the FFF/FDM version and 1:128 for the DLP/SLA version.
VERSIONS' SPECIFICATIONS
FFF/FDM 1.0 version features:
- Contains 79 parts;
- A printed model stands 166 mm tall, 363 mm wide, 503 mm deep;
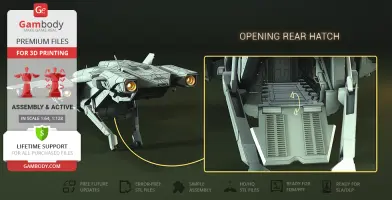
- Opening rear hatch;
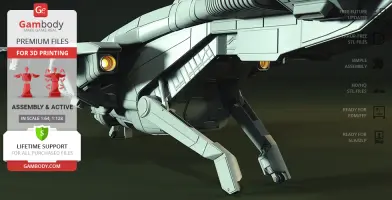
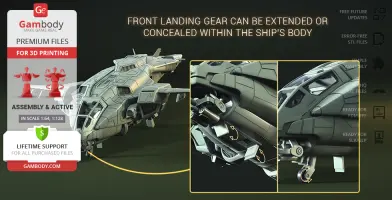
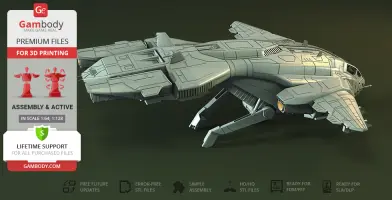
- Front landing gear can be extended or concealed within the ship’s body;
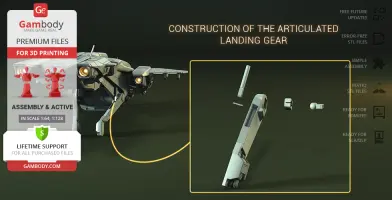
- Extendable rear landing gear with multidirectional movement at the joint;
- Extended rear landing gear can be fixed in place with the struts; retracted landing gear can be attached to the ship's body;
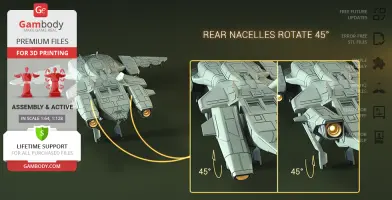
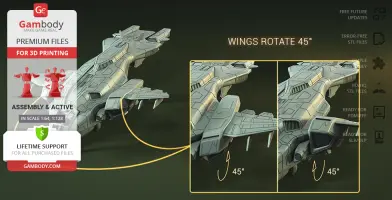
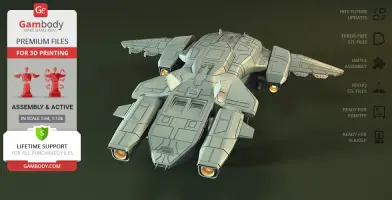
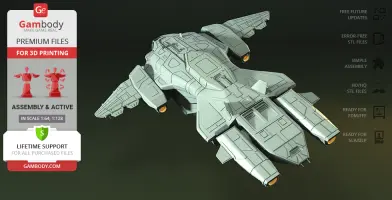
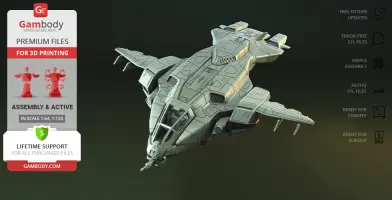
- Wings and rear nacelles rotate 45°;
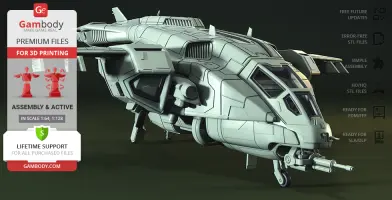
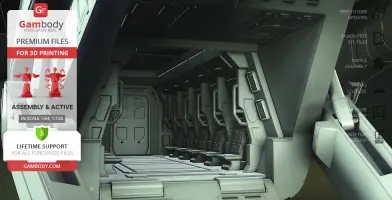
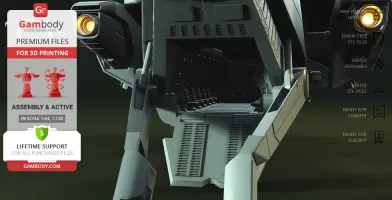
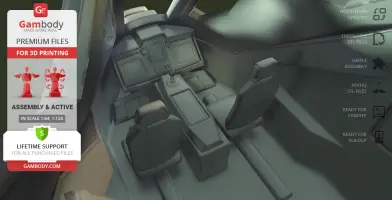
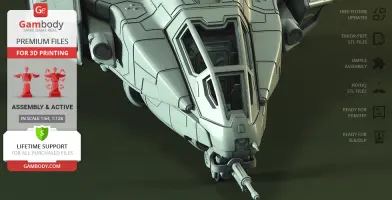
- Highly detailed cockpit and troop bay;
- The assembly of the model requires "pins" that can be made out of short pieces of regular 1.75mm filament;
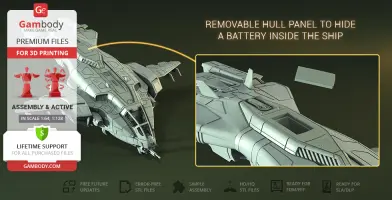
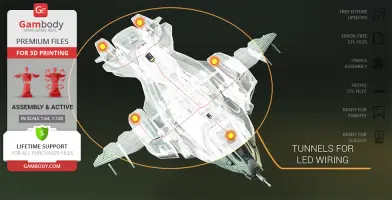
- Tunnels throughout the ship's body are provided for you to introduce LED wiring and light up the four thrusters and the cockpit; a spot to hide the battery is provided inside;
- Alternative enhanced wings mechanisms;
- All parts are divided in such a way that you will print them with the smallest number of support structures.
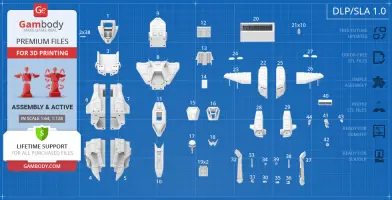
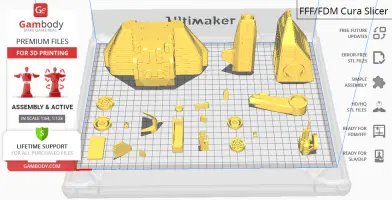
DLP/SLA 1.0 version features:
- Contains 44 parts;
- A printed model stands 83 mm tall, 182 mm wide, 252 mm deep;
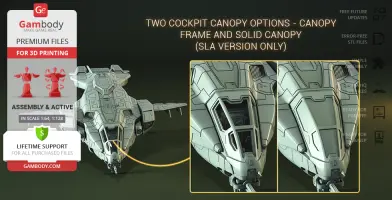
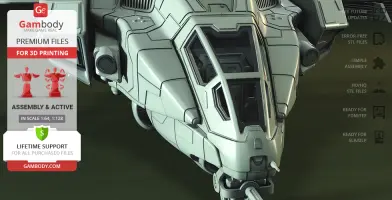
- Two cockpit canopy options - canopy frame and solid canopy;
- Opening rear hatch;
- Front landing gear can be extended or concealed within the ship’s body;
- Extendable rear landing gear with multidirectional movement at the joint;
- Extended rear landing gear can be fixed in place with the struts; retracted landing gear can be attached to the ship's body;
- Wings and rear nacelles rotate 45°;
- Highly detailed cockpit and troop bay;
- The assembly of the model requires "pins" that can be made out of short pieces of regular paper clips;
- Tunnels throughout the ship's body are provided for you to introduce LED wiring and light up the four thrusters and the cockpit; a spot to hide the battery is provided inside;
- All parts are divided in such a way to fit the build plates and to ensure that support structures are generated where needed.
You can get the model of the D77 Pelican for 3D Printing immediately after the purchase! Just click the green Buy button in the top-right corner of the model’s page. You can pay with PayPal or your credit card.
Watch the tutorial on how to assemble D77 Pelican 3D Printing Model at Gambody YouTube channel.
Also, you may like other Halo models for 3D printing.
_______
FAQ:
Generic
Below you can find printing recommendations for Cura, Bambu Lab, Simplify3D, Slic3r and PrusaSlicer software.
Disclaimer: The following printing settings are a recommendation, not an obligation. The parameters can vary depending on the peculiarities of your 3D printer, the material you use, and especially the particular assembly part you are working with. Each part that any model comprises often needs preliminary review, and you are free to tweak the settings the way you find suitable.
Note:
You can scale up the model (downscaling for FFF/FDM 3D printers is not recommended!);
All connectors should be printed at 100% Infill.
Bambu Lab printing recommendations:
These basic 3D printing settings recommendations for beginners were tested in Bambu Studio 1.9.1. Test models were printed on the Bambu Lab A1, Bambu Lab A1 Mini, Creality Ender 3 S1, Anycubic Kobra 2, and Anycubic Vyper using PLA and PETG filaments.
To avoid printing problems, we recommend the following settings: download
Cura printing recommendations:
These are averaged settings which were tested in the Cura 5.2.1 slicer. Test models were printed on Anycubic Vyper, Creality Ender 3 Pro with PLA filament.
To avoid printing problems, we recommend the following settings: download
Simplify3D printing recommendations:
These are averaged settings which were tested in the Simplify3D 5.0.0 slicer. Test models were printed on Anycubic Vyper, FLSUN v400, Ender3 S1 with PLA filament.
To avoid printing problems, we recommend the following settings: download
Slic3r printing recommendations:
These basic 3D printing settings recommendations for beginners were tested in Slic3r 1.3.0 software. Test models were printed on Ultimaker 2, Creality Ender 3, Creality Cr-10S pro v2, Anycubic I3 Mega, Anycubic I3 MegaS, Anycubic Vyper with PLA and PetG filaments.
To avoid printing problems, we recommend the following settings: download
PrusaSlicer printing recommendations:
These basic 3D printing settings recommendations for beginners were tested in PrusaSlicer 2.3.1. Test models were printed on Ultimaker 2, Creality Ender 3, Creality Cr-10S pro v2, Anycubic I3 Mega, Anycubic I3 MegaS, Anycubic Vyper with PLA and PETG filaments.
To avoid printing problems, we recommend the following settings: download
Keywords
Keywords are used for textual searches.


Comments