


This should take overall.

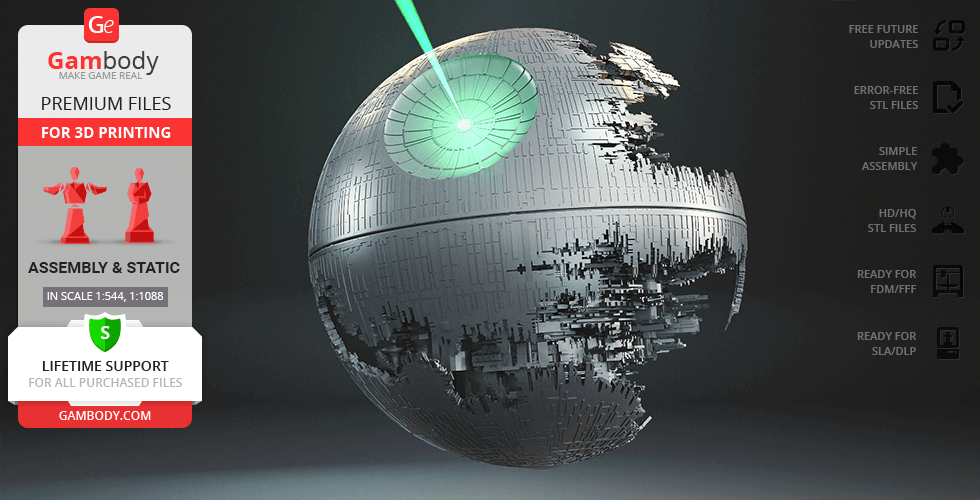
This 3D model of Death Star I consists of files in StereoLithography (.Stl) format that is optimized for 3D printing.
Before printing the files, we strongly recommend reading the PRINTING DETAILS section.
WHAT WILL YOU GET AFTER PURCHASE?
Detailed information about this 3D printing model is available in the DESCRIPTION section.

|
|||||
|---|---|---|---|---|---|
| File Name | File Size | Time / Filament | Object Size (x/y/z mm) |
||
|
_01_bodyPart_a_T_FDM (rep aired).stl |
32.98 MiB | 78 h 44 min 67 m | 150 x 150 x 148 | Download | |
|
_02_bodyPart_b_T_FDM (rep aired).stl |
24.67 MiB | 95 h 30 min 61 m | 150 x 152 x 148 | Download | |
|
_03_bodyPart_c_T_FDM (rep aired).stl |
23.48 MiB | 99 h 19 min 59 m | 150 x 150 x 148 | Download | |
|
_04_bodyPart_d_T_FDM (rep aired).stl |
21.55 MiB | 99 h 37 min 57 m | 152 x 148 x 150 | Download | |
|
_05_bodyPart_e_Bot_FDM (r epaired).stl |
33.88 MiB | 81 h 18 min 72 m | 144 x 150 x 150 | Download | |
|
_06_bodyPart_f_Bot_FDM (r epaired).stl |
23.49 MiB | 89 h 42 min 57 m | 150 x 152 x 144 | Download | |
|
_07_bodyPart_g_Bot_FDM (r epaired).stl |
23.34 MiB | 94 h 42 min 56 m | 150 x 150 x 144 | Download | |
|
_08_bodyPart_h_Bot_FDM (r epaired).stl |
23.47 MiB | 91 h 51 min 59 m | 152 x 150 x 144 | Download | |
|
_09_bodyCap_a_T_FDM (repa ired).stl |
2.11 MiB | 1 h 34 min 1 m | 55 x 55 x 5 | Download | |
|
_10_bodyCap_b_V1_Bot_FDM (repaired).stl |
5.60 MiB | 6 h 11 min 3 m | 88 x 88 x 12 | Download | |
|
_12_decorPanel_a_V1_TopL_ FDM (repaired).stl |
7.71 MiB | 10 h 5 min 5 m | 127 x 140 x 11 | Download | |
|
_13_decorPanel_a_V2_TopL_ FDM (repaired).stl |
8.59 MiB | 11 h 22 min 5 m | 127 x 140 x 11 | Download | |
|
_14_decorPanel_b_V1_BotL_ FDM (repaired).stl |
17.31 MiB | 10 h 48 min 5 m | 120 x 135 x 14 | Download | |
|
_15_decorPanel_b_V2_BotL_ FDM (repaired).stl |
17.33 MiB | 10 h 57 min 5 m | 120 x 135 x 14 | Download | |
|
_16_decorPanel_c_V1_TopR_ FDM (repaired).stl |
1.10 MiB | 3 h 47 min 2 m | 90 x 116 x 9 | Download | |
|
_17_decorPanel_c_V2_TopR_ FDM (repaired).stl |
1.12 MiB | 4 h 15 min 2 m | 90 x 116 x 9 | Download | |
|
_18_decorPanel_d_V1_BotR_ FDM (repaired).stl |
25.51 MiB | 9 h 31 min 5 m | 121 x 134 x 9 | Download | |
|
_19_decorPanel_d_V2_BotR_ FDM (repaired).stl |
25.83 MiB | 9 h 55 min 5 m | 121 x 134 x 9 | Download | |
|
_20_decorPanel_e_Mid_FDM (repaired).stl |
0.40 MiB | 6 min <1 m | 20 x 8 x 6 | Download | |
|
_21_decorPanel_f_Mid_FDM (repaired).stl |
0.33 MiB | 9 min <1 m | 32 x 10 x 5 | Download | |
|
_22_decorPanel_g_Mid_FDM (repaired).stl |
0.35 MiB | 10 min <1 m | 27 x 13 x 5 | Download | |
|
_23_bodyPin_X18_01_FDM (r epaired).stl |
0.01 MiB | 8 min <1 m | 20 x 10 x 4 | Download | |
|
_24_standPart_a_X6_01_FDM (repaired).stl |
0.60 MiB | 6 h 37 min 4 m | 102 x 112 x 12 | Download | |
|
_25_standPart_b_FDM (repa ired).stl |
1.25 MiB | 21 h 20 min 13 m | 142 x 150 x 48 | Download | |
|
_26_standPart_c_FDM (repa ired).stl |
0.44 MiB | 5 h 54 min 3 m | 76 x 160 x 46 | Download | |
|
_27_standConnector_X6_01_ FDM (repaired).stl |
0.01 MiB | 22 min <1 m | 38 x 34 x 6 | Download | |
|
_28_reactorPart_b_T_FDM ( repaired).stl |
17.66 MiB | 3 h 26 min 2 m | 49 x 49 x 26 | Download | |
|
_29_reactorPart_c_T_FDM ( repaired).stl |
9.74 MiB | 4 h 18 min 2 m | 49 x 49 x 33 | Download | |
|
_30_reactorPart_d_T_FDM ( repaired).stl |
3.48 MiB | 1 h 42 min 1 m | 47 x 47 x 18 | Download | |
|
_31_reactorPart_e_Bot_FDM (repaired).stl |
2.34 MiB | 3 h 19 min 2 m | 61 x 61 x 37 | Download | |
|
_32_reactorPart_f_Bot_FDM (repaired).stl |
15.06 MiB | 3 h 17 min 1 m | 40 x 40 x 80 | Download | |
|
_33_reactorPart_g_Bot_X4_ 01_FDM (repaired).stl |
5.83 MiB | 1 h 36 min 1 m | 30 x 29 x 61 | Download | |
|
_34_reactorPart_h_Bot_X4_ 01_FDM (repaired).stl |
2.86 MiB | 60 min <1 m | 27 x 27 x 49 | Download | |
|
_35_reactorPartsPin_X4_01 _FDM (repaired).stl |
0.01 MiB | 2 min <1 m | 8 x 3 x 2 | Download | |
|
_36_reactorConnector_a_X4 _01_FDM (repaired).stl |
0.01 MiB | 16 min <1 m | 26 x 26 x 7 | Download | |
|
_37_reactorConnector_b_X4 _01_FDM (repaired).stl |
0.19 MiB | 11 min <1 m | 15 x 15 x 10 | Download | |
|
_38_reactorCore_FDM (repa ired).stl |
5.50 MiB | 3 h 29 min 2 m | 40 x 40 x 35 | Download | |
|
_39_mainGunPart_a_FDM (re paired).stl |
3.05 MiB | 2 h 27 min 1 m | 25 x 25 x 48 | Download | |
|
_40_mainGunPart_b_FDM (re paired).stl |
29.15 MiB | 4 h 18 min 2 m | 47 x 53 x 38 | Download | |
|
_41_mainGunPart_c_FDM (re paired).stl |
3.83 MiB | 1 h 39 min 1 m | 52 x 53 x 15 | Download | |
|
_42_mainGunPart_d_FDM (re paired).stl |
23.81 MiB | 6 h 10 min 2 m | 73 x 73 x 42 | Download | |
|
_44_mainGunPlatePart_a_FD M (repaired).stl |
0.90 MiB | 2 h 6 min 1 m | 39 x 79 x 43 | Download | |
|
_45_mainGunPlatePart_b_FD M (repaired).stl |
0.93 MiB | 1 h 58 min 1 m | 39 x 79 x 43 | Download | |
|
_46_reactorPart_a_T_FDM ( repaired).stl |
6.26 MiB | 5 h 50 min 3 m | 50 x 50 x 49 | Download | |
|
Keychain (repaired).stl |
0.35 MiB | 23 min <1 m | 30 x 30 x 2 | Download | |
|
Tag (repaired).stl |
1.70 MiB | 1 h 18 min 1 m | 150 x 18 x 5 | Download | |
|
_11_bodyCap_b_V2_Bot_FDM (repaired).stl |
5.55 MiB | 6 h 10 min 3 m | 88 x 88 x 12 | Download | |
|
_43_mainGunPart_e_FDM (re paired).stl |
9.48 MiB | 52 min <1 m | 27 x 27 x 11 | Download | |
| ... | |||||
This should take overall.
ABOUT THIS 3D MODEL
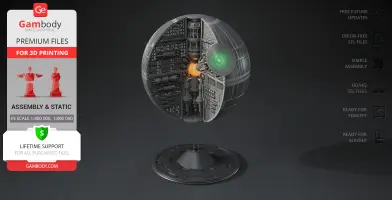
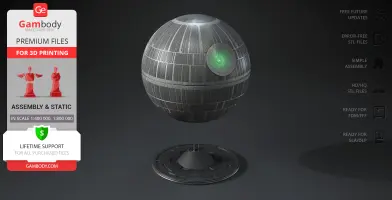
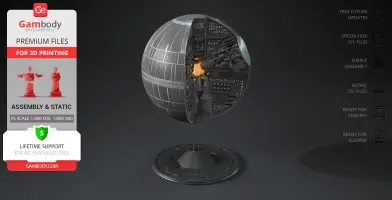
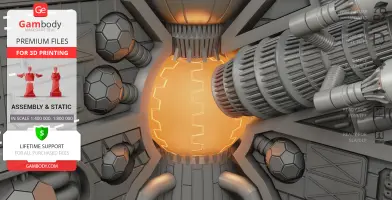
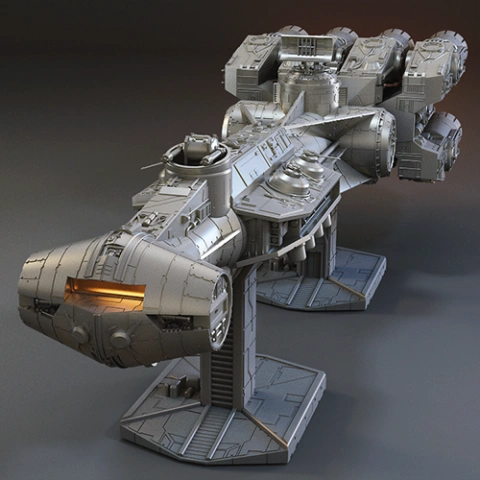
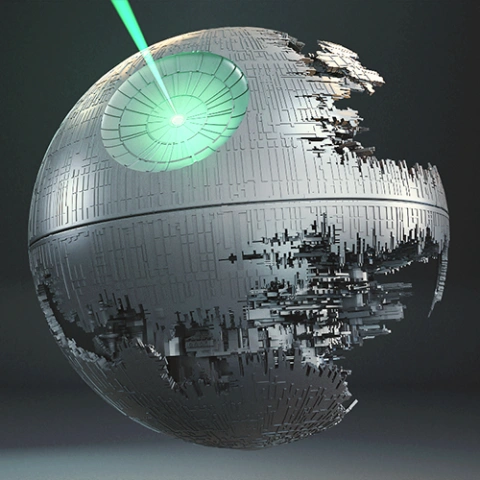
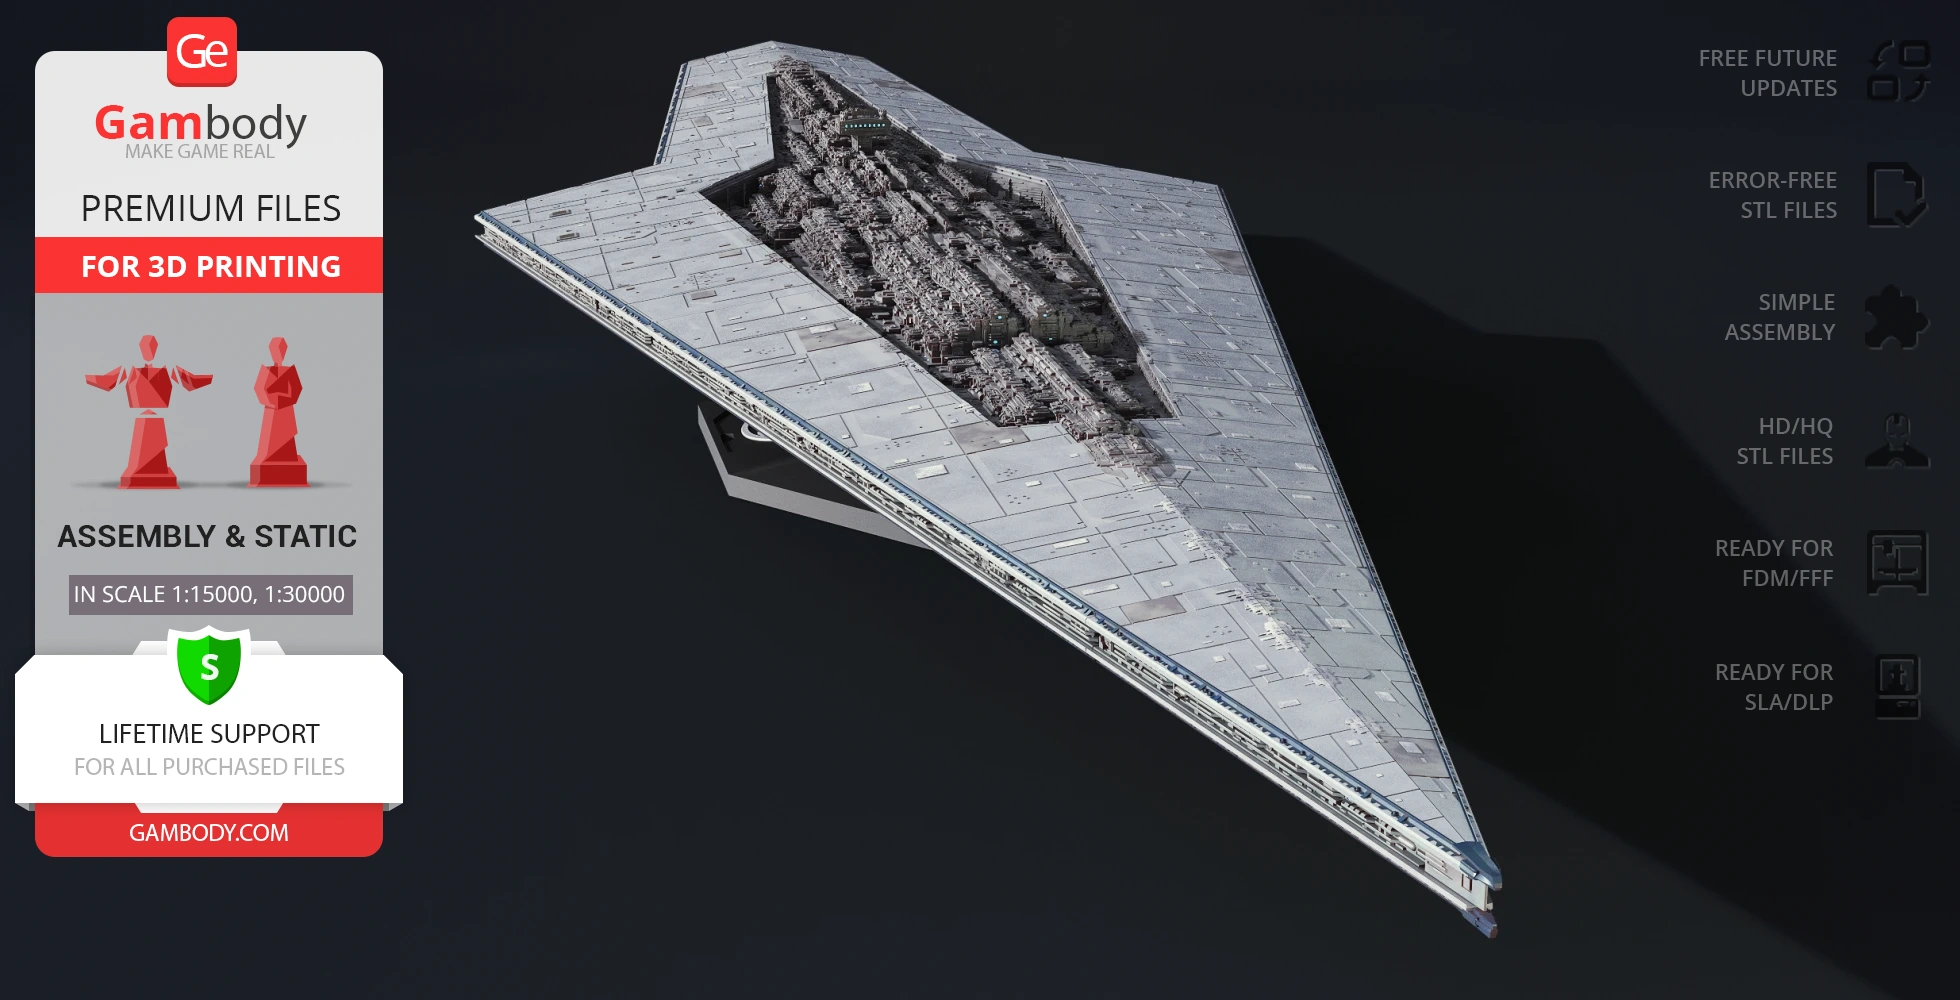
Death Star I is known as a primary weapon of the Empire as its scale and technical specifications are simply unrepeatable - the battlestation has a sphere the size of a Class-IV moon and it is equipped with a superlaser which has the potential of planetary destruction. The armaments and defensive systems of DS-I include countless lasers, turbolasers, cannons, blasters, and railguns, its engine units include two massive sublight engines in the midsection and a formidable hyperdrive system and there is around 1.7 million Imperial personnel aboard the battlestation.
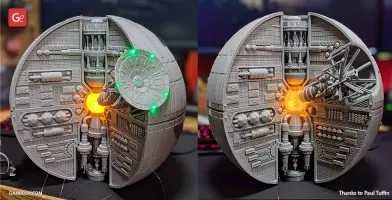
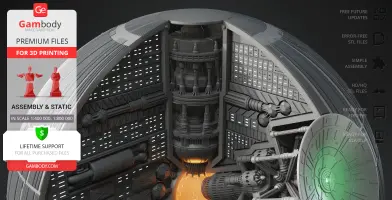
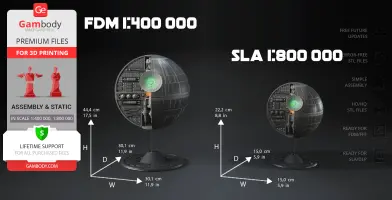
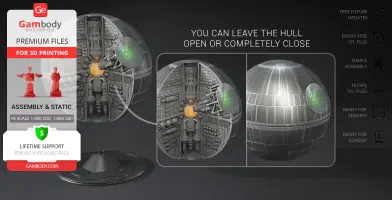
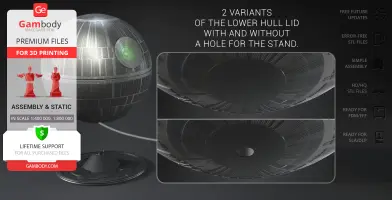
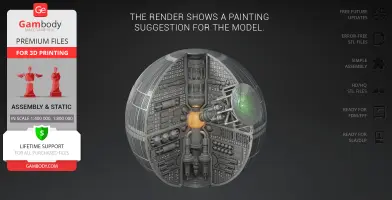
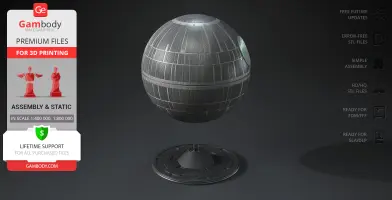
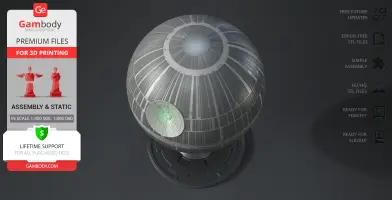
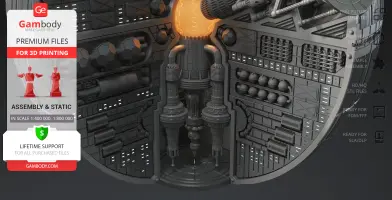
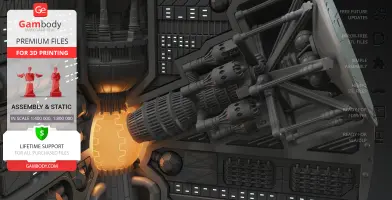
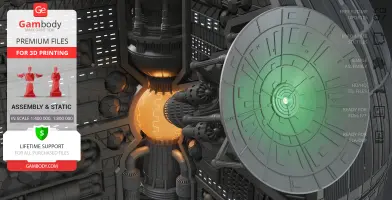
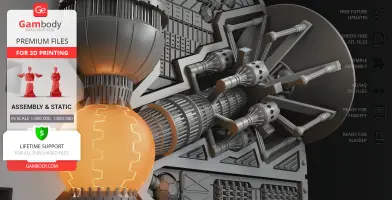
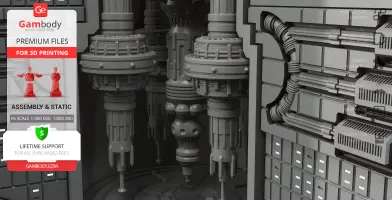
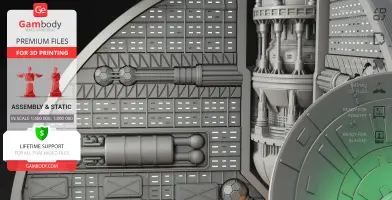
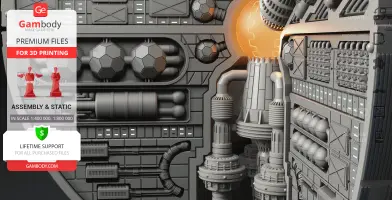
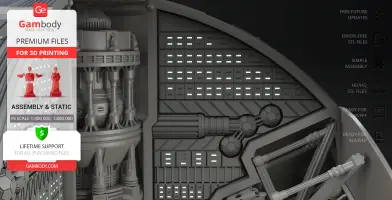
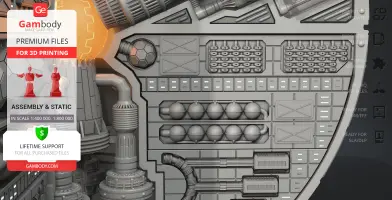
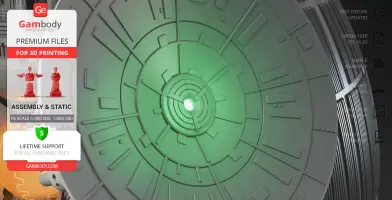
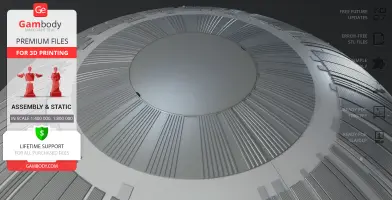
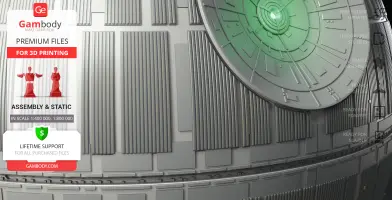
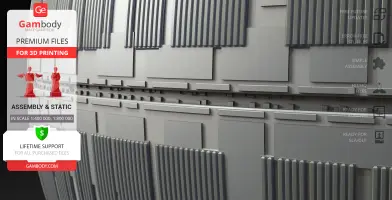
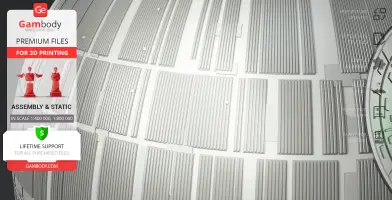
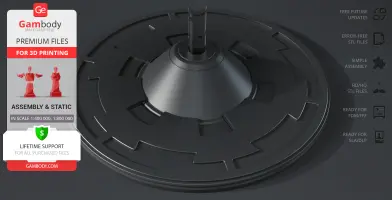
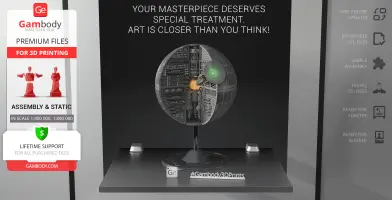
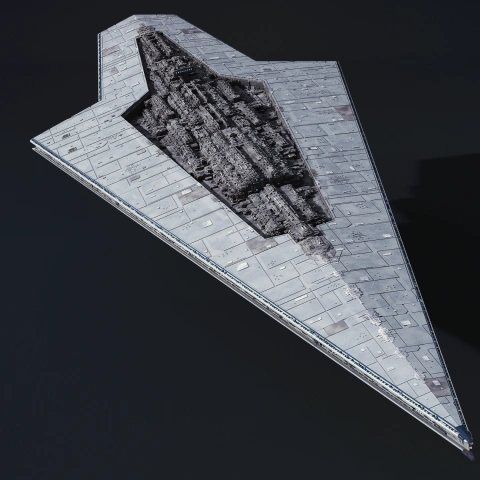
The design of Death Star I created by our contributing 3D artist very closely repeats its original schematics: the battle station has the shape of a moon, consists of two hemispheres with a long equatorial trench in the middle, and has a large superlaser focus lens located in the northern hemisphere. The design of the outer hull is made with great precision following the original battlestation’s appearance and there is a surprise waiting for you under the removable cover - the author showed the interior of DS-1 and depicted the internal plasma core together with the main power generator, power cells, ion drive reactors, and atmosphere processing unit, among others. Just imagine how great and exquisite it will look in your collection of Star Wars collectibles and how enjoyable the printing process will be - this model has it all to meet your expectations!
ADAPTATION FOR 3D PRINTING
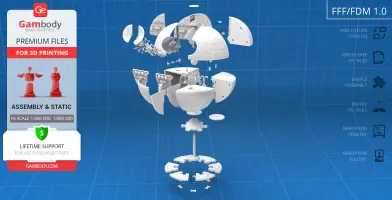
The Death Star I model for 3D printing is a static assembly model and its moderation and adaptation for different types of 3D printers took the Gambody team 106 hours in total.
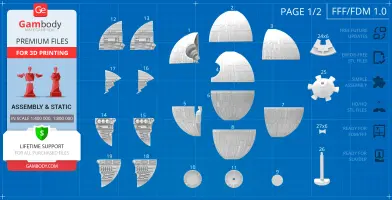
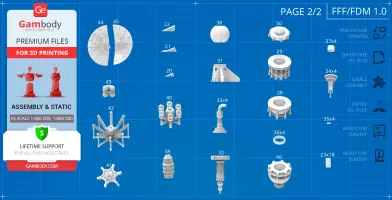
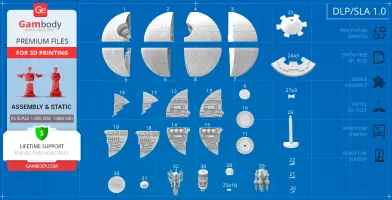
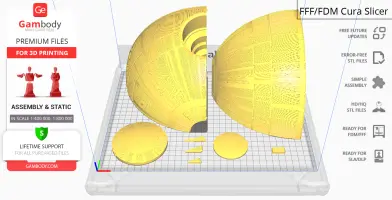
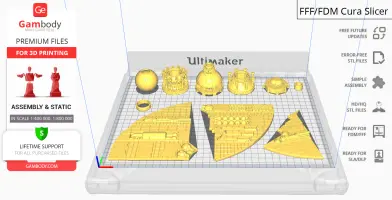
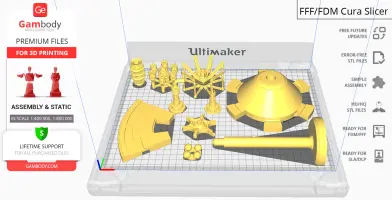
For you to receive the cleanest 3D printing result possible, minimize the amount of filament needed for generated support, and make use of the active elements designed by Gambody Engineers, the space station was divided into convenient assembly parts.
All assembly parts in the FFF/FDM 1.0 version are provided in STL files in recommended positions that were worked out in order to ensure the smoothness of the details’ surfaces after printing and that the 3D printing beginners won’t face difficulties when placing the parts on a build plate. When downloading any model’s file you will also receive “Assembly Manual” for FFF/FDM 1.0 and DLP/SLA 1.0 versions in PDF and video formats. We highly recommend that you get acquainted with the “Assembly Video” and “Assembly Manual” before getting down to the Death Star I 3D printing model.
The model is saved in STL files, a format supported by most 3D printers. All STL files for 3D printing have been checked in Netfabb and no errors were shown.
The model’s scale was calculated from the length of the height of Death Star I. The 3D printing model’s chosen scales are 1:400000 for the FFF/FDM version and 1:800000 for the DLP/SLA version.
VERSIONS’ SPECIFICATIONS
FFF/FDM 1.0 version features:
DLP/SLA 1.0 version features:
You can get the Death Star I model for 3D printing immediately after the purchase! Just click the green Buy button in the top-right corner of the model’s page. You can pay with PayPal or your credit card.
Watch the tutorial on how to assemble a Death Star I 3D Printing Model on Gambody YouTube channel.
Also, you may like the Death Star II 3D Printing Model and other Star Wars 3D Printing Models.
________
FAQ:
Below you can find printing recommendations for Cura, Bambu Lab, Simplify3D, Slic3r and PrusaSlicer software.
Disclaimer: The following printing settings are a recommendation, not an obligation. The parameters can vary depending on the peculiarities of your 3D printer, the material you use, and especially the particular assembly part you are working with. Each part that any model comprises often needs preliminary review, and you are free to tweak the settings the way you find suitable.
Note:
You can scale up the model (downscaling for FFF/FDM 3D printers is not recommended!);
All connectors should be printed at 100% Infill.
These basic 3D printing settings recommendations for beginners were tested in Bambu Studio 1.9.1. Test models were printed on the Bambu Lab A1, Bambu Lab A1 Mini, Creality Ender 3 S1, Anycubic Kobra 2, and Anycubic Vyper using PLA and PETG filaments.
To avoid printing problems, we recommend the following settings: download
These are averaged settings which were tested in the Cura 5.2.1 slicer. Test models were printed on Anycubic Vyper, Creality Ender 3 Pro with PLA filament.
To avoid printing problems, we recommend the following settings: download
These are averaged settings which were tested in the Simplify3D 5.0.0 slicer. Test models were printed on Anycubic Vyper, FLSUN v400, Ender3 S1 with PLA filament.
To avoid printing problems, we recommend the following settings: download
These basic 3D printing settings recommendations for beginners were tested in Slic3r 1.3.0 software. Test models were printed on Ultimaker 2, Creality Ender 3, Creality Cr-10S pro v2, Anycubic I3 Mega, Anycubic I3 MegaS, Anycubic Vyper with PLA and PetG filaments.
To avoid printing problems, we recommend the following settings: download
These basic 3D printing settings recommendations for beginners were tested in PrusaSlicer 2.3.1. Test models were printed on Ultimaker 2, Creality Ender 3, Creality Cr-10S pro v2, Anycubic I3 Mega, Anycubic I3 MegaS, Anycubic Vyper with PLA and PETG filaments.
To avoid printing problems, we recommend the following settings: download
death-star, battle-station, galactic-empire, clone-wars, alliance, rebel-alliance, scarif, powerful, emperor, leia, laser-cannons, hyperdrive, weapon, star-wars, sci-fi, spaceship, space, sw, starship, vehicle, galaxy, galactic-war, stl, ship, vessel, empire, han-solo, luke-skywalker, orbit, death-star-i, mobile
You are about to report Death Star I 3D Printing Model | Assembly for violating our Terms and Conditions. Please take a few moments to fill in the following information.


Comments
comments powered by Disqus