This 3D Model consists of files in StereoLithography (.Stl) format that is optimized for 3D printing.
Before printing the files, we strongly recommend reading the PRINTING DETAILS section.
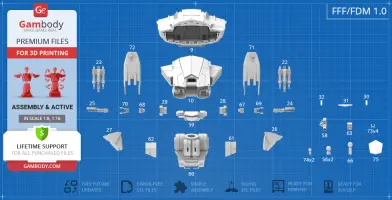
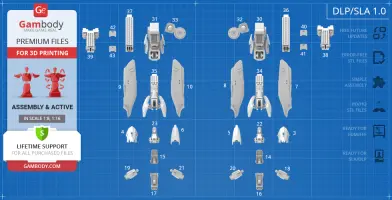
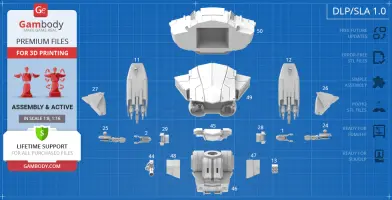
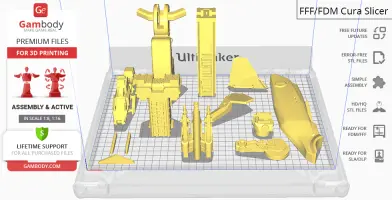
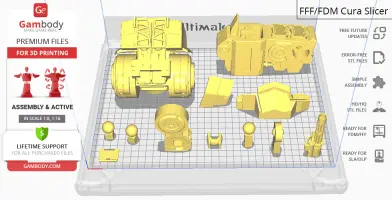
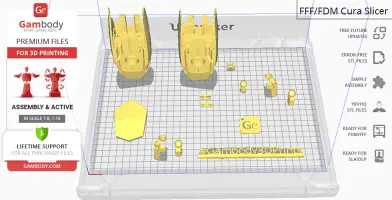
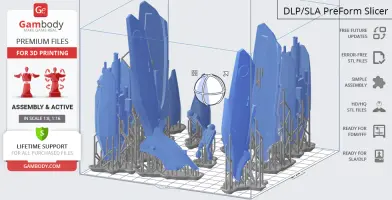
ED-209 3D Printing Model comes in 3 versions for each 3D printer type (FFF/FDM, DLP/SLA/SLS). Files for each version are available for download after the purchase.
Detailed information about this 3D printing model is available in the DESCRIPTION section.
ABOUT THIS 3D MODEL
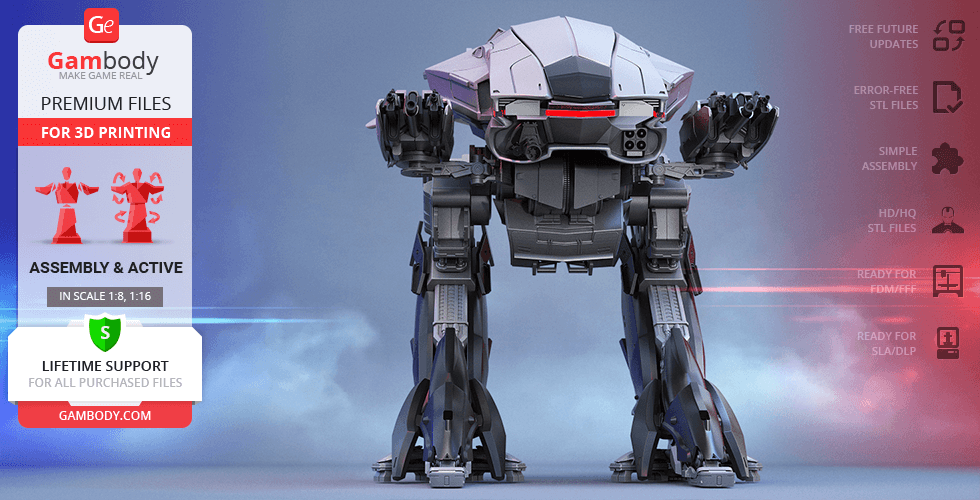
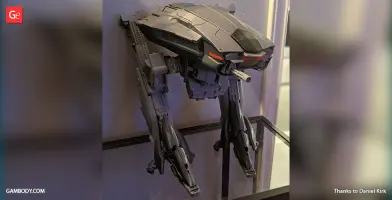
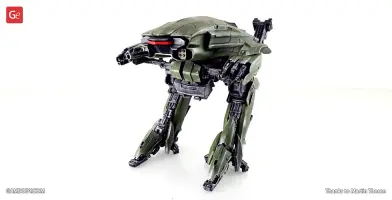
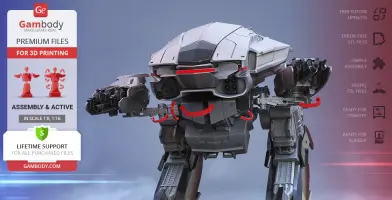
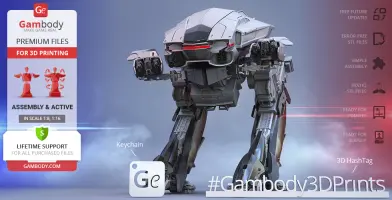
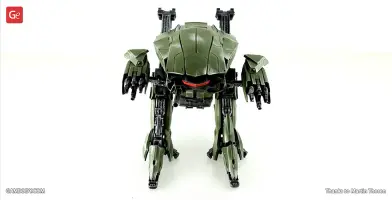
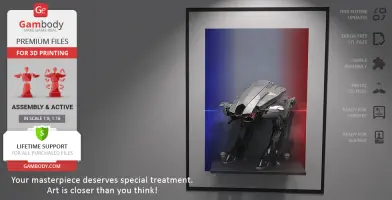
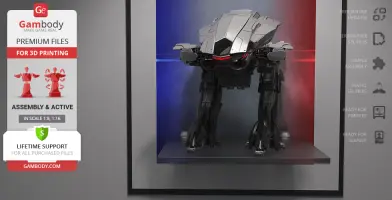
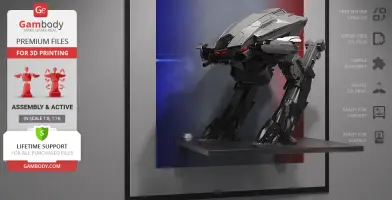
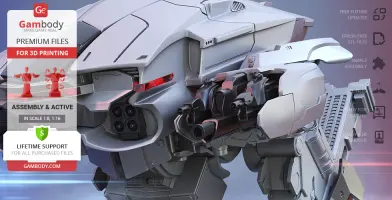
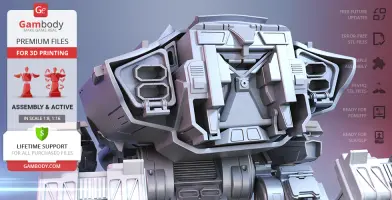
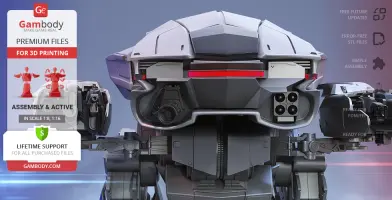
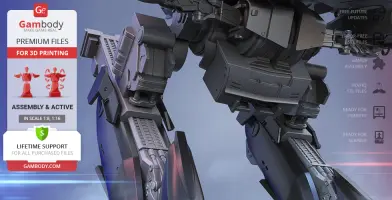
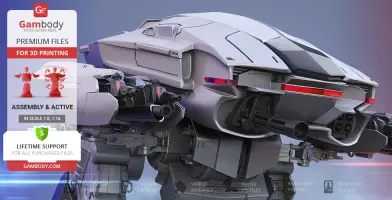
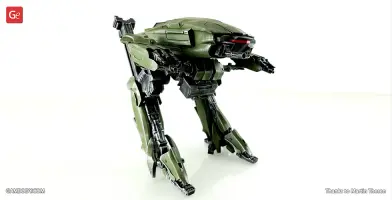
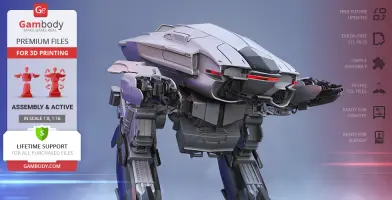
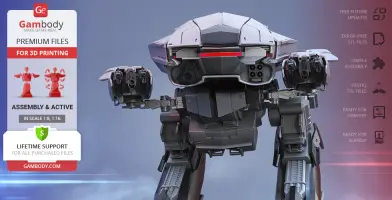
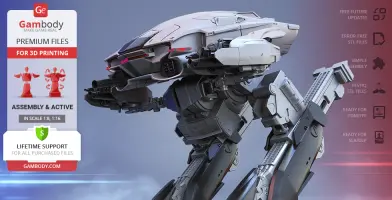
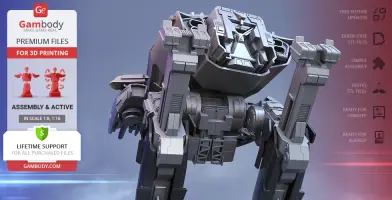
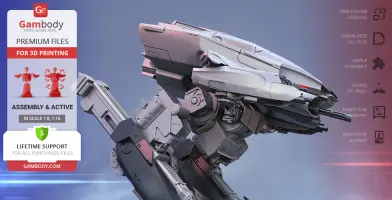
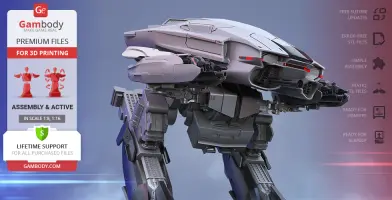
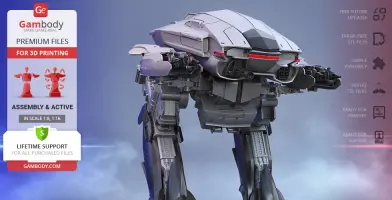
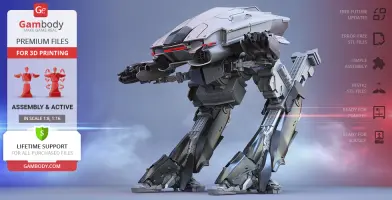
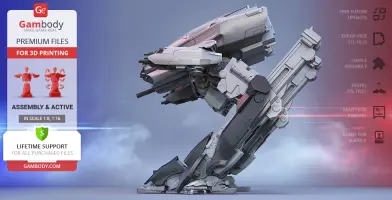
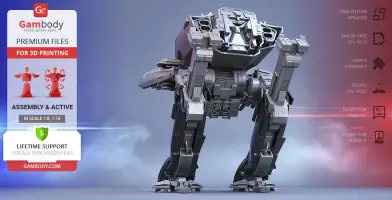
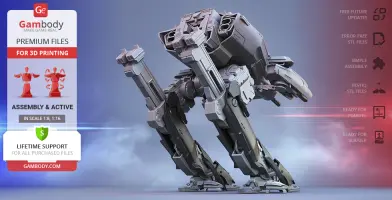
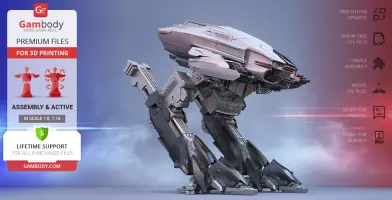
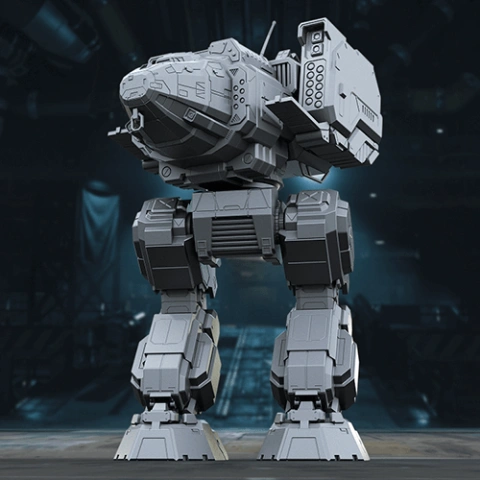
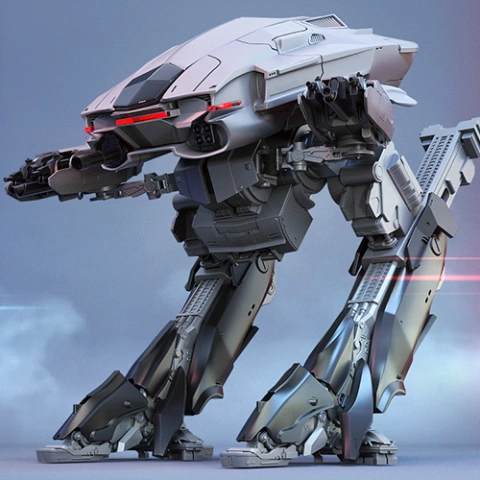
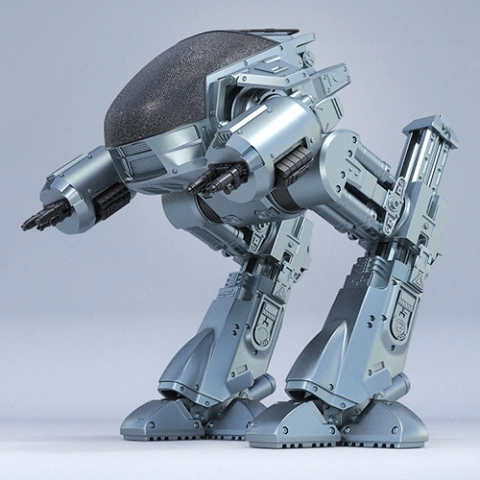
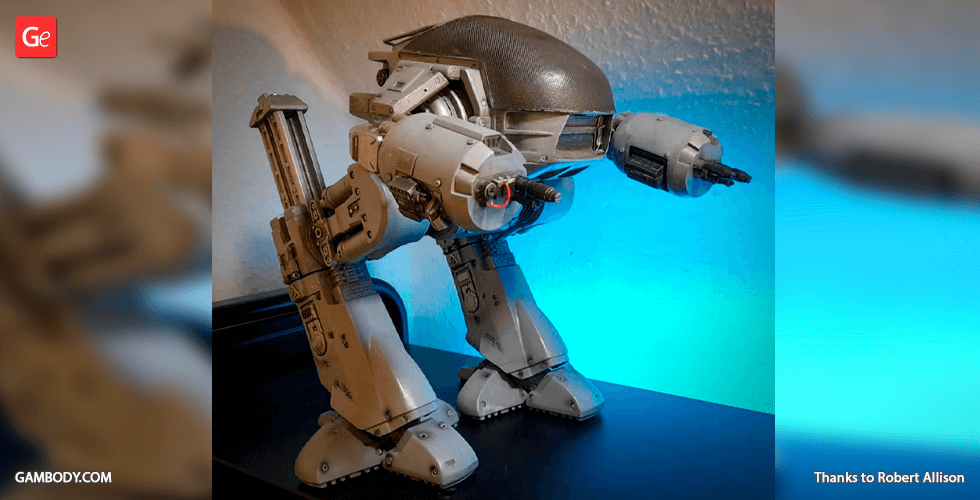
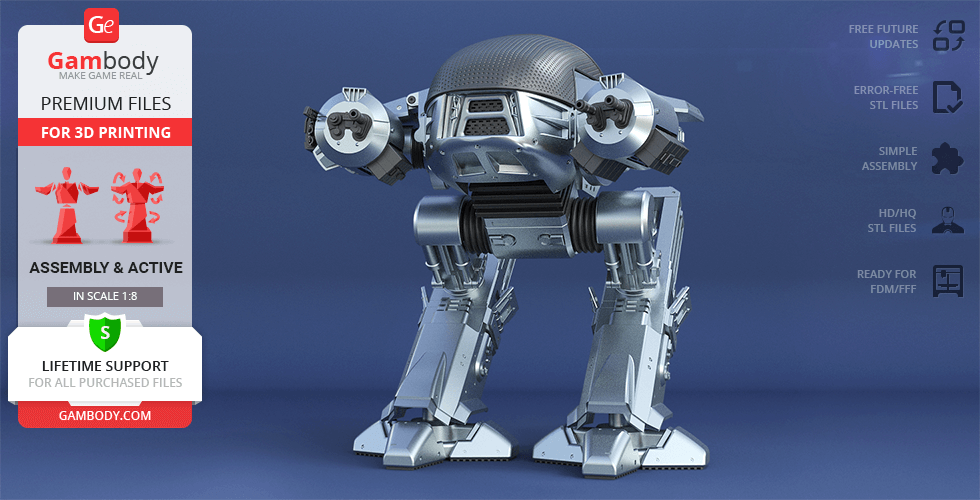
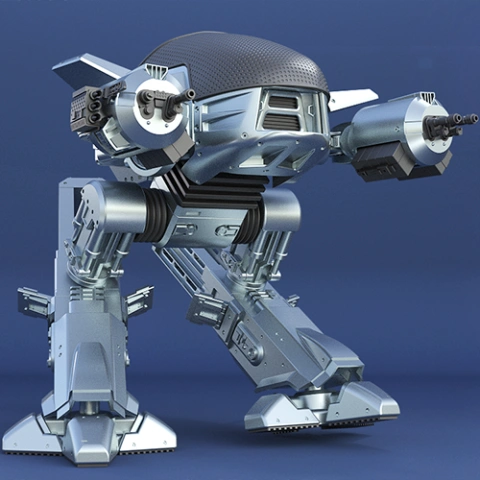
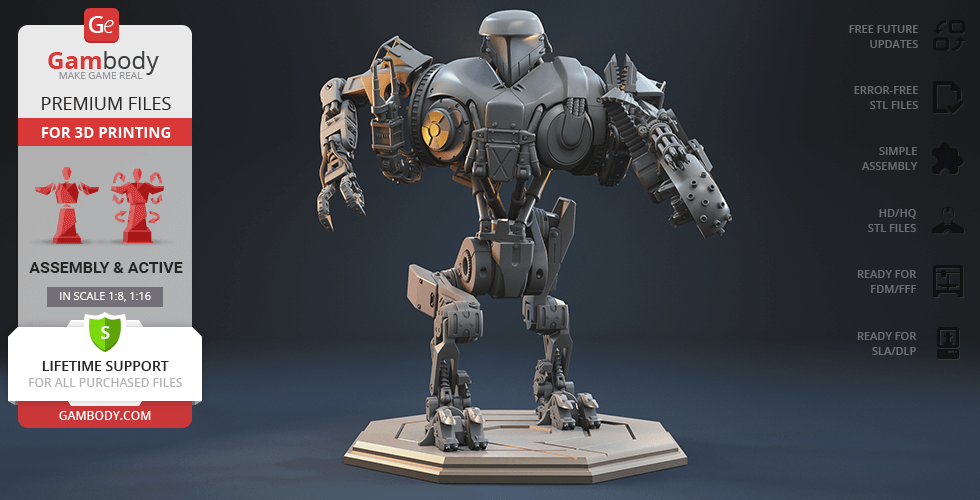
ED-209, short for the Enforcement Droid of 209 Series, is a fully-automated robot that was programmed for law enforcement and urban pacification. A heavily-armoured machine was first featured in the landmark 1987 RoboCop movie and instantly stole the show by its absolute lack of mercy. The brutal bipedal ED-209 dutifully follows warfare instructions and demonstrates that its peacekeeping abilities may run to an extreme any minute. The author of the ED-209 model for 3D printing decided to depict the 'crab' like look of the enforcement droid and went for the drone from the 2014 RoboCop remake. RoboCop nemesis for 3D printing is presented with all the mechanised detail and exposed wire one would expect. The model is armed to the teeth and houses twin 50 calibre cannons and two missile launchers. The 3D artist made sure that once printed your ED-209 will tower over RoboCop as it should thanks to robot’s extending legs that reveal the full height of the ruthless version of the law. The whole project took the 3D artists circa 168 hours in total for you to obtain your very own stunning droid solely by means of 3D printing. ED-209 model is made with such careful attention to fine details that it does look like the droid is ready to open fire on you if you don’t comply in 20 seconds. We think you know you'd better do what he says!
ADAPTATION FOR 3D PRINTING
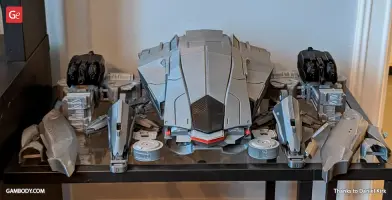
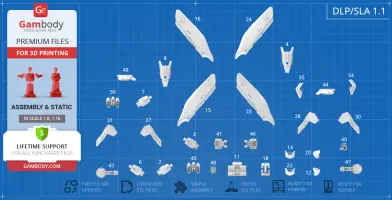
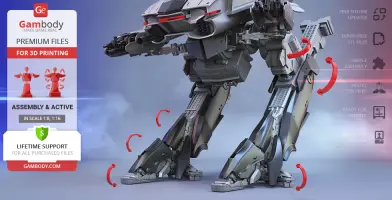
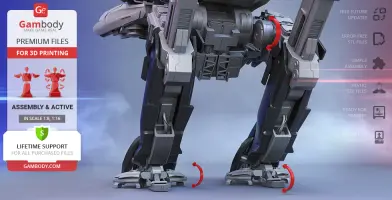
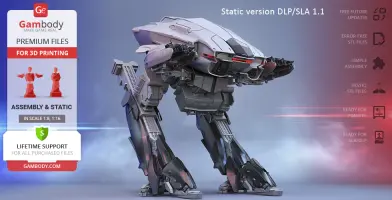
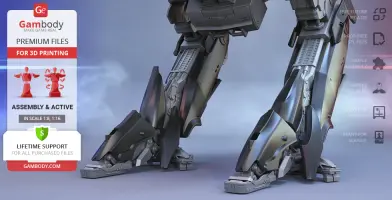
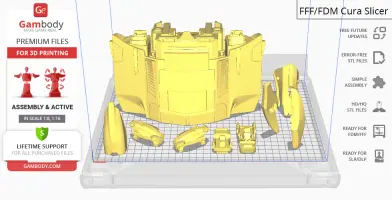
ED-209 3D printing model is an action assembly model and its moderation and adaptation for different types of 3D printers took Gambody team 50 hours in total. In order to ensure the droid’s multidirectional movement, the model was divided into many assembly parts and special mechanisms were introduced into all model’s joints to give you an opportunity to display ED-209 in a variety of positions, i.e. robot’s head, cannons, hips, feet, fingers, heels, instep protectors etc. are movable and knee joints slide up to make the robot taller. To allow the multidirectional movement and rotation of the droid model, the ball-and-socket joints, one-axis joints with lockers and claws and roll mechanisms were introduced. The joints that ensure the robot’s movability are provided as separate files as well for you to be able to print them again if the joints' friction happens to lose rigidity. All assembly parts are provided in STL files in recommended positions that were worked out in order to ensure the smoothness of the details’ surfaces after printing and so that the 3D printing beginners won't face difficulties when placing the parts on a build plate. We highly recommend that you watch "Assembly video" in the photo preview section before assembling the Droid. Upon the request of Gambody customer, there was a DLP/SLA/SLS 1.1 version prepared that is made in 1:16 scale (similar to DLP/SLA/SLS 1.0 version for resin printers, hence the name) but is static and adapted to be printed on FFF/FDM 3D printers.
The model is saved in STL files, a format supported by most 3D printers. All STL files for 3D printing have been checked in Netfabb and no errors were shown.
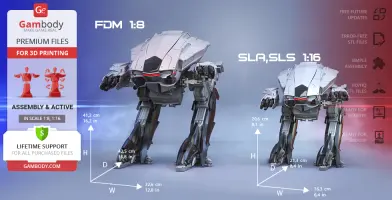
The model's scale was calculated from ED-209's actual height that is 3400 mm. The 3D printing model's chosen scale is 1/8 for FFF/FDM version and 1/16 for DLP/SLA/SLS version.
VERSIONS' SPECIFICATIONS
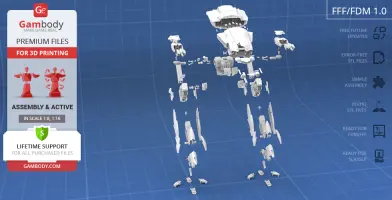
FFF/FDM 1.0 version features:
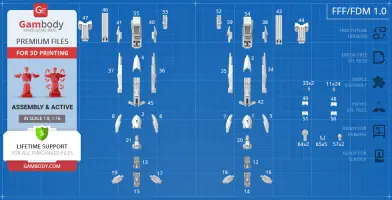
- Contains 75 parts;
- A printed model is 412 mm tall, 326 mm wide, 425 mm deep;
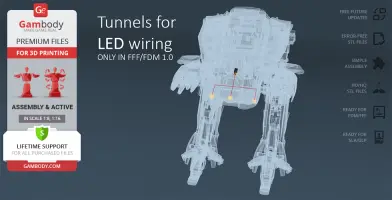
- Made with several sets of special joints to ensure the model's articulation;
- Assembly kit includes locks to connect the parts without glue. One lock 11_Ge_lock_x24 needs to be printed 24 times; lock 33_Ge_lock_x2 needs to be printed twice;
- All parts are divided in such a way that you will print them with the smallest number of support structures and so to ensure the smoothness of the details’ surfaces.
DLP/SLA/SLS 1.0 version features:
- Contains 50 parts;
- A printed model is 206 mm tall, 163 mm wide, 213 mm deep;
- Made with special joints to ensure the model's articulation;
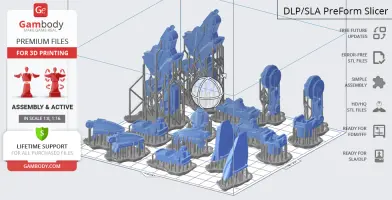
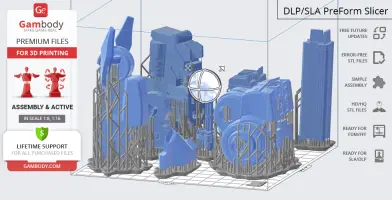
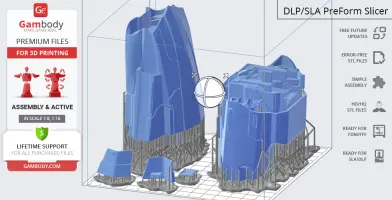
- All parts are divided in such a way to fit the build plates and to ensure that support structures are generated where needed.
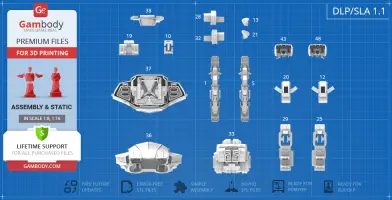
DLP/SLA/SLS 1.1 (static) version features:
- Contains 50 parts;
- This is a static version of the ED-209 model made in 1:16 scale;
- Adapted to be printed on FFF/FDM 3D printers;
- A printed model is 206 mm tall, 163 mm wide, 213 mm deep.
WHAT WILL YOU GET AFTER PURCHASE?
- STL files of ED-209 3D Printing Model which consist of 175 parts;
- 3 versions of files of this model for FFF/FDM and DLP/SLA/SLS printers;
- High-poly detailed model of ED-209;
- Detailed settings that we provide as a recommendation for Cura , Simplify3D and Slic3r for the best print;
- Full technical support from the Gambody Support Team.
You can get the model of ED-209 for 3D printing immediately after the purchase! Just click the green Buy button in the top-right corner of the model’s page. You can pay with PayPal or your credit card.
Watch the tutorial on how to assemble ED-209 3D Printing Model at Gambody YouTube channel.
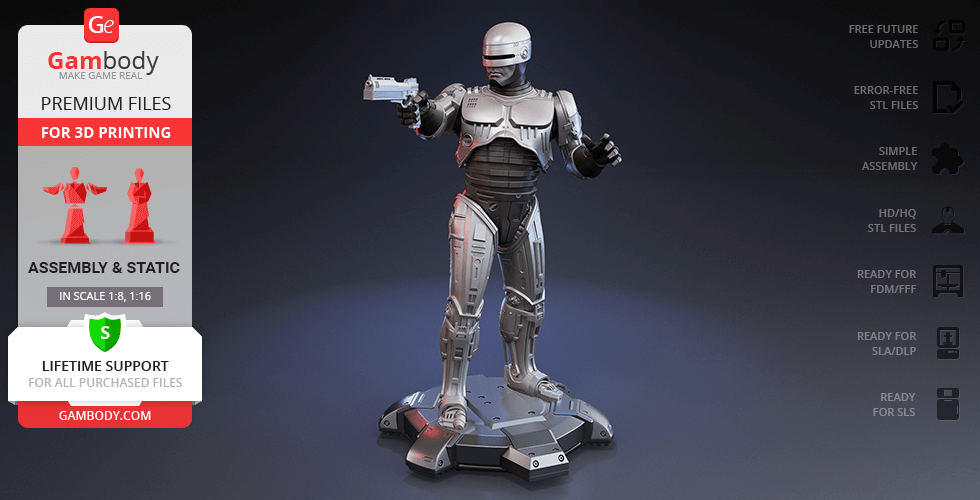
Also, you may like ED-209 (1987) 3D Printing Model as well as other Robot 3D Printing Models.
_______
FAQ:
Where can I print a model if I have no printer?
How to get started with 3D printing?
How to set up my 3D printer?
How to choose right 3D model print bed positioning?
How to paint printed figurine?
Generic
Below you can find printing recommendations for Cura, Bambu Lab, Simplify3D, Slic3r and PrusaSlicer software.
Disclaimer: The following printing settings are a recommendation, not an obligation. The parameters can vary depending on the peculiarities of your 3D printer, the material you use, and especially the particular assembly part you are working with. Each part that any model comprises often needs preliminary review, and you are free to tweak the settings the way you find suitable.
Note:
You can scale up the model (downscaling for FFF/FDM 3D printers is not recommended!);
All connectors should be printed at 100% Infill.
Bambu Lab printing recommendations:
These basic 3D printing settings recommendations for beginners were tested in Bambu Studio 1.9.5. Test models were printed on the Bambu Lab A1, Bambu Lab A1 Mini, Creality Ender 3 S1, Anycubic Kobra 2, and Anycubic Vyper using PLA and PETG filaments.
To avoid printing problems, we recommend the following settings: download
Cura printing recommendations:
These are averaged settings which were tested in the Cura 5.8.1 slicer. Test models were printed on Anycubic Vyper, Creality Ender 3 Pro with PLA filament.
To avoid printing problems, we recommend the following settings: download
Simplify3D printing recommendations:
These are averaged settings which were tested in the Simplify3D 5.0.0 slicer. Test models were printed on Anycubic Vyper, FLSUN v400, Ender3 S1 with PLA filament.
To avoid printing problems, we recommend the following settings: download
Slic3r printing recommendations:
These basic 3D printing settings recommendations for beginners were tested in Slic3r 1.3.0 software. Test models were printed on Ultimaker 2, Creality Ender 3, Creality Cr-10S pro v2, Anycubic I3 Mega, Anycubic I3 MegaS, Anycubic Vyper with PLA and PetG filaments.
To avoid printing problems, we recommend the following settings: download
PrusaSlicer printing recommendations:
These basic 3D printing settings recommendations for beginners were tested in PrusaSlicer 2.3.1. Test models were printed on Ultimaker 2, Creality Ender 3, Creality Cr-10S pro v2, Anycubic I3 Mega, Anycubic I3 MegaS, Anycubic Vyper with PLA and PETG filaments.
To avoid printing problems, we recommend the following settings: download




Comments