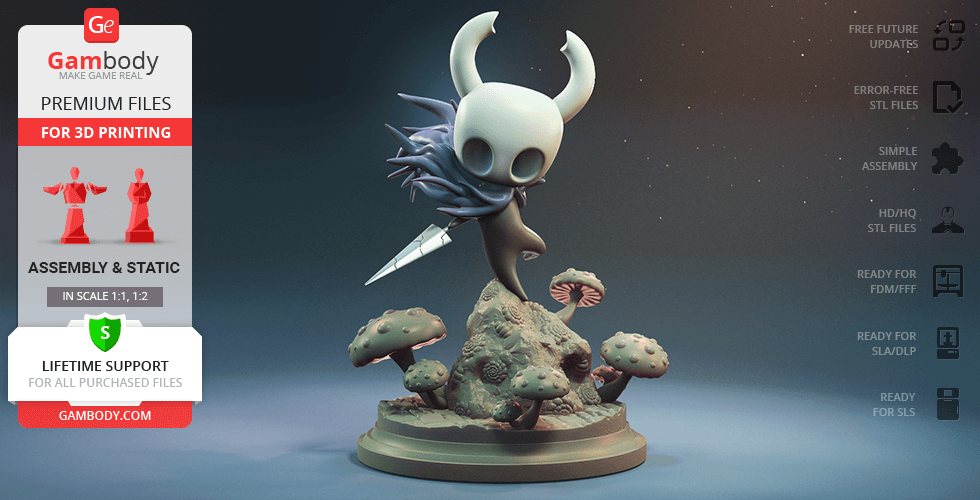
This 3D Figurine consists of files in StereoLithography (.Stl) format that is optimized for 3D printing.
Before printing the files, we strongly recommend reading the PRINTING DETAILS section.
WHAT WILL YOU GET AFTER PURCHASE?
- 5 versions of Hollow Knight STL files for FFF/FDM, DLP/SLA and SLS - files for each version are available for download after the purchase
- STL files of high-poly Hollow Knight 3D Figurine for 3D printing consist of 34 parts
- Sizes:
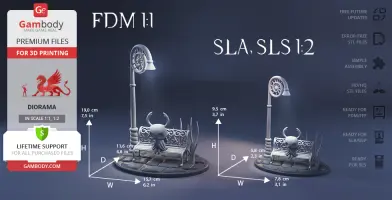
FFF/FDM: 190 mm tall, 157 mm wide, 116 mm deep
DLP/SLA/SLS: 95 mm tall, 78 mm wide, 58 mm deep
- Detailed settings that we provide as a recommendation for Cura, Simplify3D and Slic3r for the best print
- Full technical support from the Gambody Support Team
Detailed information about this 3D printing figurine is available in the DESCRIPTION section.
ABOUT THIS 3D FIGURINE
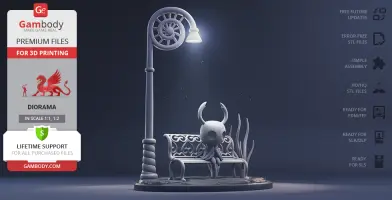
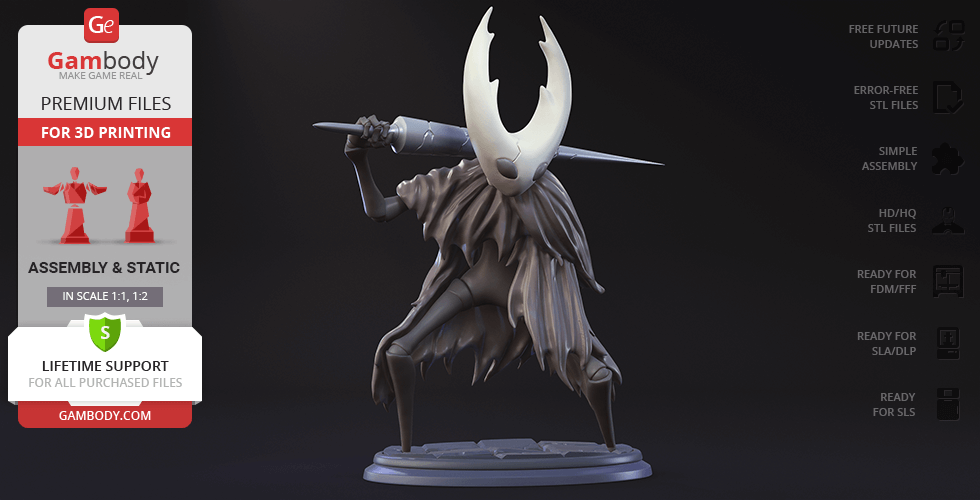
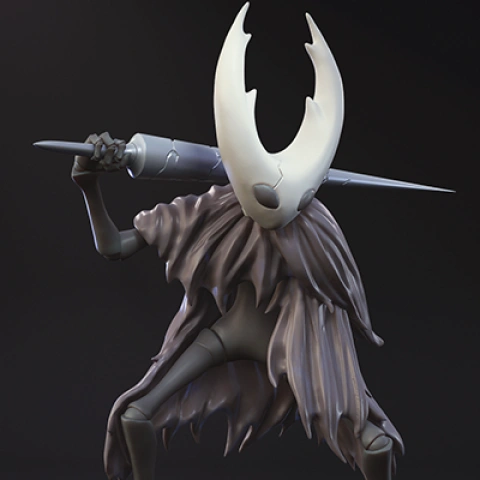
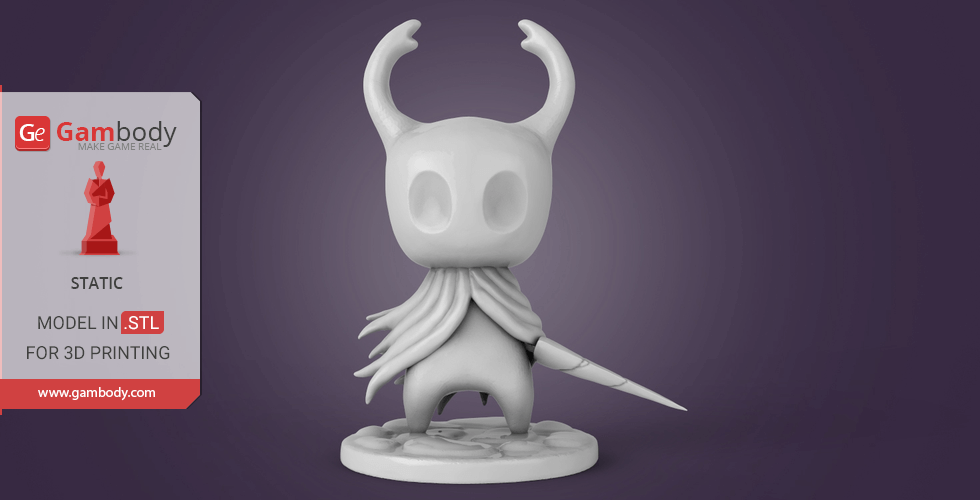
The Knight is a Little Wanderer who ventures through the Hallownest in the course of the highly acclaimed action-adventure game Hollow Knight. Armed with a tiny Nail, the Little Traveller explores the ancient underground kingdom, learns magic spells and fights hostile bugs. As the story progresses, the player finds out that the Knight, as well as his sister Hornet, is the Vessel to the Soul that serves the nameless Wanderer as the energy source.
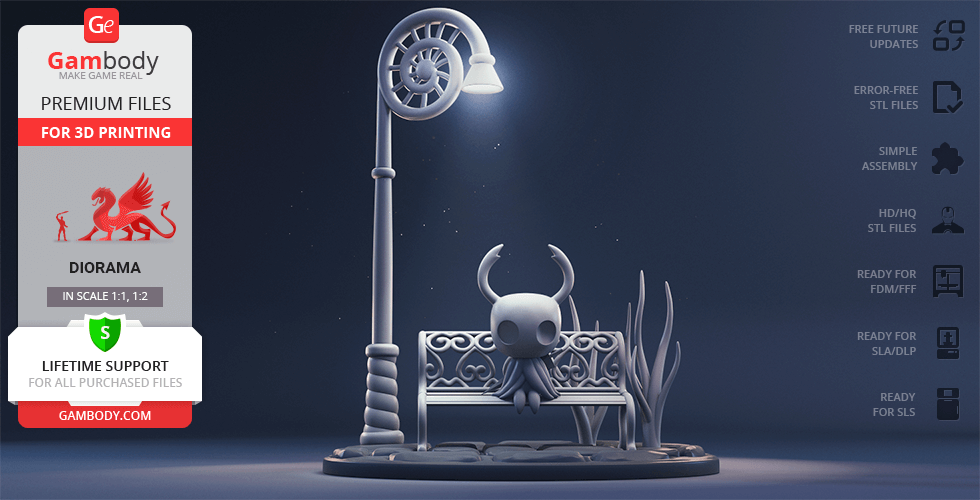
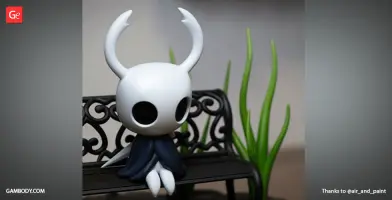
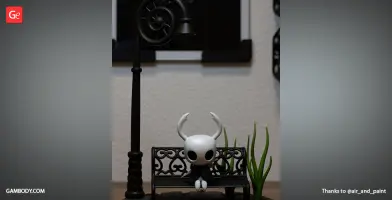
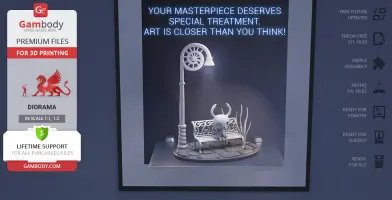
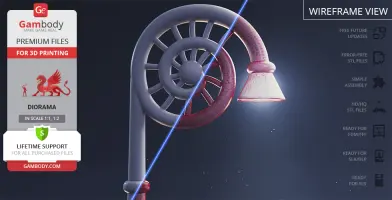
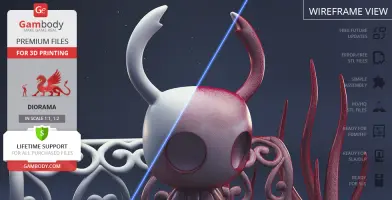
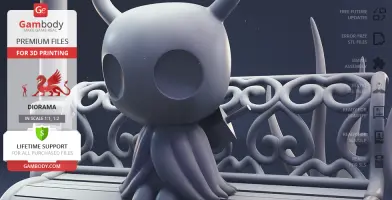
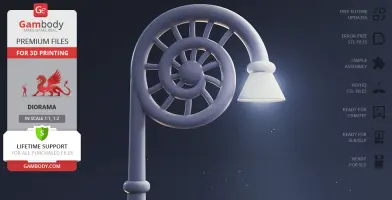
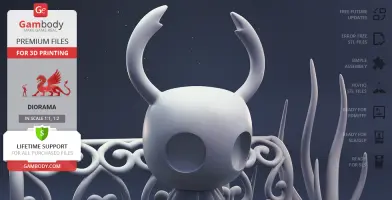
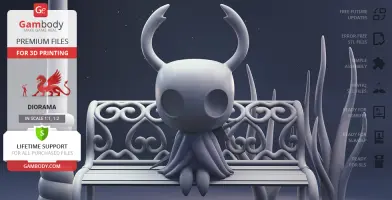
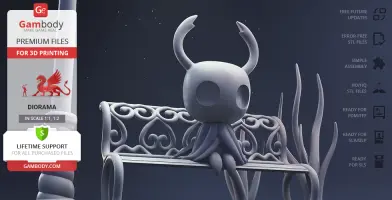
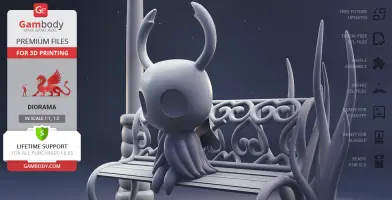
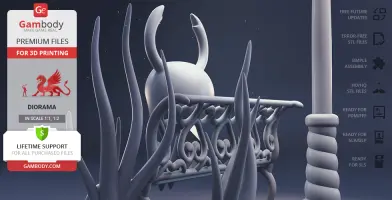
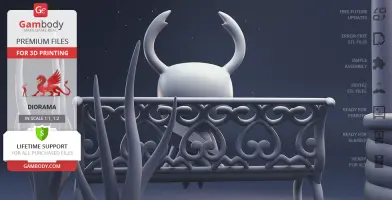
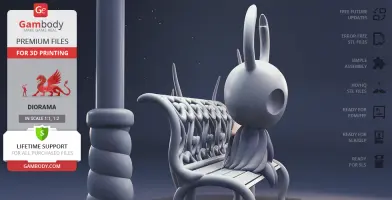
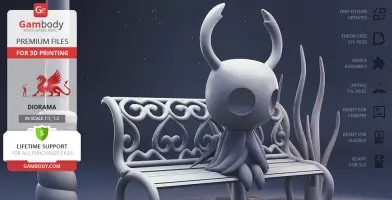
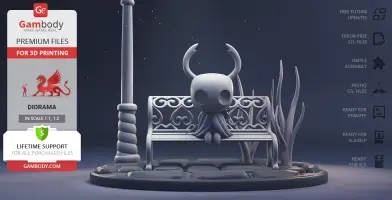
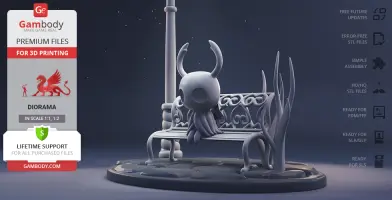
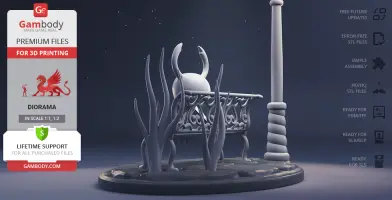
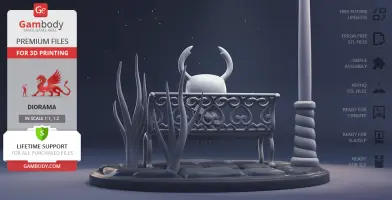
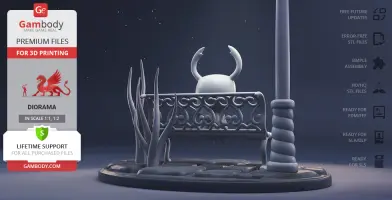
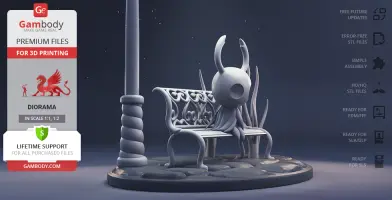
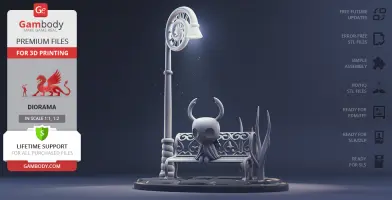
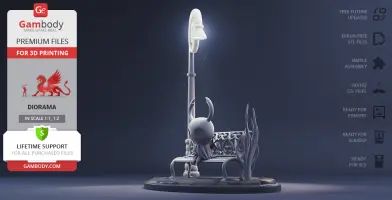
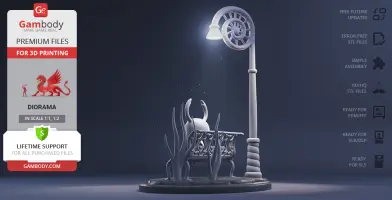
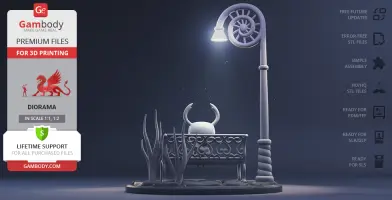
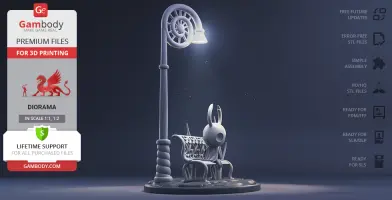
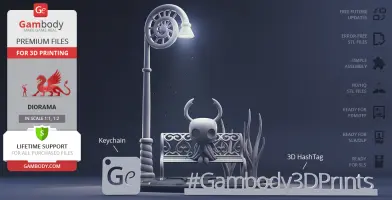
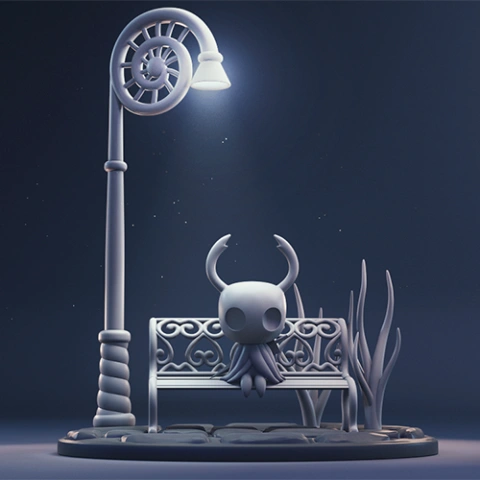
The author of the Hollow Knight figurine for 3D printing decided to depict the Little Ghost as a part of a diorama that all fans of the video game will surely find dear and moving. The Little Wanderer holds its Nail while taking a rest on a nice little bench that is known to be a checkpoint throughout Hallownest. Next to the bench is a large lamppost with an intricate design that is well-liked by the Hollow Knight’s fans, and a couple of simple bushes to complete a touching diorama for your display shelf.
ADAPTATION FOR 3D PRINTING
Hollow Knight diorama for 3D printing is a static assembly model and its moderation and adaptation for different types of 3D printers took Gambody team 19 hours in total. The major objectives of the moderation process were to enhance the level of detail of the model and to make sure its fine elements are realistic and printable.
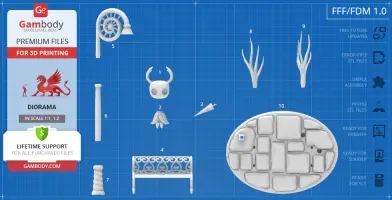
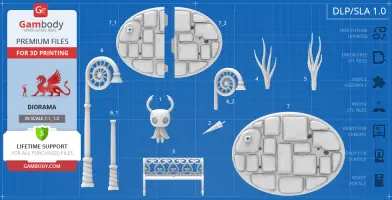
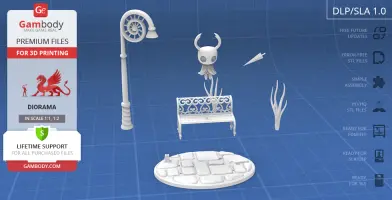
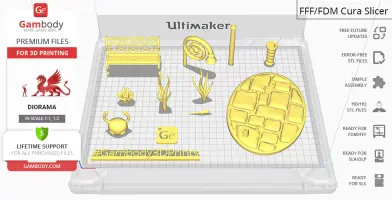
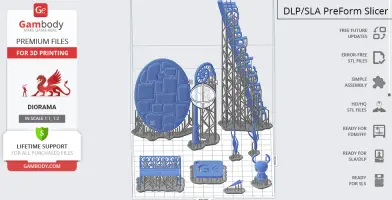
The model’s cutting in its assembly versions was chosen by our team in order to minimize the amount of material needed for generated support. In order for you to achieve the cleanest 3D printed result possible, the Knight’s head, Nail, both plants, the bench, as well as the model’s platform and lamppost were separated and come as independent assembly parts.
All assembly parts come in STL files in recommended positions that were worked out in order to ensure the smoothness of the details’ surfaces after printing and so that the 3D printing beginners won't face difficulties when placing the parts on a build plate.
The figurine is saved in STL files, a format supported by most 3D printers. All STL files for 3D printing have been checked in Netfabb and no errors were shown.
The model's scale was chosen to ensure the best 3D printing result possible given the miniature size of the Little Wanderer. Thus, the 3D printing figurine's scale is 1:1 for the FFF/FDM version and 1:2 for the DLP/SLA/SLS versions.
VERSIONS' SPECIFICATIONS
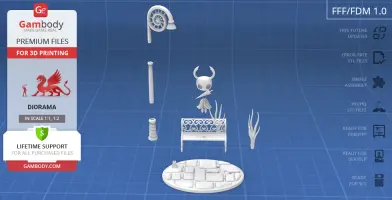
FFF/FDM 1.0 version features:
- Contains 10 parts;
- A printed model is 190 mm tall, 157 mm wide, 116 mm deep;
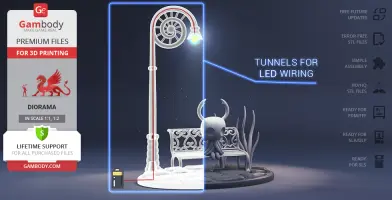
- There is a tunnel inside the lamppost for you to introduce LED wiring and light it up;
- All parts are divided in such a way that you will print them with the smallest number of support structures.
DLP/SLA 1.0 version features:
- Contains 7 parts;
- A printed model is 95 mm tall, 78 mm wide, 58 mm deep;
- There is a tunnel inside the lamppost for you to introduce LED wiring and light it up;
- All parts are divided in such a way to fit the build plates and to ensure that support structures are generated where needed.
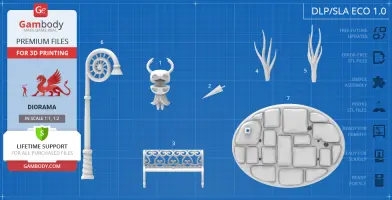
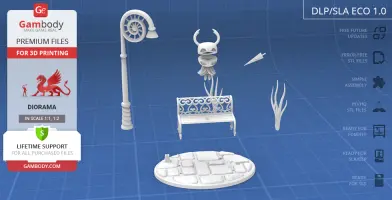
DLP/SLA Eco 1.0 version features:
- Contains 7 parts;
- A printed model is 95 mm tall, 78 mm wide, 58 mm deep;
- There is a tunnel inside the lamppost for you to introduce LED wiring and light it up;
- Some parts are manually hollowed out to save resin.
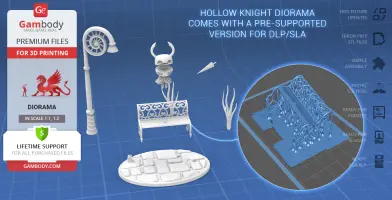
DLP/SLA Pre-supported 1.0 version features:
- Contains 7 parts;
- A printed model is 95 mm tall, 78 mm wide, 58 mm deep;
- The STL files that this version comprises are pre-supported, hollowed out, and have drain holes where needed;
- You may choose to print the STL files one by one or several at once, depending on the dimensions of your resin 3D printer's build plate;
- When slicing several STL files at once, the attachment layers (Platform Touch Shape) may overlap, but the supports must not come into contact.
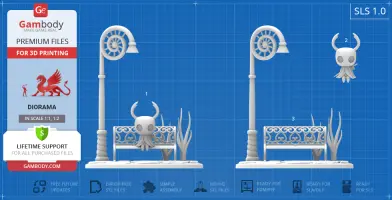
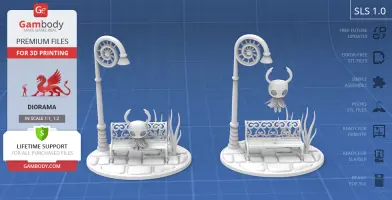
SLS 1.0 version features:
- Made as a solid one-piece Hollow Knight diorama;
- A printed model is 95 mm tall, 78 mm wide, 58 mm deep;
- Contains 3 parts - a solid Hollow Knight model and the figurine separated from the bench.
You can get the figurine of Hollow Knight for 3D Printing immediately after the purchase! Just click the green Buy button in the top-right corner of the model’s page. You can pay with PayPal or your credit card.
Watch the tutorial on how to assemble Hollow Knight 3D Printing Figurine in Diorama at Gambody YouTube channel.
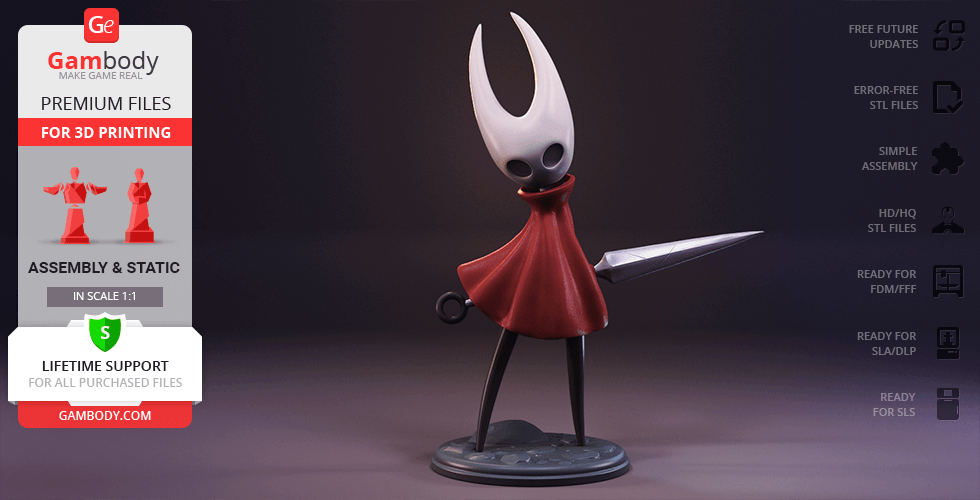
Also, you may like another Hollow Knight 3D Printing Figurine, Hornet Model for 3D Printing, as well as other Heroes 3D Printing Figurines.
_______
FAQ:
Where can I print a model if I have no printer?
How to get started with 3D printing?
How to set up my 3D printer?
How to choose right 3D model print bed positioning?
How to paint printed figurine?
Generic
Below you can find printing recommendations for Cura, Simplify3D, Slic3r and PrusaSlicer software.
Disclaimer: The following printing settings are a recommendation, not an obligation. The parameters can vary depending on the peculiarities of your 3D printer, the material you use, and especially the particular assembly part you are working with. Each part that any model comprises often needs preliminary review, and you are free to tweak the settings the way you find suitable.
Note:
You can scale up the model (downscaling for FFF/FDM 3D printers is not recommended!);
All connectors should be printed at 100% Infill.
Cura printing recommendations:
These are averaged settings which were tested in the Cura 5.2.1 slicer. Test models were printed on Anycubic Vyper, Creality Ender 3 Pro with PLA filament.
To avoid printing problems, we recommend the following settings: download
Simplify3D printing recommendations:
These are averaged settings which were tested in the Simplify3D 5.0.0 slicer. Test models were printed on Anycubic Vyper, FLSUN v400, Ender3 S1 with PLA filament.
To avoid printing problems, we recommend the following settings: download
Slic3r printing recommendations:
These basic 3D printing settings recommendations for beginners were tested in Slic3r 1.3.0 software. Test models were printed on Ultimaker 2, Creality Ender 3, Creality Cr-10S pro v2, Anycubic I3 Mega, Anycubic I3 MegaS, Anycubic Vyper with PLA and PetG filaments.
To avoid printing problems, we recommend the following settings: download
PrusaSlicer printing recommendations:
These basic 3D printing settings recommendations for beginners were tested in PrusaSlicer 2.3.1. Test models were printed on Ultimaker 2, Creality Ender 3, Creality Cr-10S pro v2, Anycubic I3 Mega, Anycubic I3 MegaS, Anycubic Vyper with PLA and PETG filaments.
To avoid printing problems, we recommend the following settings: download




Comments