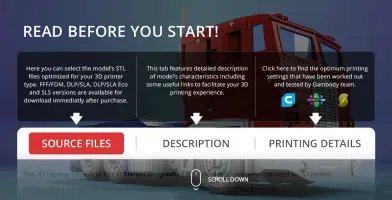
This 3D Model consists of files in StereoLithography (.Stl) format that is optimized for 3D printing.
Before printing the files, we strongly recommend reading the PRINTING DETAILS section.
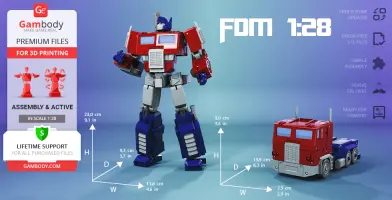
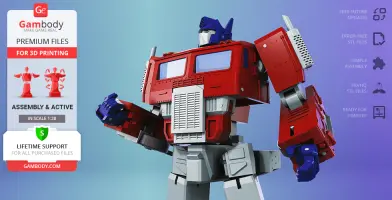
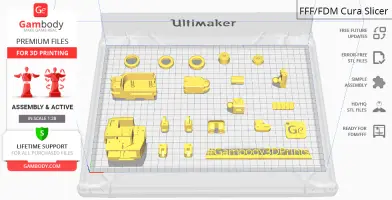
Optimus Prime 3D Printing Model comes in 1 version for FFF/FDM 3D printers. STL files of the version are available for download after the purchase.
Detailed information about this 3D printing model is available in the DESCRIPTION section.
ABOUT THIS 3D MODEL
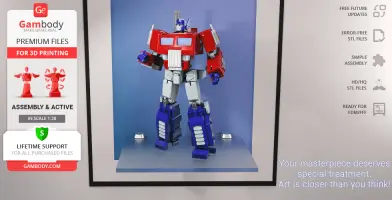
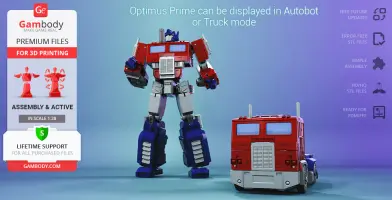
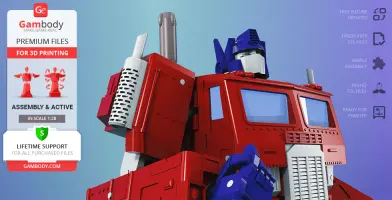
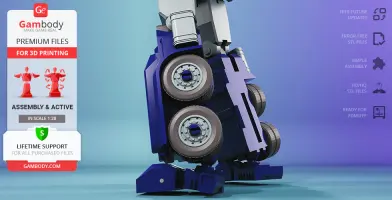
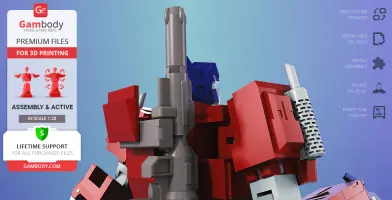
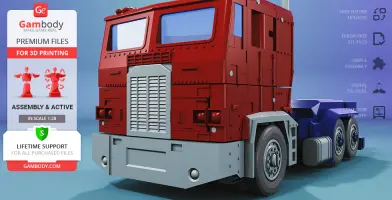
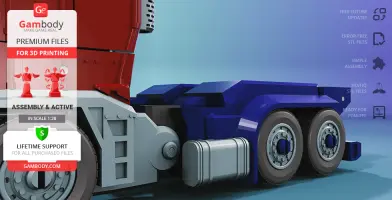
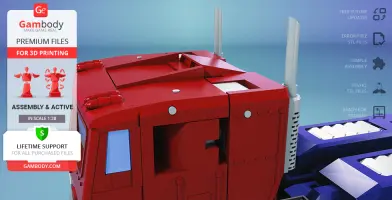
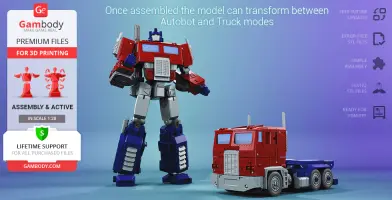
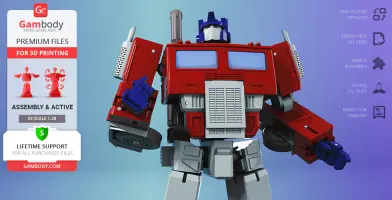
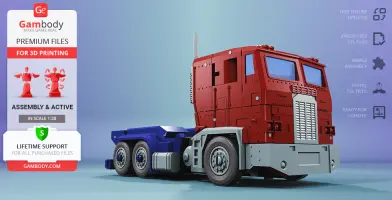
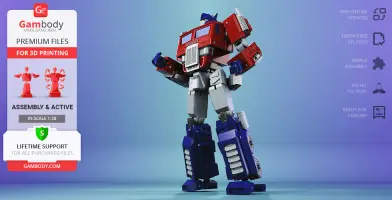
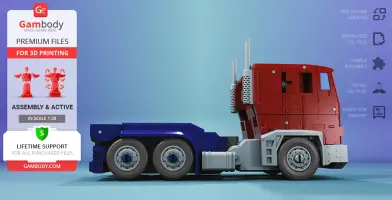
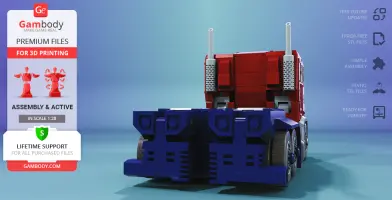
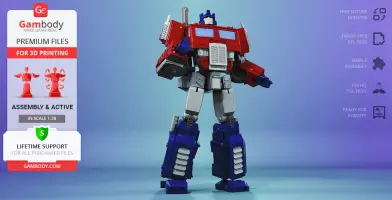
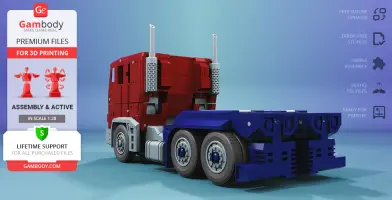
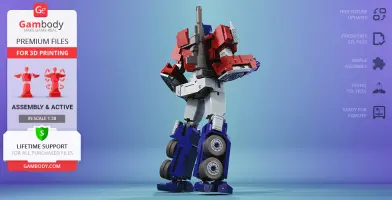
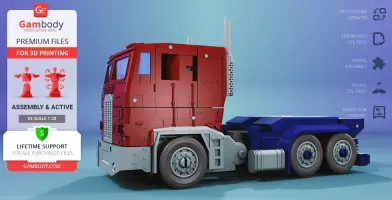
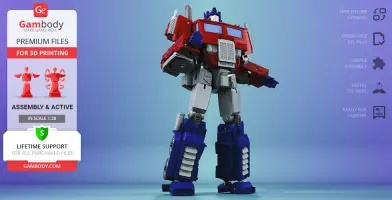
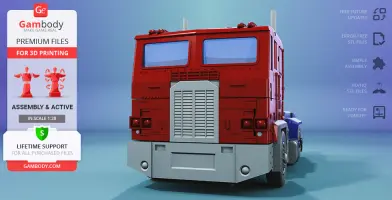
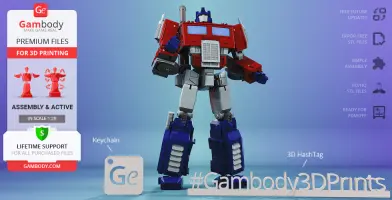
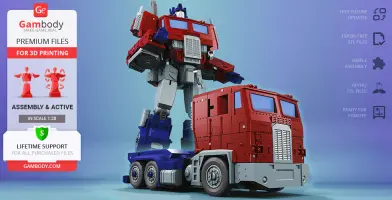
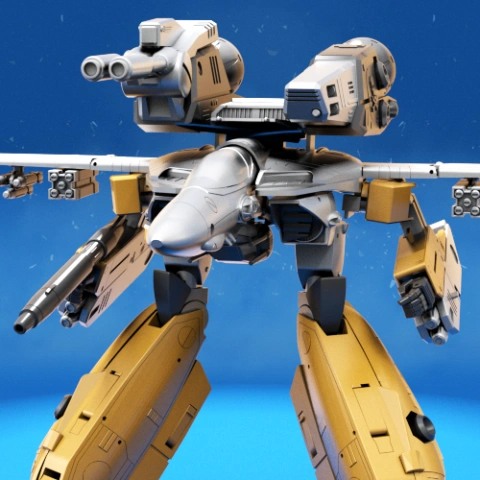
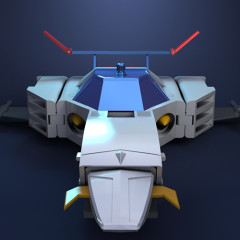
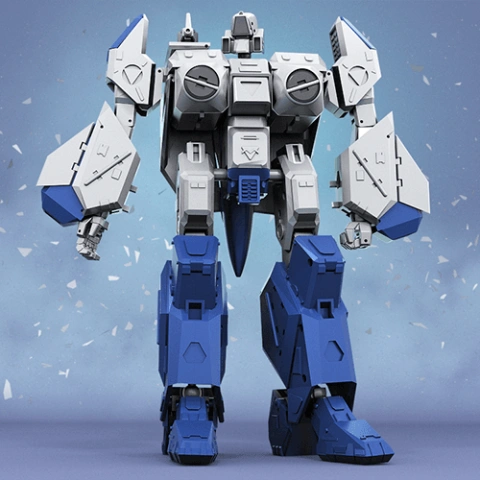
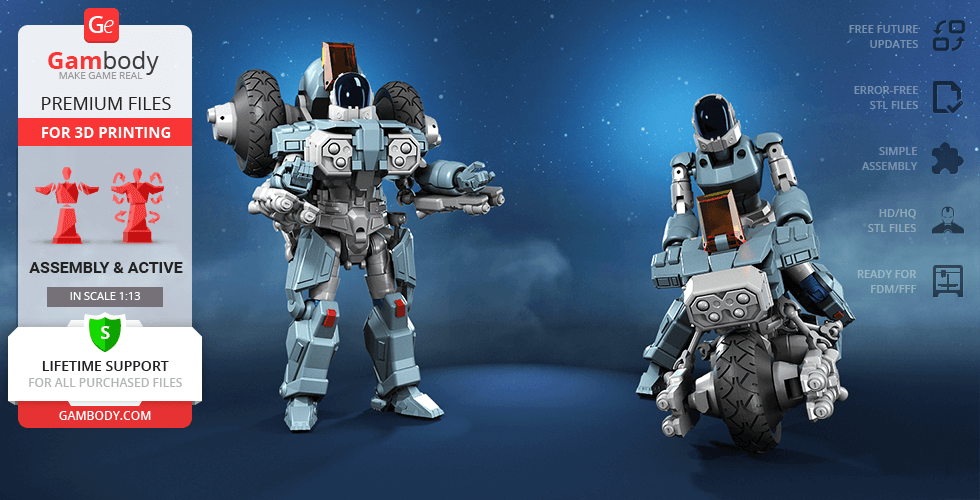
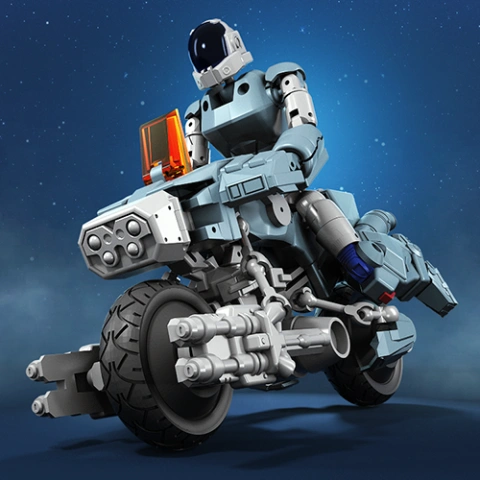
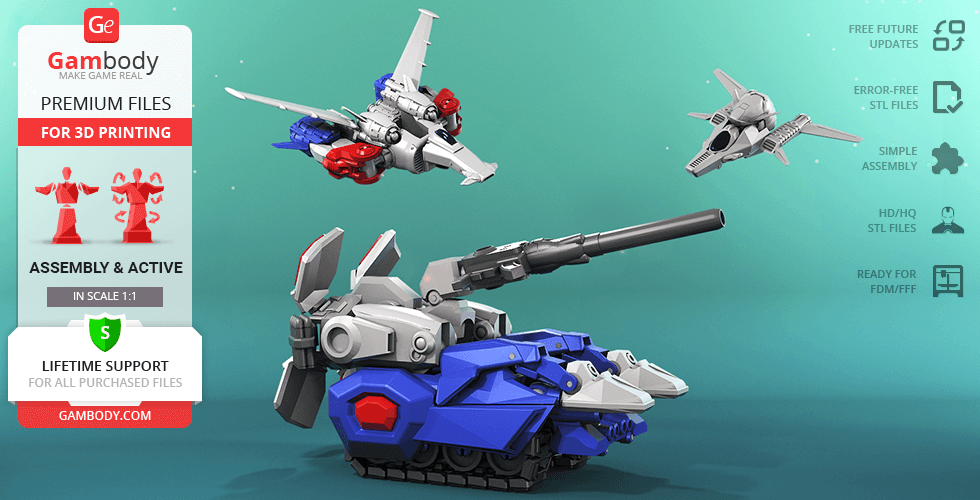
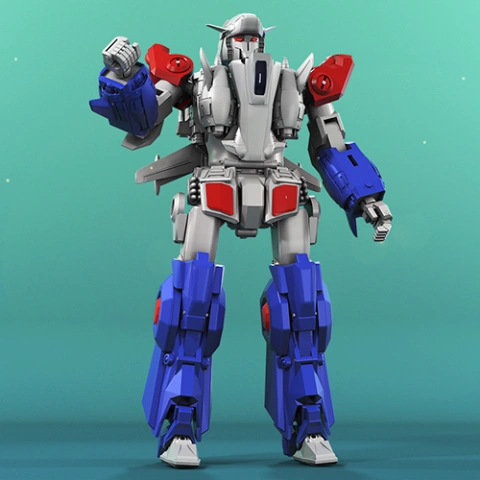
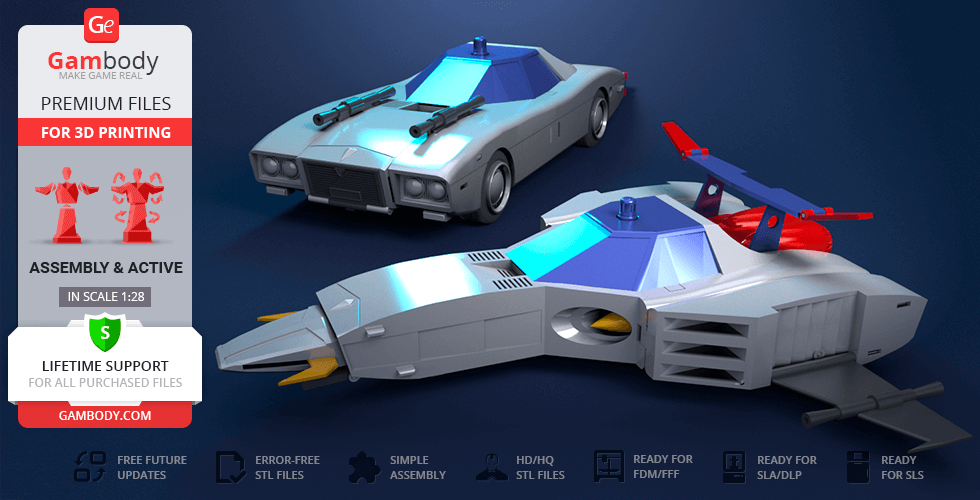
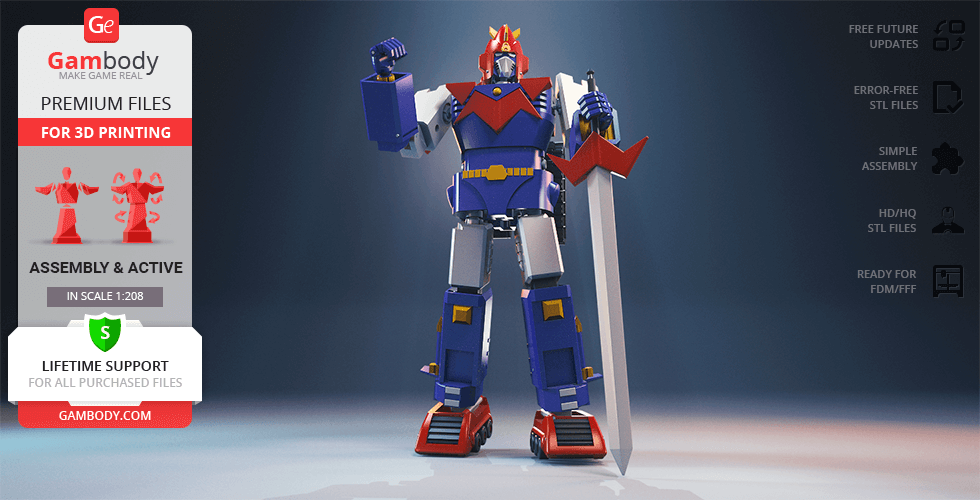
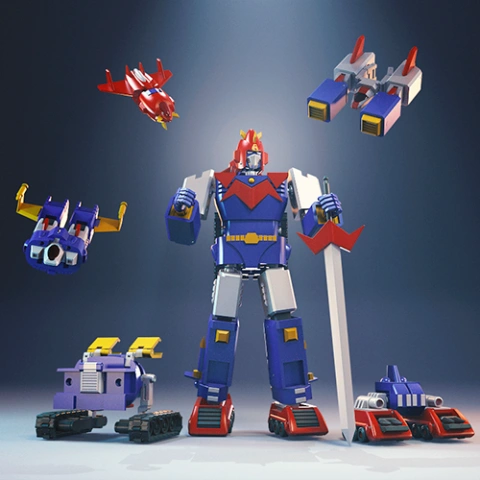
There’s hardly anyone across numerous galaxies and alternate universes who hasn’t heard the name of legendary Optimus Prime. Being a powerful member of the Cybertronians, the perfect amalgamation of biological evolution and technological engineering, Optimus Prime bears the responsibility endowed by the Matrix of Leadership. The leader of the Autobot forces possesses not only a sophisticated set of weaponry and brilliant martial skills but remarkable wisdom, empathy and sense of honour which cultivates hope even in scattered warriors. With all of these qualities combined, Optimus Prime was able to win a spot in people’s hearts as a heroic and selfless figure, thus spurring our contributing 3D artist to embody the charismatic leader in a model for 3D printing. The author of the Optimus Prime 3D Printing Model found inspiration in the 1984 incarnation of the Autobot and decided to reinterpret it in his own unique way. The 3D printing transformer appears in two of his iconic forms - robot mode and truck mode. When disguising as an Earth vehicle, Optimus takes the form reminiscent of the Freightliner FL86 cab over semi-truck. Just as the authentic machine, the truck is equipped with the recognisable large radiator grille, exhaust stacks, marker lights, a pair of fuel tanks and a set of potent wheels. But whenever the Autobot hero for 3D printing is ready to reveal his otherworldly power, he turns himself into a humanoid robot that can easily defeat a whole swarm of devious enemies. Yet, no matter which guise he takes, the Optimus Prime 3D Printing model will bravely stand on guard of your collection once you 3D print him!
ADAPTATION FOR 3D PRINTING
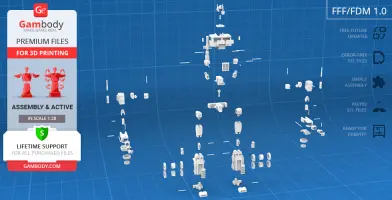
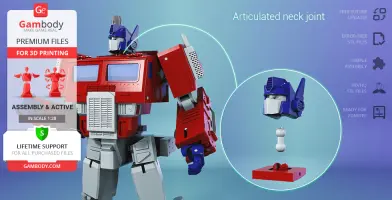
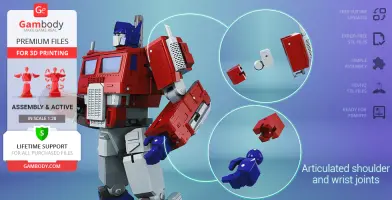
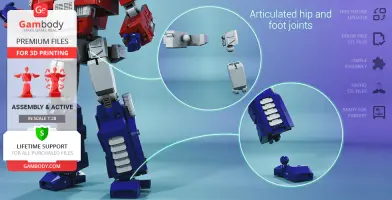
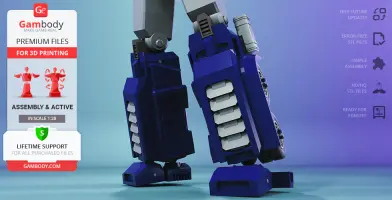
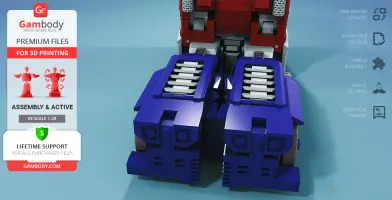
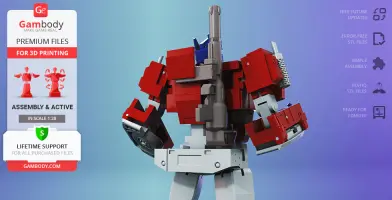
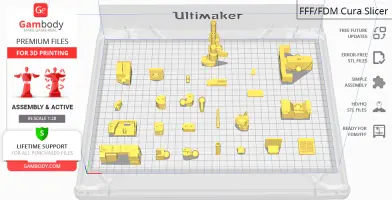
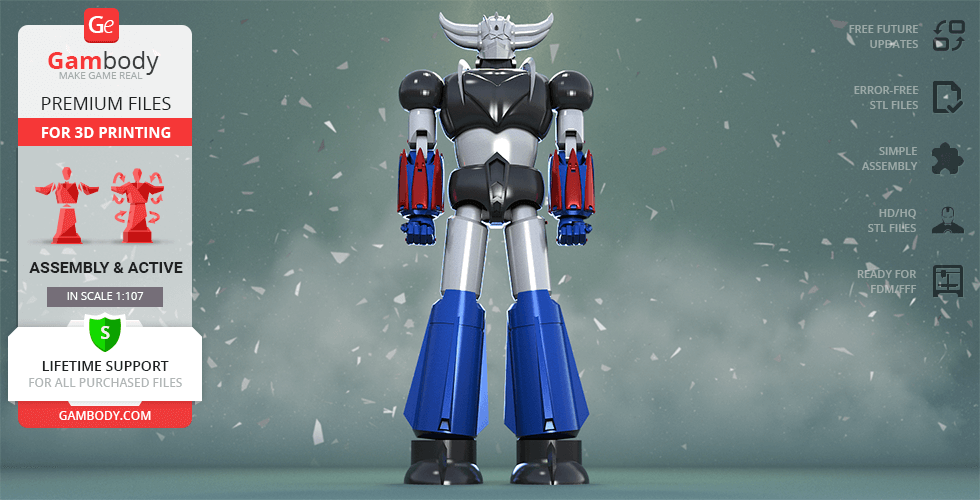
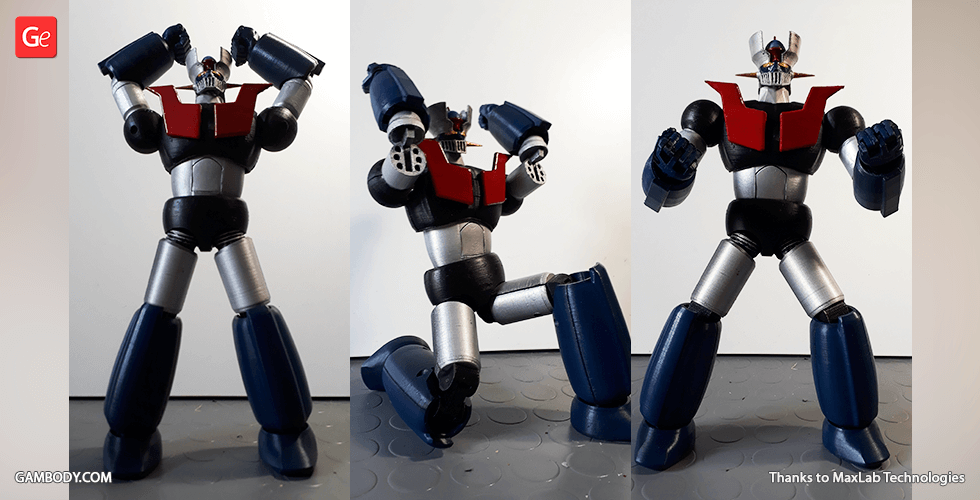
Optimus Prime model for 3D printing is a fully articulated assembly model and its moderation and adaptation for different types of 3D printers took Gambody team 40 hours in total. In order to ensure the Autobot’s full transformation into a cab over semi-truck, the joints of the Optimus Prime 3D Printing Model were equipped with a system of articulated interlocking mechanisms. For you to have an opportunity to display your Optimus Prime in various positions, robot’s head, shoulders, wrists, hips, feet and many other assembly parts were made articulated. The model can be assembled without glue or screws but you will need additional “pins” to secure the parts. These pins do not come in STL files but can be made out of short pieces of regular 1.75 PLA. All the assembly parts are provided in STL files in recommended positions that were worked out to ensure the smoothness of the details’ surfaces after printing and to make sure that the 3D printing beginners won't face difficulties when placing the parts on a build plate. When downloading any model's file you will also receive "Assembly Manual" for FFF/FDM 1.0 version in PDF format. Make sure to watch "Assembly video" in the photo preview section and read the "Assembly Manual" before getting down to the Optimus Prime model.
The model is saved in STL files, a format supported by most 3D printers. All STL files for 3D printing have been checked in Netfabb and no errors were shown.
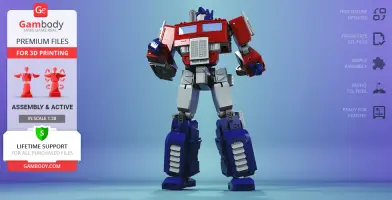
The model's scale was calculated from Optimus Prime's actual height in robot mode that is 6000 mm. The 3D printing model's chosen scale is 1:28 for the FFF/FDM version.
VERSION SPECIFICATIONS
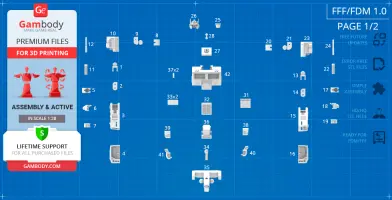
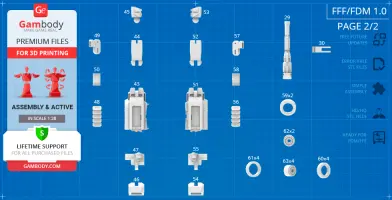
FFF/FDM 1.0 version features:
- Contains 63 parts;
- In Truck mode a printed model stands 90 mm tall, 73 mm wide, 159 mm deep;
- In Autobot mode - 230 mm tall, 116 mm wide, 93 mm deep;
- Each robot’s joint is articulated and all assembly parts are interlocking which allows the model's full transformation;
- Can transform between Autobot and Truck modes without disassembling or replacing parts;
- The model can be assembled with 1.75 PLA pins only;
- Watch "Assembly video" to see the pins coloured red;
- With any file of the model, you will also receive the instructions on the assembly peculiarities in a PDF file "Assembly Manual";
- All parts are divided in such a way that you will print them with the smallest number of support structures.
WHAT WILL YOU GET AFTER PURCHASE?
- STL files of Optimus Prime Model for 3D printing which consist of 63 parts;
- 1 version of files for this model for FFF/FDM;
- High-poly detailed model of Optimus Prime;
- Assembly Manual for FFF/FDM 1.0 version in PDF format;
- Detailed settings that we provide as a recommendation for Cura , Simplify3D and Slic3r for the best print;
- Full technical support from the Gambody Support Team.
You can get the model of Optimus Prime for 3D Printing immediately after the purchase! Just click the green Buy button in the top-right corner of the model’s page. You can pay with PayPal or your credit card.
Watch the tutorial on how to assemble Optimus Prime 3D Printing Model at Gambody YouTube channel.
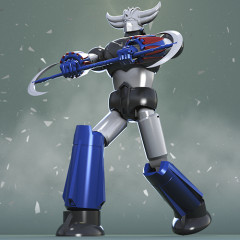
Also, you may like Optimus Prime G1 3D Printing Model, as well as other Robot 3D Printing Models.
_______
FAQ:
Where can I print a model if I have no printer?
How to get started with 3D printing?
How to set up my 3D printer?
How to choose right 3D model print bed positioning?
How to paint printed figurine?
Generic
Below you can find printing recommendations for Cura, Bambu Lab, Simplify3D, Slic3r and PrusaSlicer software.
Disclaimer: The following printing settings are a recommendation, not an obligation. The parameters can vary depending on the peculiarities of your 3D printer, the material you use, and especially the particular assembly part you are working with. Each part that any model comprises often needs preliminary review, and you are free to tweak the settings the way you find suitable.
Note:
You can scale up the model (downscaling for FFF/FDM 3D printers is not recommended!);
All connectors should be printed at 100% Infill.
Bambu Lab printing recommendations:
These basic 3D printing settings recommendations for beginners were tested in Bambu Studio 1.9.5. Test models were printed on the Bambu Lab A1, Bambu Lab A1 Mini, Creality Ender 3 S1, Anycubic Kobra 2, and Anycubic Vyper using PLA and PETG filaments.
To avoid printing problems, we recommend the following settings: download
Cura printing recommendations:
These are averaged settings which were tested in the Cura 5.8.1 slicer. Test models were printed on Anycubic Vyper, Creality Ender 3 Pro with PLA filament.
To avoid printing problems, we recommend the following settings: download
Simplify3D printing recommendations:
These are averaged settings which were tested in the Simplify3D 5.0.0 slicer. Test models were printed on Anycubic Vyper, FLSUN v400, Ender3 S1 with PLA filament.
To avoid printing problems, we recommend the following settings: download
Slic3r printing recommendations:
These basic 3D printing settings recommendations for beginners were tested in Slic3r 1.3.0 software. Test models were printed on Ultimaker 2, Creality Ender 3, Creality Cr-10S pro v2, Anycubic I3 Mega, Anycubic I3 MegaS, Anycubic Vyper with PLA and PetG filaments.
To avoid printing problems, we recommend the following settings: download
PrusaSlicer printing recommendations:
These basic 3D printing settings recommendations for beginners were tested in PrusaSlicer 2.3.1. Test models were printed on Ultimaker 2, Creality Ender 3, Creality Cr-10S pro v2, Anycubic I3 Mega, Anycubic I3 MegaS, Anycubic Vyper with PLA and PETG filaments.
To avoid printing problems, we recommend the following settings: download


Comments