This 3D model consists of files in StereoLithography (.Stl) format that have been optimized for 3D printing.
Before printing the files, we strongly recommend reading the PRINTING DETAILS section.
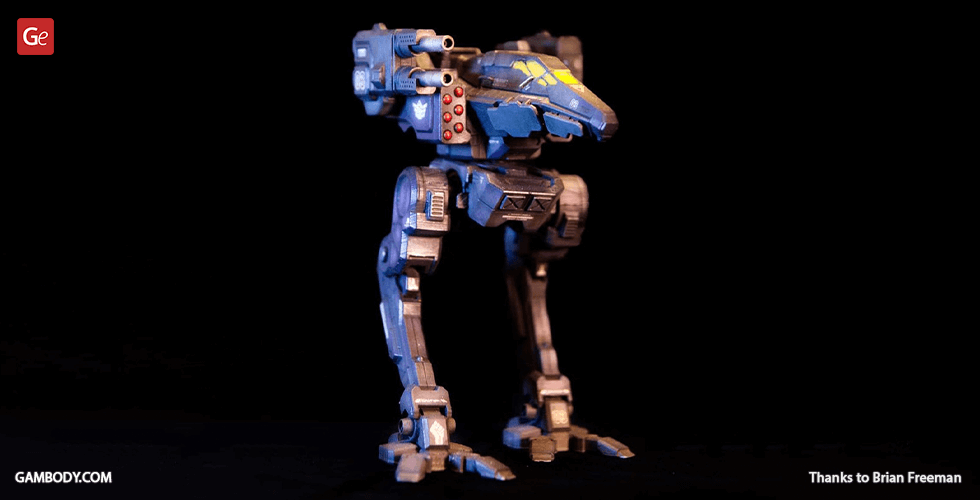
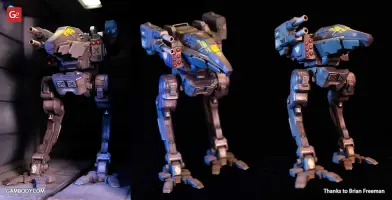
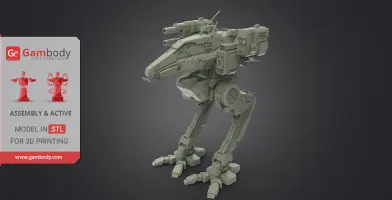
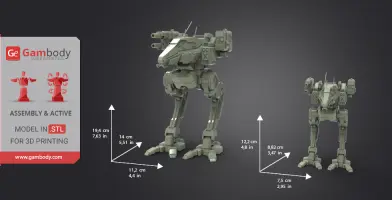
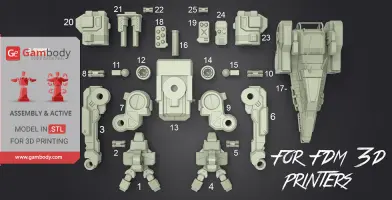
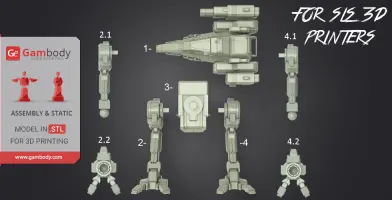
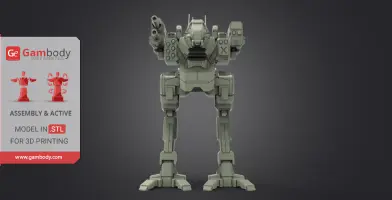
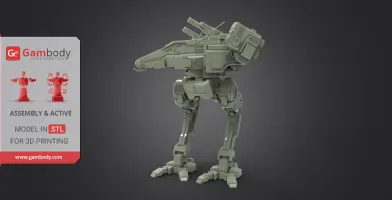
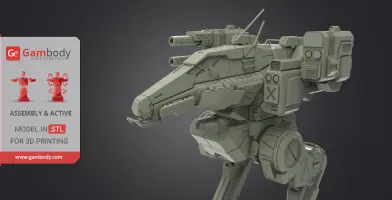
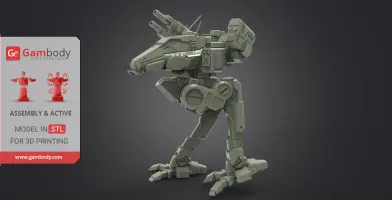
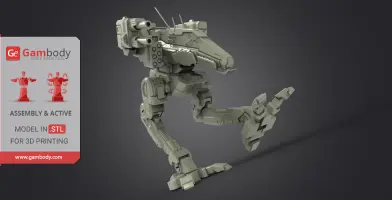
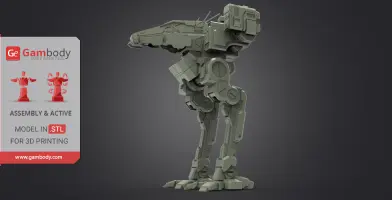
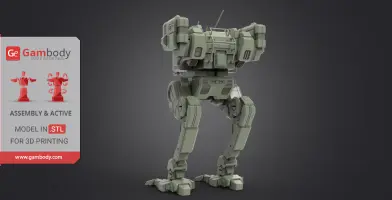
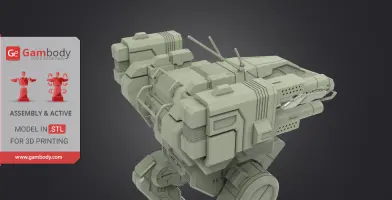
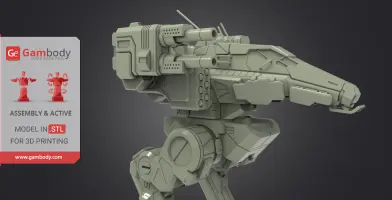
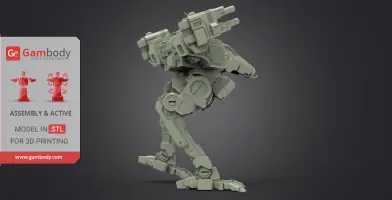
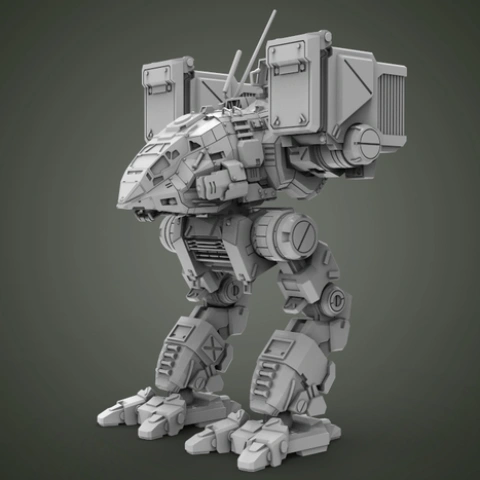
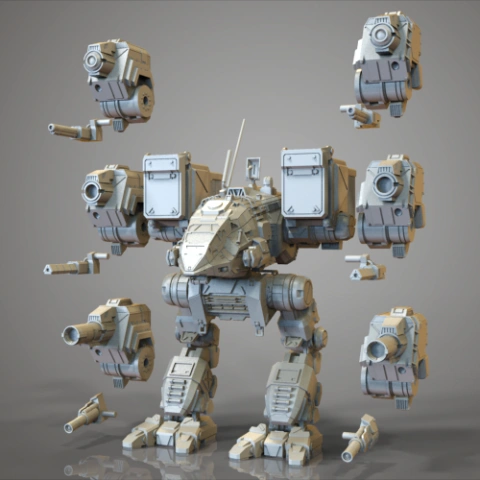
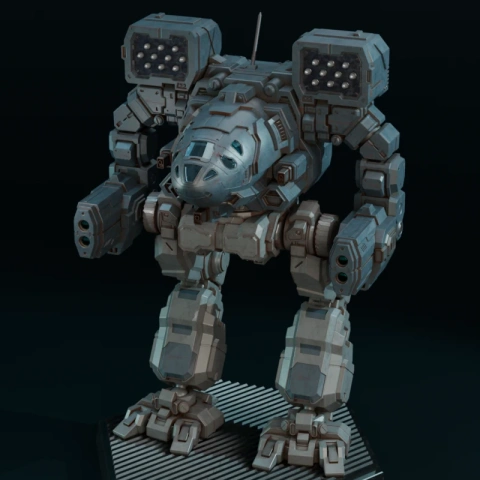
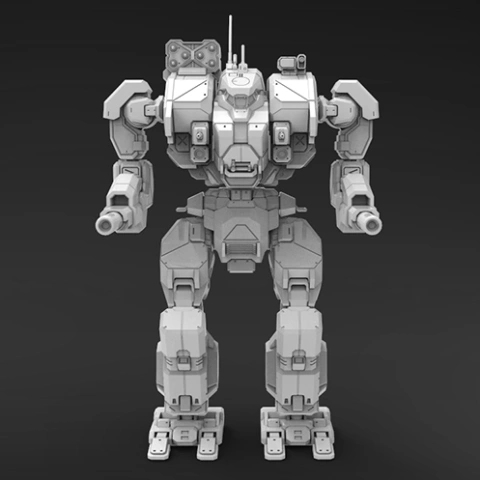
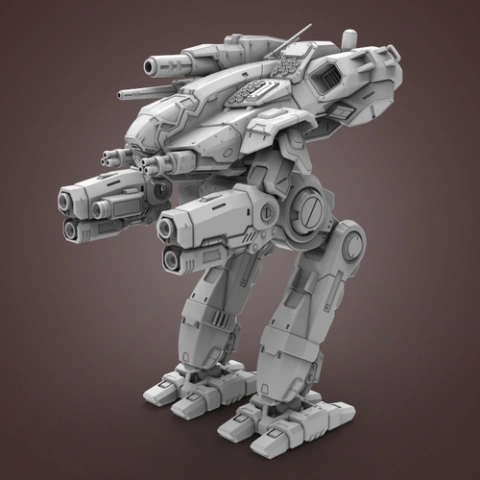
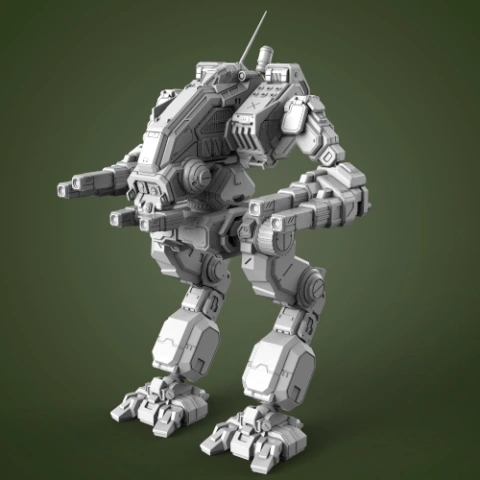
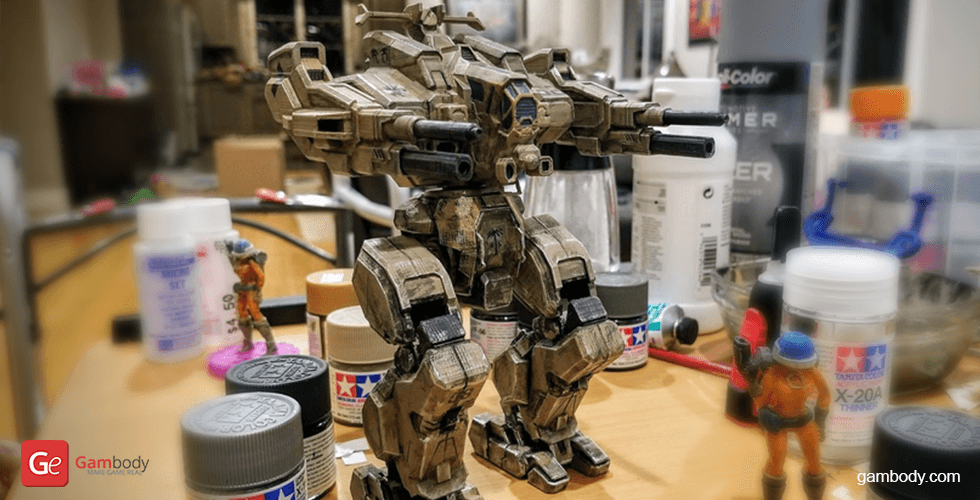
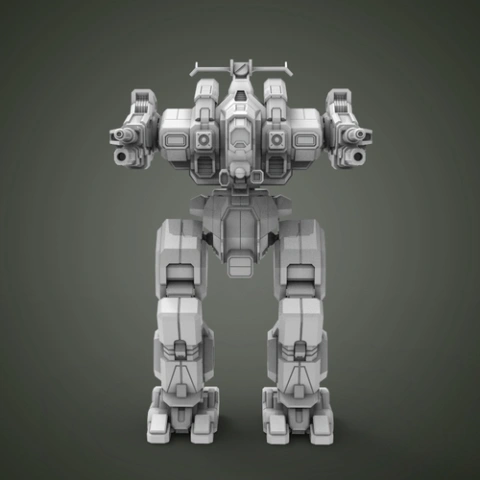
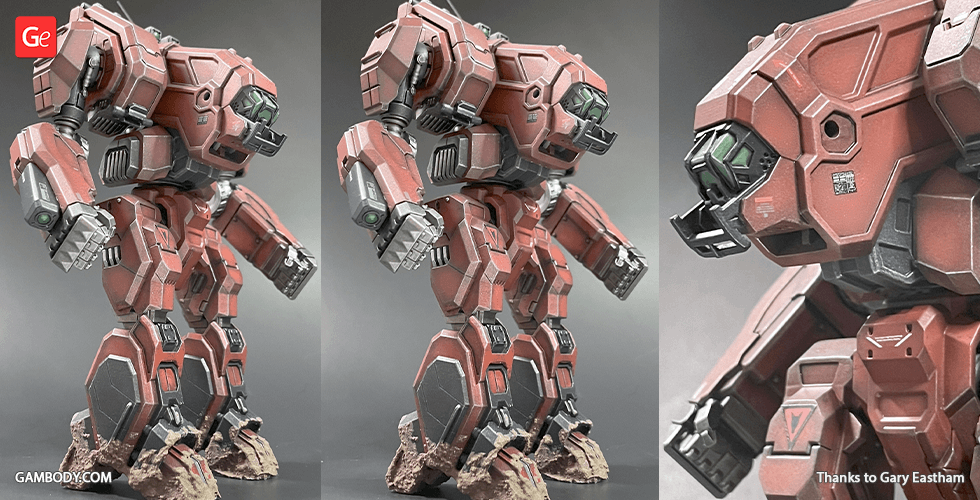
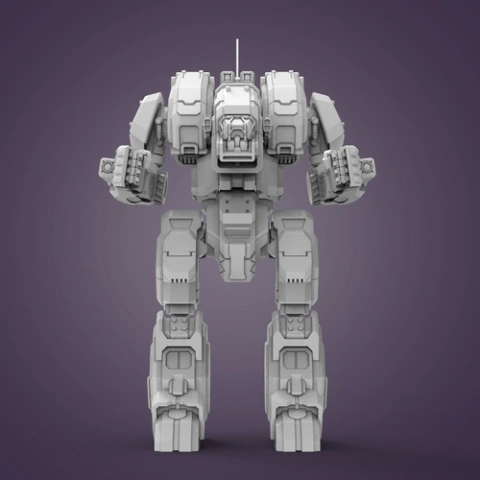
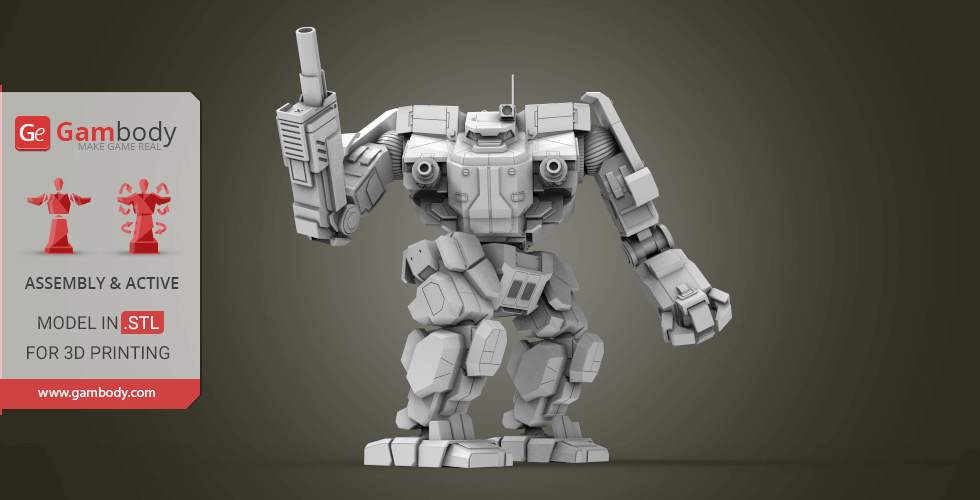
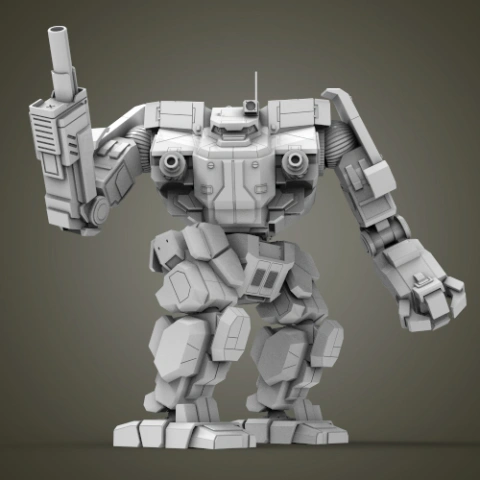
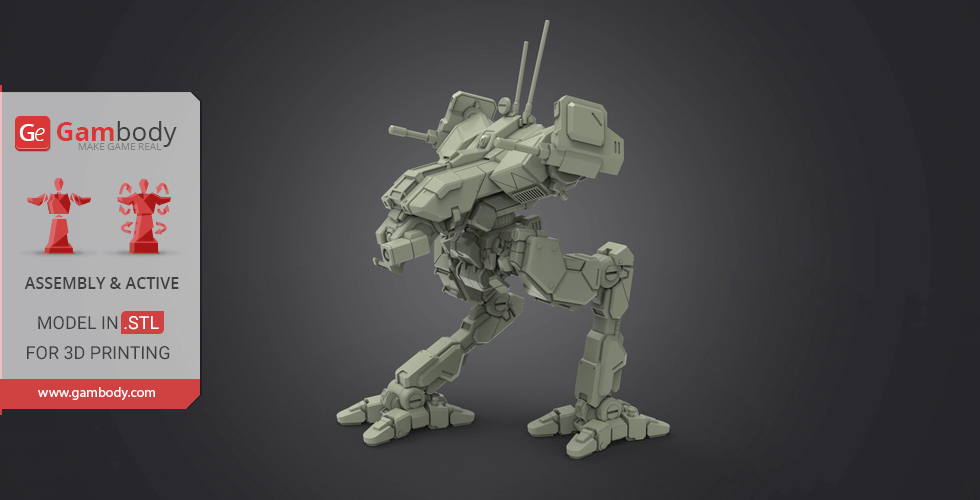
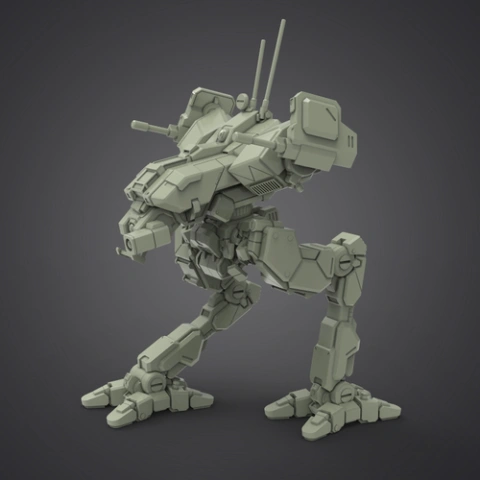
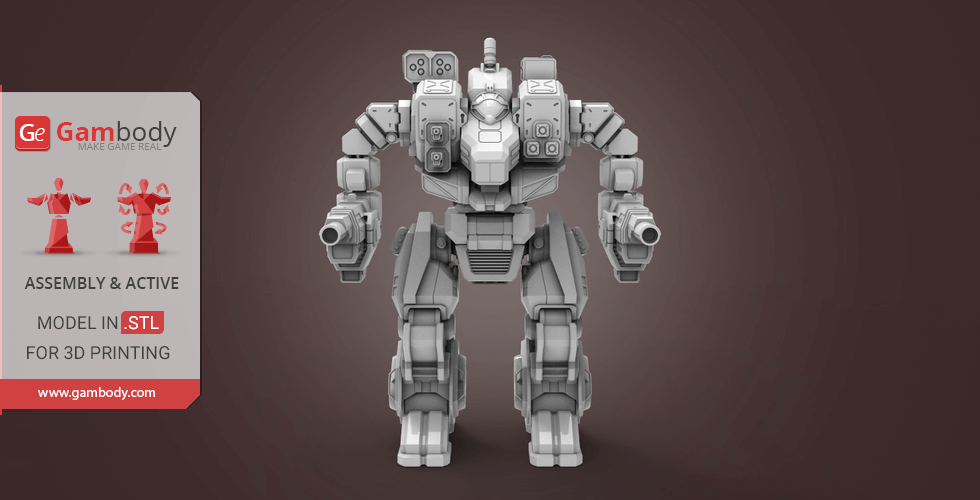
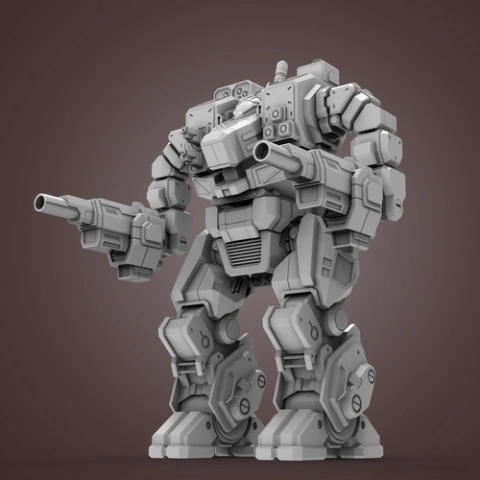
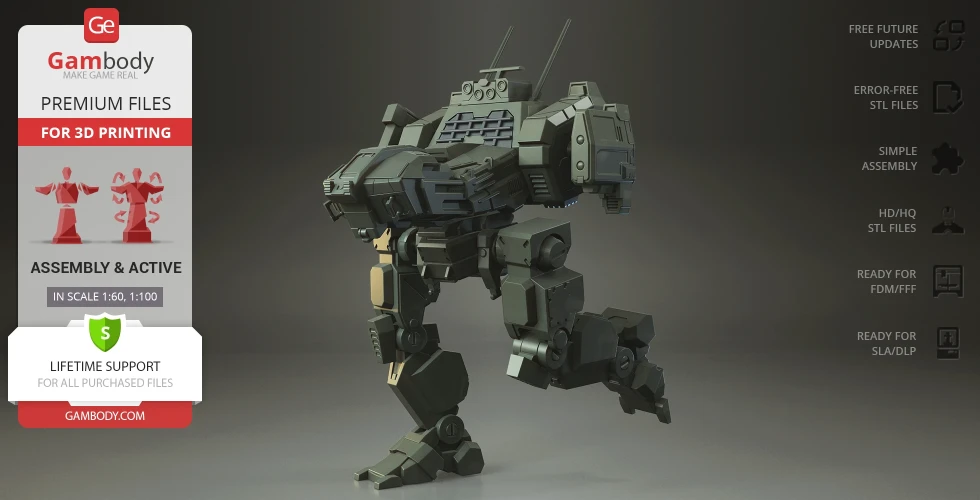
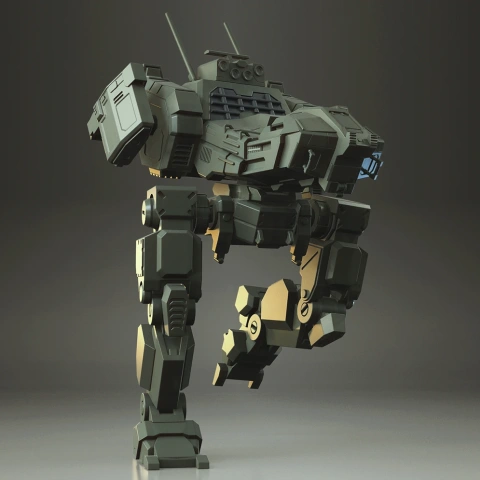
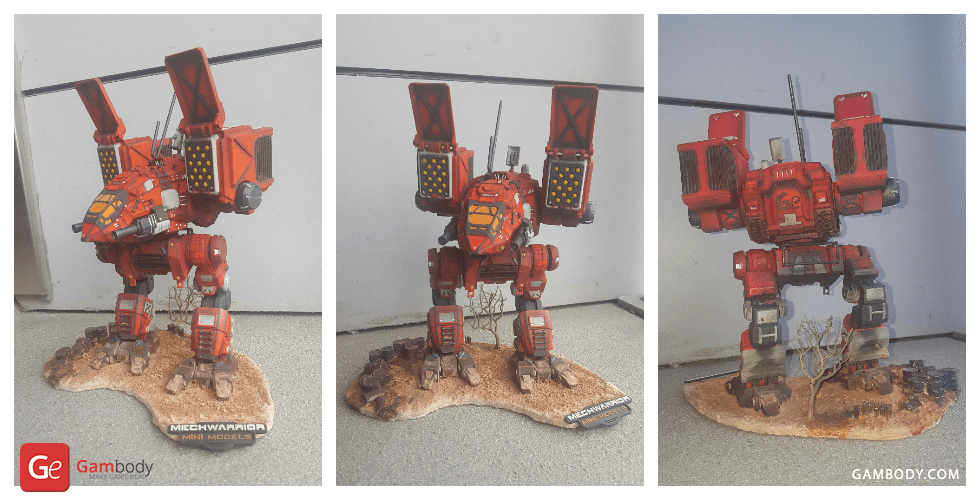
Version 1 and Version 2 are the files for Raven BattleMech 3D model optimized for 3D printing, the preview pictures of which you see above.
It is recommended:
- to print Version 1 STL files on FDM/FFF 3D printers;
- to print Version 2 STL files on DLP/SLA/SLS 3D printers.
Meet Raven! Balance in all things…
BattleMech, which has nice speed, good weapons and excellent character in combat.
It first debuted in 3048 after the end of the Third Succession War and was not just one of the first truly original 'Mech designs produced in centuries, but also represented humanity's refusal to slide back technologically. The Capellans build an entirely new 'Mech around the electronics, creating the first prototype of Raven.
Technical specifications
- Mass: 35 tons
- Chassis: Hellespont Type R
- Armor: Hellespont Lite Ferro-Fibrous
- Engine: Hermes 210 XL
- Communications System: Ceres Metals Model 666 with Guardian ECM Suite
- Targeting Tracking System: C-Apple Churchill
- Heat Sinks: 12
- Speed: 97.2 km/h
- Armament:
- 1x SRM-6
- 2x Medium Lasers
- 1x Narc Missile Beacon
- 1x TAG
- 1x Guardian ECM Suite
The weapon for Raven BattleMech was created by two variants of the robot, such as RVN-3L and RVN-H.
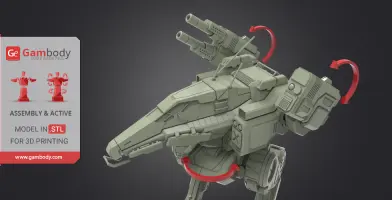
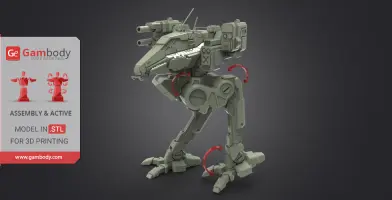
Moreover, all limbs are movable such as: legs, weapons and torso rotating 360 °. The model was made Hard Surface and after purchase you will like it! Using technique of creating “Polygonal Modeling” was applied a lot of work for make sure that you will enjoy quality of this model. The Raven flew through testing, modernization and time and come to Gambody Marketplace. Now it’s available for purchase!
In the FDM version, Raven has increased legs mobility, which allows to be in different poses and of course in different surfaces.
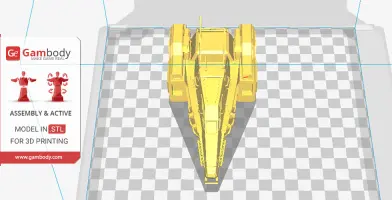
The SLS version is made for saving material and max ease of printing.
All STL files for 3D printing have been checked for errors and corrected in Netfabb.
Note: Before starting 3D printing the model, read the Printing Details for CURA 2.7.0. software.
Scale:
Based on the scale of the MWO tables and a pilot proportions of 2m tall.
In the game it size is 11 meters with armament and a little higher with antennas.
11640/60 = 194 mm(7.63 in.) tall - with antennas.
11000/60 = 183 mm(7.2 in.) tall - without antennas.
11640/100 ≈ 122 mm(4.8 in.) tall - SLS version.
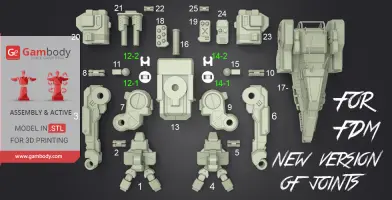
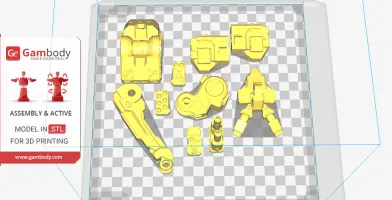
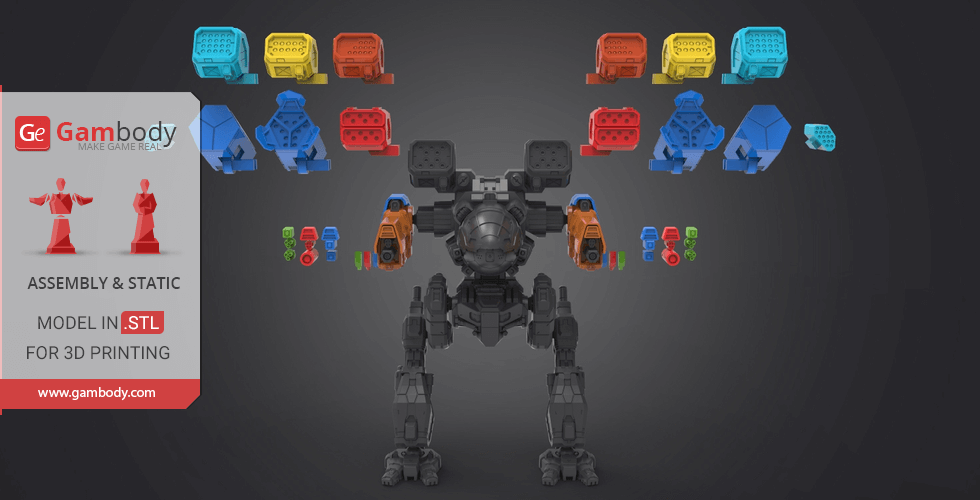
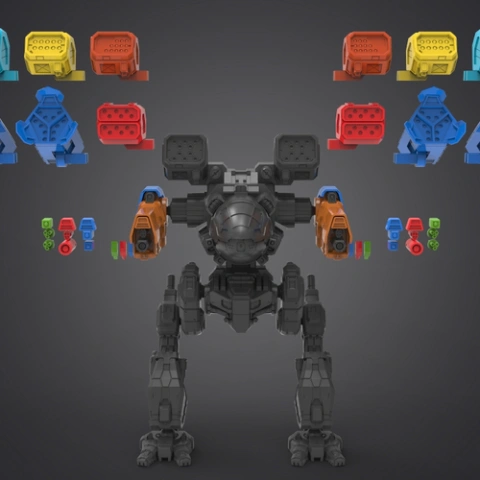
There are 25 parts for FDM version and 6 part for SLS.
All limbs and weapon in FDM version are movable!
All parts of the joints should be printed at 100% infill.
FDM version:
- Is 1:60 scale and after being printed will stand 194 mm tall, 112 mm wide, 140 mm deep;
- Is designed to save almost all movable elements that prototype has;
- Has removable hinges that should be printed at 100% infill to make them solid.
SLS/SLA version:
- Is 1:100 scale and will stand 122 mm tall, 75 mm wide, 88.2 mm deep.
- Has as few details as possible to keep printing costs down.
Here the tutorial video on how to assemble Raven BattleMech 3D Printing Miniature at Gambody YouTube channel.
Get Raven BattleMech 3D Printing Miniature right now! Just click the green Buy button in the top-right corner of the model’s page. You can pay with PayPal or your credit card.
Also you can gat Male and Female pilots 3D printing miniatures are available for purchase at Gambody. They will become a perfect match for your mech.
________________________
On 27.10.2017 new version of joints have been added.
To use new joints, you do not need to reprint the whole model of your Mech!
You can find detailed picture guidelines about how to use new joints in your model HERE.
With the new joints you will get next advantages:
- Increases frictional force
- Possible to up scale or down scale the whole model
- Printable from any type of material
- Higher strength
- Material shrinkage does not affect at strength and friction
STL files are already available for download in “Source files” tab for Version 1 (FDM/FFF 3D printers). You can find them at the end of the list.
________________________
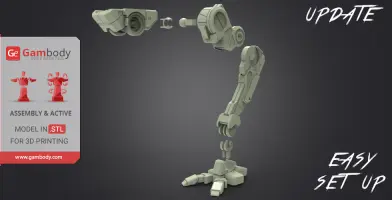
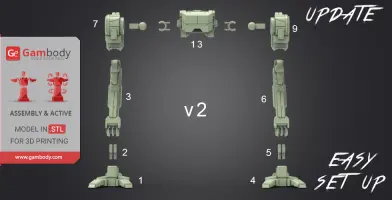
On 30.03.2018 new version of the model's legs with all the connections between all its parts have been added.
The parts of the legs of the MWO Raven 3D printing model were reworked. This will make the mounts stronger and at the same time retain the model's mobility.
Here is a list of .stl files that have been added as a second version of the legs:
1. 1_leg_1_R_V2
2. 2_foot_connector_V2_x2 (need to print twice)
3. 3_leg_2_R_V2
4. 4_leg_1_L_V2
5. 5_foot_connector_V2_x2 (need to print twice)
6. 6_leg_2_L_V2
7. 7_leg_3_R_V2
8. 9_leg_3_R_V2
9. 13_pelvis_V2
STL files are already available for download in “Source files” tab for Version 1 (FDM/FFF 3D printers). You can find them at the end of the list with "V2" tag.
_______
FAQ:
Where can I print a model if I have no printer?
How to get started with 3D printing?
How to set up my 3D printer?
How to choose right 3D model print bed positioning?
How to paint printed figurine?
Generic
This model was tested in Cura 3.2.1 and printed on an Ultimaker 2 in PLA material.
Note:
- For new parts of Connectors V2 you need to change "Brim" type to "Skirt" in Build Plate Adhesion section.
- You can print new joints with 20-30% infill.
- With the new joints you can up scale or down scale the whole model.
- You should print old joints with 100% infill.
- With the old joints do not try to up scale or down scale the whole model since it will not be assemble or movable after scale changes.
- Using the PLA material you should increase the scale of old joints at 2-3% in your slicing program.
- Using the ABS/CPE material you should increase the scale of old joints at 1% in your slicing program.
To avoid printing problems, we recommend the following settings:
Quality
Layer Height: 0.1 mm
Initial Layer Height: 0.3 mm
Line Width: 0.4 mm
Wall Line Width: 0.4 mm
Outer Wall Line Width: 0.4 mm
Inner Wall(s) Line Width: 0.4 mm
Top/Bottom Line Width: 0.4 mm
Infill Line Width: 0.4 mm
Skirt/Brim Line Width: 0.4 mm
Initial Layer Line Width: 100%
Shell
Wall Thickness: 0.8 mm
Wall Line Count: 2
Outer Wall Wipe Distance: 0.2 mm
Top Surface Skin Layers: 0
Top/Bottom Thickness: 0.8 mm
Top Thickness: 0.8 mm
Top Layers: 8
Bottom Thickness: 0.8 mm
Bottom Layers: 8
Top/Bottom Pattern: Lines
Bottom Pattern Initial Layer: Lines
Top/Bottom Line Directions: [ ]
Outer Wall Inset: 0 mm
Compensate Wall Overlaps: Check
Compensate Outer Wall Overlaps: Check
Compensate Inner Wall Overlaps: Check
Fill Gaps Between Walls: Everywhere
Filter Out Tiny Gaps: Check
Horizontal Expansion: 0 mm
Initial Layer Horizontal Expansion: 0 mm
Z Seam Alignment: Sharpest Corner
Seam Corner Preference: Hide Seam
Ignore Small Z Gaps: Check
Extra Skin Wall Count: 1
Infill
Infill Density: 20% (connectors should be printed at 100% infill)
Infill Line Distance: 4.0 mm
Infill Pattern: Grid
Infill Line Directions: [ ]
Infill X Offset: 0 mm
Infill Y Offset: 0 mm
Infill Overlap Percentage: 10%
Infill Overlap: 0.04 mm
Skin Overlap Percentage: 5%
Skin Overlap: 0.02 mm
Infill Wipe Distance: 0.1 mm
Infill Layer Thickness: 0.1 mm
Gradual Infill Steps: 0
Infill Before Walls: Check
Minimum Infill Area: 0 mm2
Skin Removal Width: 0.8 mm
Top Skin Removal Width: 0.8 mm
Bottom Skin Removal Width: 0.8 mm
Skin Expand Distance: 0.8
Top Skin Expand Distance: 0.8
Bottom Skin Expand Distance: 0.8
Maximum Skin Angle for Expansion: 90˚
Minimum Skin Width for Expansion: 0.0
Material
Enable Retraction: Check
Retraction Extra Prime Amount: 0 mm3
Retraction Minimum Travel: 0.8 mm
Maximum Retraction Count: 90
Minimum Extrusion Distance Window: 6.5 mm
Nozzle Switch Retraction Distance: 16 mm
Nozzle Switch Retraction Speed: 20 mm/s
Nozzle Switch Retract Speed: 20 mm/s
Nozzle Switch Prime Speed: 20 mm/s
Speed
Print Speed: 45 mm/s
Infill Speed: 50 mm/s
Wall Speed: 22.5 mm/s
Outer Wall Speed: 22.5 mm/s
Inner Wall Speed: 45 mm/s
Top/Bottom Speed: 15 mm/s
Travel Speed: 120 mm/s
Initial Layer Speed: 30 mm/s
Initial Layer Print Speed: 30 mm/s
Initial Layer Travel Speed: 60 mm/s
Skirt/Brim Speed: 30 mm/s
Maximum Z Speed: 0 mm/s
Number of Slower Layers: 2
Travel
Combing Mode: All
Avoid Printed Parts when Traveling: Check
Travel Avoid Distance: 0.625 mm
Layer Start X: 0.0 mm
Layer Start Y: 0.0 mm
Cooling
Enable Print Cooling: Check
Fan Speed: 100%
Regular Fan Speed: 100%
Maximum Fan Speed: 100%
Regular/Maximum Fan Speed Threshold: 10 s
Initial Fan Speed: 0%
Regular Fan Speed at Height: 0.3 mm
Regular Fan Speed at Layer: 2
Minimum Layer Time: 5 s
Minimum Speed: 10 mm/s
Support
Generate Support: Check
Support Placement: Everywhere
Support Overhang Angle: 60°
Support Pattern: Zig Zag
Connect Support ZigZags: Check
Support Density: 15 %
Support Line Distance: 1.3333 mm
Support Z Distance: 0.3 mm
Support Top Distance: 0.3 mm
Support Bottom Distance: 0.3 mm
Support X/Y Distance: 0.7 mm
Support Distance Priority: Z overrides X/Y
Minimum Support X/Y Distance: 0.2 mm
Support Stair Step Height: 0.3 mm
Support Stair Step Maximum Width: 5.0 mm
Support Join Distance: 2.0 mm
Support Horizontal Expansion: 0.2 mm
Support Infill Layer Thickness: 0.1 mm
Use Towers: Check
Tower Diameter: 3.0 mm
Minimum Diameter: 3.0 mm
Tower Roof Angle: 65°
Build Plate Adhesion
Build Plate Adhesion Type: Brim (for all parts of Connectors V2 use "Skirt")
Skirt/Brim Minimum Length: 250 mm
Brim Width: 8.0 mm
Brim Line Count: 18
Brim Only on Outside: Check
Mesh Fixes
Union Overlapping Volumes: Check
Merged Meshes Overlap: 0.15 mm
Special Modes
Print Sequence: All at Once
Surface Mode: Normal
Experimental
Slicing Tolerance: Middle
Maximum Resolution: 0.01 mm
Flow rate compensation max extrusion offset: 0 mm
Flow rate compensation factor: 100%
Disclaimer: This model will look outstanding if printed on SLA/SLS 3D printer. The accuracy of the model printed on FFF printer can vary from the result shown in the pictures.








Comments