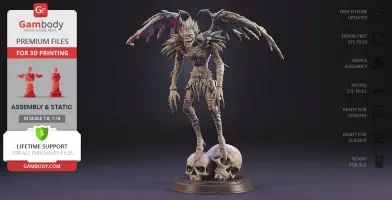
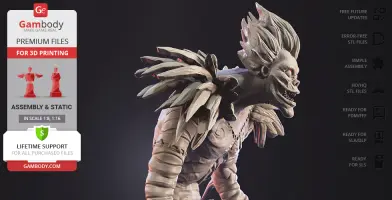
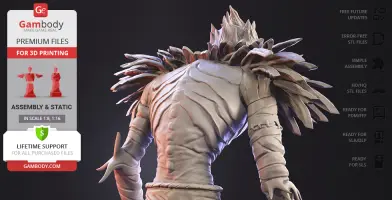
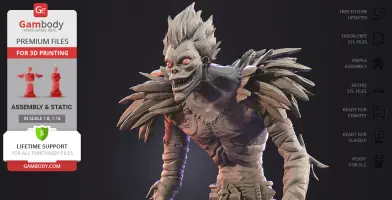
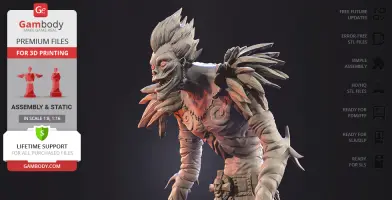
This 3D printing design of Shinigami Ryuk from Death Note anime consists of files in StereoLithography (.Stl) format that is optimized for 3D printing.
Before printing the files, we strongly recommend reading the PRINTING DETAILS section.
WHAT WILL YOU GET AFTER PURCHASE?
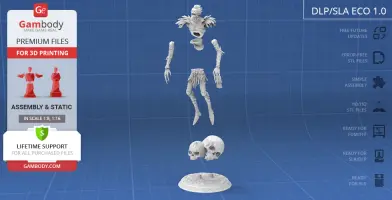
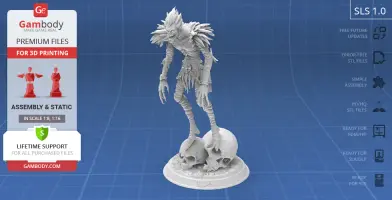
- 4 versions of Ryuk STL files for FFF/FDM, DLP/SLA, DLP/SLA Eco, and SLS — files for all versions are available for download after the purchase;
- STL files of high-poly Ryuk model for 3D printing consist of 49 files;
- Sizes for:
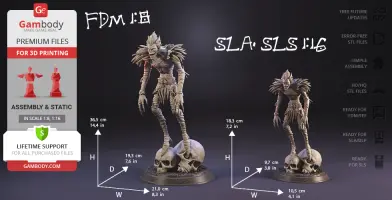
- FFF/FDM without wings: 365 mm tall, 210 mm wide, 193 mm deep;
- FFF/FDM with wings: 379 mm tall, 307 mm wide, 222 mm deep;
- DLP/SLA/SLS without wings: 183 mm tall, 105 mm wide, 97 mm deep;
- DLP/SLA/SLS with wings: 189 mm tall, 153 mm wide, 111 mm deep;
- Assembly Manual for 1.0 FFF/FDM and 1.0 DLP/SLA versions in PDF and video formats;
- Detailed settings that we provide as a recommendation for Cura, Bambu Studio, Simplify3D, Slic3r and PrusaSlicer for the best print;
- Full technical support from the Gambody Support Team.
Detailed information about these 3D printer STL files is available in the DESCRIPTION section.
ABOUT THIS 3D MODEL
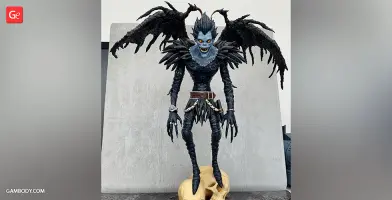
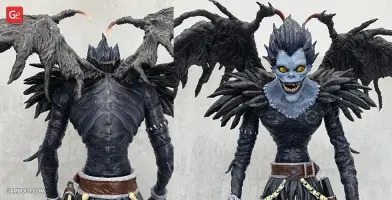
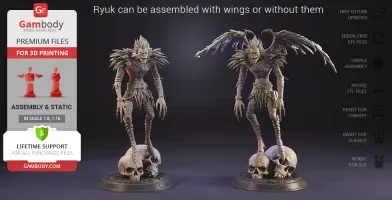
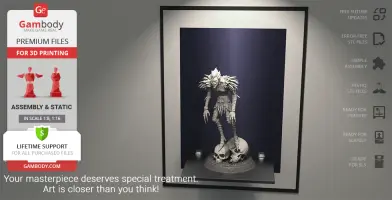
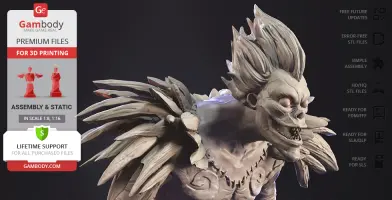
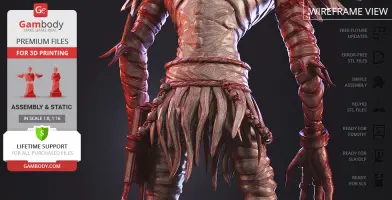
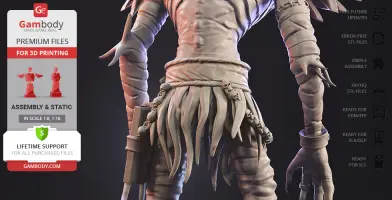
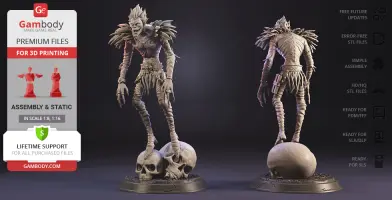
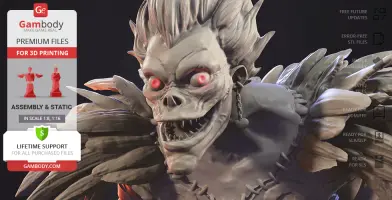
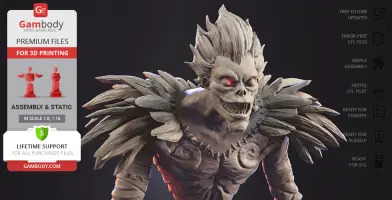
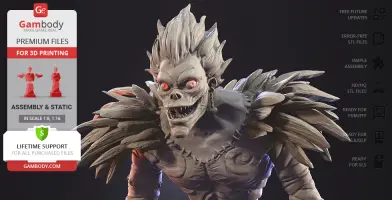
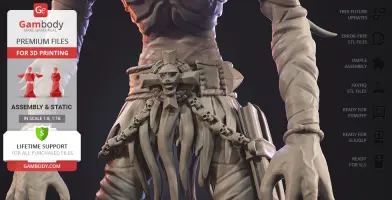
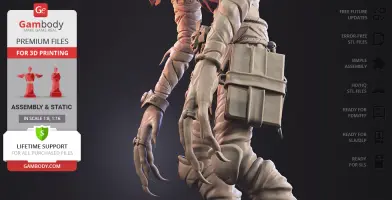
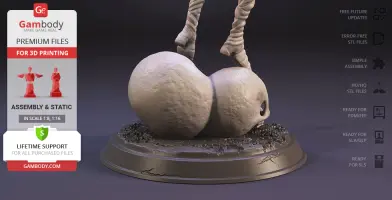
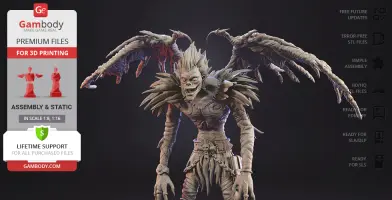
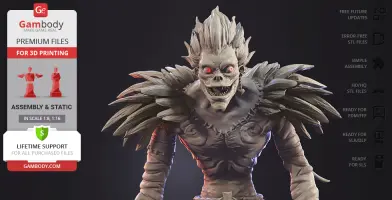
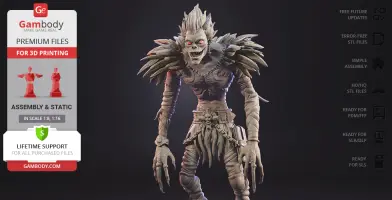
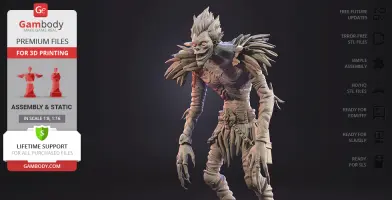
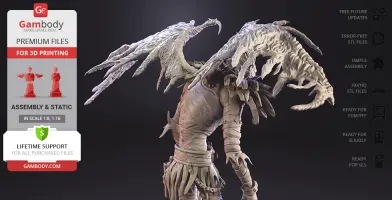
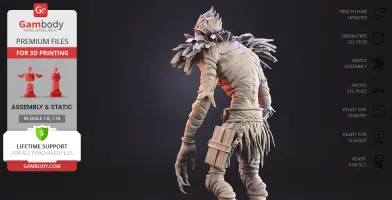
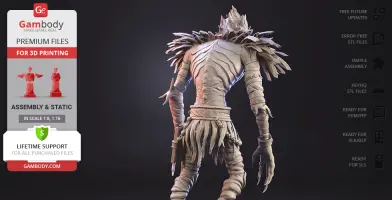
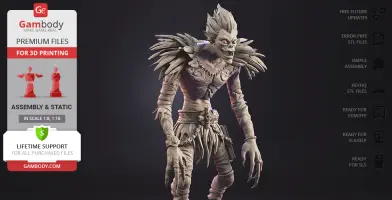
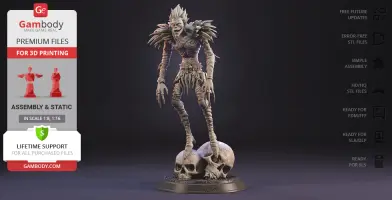
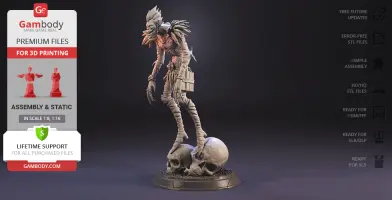
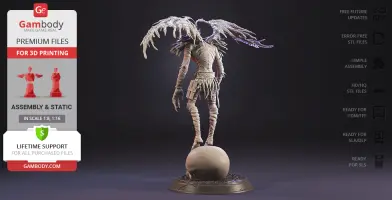
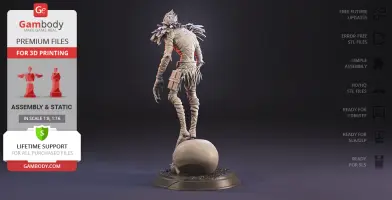
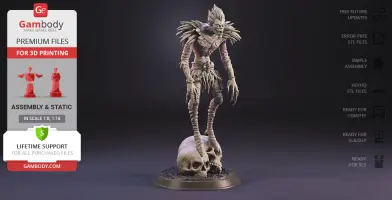
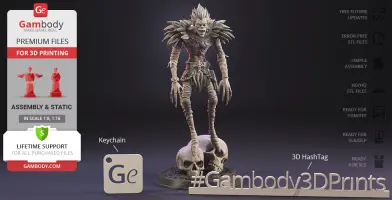
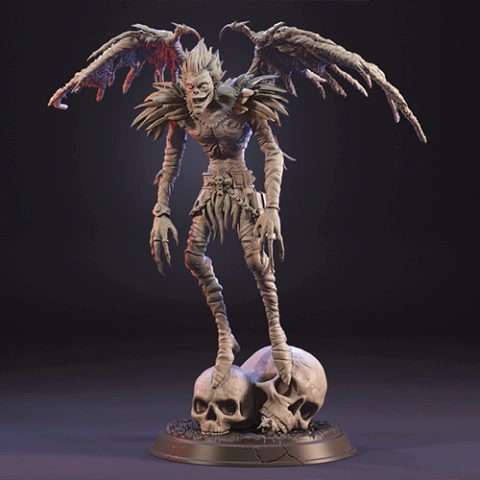
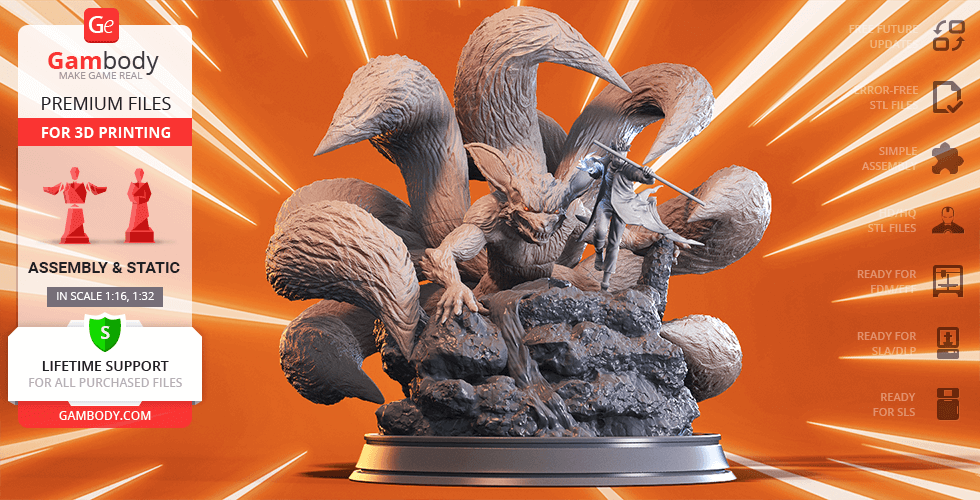
Ryuk is a Shinigami, the Japanese god of death, that stars in the internationally acclaimed manga and anime series Death Note. Once Ryuk gets tired of the Shinigami realm and “accidentally” drops into the Human World the Death Note, a powerful notebook that can kill any human whose name is written in it. Although Ryuk’s actions are aimed at satisfying his need for entertainment, he eventually becomes a "moral compass" for the young man who picks up the Death Note. The apple-addicted, impartial observer of Light’s actions is presented as the embodiment of death itself who demonstrates that death never truly takes sides. Ryuk model for 3D printing depicts the everybody's favourite Shinigami soaring on top of two enormous skulls. The author of the 3D print model masterly recreated the ghoulish appearance of the humanoid God of Death and made sure to properly accessorize the bizarre Shinigami. Thus, the 3D printing Ryuk is extremely slim, his limbs are abnormally long, the eyes are bulging and his back is hunched up, making Shinigami tower intimidatingly over the humans he observes. The omnipresent Ryuk for 3D printing styles his hair in a spiky manner, has several rings adorning his fingers, and wears two large feathery pieces on each shoulder. Finally, the stitches along the Shinigami’s collarbone, his trademark heart-shaped earring, and the stylish accessories that hang from his sinister-looking belt perfectly complete the image of the gloomy yet quirky Ryuk. Shinigami’s broad smile full of sharp, pointed teeth can be interpreted in many ways: God of Death might be looking for a nice and tasty red apple, or he might be searching for a new amusement out of boredom. Or, Ryuk 3D printing design might be excited in anticipation of joining your collection of 3D printed models! After all, who would not like to acquire the very own powerful Shinigami!
ADAPTATION FOR 3D PRINTING
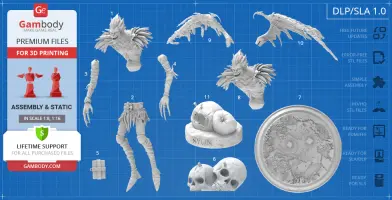
Ryuk 3D printing design is a static assembly model and its moderation and adaptation for different types of 3D printers took Gambody team 44 hours in total. The model's anatomy was thoroughly reviewed during the moderation process for the Death God to be depicted harmoniously in the intended soaring pose. The model’s cutting was chosen by our team to minimize the amount of filament needed for generated support and some of the parts were hollowed out for you to save resin in the model’s Eco version. Moreover, in order to conceal places where assembly parts of the model must be connected, the model was cut along the contour of Ryuk’s attire seams. The model's platform in its assembly version was divided into four separate parts in order to fit even the smallest 3D printers’ build plates, while the skull base was cut off as well. Besides, in order for you to receive the cleanest 3D printed result, such smaller parts as Ryuk’s belt buckle, heart-shaped earring, the Death Note that is to be chained to the belt, feather shoulder pieces, hands, etc. are also available as separate assembly pieces. All assembly parts are provided in STL files in recommended positions that were worked out in order to ensure the smoothness of the details’ surfaces after printing and so that the 3D printing beginners won't face difficulties when placing the parts on a build plate. When downloading any model's file you will also receive "Assembly Manual" for 1.0 FFF/FDM and 1.0 DLP/SLA versions in PDF format.
The 3D print model is saved in STL files, a format supported by most 3D printers. All STL files for 3D printing have been checked in Netfabb and no errors were shown.
The model's scale was calculated from Ryuk's actual height that is 2400 mm. The 3D printing design's chosen scale is 1/8 for the FFF/FDM version and 1/16 for the DLP/SLA/SLS versions.
VERSIONS' SPECIFICATIONS
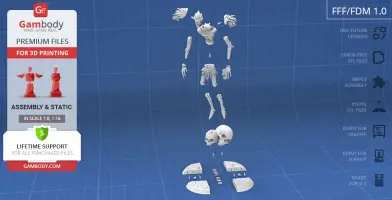
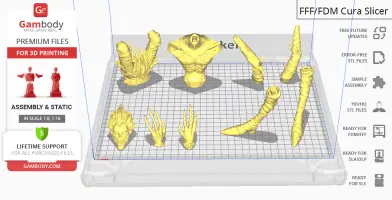
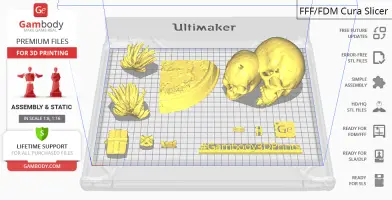
1.0 FFF/FDM version features:
- Contains 28 parts;
- A printed model without wings is 365 mm tall, 210 mm wide, 193 mm deep;
- Ryuk assembled with wings is 379 mm tall, 307 mm wide, 222 mm deep;
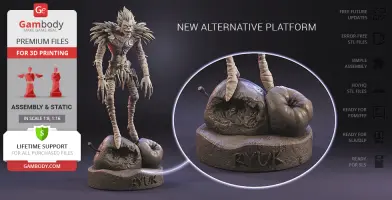
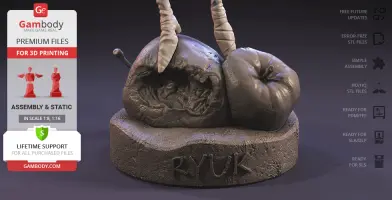
- New alternative platform with apples;
- Assembly kit includes locks to connect parts without glue. One lock 21_ge_lock_7S(x5) needs to be printed 5 times; lock 22_ge_lock_10H(x12) needs to be printed 12 times;
- Ryuk can be assembled with wings or without them;
- Comes with a platform that has two large skulls mounted on it;
- All parts are divided in such a way that you will print them with the smallest number of support structures.
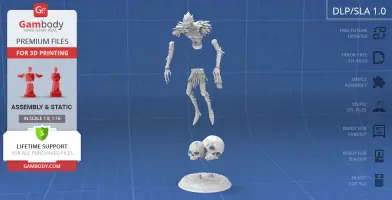
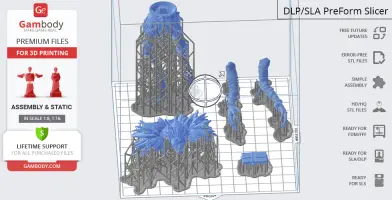
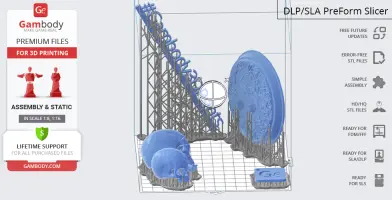
1.0 DLP/SLA version features:
- Contains 11 parts;
- A printed model without wings is 183 mm tall, 105 mm wide, 97 mm deep;
- Ryuk assembled with wings is 189 mm tall, 153 mm wide, 111 mm deep;
- New alternative platform with apples;
- Ryuk can be assembled with wings or without them;
- Comes with a platform that has two large skulls mounted on it;
- All parts are divided in such a way to fit the build plates and to ensure that support structures are generated where needed.
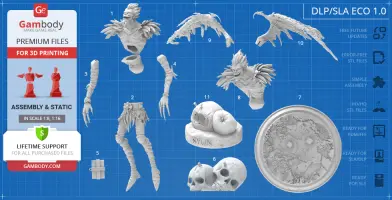
1.0 DLP/SLA Eco version features:
- Contains 11 parts;
- A printed model without wings is 183 mm tall, 105 mm wide, 97 mm deep;
- Ryuk assembled with wings is 189 mm tall, 153 mm wide, 111 mm deep;
- New alternative platform with apples;
- Ryuk can be assembled with wings or without them;
- Comes with a platform that has two large skulls mounted on it;
- Contains some hollowed out parts to save resin.
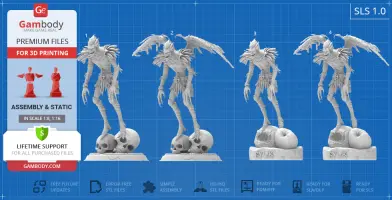
1.0 SLS version features:
- Made as a solid one-piece model;
- A printed model without wings is 183 mm tall, 105 mm wide, 97 mm deep;
- Ryuk assembled with wings is 189 mm tall, 153 mm wide, 111 mm deep;
- New alternative platform with apples;
- Contains 4 parts - a one-piece Ryuk Shinigami model with wings and a model without wings.
You can get the STL Files of Ryuk 3D Print Model immediately after the purchase! Just click the green Buy button in the top-right corner of the model’s page. You can pay with PayPal or your credit card.
Watch the tutorial on how to assemble the 3D Printed Ryuk Model from the provided 3D Print Files at Gambody YouTube channel.
Also, you may like other Anime 3D Print Models.
_______
FAQ:
Generic
Below you can find printing recommendations for Cura, Bambu Studio, Simplify3D, Slic3r and PrusaSlicer software.
Disclaimer: The following printing settings are a recommendation, not an obligation. The parameters can vary depending on the peculiarities of your 3D printer, the material you use, and especially the particular assembly part you are working with. Each part that any model comprises often needs preliminary review, and you are free to tweak the settings the way you find suitable.
Note:
You can scale up the model (downscaling for FFF/FDM 3D printers is not recommended!);
All connectors should be printed at 100% Infill.
Bambu Lab printing recommendations:
These basic 3D printing settings recommendations for beginners were tested in Bambu Studio 1.9.1. Test models were printed on the Bambu Lab A1, Bambu Lab A1 Mini, Creality Ender 3 S1, Anycubic Kobra 2, and Anycubic Vyper using PLA and PETG filaments.
To avoid printing problems, we recommend the following settings: download
Cura printing recommendations:
These are averaged settings which were tested in the Cura 5.2.1 slicer. Test models were printed on Anycubic Vyper, Creality Ender 3 Pro with PLA filament.
To avoid printing problems, we recommend the following settings: download
Simplify3D printing recommendations:
These are averaged settings which were tested in the Simplify3D 5.0.0 slicer. Test models were printed on Anycubic Vyper, FLSUN v400, Ender3 S1 with PLA filament.
To avoid printing problems, we recommend the following settings: download
Slic3r printing recommendations:
These basic 3D printing settings recommendations for beginners were tested in Slic3r 1.3.0 software. Test models were printed on Ultimaker 2, Creality Ender 3, Creality Cr-10S pro v2, Anycubic I3 Mega, Anycubic I3 MegaS, Anycubic Vyper with PLA and PetG filaments.
To avoid printing problems, we recommend the following settings: download
PrusaSlicer printing recommendations:
These basic 3D printing settings recommendations for beginners were tested in PrusaSlicer 2.3.1. Test models were printed on Ultimaker 2, Creality Ender 3, Creality Cr-10S pro v2, Anycubic I3 Mega, Anycubic I3 MegaS, Anycubic Vyper with PLA and PETG filaments.
To avoid printing problems, we recommend the following settings: download


Comments