This 3D Figurine consists of files in StereoLithography (.Stl) format that is optimized for 3D printing.
Before printing the files, we strongly recommend reading the PRINTING DETAILS section.
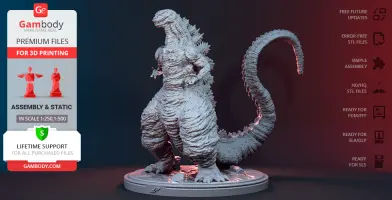
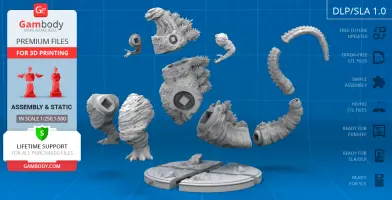
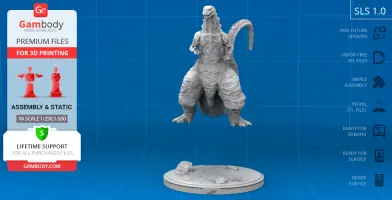
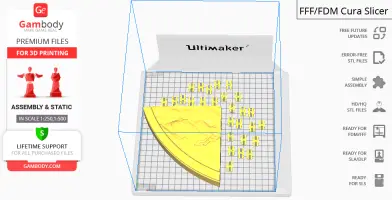
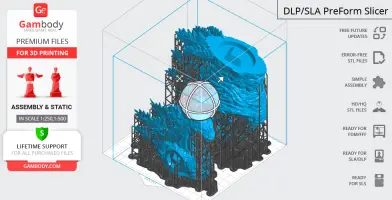
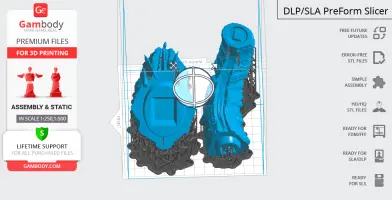
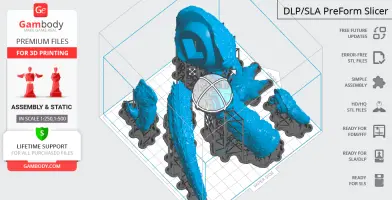
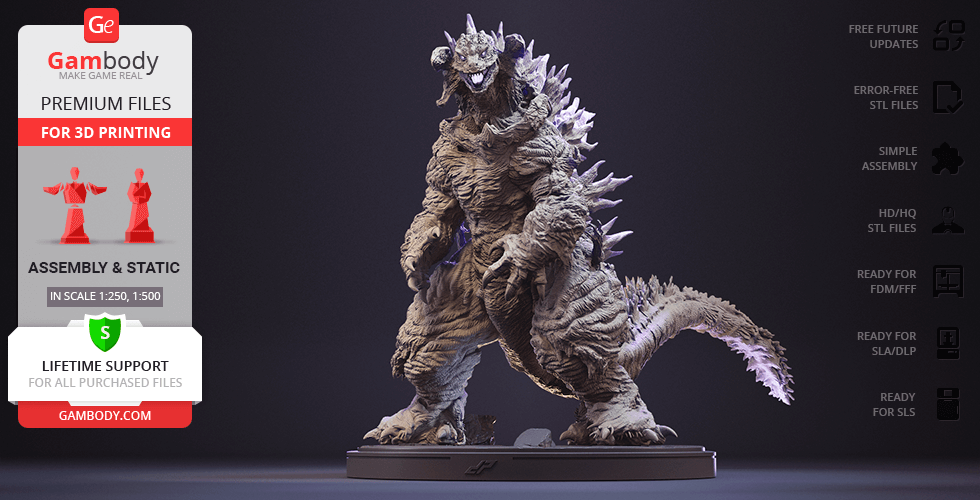
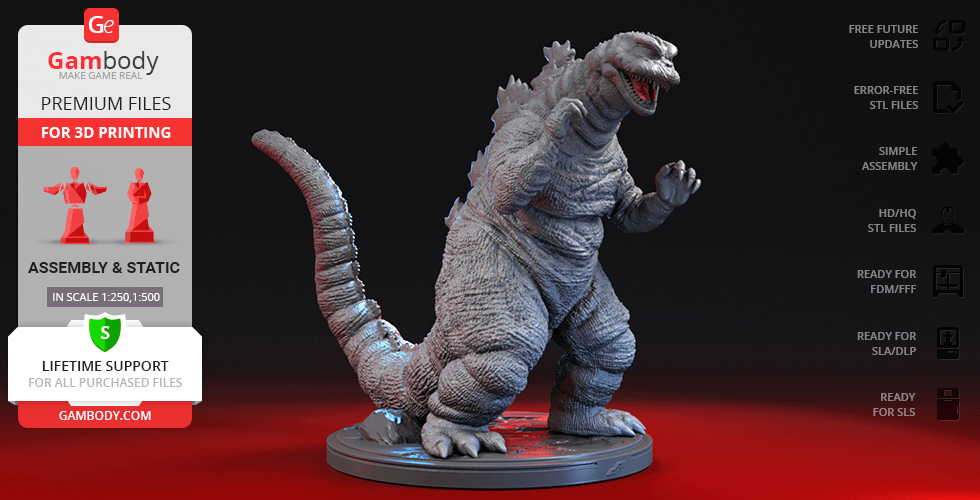
Shin Godzilla 3D printing figurine comes in 4 versions for each 3D printer type (FFF/FDM, DLP/SLA, DLP/SLA Eco and SLS). Files for each version are available for download after the purchase.
Detailed information about this 3D printing figurine is available in the DESCRIPTION section.
ABOUT THIS 3D FIGURINE
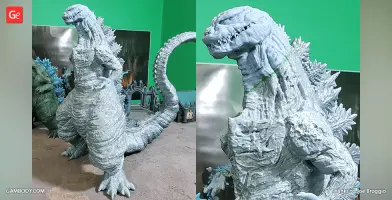
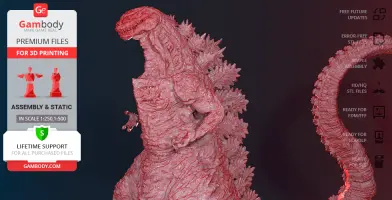
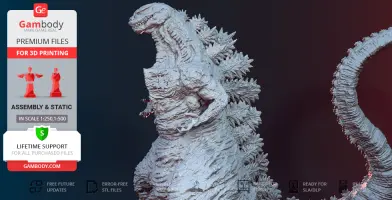
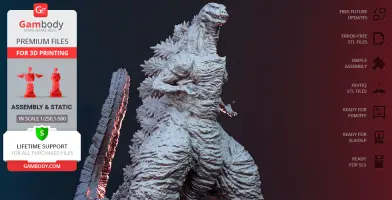
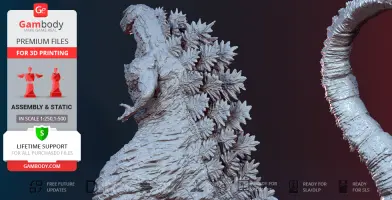
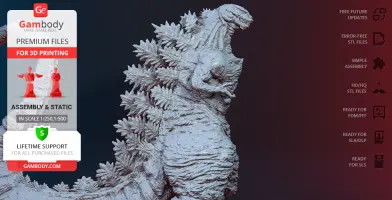
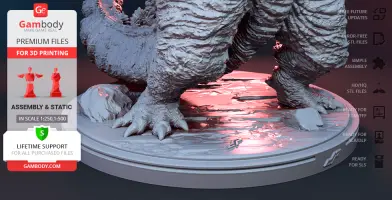
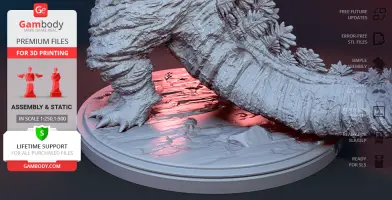
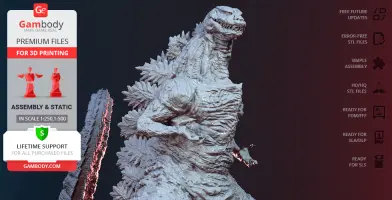
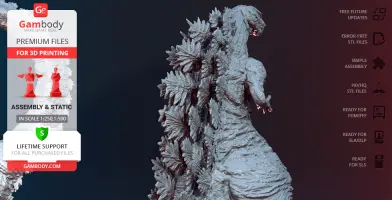
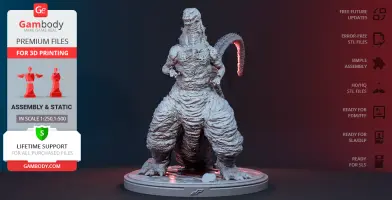
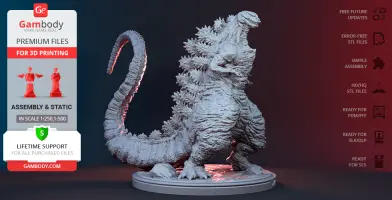
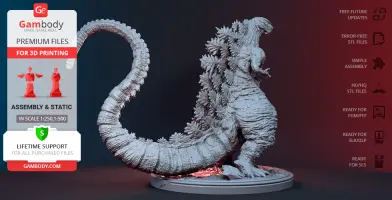
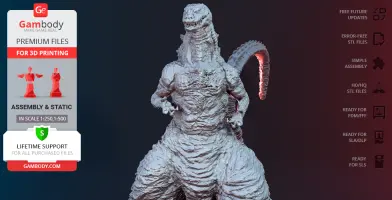
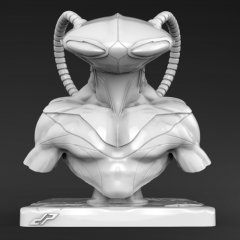
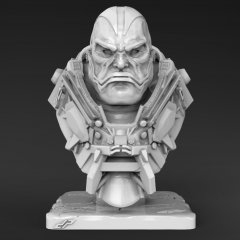
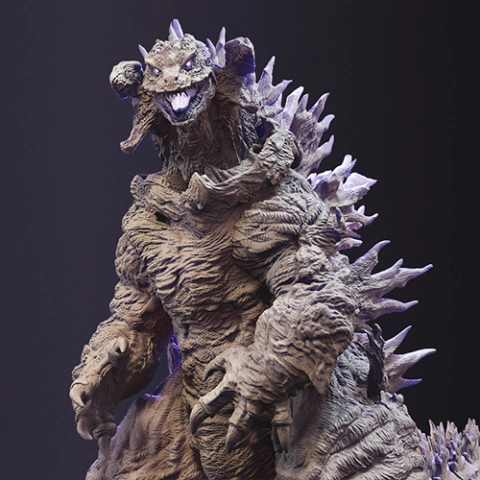
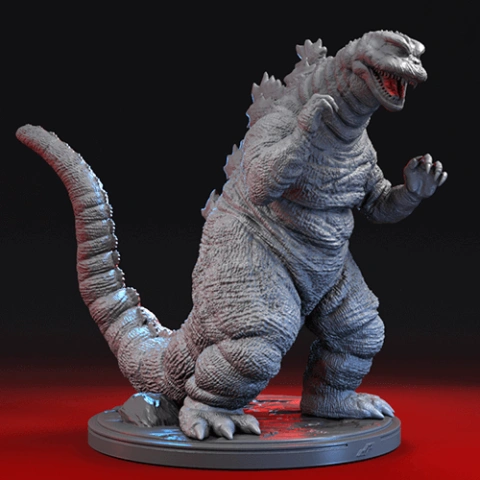
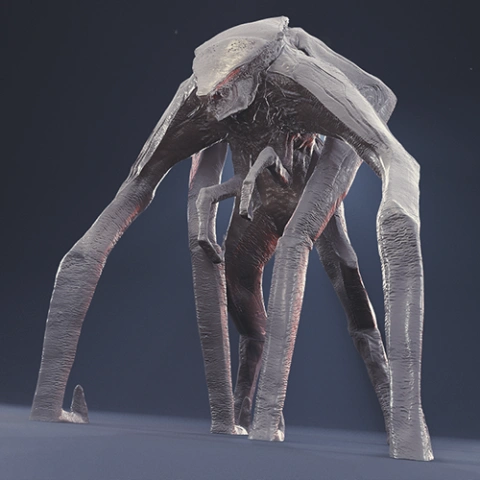
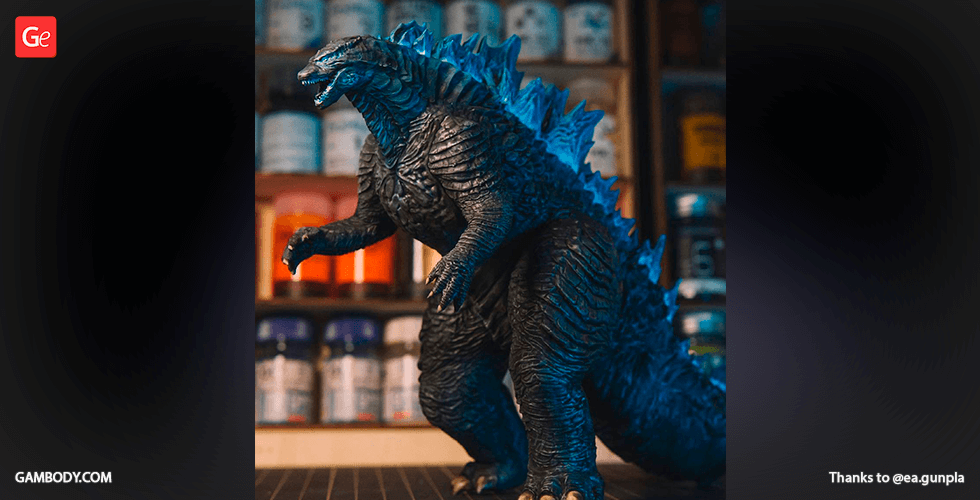
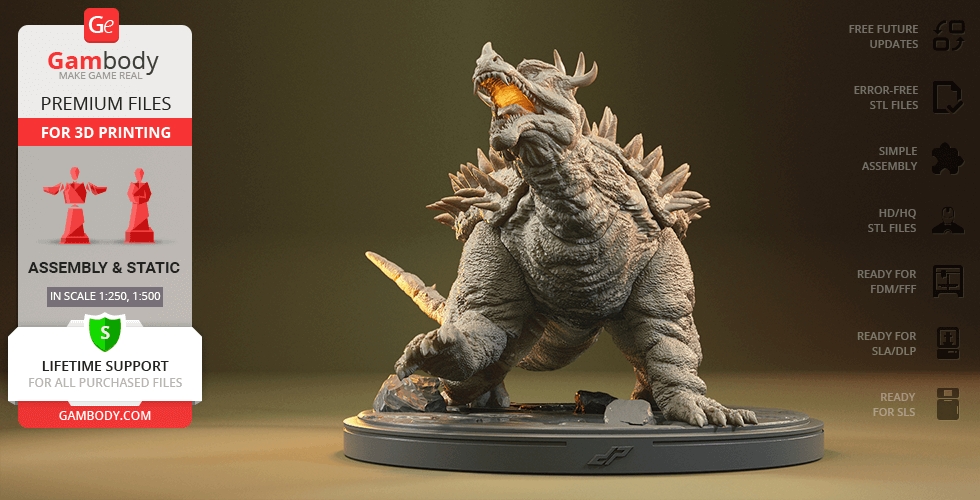
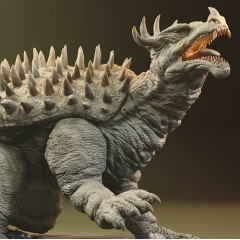
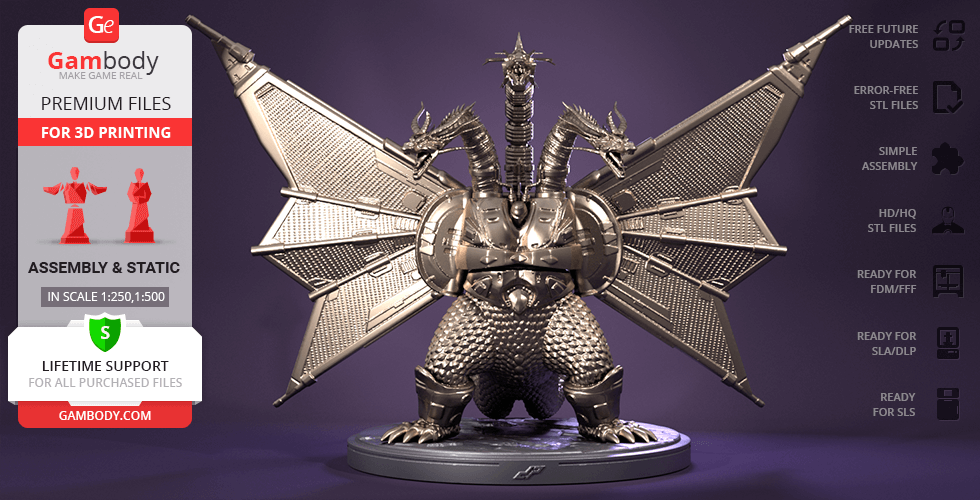
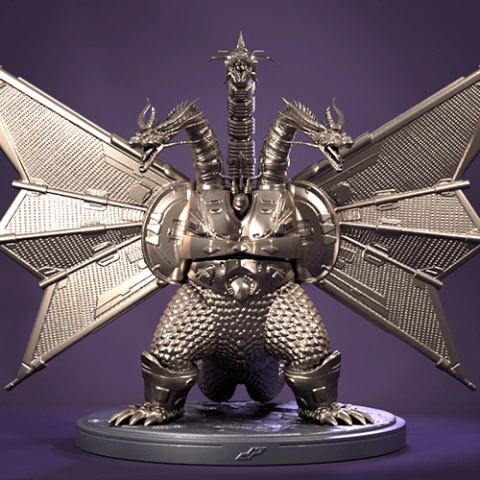
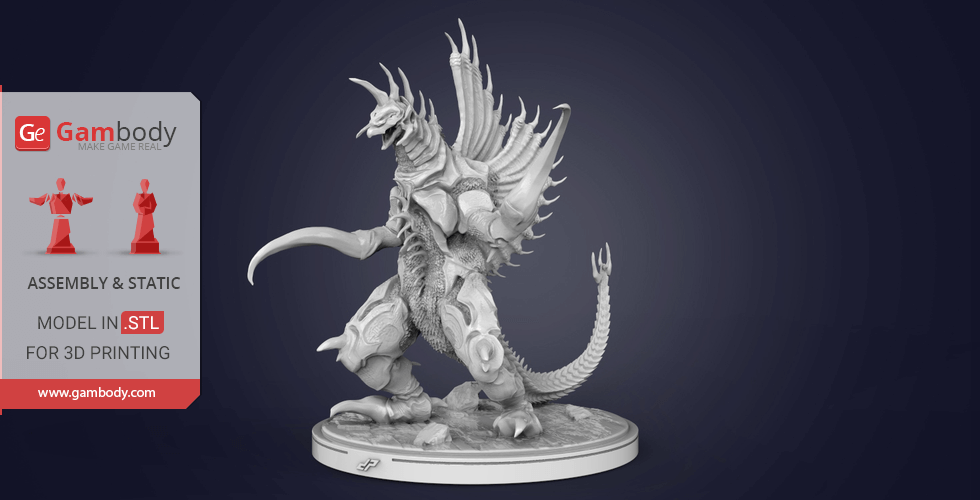
Shin Godzilla is a destructive monster who is seen wrecking the streets of Tokyo in the course of Japanese kaiju film Godzilla: Resurgence. Being exposed to nuclear material dumped into the ocean, a prehistoric marine lifeform developed an ability to feed on radiation and mutate into a gigantic creature. The powers that the monster was endowed with make Shin Godzilla seemingly invincible. Its atomic breath in combination with atomic beams sent from its numerous dorsal plates are so powerful that can slice through multiple skyscrapers all the way to the skyline of the city. The monster of the Shin Godzilla continuity is famous for its incredible evolutionary capacity and throughout the 2016 Godzilla film’s running time assumed 5 forms! The author of this 3D printing figurine decided to depict the fourth one and spent 230 hours in total to create a Gojira that is actually very much akin to traditional Godzilla appearances, unlike its other four forms. ‘The incarnation of God’ for 3D printing is portrayed fully bipedal, with developed dense rows of dorsal plates and multiple rows of gnarled teeth sticking in and out of the monster’s enormous mouth. The shapeshifter 3D printing figurine looks as if towering above a half-destroyed city, surrounded by combined Japanese military force that barely does any harm. We are sure that this ruthless victim of the atomic bomb will be a huge representative of one’s 3D printed kaiju collection!
ADAPTATION FOR 3D PRINTING
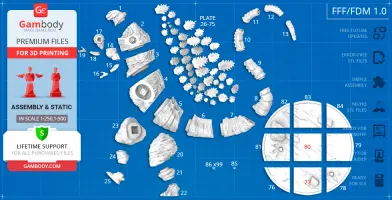
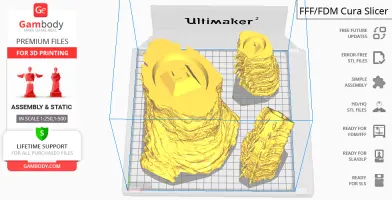
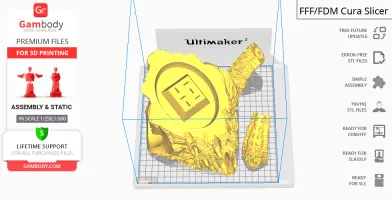
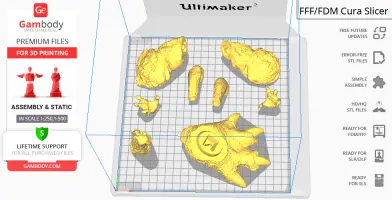
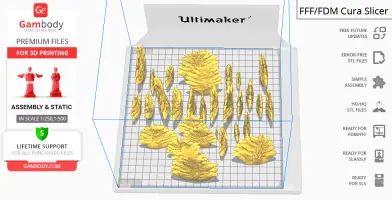
Shin Godzilla is a static assembly figurine and its moderation and adaptation for different types of 3D printers took Gambody team 49 hours in total. The huge figurine was divided into as many assembly parts as needed to fit even the smallest 3D printers' build plates and for you to nevertheless receive a giant 3D printed kaiju after assembly. The cutting of Shin Godzilla itself was chosen by our team to minimise the amount of filament needed for generated support and some of the model’s parts were hollowed out for you to save resin. In order to receive the cleanest result possible all dorsal plates located along the monster’s back all the way to the tail were extracted and are now provided as 49 separate parts, each having a designated assembly notch. All assembly parts are provided in STL files in recommended positions that were worked out so to ensure the smoothness of the details’ surfaces after printing and that the 3D printing beginners won't face difficulties when placing the parts on a build plate.
The figurine is saved in STL files, a format supported by most 3D printers. All STL files for 3D printing have been checked in Netfabb and no errors were shown.
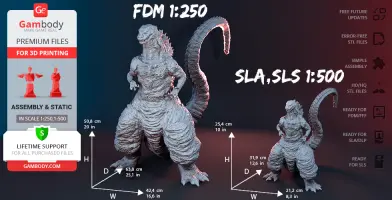
The model's scale was calculated from Shin Godzilla's actual height that is 118500 mm. The 3D printing figurine's chosen scale is 1/250 for the FFF/FDM version and 1/500 for the DLP/SLA/SLS versions.
VERSIONS' SPECIFICATIONS
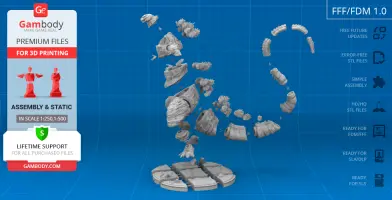
FFF/FDM 1.0 version features:
- Contains 86 parts;
- A printed model is 508 mm tall, 424 mm wide, 638 mm deep;
- Assembly kit includes locks to connect parts without glue. One lock 85_ge_lock_7S(x1) needs to be printed once; lock 86_ge_lock_10H(x99) needs to be printed 99 times;
- All parts are divided in such a way that you will print them with the smallest number of support structures.
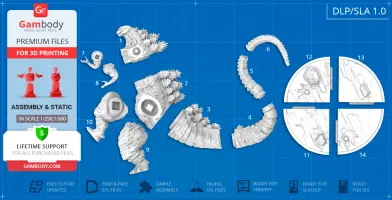
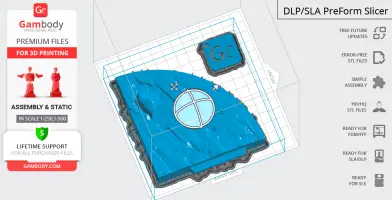
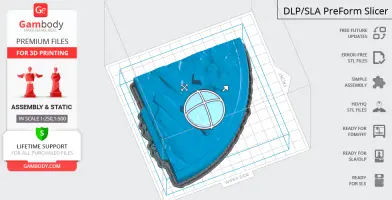
DLP/SLA 1.0 version features:
- Contains 14 parts;
- A printed model is 254 mm tall, 212 mm wide, 319 mm deep;
- All parts are divided in such a way to fit the build plates and to ensure that support structures are generated where needed.
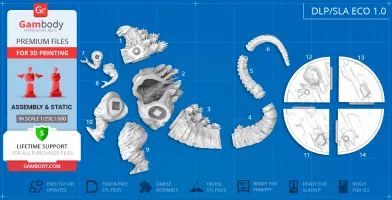
DLP/SLA Eco 1.0 version features:
- Contains 14 parts;
- A printed model is 254 mm tall, 212 mm wide, 319 mm deep;
- Contains some hollowed out parts to save resin.
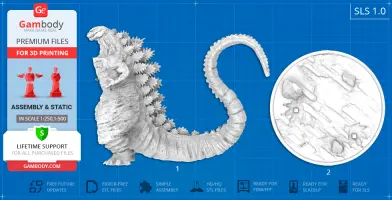
SLS 1.0 version features:
- Made as solid one-piece figurine;
- A printed model is 254 mm tall, 212 mm wide, 319 mm deep;
- Contains 2 parts - a one-piece figurine with the platform separated.
WHAT WILL YOU GET AFTER PURCHASE?
- STL files of Shin Godzilla 3D printing figurine which consist of 116 parts;
- 4 versions of files for this model for FFF/FDM, DLP/SLA, DLP/SLA Eco and SLS;
- High-poly detailed figurine of Shin Godzilla;
- Detailed settings that we provide as a recommendation for Cura , Simplify3D and Slic3r for the best print;
- Full technical support from the Gambody Support Team.
You can get Shin Godzilla 3D printing figurine immediately after the purchase! Just click the green Buy button in the top-right corner of the model’s page. You can pay with PayPal or your credit card.
Watch the tutorial on how to assemble Shin Godzilla 3D printing figurine at Gambody YouTube channel.
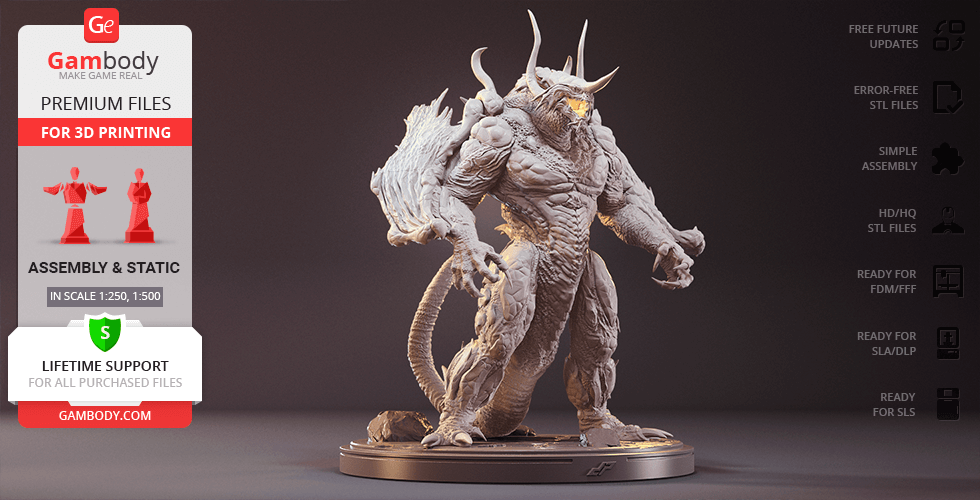
Also, you may like other Kaiju Figurines for 3D Printing.
_______
FAQ:
Where can I print a model if I have no printer?
How to get started with 3D printing?
How to set up my 3D printer?
How to choose right 3D model print bed positioning?
How to paint printed figurine?
Generic
Below you can find printing recommendations for Cura, Bambu Lab, Simplify3D, Slic3r and PrusaSlicer software.
Disclaimer: The following printing settings are a recommendation, not an obligation. The parameters can vary depending on the peculiarities of your 3D printer, the material you use, and especially the particular assembly part you are working with. Each part that any model comprises often needs preliminary review, and you are free to tweak the settings the way you find suitable.
Note:
You can scale up the model (downscaling for FFF/FDM 3D printers is not recommended!);
All connectors should be printed at 100% Infill.
Bambu Lab printing recommendations:
These basic 3D printing settings recommendations for beginners were tested in Bambu Studio 1.9.5. Test models were printed on the Bambu Lab A1, Bambu Lab A1 Mini, Creality Ender 3 S1, Anycubic Kobra 2, and Anycubic Vyper using PLA and PETG filaments.
To avoid printing problems, we recommend the following settings: download
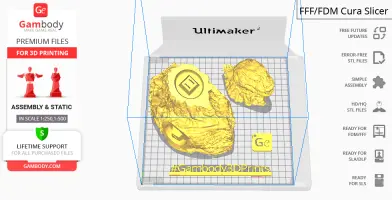
Cura printing recommendations:
These are averaged settings which were tested in the Cura 5.8.1 slicer. Test models were printed on Anycubic Vyper, Creality Ender 3 Pro with PLA filament.
To avoid printing problems, we recommend the following settings: download
Simplify3D printing recommendations:
These are averaged settings which were tested in the Simplify3D 5.0.0 slicer. Test models were printed on Anycubic Vyper, FLSUN v400, Ender3 S1 with PLA filament.
To avoid printing problems, we recommend the following settings: download
Slic3r printing recommendations:
These basic 3D printing settings recommendations for beginners were tested in Slic3r 1.3.0 software. Test models were printed on Ultimaker 2, Creality Ender 3, Creality Cr-10S pro v2, Anycubic I3 Mega, Anycubic I3 MegaS, Anycubic Vyper with PLA and PetG filaments.
To avoid printing problems, we recommend the following settings: download
PrusaSlicer printing recommendations:
These basic 3D printing settings recommendations for beginners were tested in PrusaSlicer 2.3.1. Test models were printed on Ultimaker 2, Creality Ender 3, Creality Cr-10S pro v2, Anycubic I3 Mega, Anycubic I3 MegaS, Anycubic Vyper with PLA and PETG filaments.
To avoid printing problems, we recommend the following settings: download


Comments