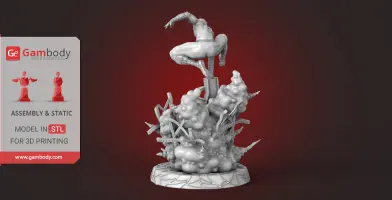
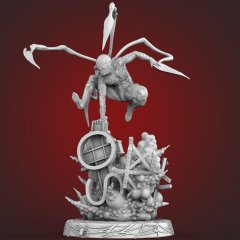
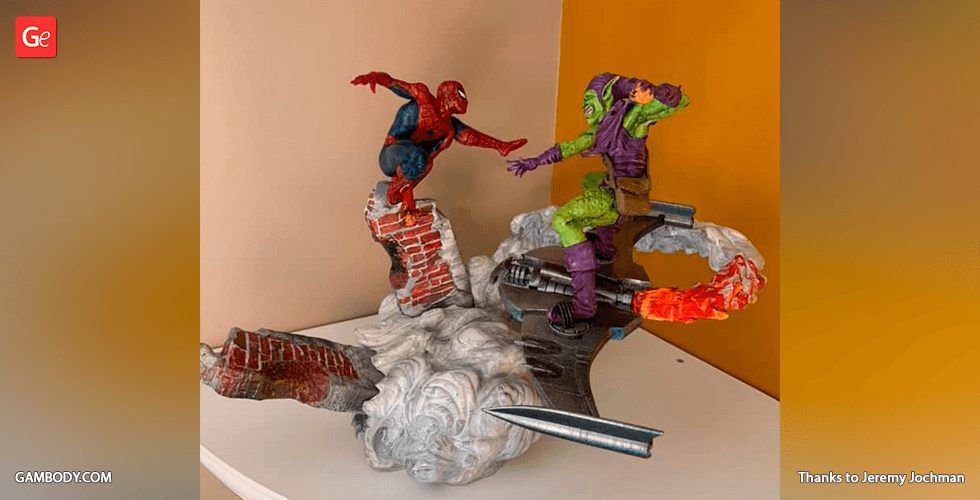
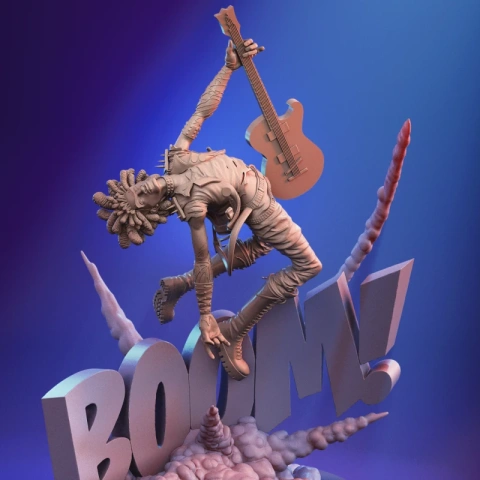
This 3D printing design of Spider-Man Explosion Scene consists of files in StereoLithography (.Stl) format that is optimized for 3D printing.
Before printing the files, we strongly recommend reading the PRINTING DETAILS section.
WHAT WILL YOU GET AFTER PURCHASE?
- 2 versions of Spider-Man Explosion Scene STL files for FFF/FDM and DLP/SLA — files for all versions are available for download after the purchase;
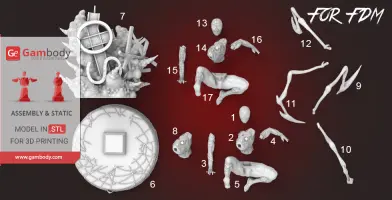
- STL files of high-poly Spider-Man Explosion Scene model for 3D printing consist of 20 files;
- Sizes for:
- FFF/FDM: 300 mm tall, 204 mm wide, 192 mm deep;
- DLP/SLA/SLS: 150 mm tall, 102 mm wide, 96 mm deep;
- Assembly Manual for 1.0 FFF/FDM and 1.0 DLP/SLA versions video format;
- Detailed settings that we provide as a recommendation for Cura, Bambu Studio, Simplify3D, Slic3r and PrusaSlicer for the best print;
- Full technical support from the Gambody Support Team.
Detailed information about these 3D printer STL files is available in the DESCRIPTION section.
ABOUT THIS 3D MODEL
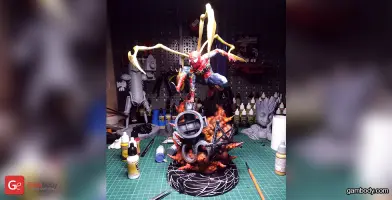
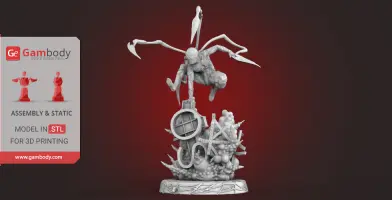
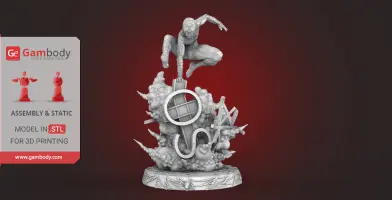
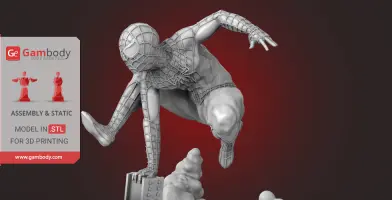
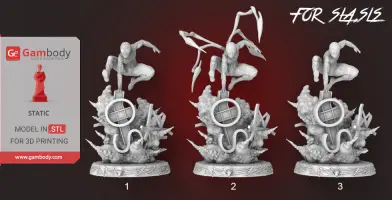
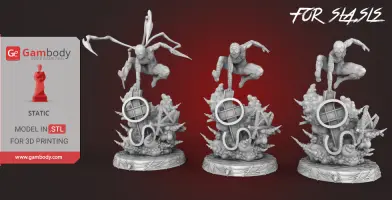
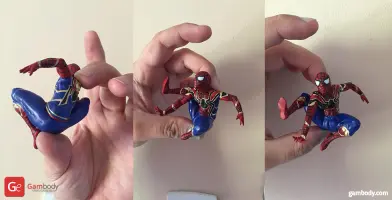
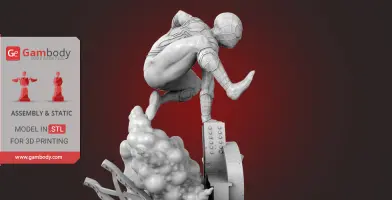
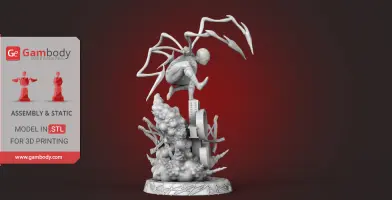
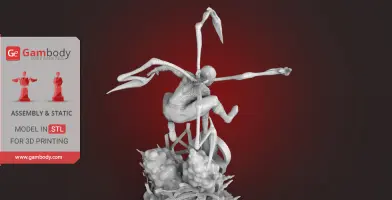
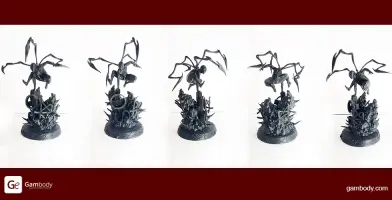
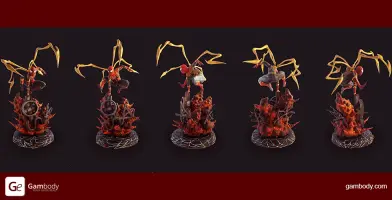
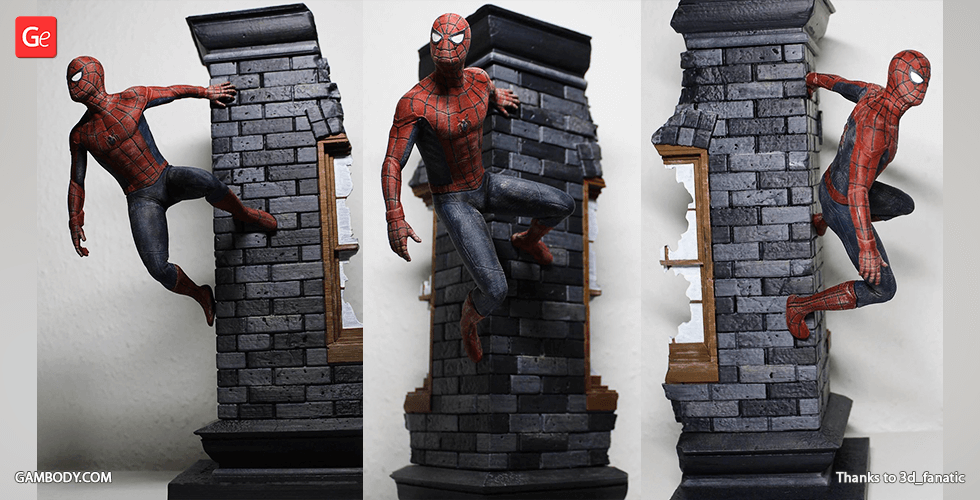
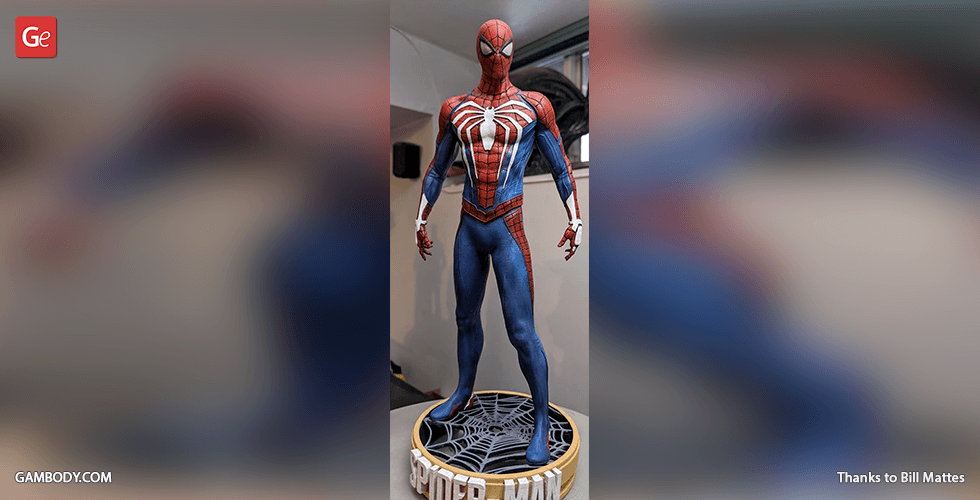
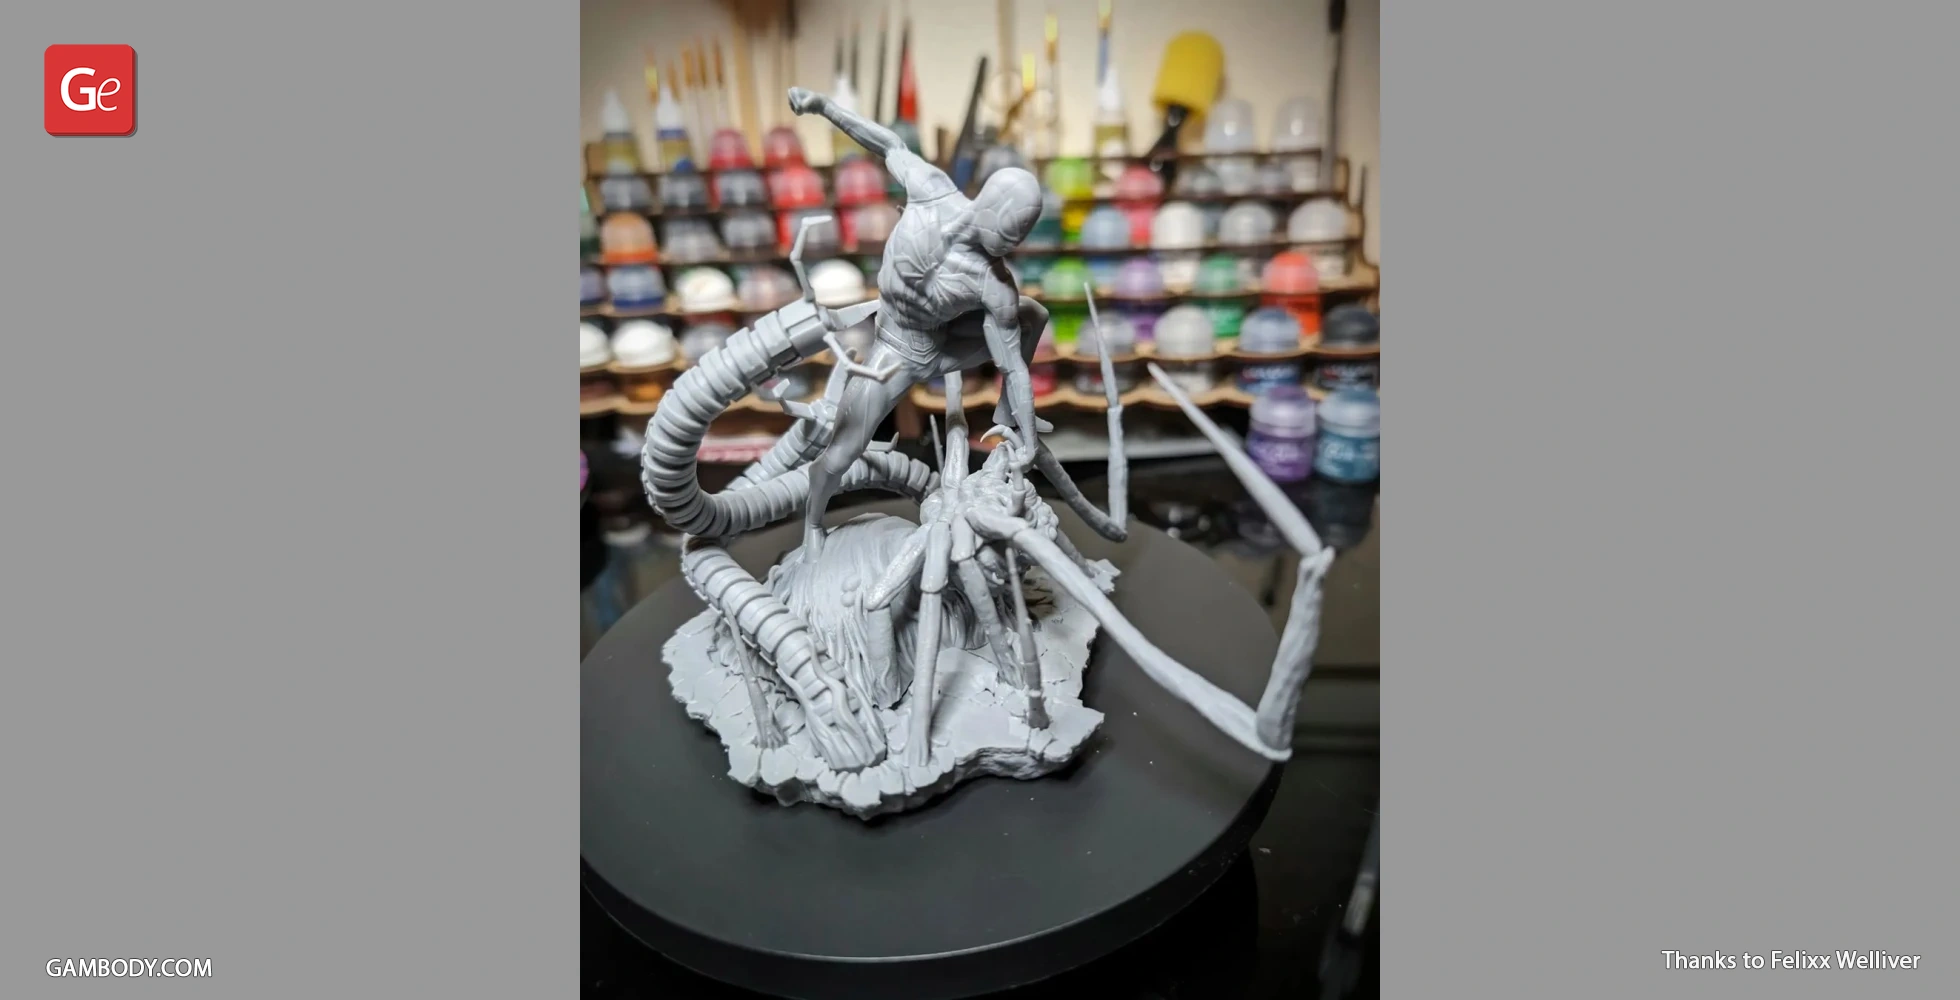
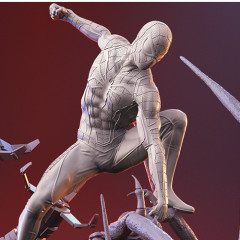
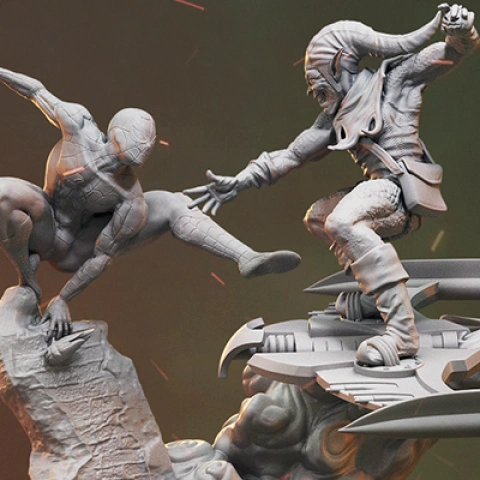
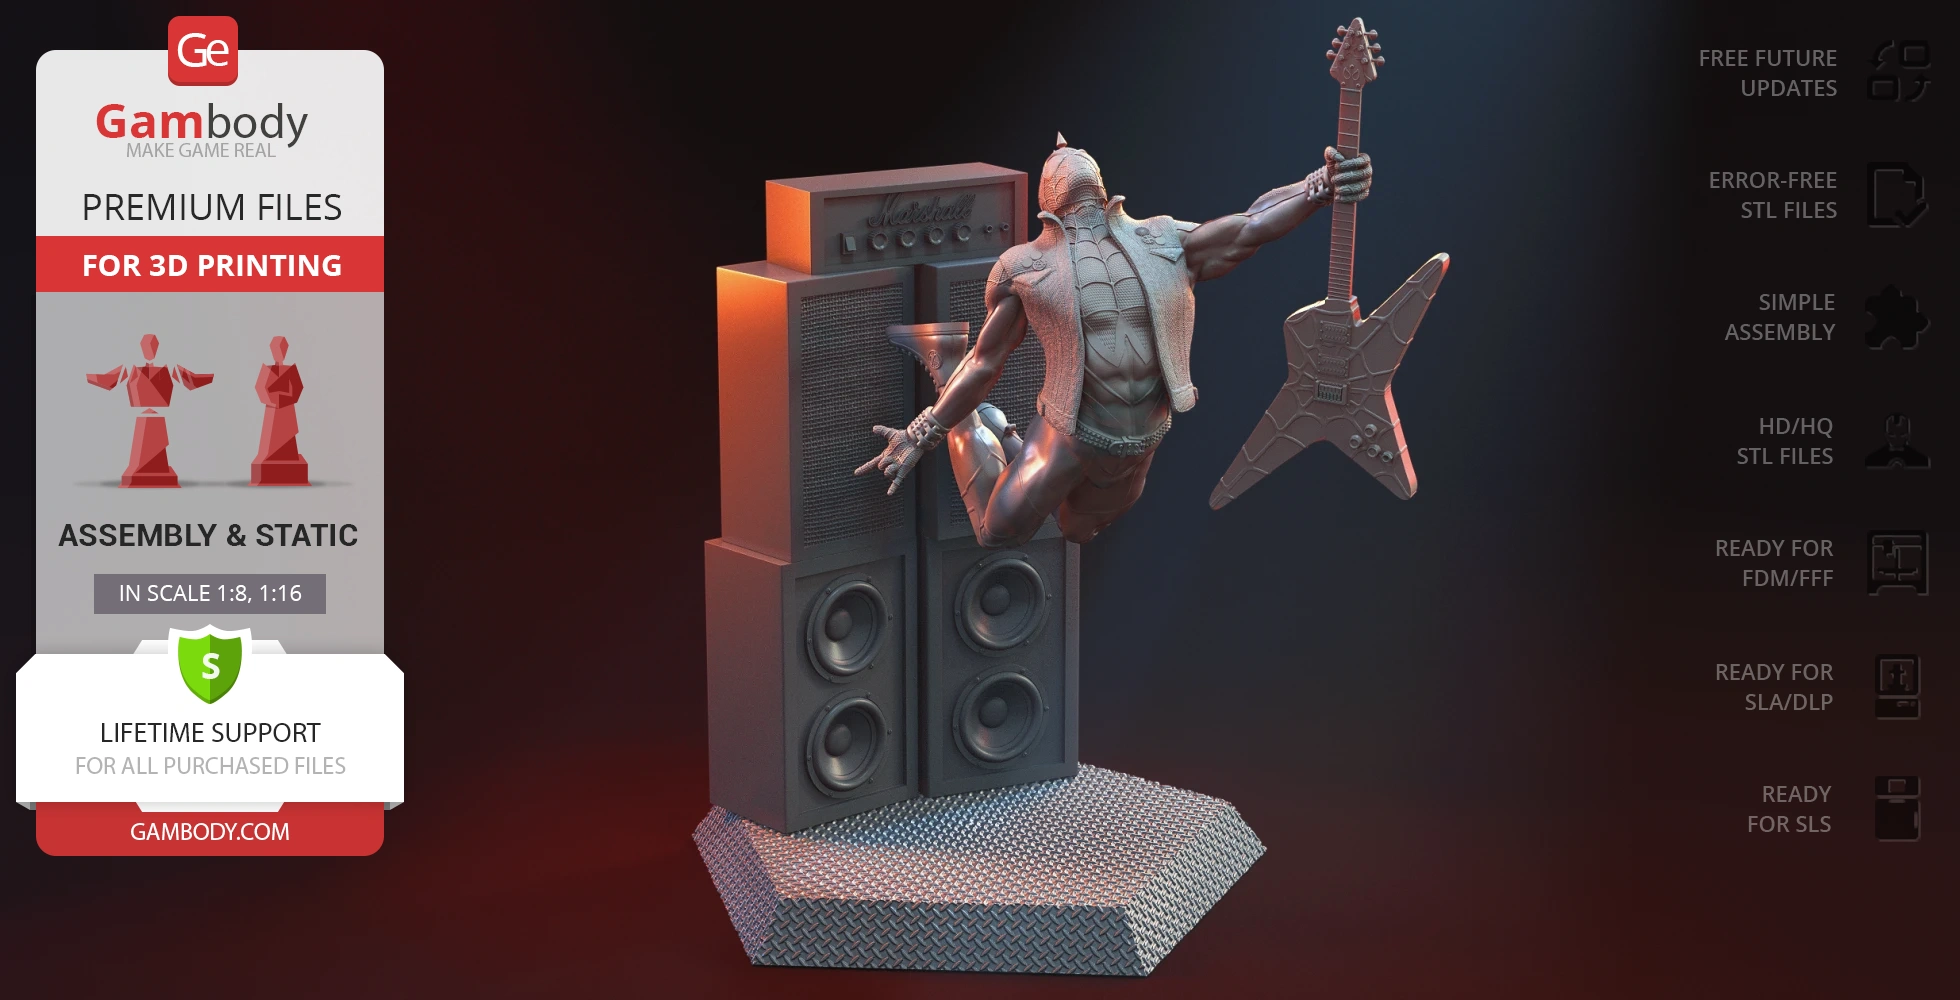
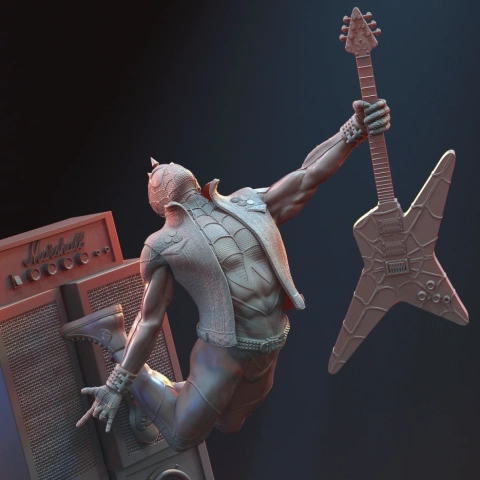
Peter Benjamin Parker is a superhero superhero known as Spider-Man. Peter was bitten by a radioactive spider in high school and as a result, he developed spider-like abilities. Soon he was free to creep along the walls and feel the danger and eventually created a device that shoots cobwebs. After the death of Uncle Ben, Peter realized that "with great strength, comes a great responsibility" so he became Spider-Man. The history of the spider man contains many personalities in which he changed costumes and sometimes even his abilities and personality. There are 3 versions of his costume is presented for you. First from the Infinity War. Second with his metallic tentacles. The third is more classic from the Amazing Spiderman series.
ADAPTATION FOR 3D PRINTING
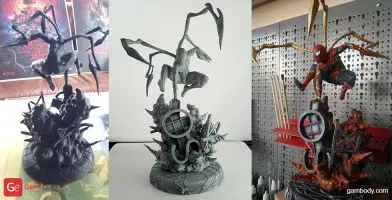
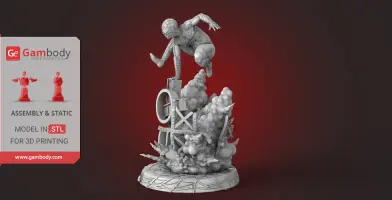
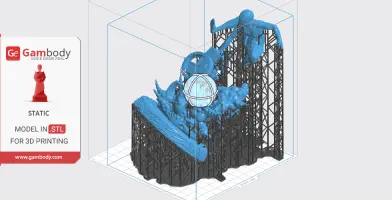
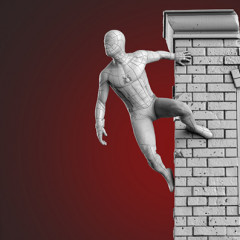
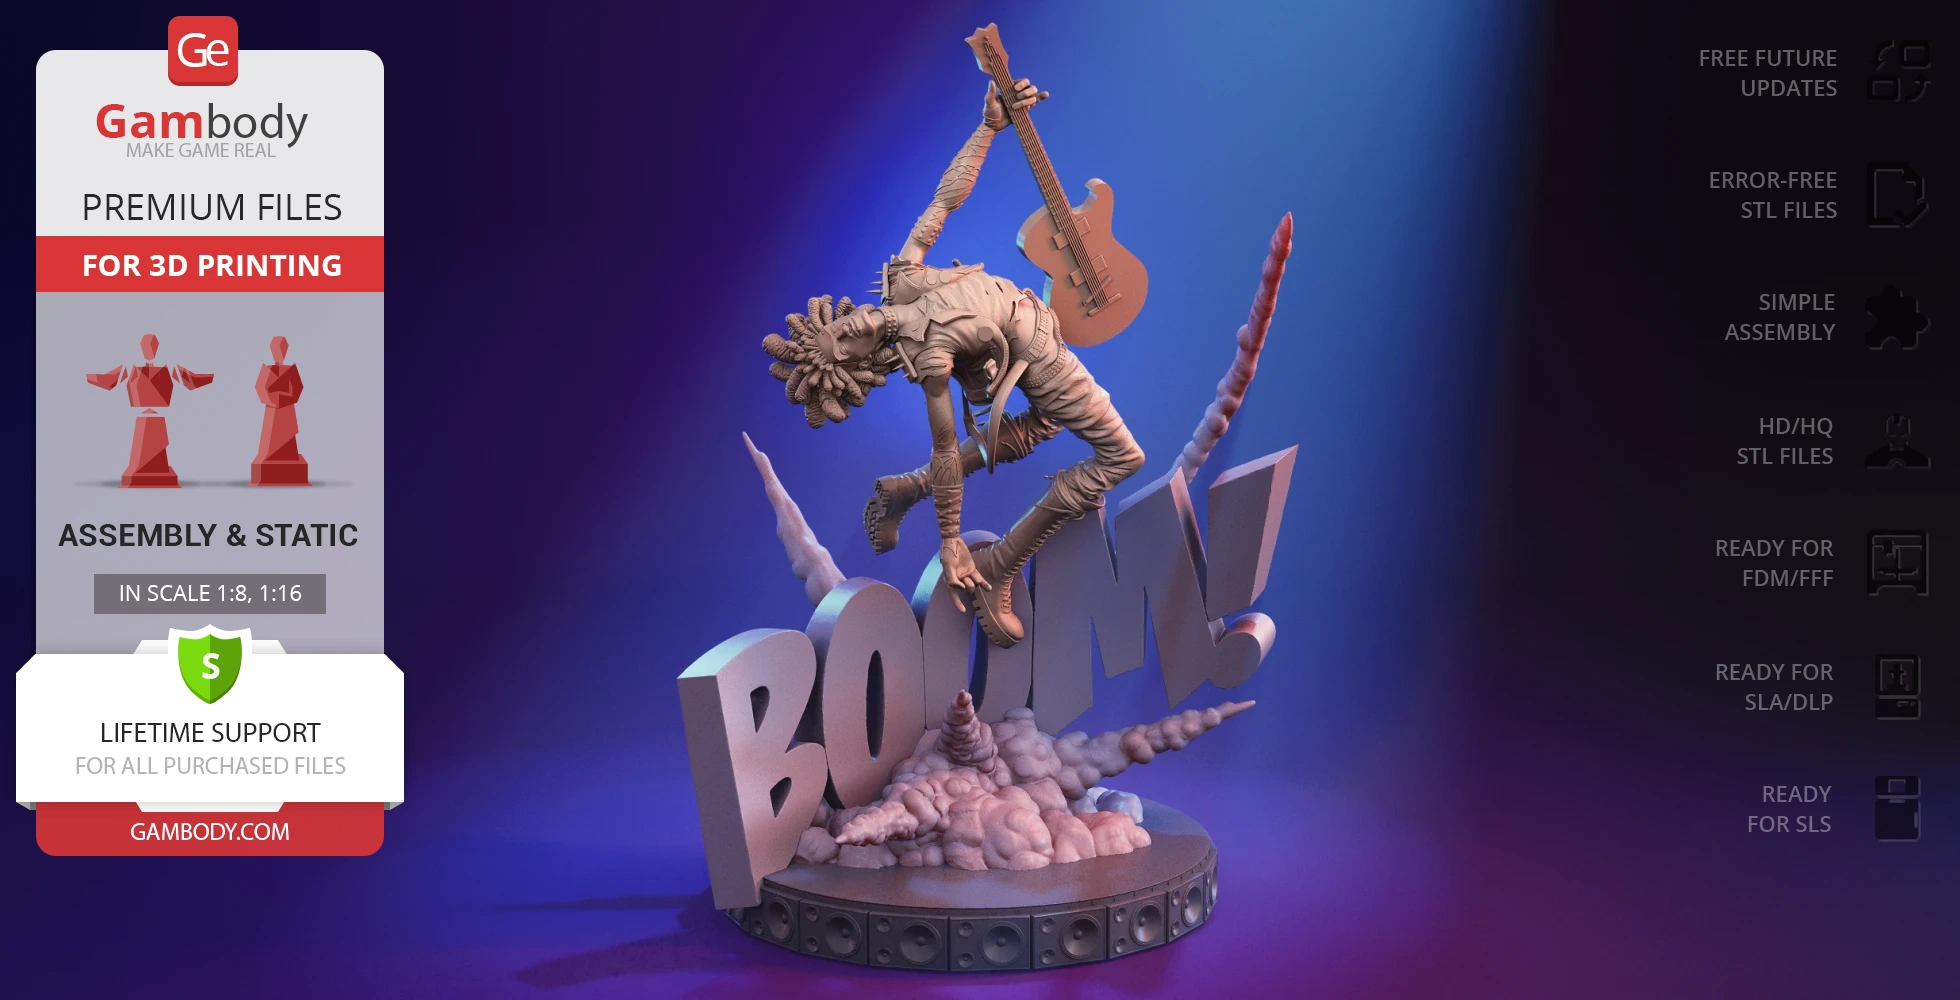
Spider-Man Explosion Scene 3D printing design is a static assembly model and its moderation and adaptation for different types of 3D printers took Gambody team 32 hours. The model's anatomy and proportions were thoroughly reviewed during the moderation process for the hero to look harmonically in the intended pose. In order to conceal the places where the assembly parts of the models are connected, the model was cut along the contour of Spider-Man body.
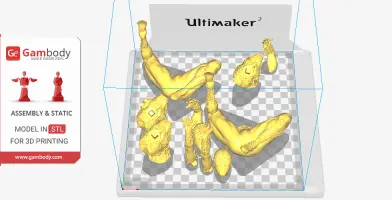
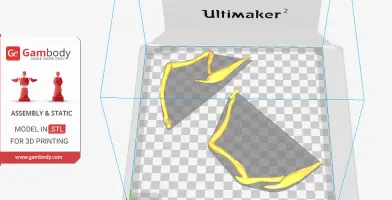
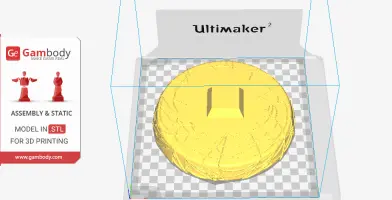
All assembly parts of the 1.0 FFF/FDM version come in STL files in recommended positions that were worked out in order to ensure the smoothness of the details’ surfaces after printing and so that the 3D printing beginners won't face difficulties when placing the parts on a build plate.
The design is saved in STL files, a format supported by most 3D printers. All STL files for 3D printing have been checked in Netfabb and no errors were shown.
The 3D printing design's chosen scales are 1:8 for the FFF/FDM version and 1:16 for the DLP/SLA version.
VERSIONS' SPECIFICATIONS
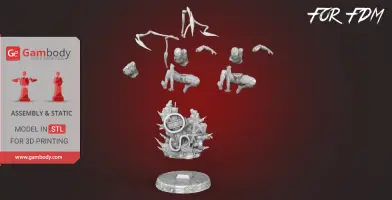
1.0 FFF/FDM version features:
- Contains 17 parts;
- A printed model is 300 mm tall, 204 mm wide, 192 mm deep;
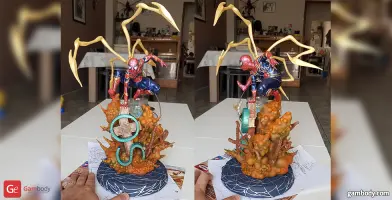
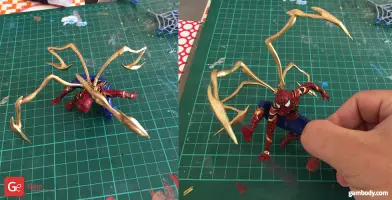
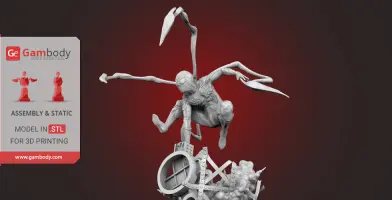
- Made with removable parts of tentacles;
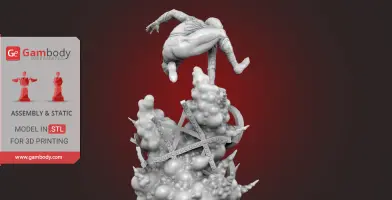
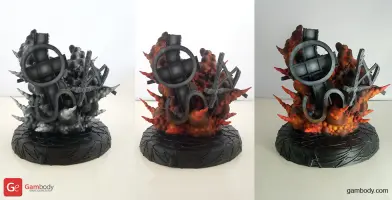
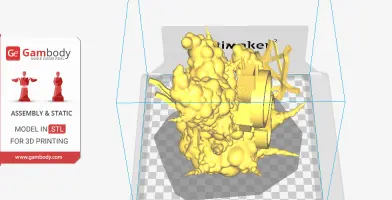
- Made with platform stylized as an explosion and a collapsing building;
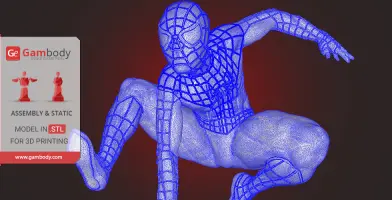
- Provided second version of classic Amazing Spider-Man costume;
- All parts are divided in such a way that you will print them with the smallest number of support structures.
1.0 DLP/SLA version features:
- Contains 3 parts;
- A printed model is 150 mm tall, 102 mm wide, 96 mm deep;
- Made as solid model with 3 variants of the costume;
- All parts are divided in such a way to fit the build plates and to ensure that support structures are generated where needed.
You can get STL files of Spider-Man 3D Print Model right now! Just click the green Buy button in the top-right corner of the model’s page. You can pay with PayPal or your credit card.
Watch the tutorial video on how to assemble the 3D Printed Spider-Man Model from the provided 3D Print Files at Gambody YouTube channel.
Also, you may like other Marvel 3D Printing Designs.
_______
FAQ:
Generic
Below you can find printing recommendations for Cura, Bambu Studio, Simplify3D, Slic3r and PrusaSlicer software.
Disclaimer: The following printing settings are a recommendation, not an obligation. The parameters can vary depending on the peculiarities of your 3D printer, the material you use, and especially the particular assembly part you are working with. Each part that any model comprises often needs preliminary review, and you are free to tweak the settings the way you find suitable.
Note:
You can scale up the model (downscaling for FFF/FDM 3D printers is not recommended!);
All connectors should be printed at 100% Infill.
Bambu Lab printing recommendations:
These basic 3D printing settings recommendations for beginners were tested in Bambu Studio 1.9.1. Test models were printed on the Bambu Lab A1, Bambu Lab A1 Mini, Creality Ender 3 S1, Anycubic Kobra 2, and Anycubic Vyper using PLA and PETG filaments.
To avoid printing problems, we recommend the following settings: download
Cura printing recommendations:
These are averaged settings which were tested in the Cura 5.2.1 slicer. Test models were printed on Anycubic Vyper, Creality Ender 3 Pro with PLA filament.
To avoid printing problems, we recommend the following settings: download
Simplify3D printing recommendations:
These are averaged settings which were tested in the Simplify3D 5.0.0 slicer. Test models were printed on Anycubic Vyper, FLSUN v400, Ender3 S1 with PLA filament.
To avoid printing problems, we recommend the following settings: download
Slic3r printing recommendations:
These basic 3D printing settings recommendations for beginners were tested in Slic3r 1.3.0 software. Test models were printed on Ultimaker 2, Creality Ender 3, Creality Cr-10S pro v2, Anycubic I3 Mega, Anycubic I3 MegaS, Anycubic Vyper with PLA and PetG filaments.
To avoid printing problems, we recommend the following settings: download
PrusaSlicer printing recommendations:
These basic 3D printing settings recommendations for beginners were tested in PrusaSlicer 2.3.1. Test models were printed on Ultimaker 2, Creality Ender 3, Creality Cr-10S pro v2, Anycubic I3 Mega, Anycubic I3 MegaS, Anycubic Vyper with PLA and PETG filaments.
To avoid printing problems, we recommend the following settings: download


Comments