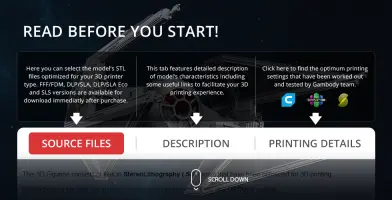
This 3D Model consists of files in StereoLithography (.Stl) format that is optimized for 3D printing.
Before printing the files, we strongly recommend reading the PRINTING DETAILS section.
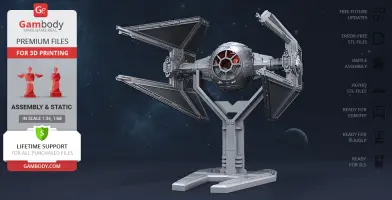
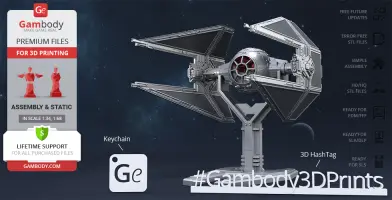
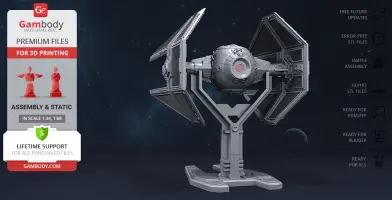
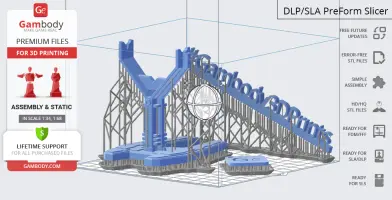
TIE Interceptor 3D Printing Model comes in 3 versions for each 3D printer type (FFF/FDM and DLP/SLA/SLS). Files for each version are available for download after the purchase.
Detailed information about this 3D printing model is available in the DESCRIPTION section.
ABOUT THIS 3D MODEL
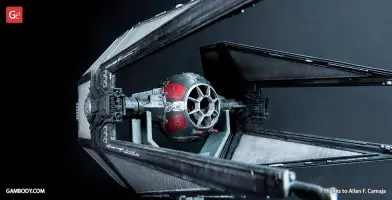
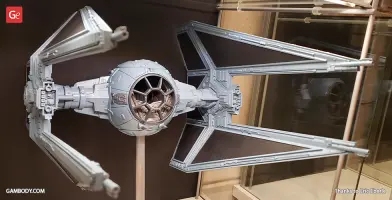
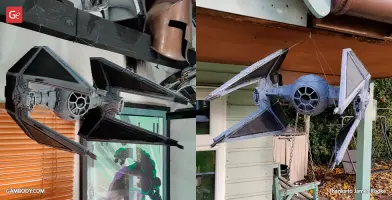
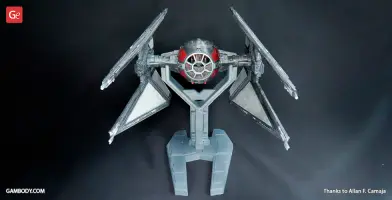
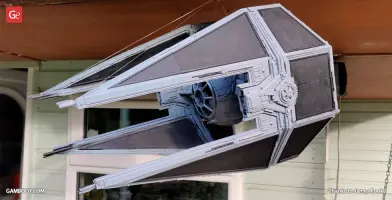
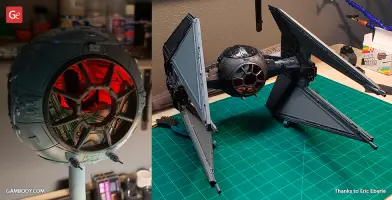
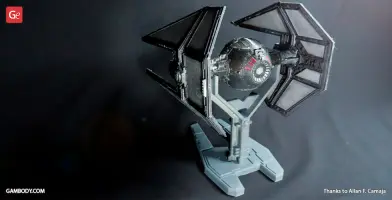
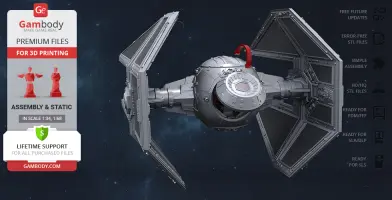
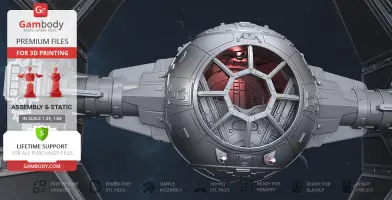
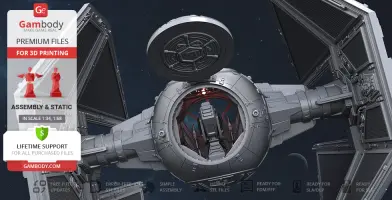
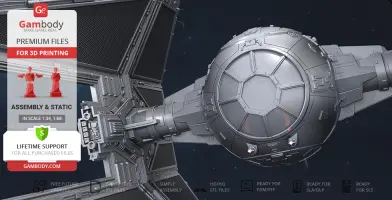
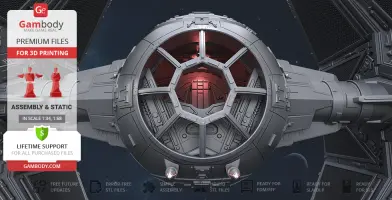
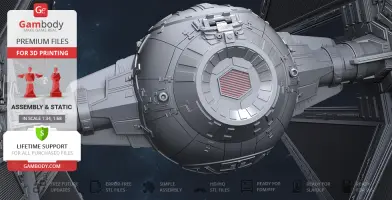
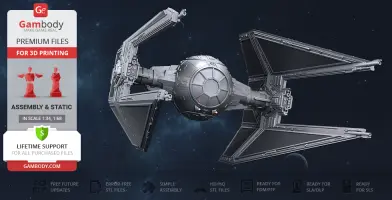
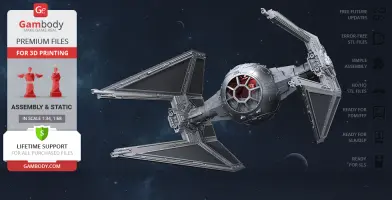
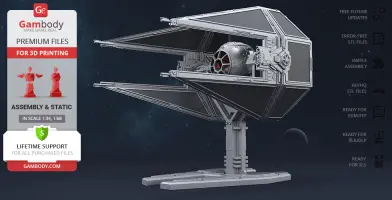
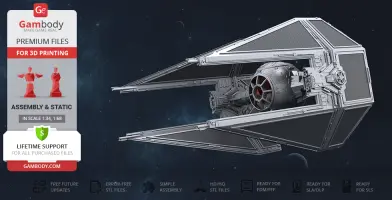
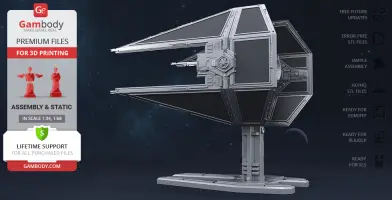
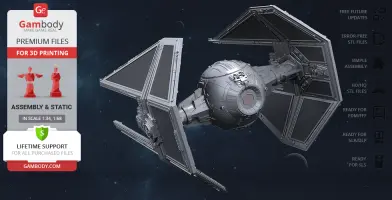
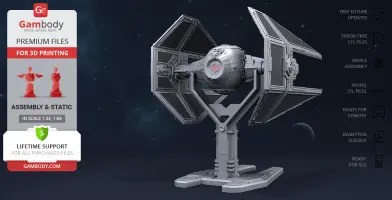
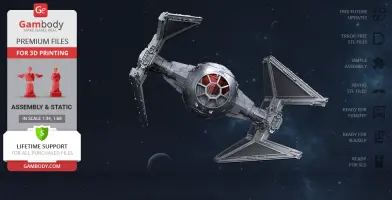
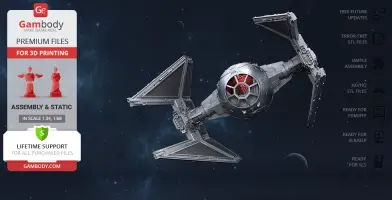
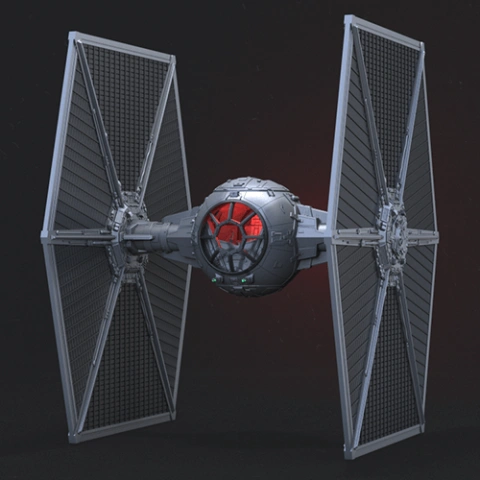
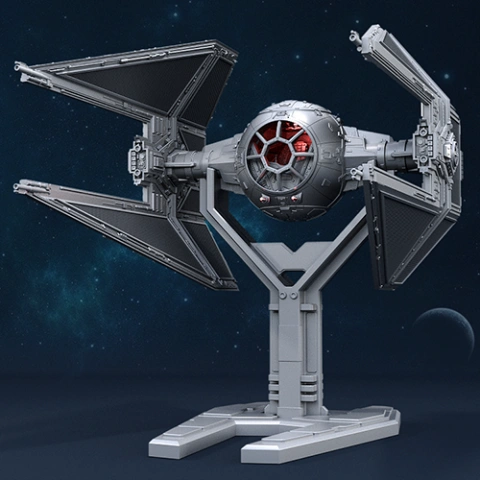
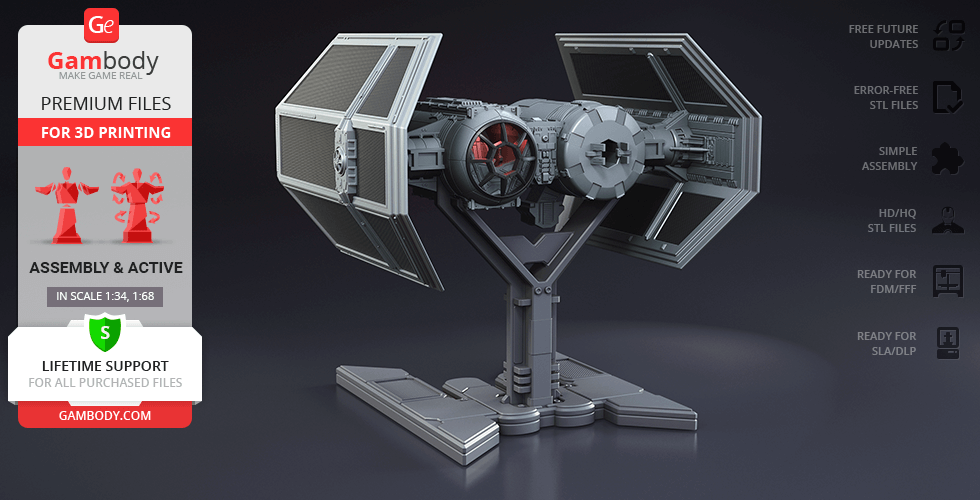
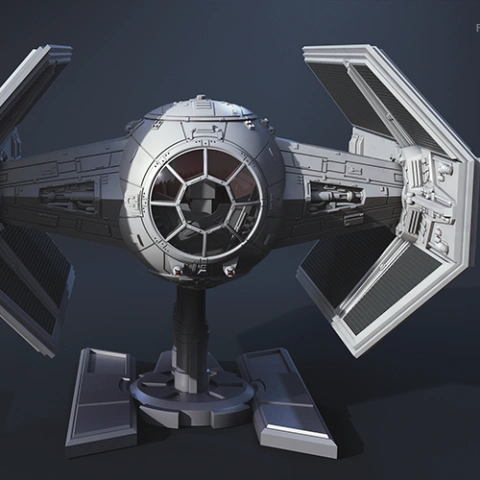
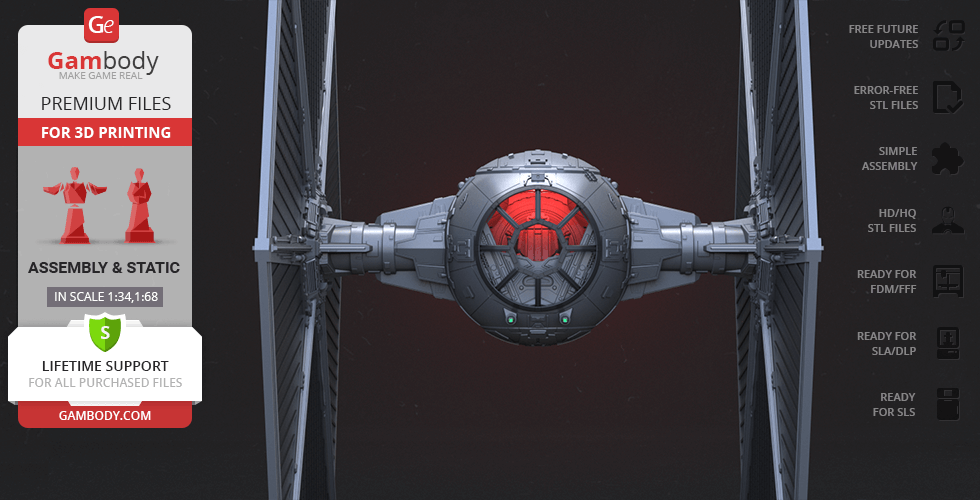
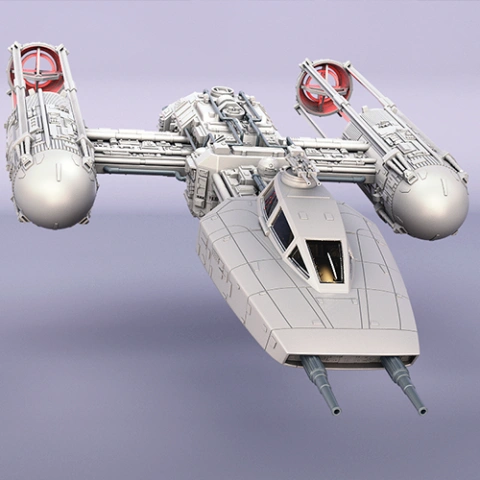
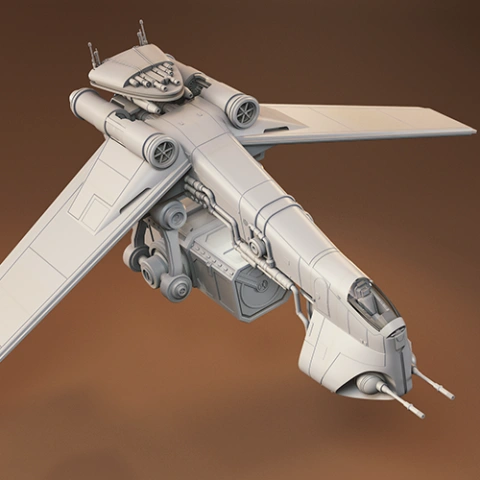
TIE Interceptor is a TIE line fighter that figured prominently throughout Return of the Jedi, the third instalment of the original Star Wars trilogy where the ship was mainly deployed during the Battle of Endor. Mainly thanks to Interceptor’s dagger-shaped wings, the fighter won general recognition as “a deadly combination of speed and firepower” that made it a pretty feared opponent in dogfights. Usually piloted by elite Empire soldiers, TIE Interceptor offered significantly improved manoeuvrability and much more firepower when compared to regular TIE fighters. The author of the TIE Interceptor model for 3D printing spent 132 hours in total to depict all trademark features of the menacing spacecraft. Similar to its TIE line predecessors, 3D printing TIE Interceptor has a ball-shaped cockpit equipped with an ejection seat for a single pilot. The “eyeball” is suspended between two heavy wing pylons that are attached to Interceptor’s distinctive bent wings. The 3D artist did a perfect job conveying the starfighter’s sleek and oblong profile that totally justifies the impressive top speed of the Interceptor. Four laser cannons that are known to be found on the TIE Interceptor only are mounted on the tips of the 3D printing model’s arrow-shaped wings as well. A deadly and speedy addition to your 3D printed Empire's military might is ready to reinforce your collection - just order the STL files!
ADAPTATION FOR 3D PRINTING
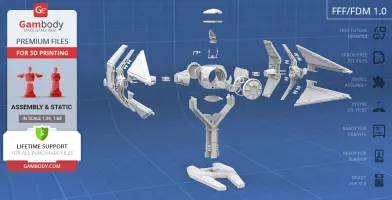
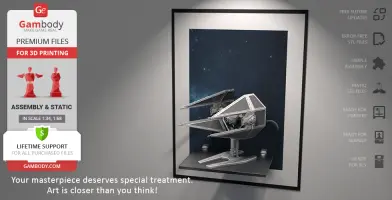
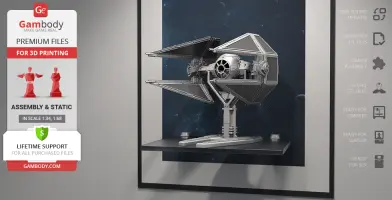
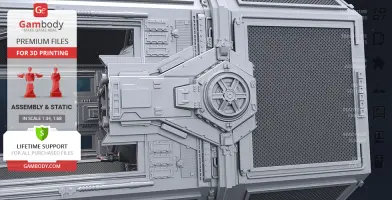
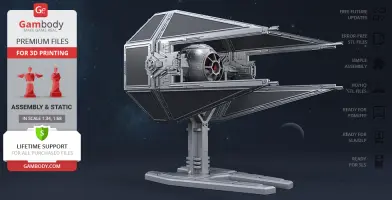
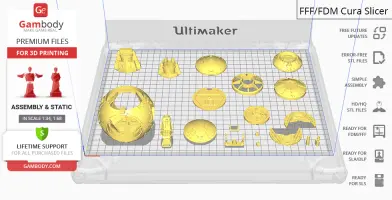
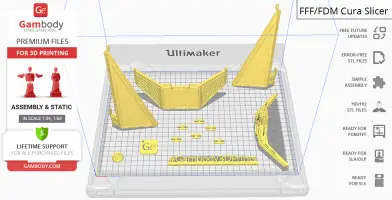
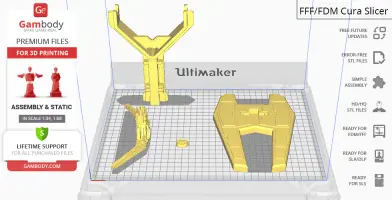
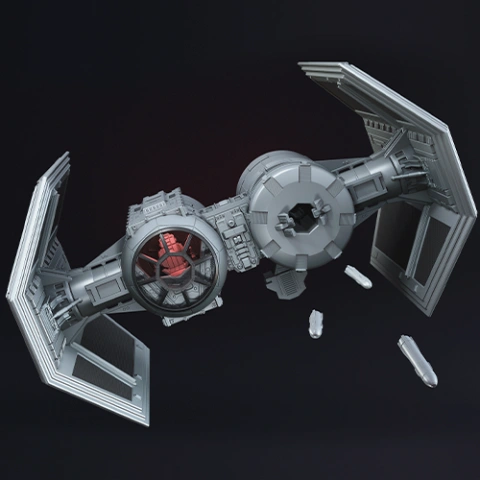
TIE Interceptor model for 3D printing is a static assembly model and its moderation and adaptation for different types of 3D printers took Gambody team 25 hours in total. For you to receive the cleanest printing result possible and to minimise the amount of filament needed for generated support the starfighter model was divided into many assembly parts, e.g. its hatches, targeting sensors, wing pylons and braces, main and upper viewports etc. are provided as separate STL files. The model’s back ingress hatch can be opened with the help of claws and roll mechanism for you to access the cockpit that is equipped with an ejection seat. TIE Interceptor’s main “transparisteel” viewport cap comes in two variants - a simple frame to access the cockpit and a solid one. For you to conveniently display the model among your 3D printed Star Wars collection there was a special two-piece stand for the ship prepared. All assembly parts are provided in STL files in recommended positions that were worked out in order to ensure the smoothness of the details’ surfaces after printing and that the 3D printing beginners won't face difficulties when placing the parts on a build plate.
The model is saved in STL files, a format supported by most 3D printers. All STL files for 3D printing have been checked in Netfabb and no errors were shown.
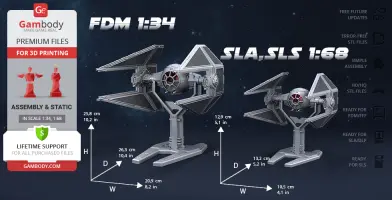
The model's scale was calculated from the actual length of TIE Interceptor that is 9600 mm. The 3D printing model's chosen scale is 1/34 for the FFF/FDM version and 1/68 for the DLP/SLA/SLS versions.
VERSIONS' SPECIFICATIONS
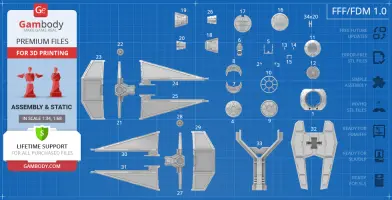
FFF/FDM 1.0 version features:
- Contains 34 parts;
- A printed model is 258 mm tall, 209 mm wide, 263 mm deep;
- Assembly kit includes lock 34_Ge_lock_10H_x20 to connect the model's parts securely without glue that needs to be printed 20 times;
- Made with two alternative main viewport caps;
- The ingress hatch can be opened to access the cockpit with an ejection seat;
- All parts are divided in such a way that you will print them with the smallest number of support structures.
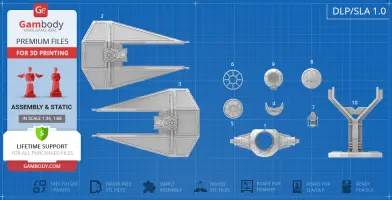
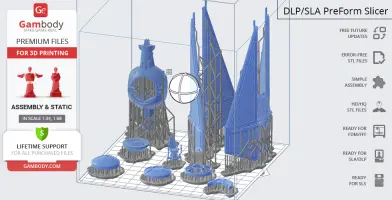
DLP/SLA 1.0 version features:
- Contains 10 parts;
- A printed model is 129 mm tall, 105 mm wide, 132 mm deep;
- Made with two alternative main viewport caps;
- The ingress hatch can be opened to access the cockpit with an ejection seat;
- All parts are divided in such a way to fit the build plates and to ensure that support structures are generated where needed.
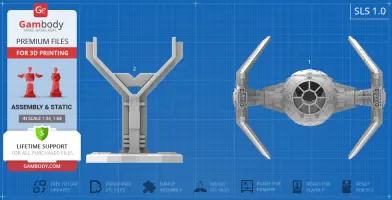
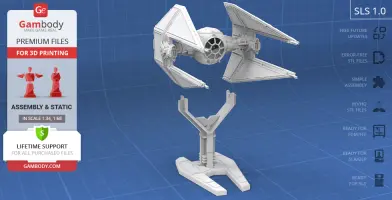
SLS 1.0 version features:
- Made as a solid one-piece model;
- A printed model is 129 mm tall, 105 mm wide, 132 mm deep;
- Contains 2 parts - TIE Interceptor model with the platform separated.
WHAT WILL YOU GET AFTER PURCHASE?
- STL files of TIE Interceptor Model for 3D printing which consist of 46 parts;
- 3 versions of files for this model for FFF/FDM, DLP/SLA and SLS printers;
- High-poly detailed model of TIE Interceptor;
- Detailed settings that we provide as a recommendation for Cura , Simplify3D and Slic3r for the best print;
- Full technical support from the Gambody Support Team.
You can get the model of TIE Interceptor for 3D Printing immediately after the purchase! Just click the green Buy button in the top-right corner of the model’s page. You can pay with PayPal or your credit card.
Watch the tutorial on how to assemble TIE Interceptor 3D Printing Model at Gambody YouTube channel.
Also, you may like other TIE line Models for 3D Printing as well as other Star Wars 3D Printing Models.
_______
FAQ:
Where can I print a model if I have no printer?
How to get started with 3D printing?
How to set up my 3D printer?
How to choose right 3D model print bed positioning?
How to paint printed figurine?
Generic
Below you can find printing recommendations for Cura, Bambu Lab, Simplify3D, Slic3r and PrusaSlicer software.
Disclaimer: The following printing settings are a recommendation, not an obligation. The parameters can vary depending on the peculiarities of your 3D printer, the material you use, and especially the particular assembly part you are working with. Each part that any model comprises often needs preliminary review, and you are free to tweak the settings the way you find suitable.
Note:
You can scale up the model (downscaling for FFF/FDM 3D printers is not recommended!);
All connectors should be printed at 100% Infill.
Bambu Lab printing recommendations:
These basic 3D printing settings recommendations for beginners were tested in Bambu Studio 1.9.1. Test models were printed on the Bambu Lab A1, Bambu Lab A1 Mini, Creality Ender 3 S1, Anycubic Kobra 2, and Anycubic Vyper using PLA and PETG filaments.
To avoid printing problems, we recommend the following settings: download
Cura printing recommendations:
These are averaged settings which were tested in the Cura 5.2.1 slicer. Test models were printed on Anycubic Vyper, Creality Ender 3 Pro with PLA filament.
To avoid printing problems, we recommend the following settings: download
Simplify3D printing recommendations:
These are averaged settings which were tested in the Simplify3D 5.0.0 slicer. Test models were printed on Anycubic Vyper, FLSUN v400, Ender3 S1 with PLA filament.
To avoid printing problems, we recommend the following settings: download
Slic3r printing recommendations:
These basic 3D printing settings recommendations for beginners were tested in Slic3r 1.3.0 software. Test models were printed on Ultimaker 2, Creality Ender 3, Creality Cr-10S pro v2, Anycubic I3 Mega, Anycubic I3 MegaS, Anycubic Vyper with PLA and PetG filaments.
To avoid printing problems, we recommend the following settings: download
PrusaSlicer printing recommendations:
These basic 3D printing settings recommendations for beginners were tested in PrusaSlicer 2.3.1. Test models were printed on Ultimaker 2, Creality Ender 3, Creality Cr-10S pro v2, Anycubic I3 Mega, Anycubic I3 MegaS, Anycubic Vyper with PLA and PETG filaments.
To avoid printing problems, we recommend the following settings: download


Comments