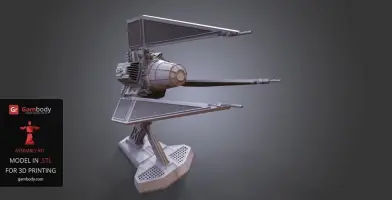
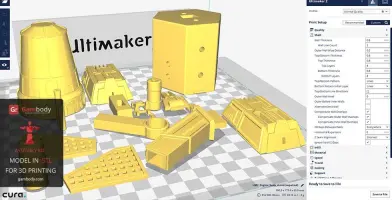
This 3D model consists of files in StereoLithography (.Stl) format that have been optimized for 3D printing.
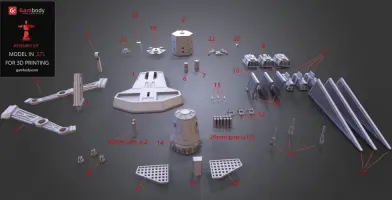
Download parts 8_Phantom_Engine_body_stand and 19_Phantom_Back_part for free to check the printability and test the quality before buying all STL files of the 3D model.
Download Free Samples
Before printing the files, we strongly recommend reading the PRINTING DETAILS section.
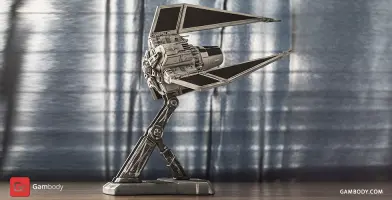
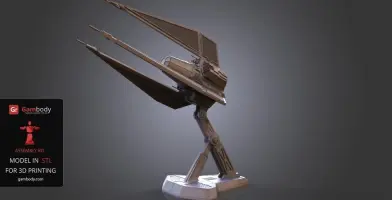
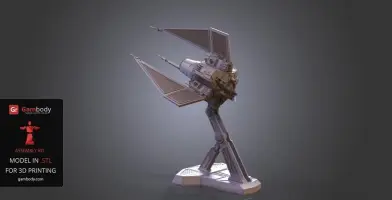
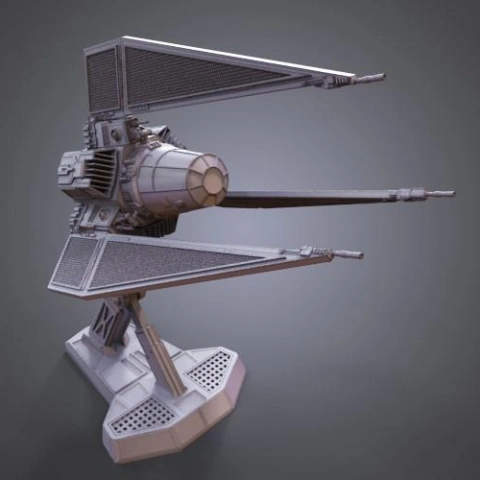
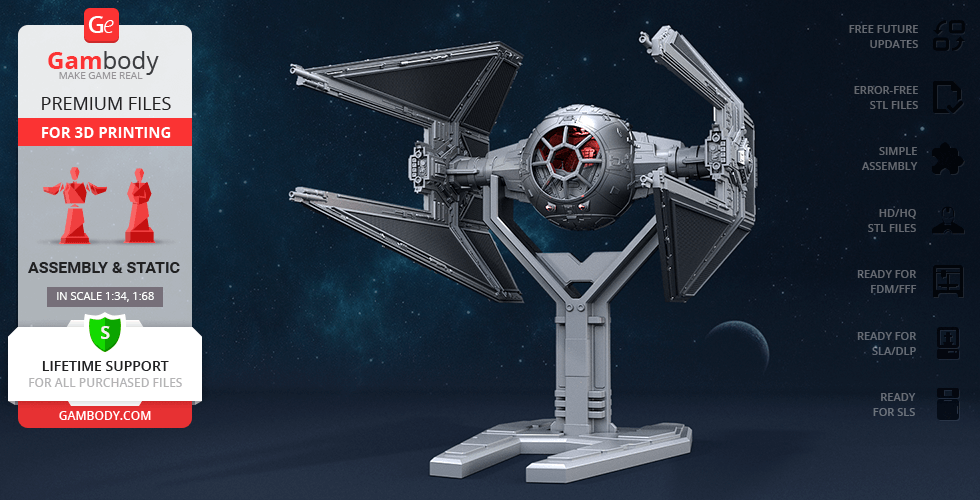
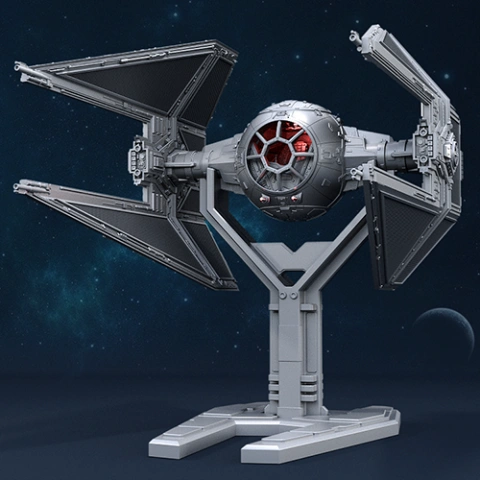
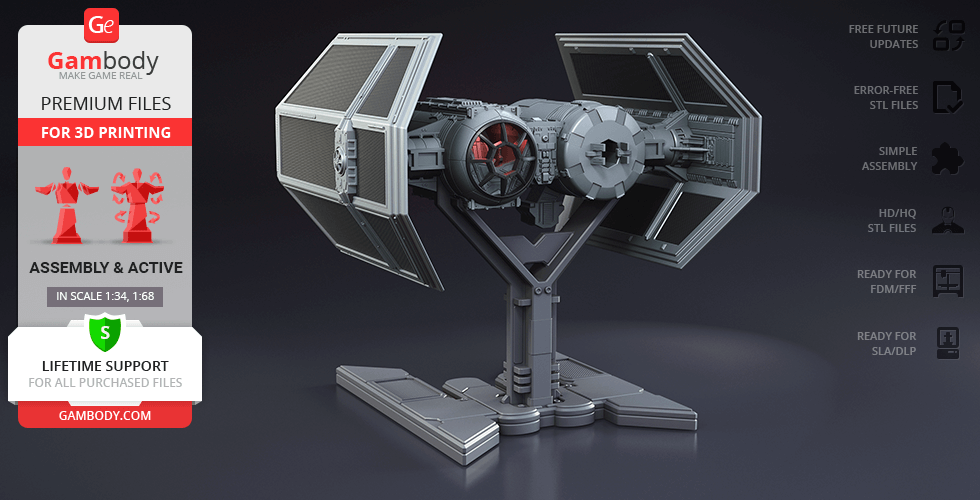
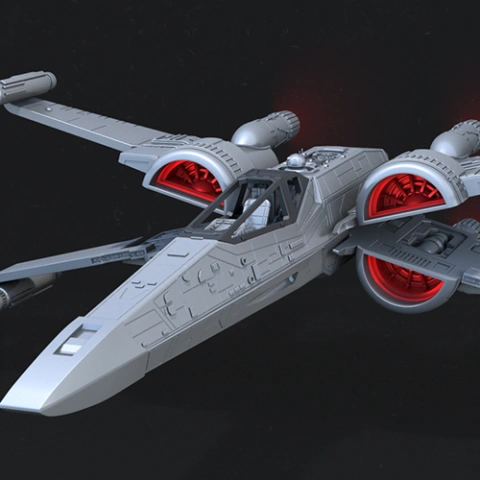
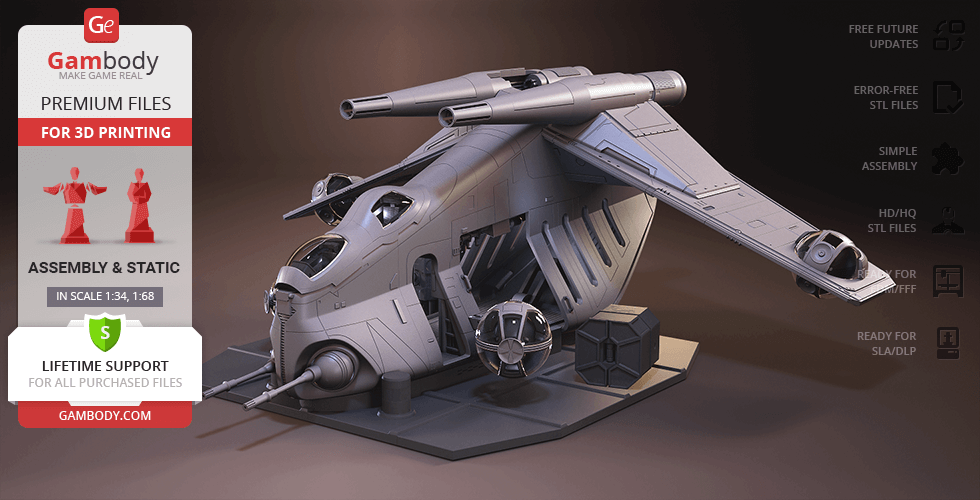
There is TIE Phantom starship 3D model inspired by “Star Wars Rebels” animated film. For the first time, it appeared in 2014 and then became an important part of the Galaxy saga.
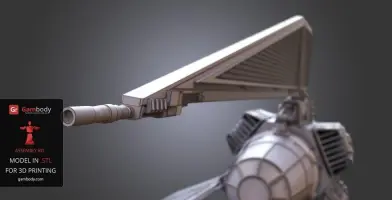
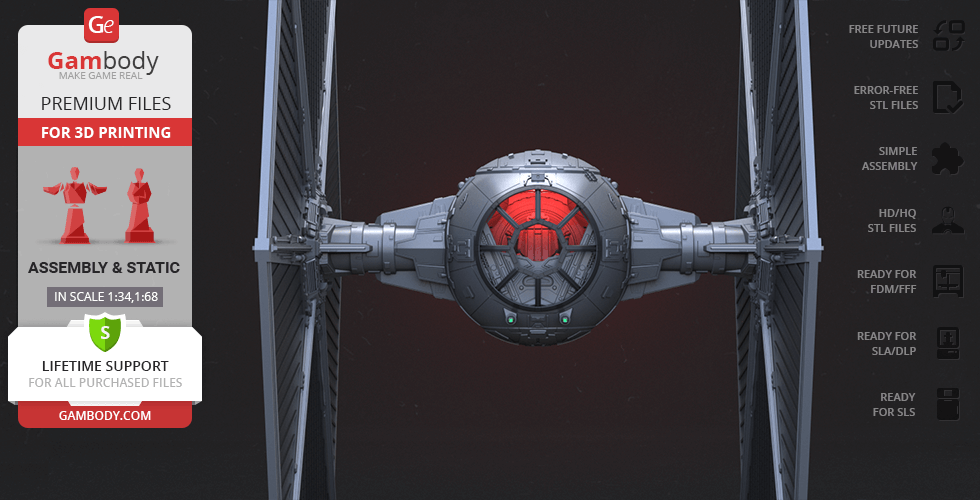
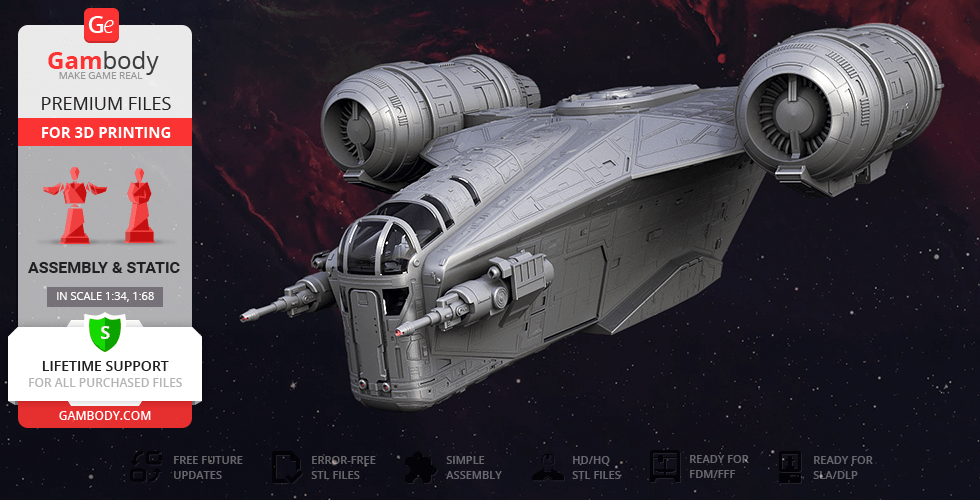
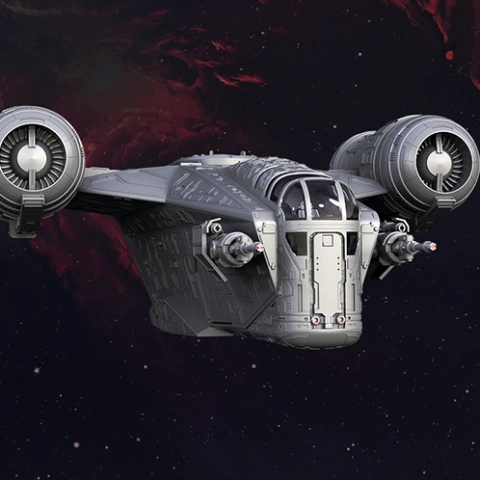
TIE Phantom belongs to the fighting ships. After the Death Star was destroyed, the rebels took the Phantom ship, its predecessor, to run away from the Empire forces. Since then the Empire started to develop a more powerful, more deadly ship, which was TIE Phantom. It stands a bit above other ships of its class, because the fire force of TIE Phantom is higher than theirs, and it has an improved cloaking device. The ship is also equipped with laser cannons that leave enemies with almost no chance to win.
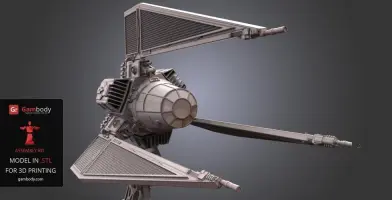
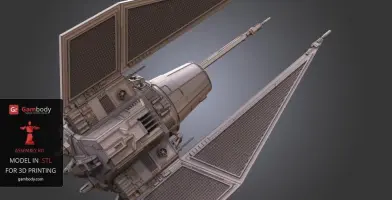
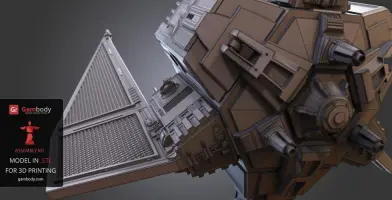
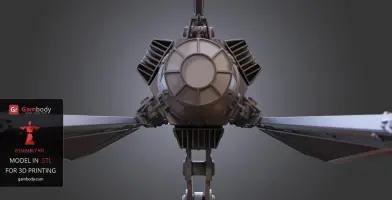
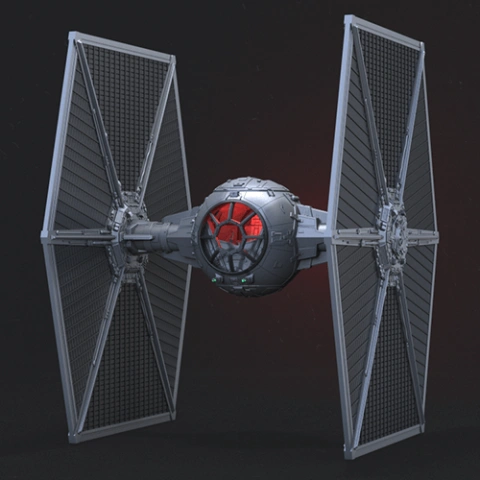
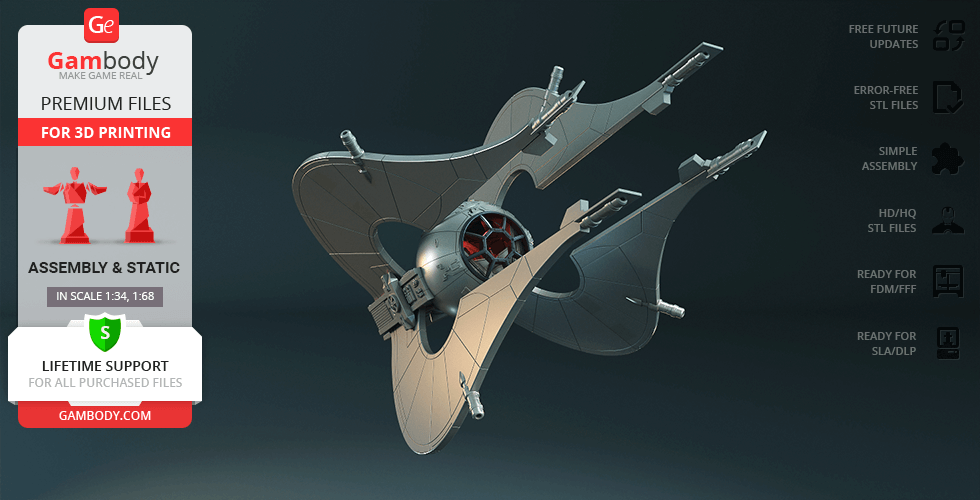
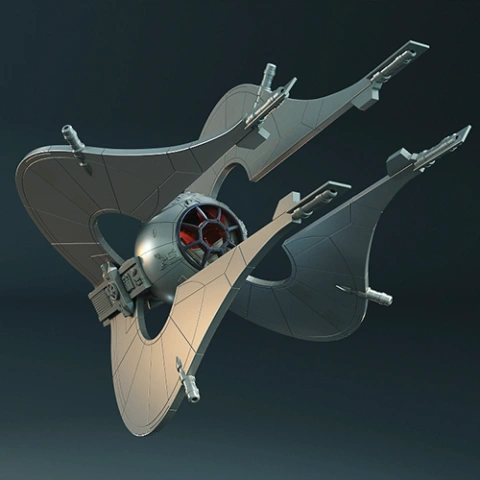
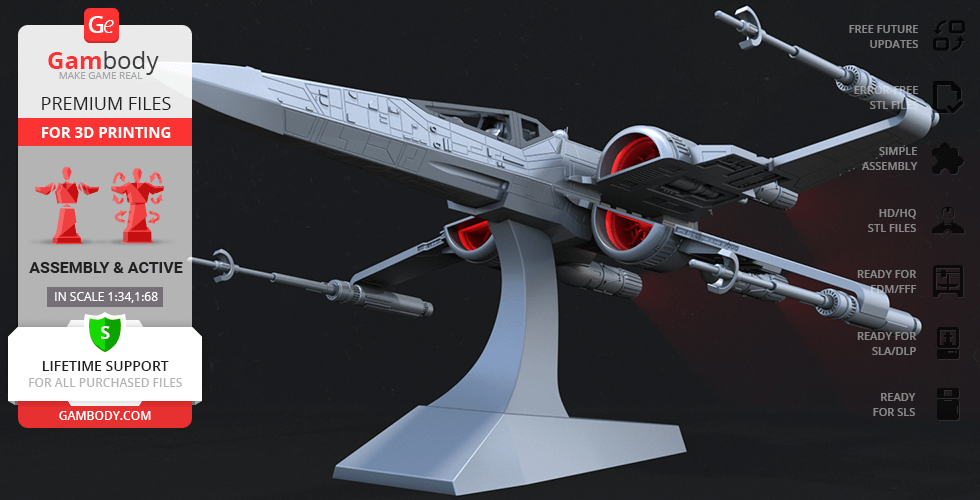
The 3D model of TIE Phantom is as impressive as its prototype. Its artist, Maxim Kitsa, has worked it up to the slightest detail. The surfaces are designed so that after printing you will easily recognize the material they represent. The size of the TIE Phantom in the movie is 14.3m, and in order to make the figurine look majestically after it's been printed, its scale is 1:50.
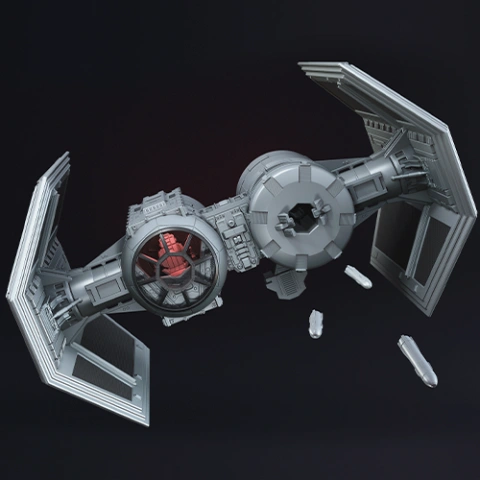
This 3D printing model is split into 28 pieces and requires assembling. Dividing it into parts helps you to spend less material when printing, allows the figurine to look more realistic. Also, your 3D printer will create less supports which will make the process of printing easier for you.
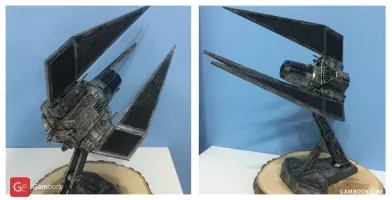
You can watch TIE Phantom video at Gambody YouTube channel and see how to assemble it step by step.
After being 3D printed, the 3D model will stand 177 mm wide, 345 mm tall, and 345 mm deep.
Buy Star Wars TIE Phantom Ship 3D model right now! Just click the green Buy button in the top-right corner of the model's page. You can pay with PayPal or your credit card.
_____________________________________
FAQ:
Where can I print a model if I have no printer?
How to get started with 3D printing?
How to set up my 3D printer?
How to choose right 3D model print bed positioning?
How to paint printed figurine?
Generic
This model was tested in Cura 2.3.1. To avoid printing problems, we recommend the following settings:
Quality
Layer Height: 0.1 mm
Initial Layer Height: 0.3 mm
Line Width: 0.4 mm
Wall Line Width: 0.4 mm
Outer Wall Line Width: 0.4 mm
Inner Wall(s) Line Width: 0.4 mm
Top/Bottom Line Width: 0.4 mm
Infill Line Width: 0.4 mm
Skirt/Brim Line Width: 0.4 mm
Support Line Width: 0.4 mm
Shell
Wall Thickness: 0.8 mm
Wall Line Count: 2
Top/Bottom Thickness: 0.8 mm
Top Thickness: 0.8 mm
Top Layers: 8
Bottom Thickness: 0.8 mm
Bottom Layers: 8
Top/Bottom Pattern: Lines
Outer Wall Inset: 0 mm
Compensate Wall Overlaps: Check
Compensate Outer Wall Overlaps: Check
Compensate Inner Wall Overlaps: Check
Horizontal Expansion: 0 mm
Z Seam Alignment: Shortest
Infill
Infill Density: 25%
Infill Line Distance: 3.2 mm
Infill Pattern: Grid
Infill Overlap Percentage: 10%
Infill Overlap: 0.04 mm
Skin Overlap Percentage: 5%
Skin Overlap: 0.02 mm
Infill Wipe Distance: 0.1 mm
Infill Layer Thickness: 0.1 mm
Gradual Infill Steps: 0
Infill Before Walls: Check
Material
Enable Retraction: Check
Retraction Extra Prime Amount: 0 mm3
Retraction Minimum Travel: 0.8 mm
Maximum Retraction Count: 90
Minimum Extrusion Distance Window: 6.5 mm
Standby Temperature: 175°C
Nozzle Switch Retraction Distance: 16 mm
Nozzle Switch Retraction Speed: 20 mm/s
Nozzle Switch Retract Speed: 20 mm/s
Nozzle Switch Prime Speed: 20 mm/s
Speed
Print Speed: 60 mm/s
Infill Speed: 80 mm/s
Wall Speed: 30 mm/s
Outer Wall Speed: 30 mm/s
Inner Wall Speed: 60 mm/s
Top/Bottom Speed 15 mm/s
Support Speed: 60 mm/s
Support Infill Speed: 60 mm/s
Travel Speed: 120 mm/s
Initial Layer Speed: 15 mm/s
Initial Layer Print Speed: 15 mm/s
Initial Layer Travel Speed: 30 mm/s
Skirt/Brim Speed 15 mm/s
Maximum Z Speed: 0 mm/s
Travel
Combing Mode: All
Avoid Printed Parts when Traveling: Check
Travel Avoid Distance: 0.625 mm
Cooling
Enable Print Cooling: Check
Fan Speed: 100%
Regular Fan Speed: 100%
Maximum Fan Speed: 100%
Regular/Maximum Fan Speed Threshold: 10 s
Regular Fan Speed at Height: 0.3 mm
Regular Fan Speed at Layer: 2
Minimum Layer Time: 5 s
Minimum Speed: 10 mm/s
Support
Enable Support: Check
Support Placement: Everywhere
Support Overhang Angle: 50°
Support Pattern: Zig Zag
Connect Support ZigZags: Check
Support Density: 30 %
Support Line Distance: 1.3333 mm
Support Z Distance: 0.1 mm
Support Top Distance: 0.1 mm
Support Bottom Distance: 0.1 mm
Support X/Y Distance: 0.7 mm
Support Distance Priority: Z overrides X/Y
Minimum Support X/Y Distance: 0.2 mm
Support Stair Step Height: 0.3 mm
Support Join Distance: 2.0 mm
Support Horizontal Expansion: 0.2 mm
Use Towers: Check
Tower Diameter: 3.0 mm
Minimum Diameter: 3.0 mm
Tower Roof Angle: 65°
Build Plate Adhesion
Build Plate Adhesion Type: Brim
Skirt/Brim Minimum Length: 250 mm
Brim Width: 8.0 mm
Brim Line Count: 20
Brim Only on Outside: Check
Mesh Fixes
Union Overlapping Volumes: Check
Special Modes
Print Sequence: All at Once
Surface Mode: Normal
Experimental
Extra Skin Wall Count: 0
Disclaimer: This model will look outstanding if printed on SLA/SLS 3D printer. The accuracy of the model printed on FFF printer can vary from the result shown in the pictures.


Comments