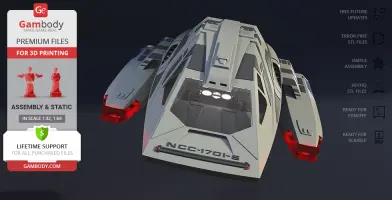
This 3D Model of Type-11 Shuttlecraft inspired by Star Trek consists of files in StereoLithography (.Stl) format that is optimized for 3D printing.
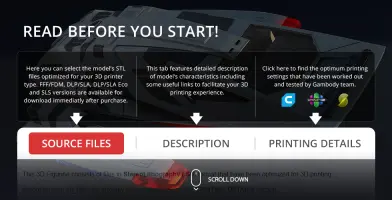
Before printing the files, we strongly recommend reading the PRINTING DETAILS section.
WHAT WILL YOU GET AFTER PURCHASE?
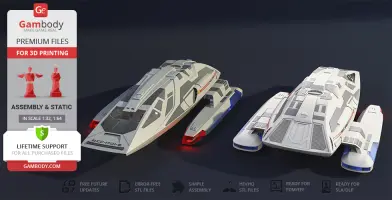
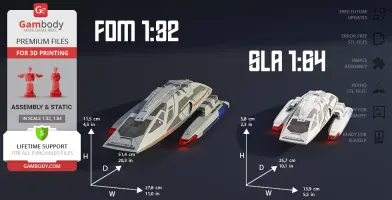
- 2 versions of Type-11 Shuttlecraft STL files for FFF/FDM and DLP/SLA - files for all versions are available for download after the purchase
- STL files of high-poly Star Trek Type 11 Shuttle 3D Model for 3D printing consist of 115 files
- Sizes:
FFF/FDM: 115 mm tall, 278 mm wide, 514 mm deep
DLP/SLA: 58 mm tall, 139 mm wide, 257 mm deep
- Assembly Manual for FFF/FDM 1.0 and DLP/SLA 1.0 versions in PDF format
- Detailed settings that we provide as a recommendation for Cura, Simplify3D, Slic3r and PrusaSlicer for the best print
- Full technical support from the Gambody Support Team
Detailed information about this 3D printing model is available in the DESCRIPTION section.
ABOUT THIS 3D MODEL
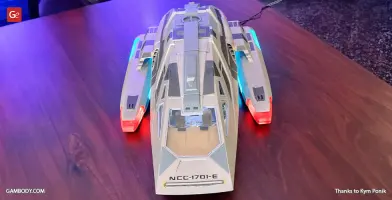
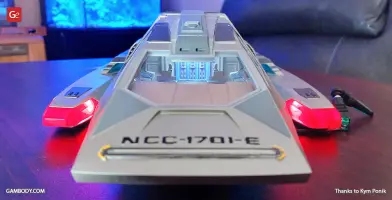
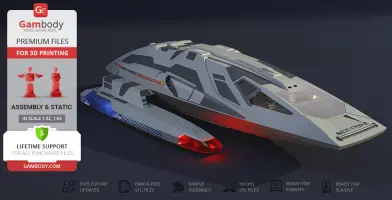
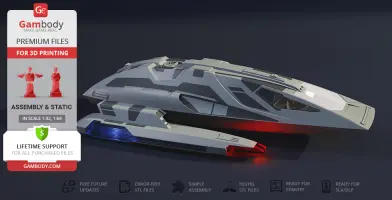
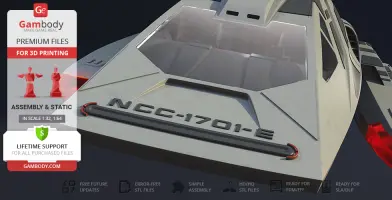
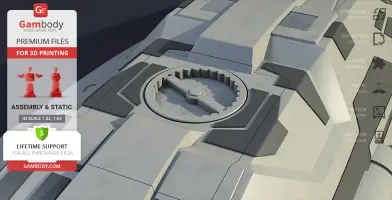
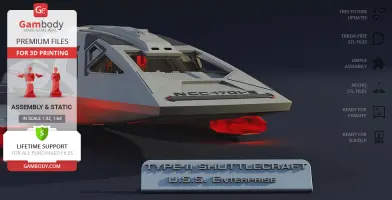
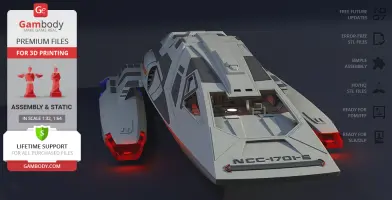
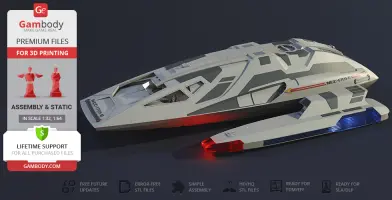
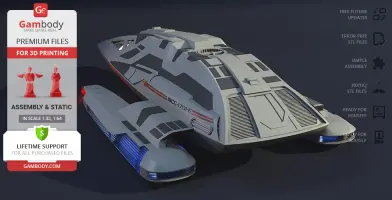
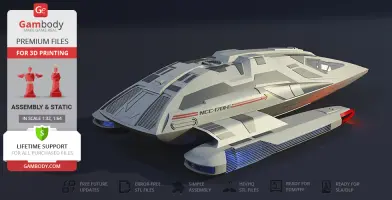
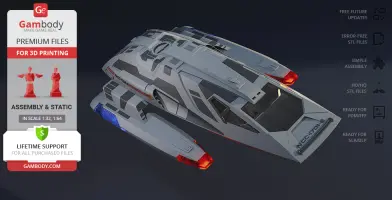
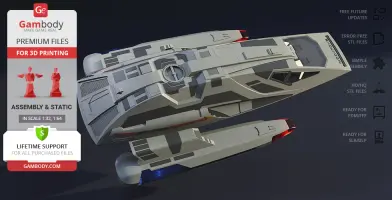
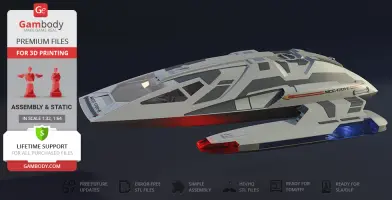
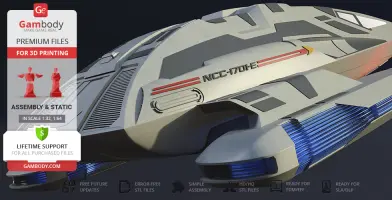
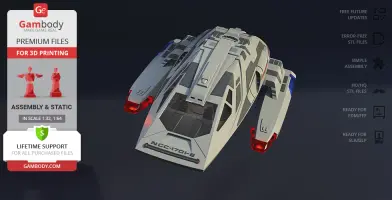
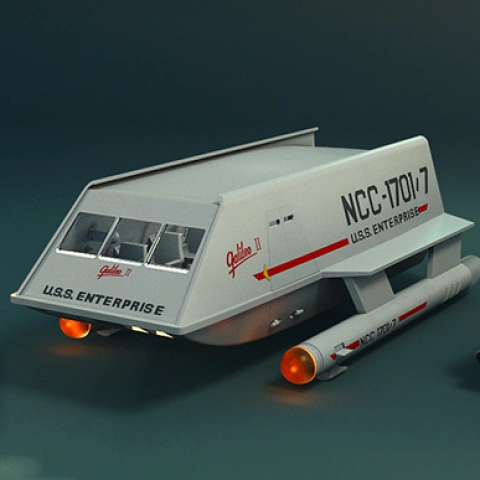
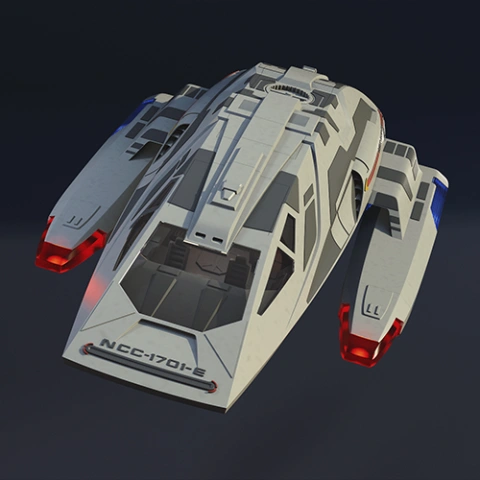
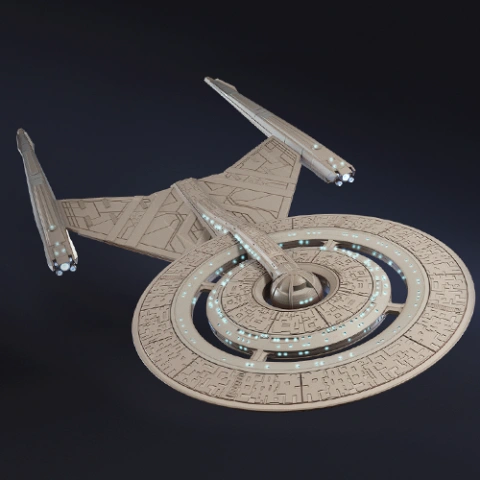
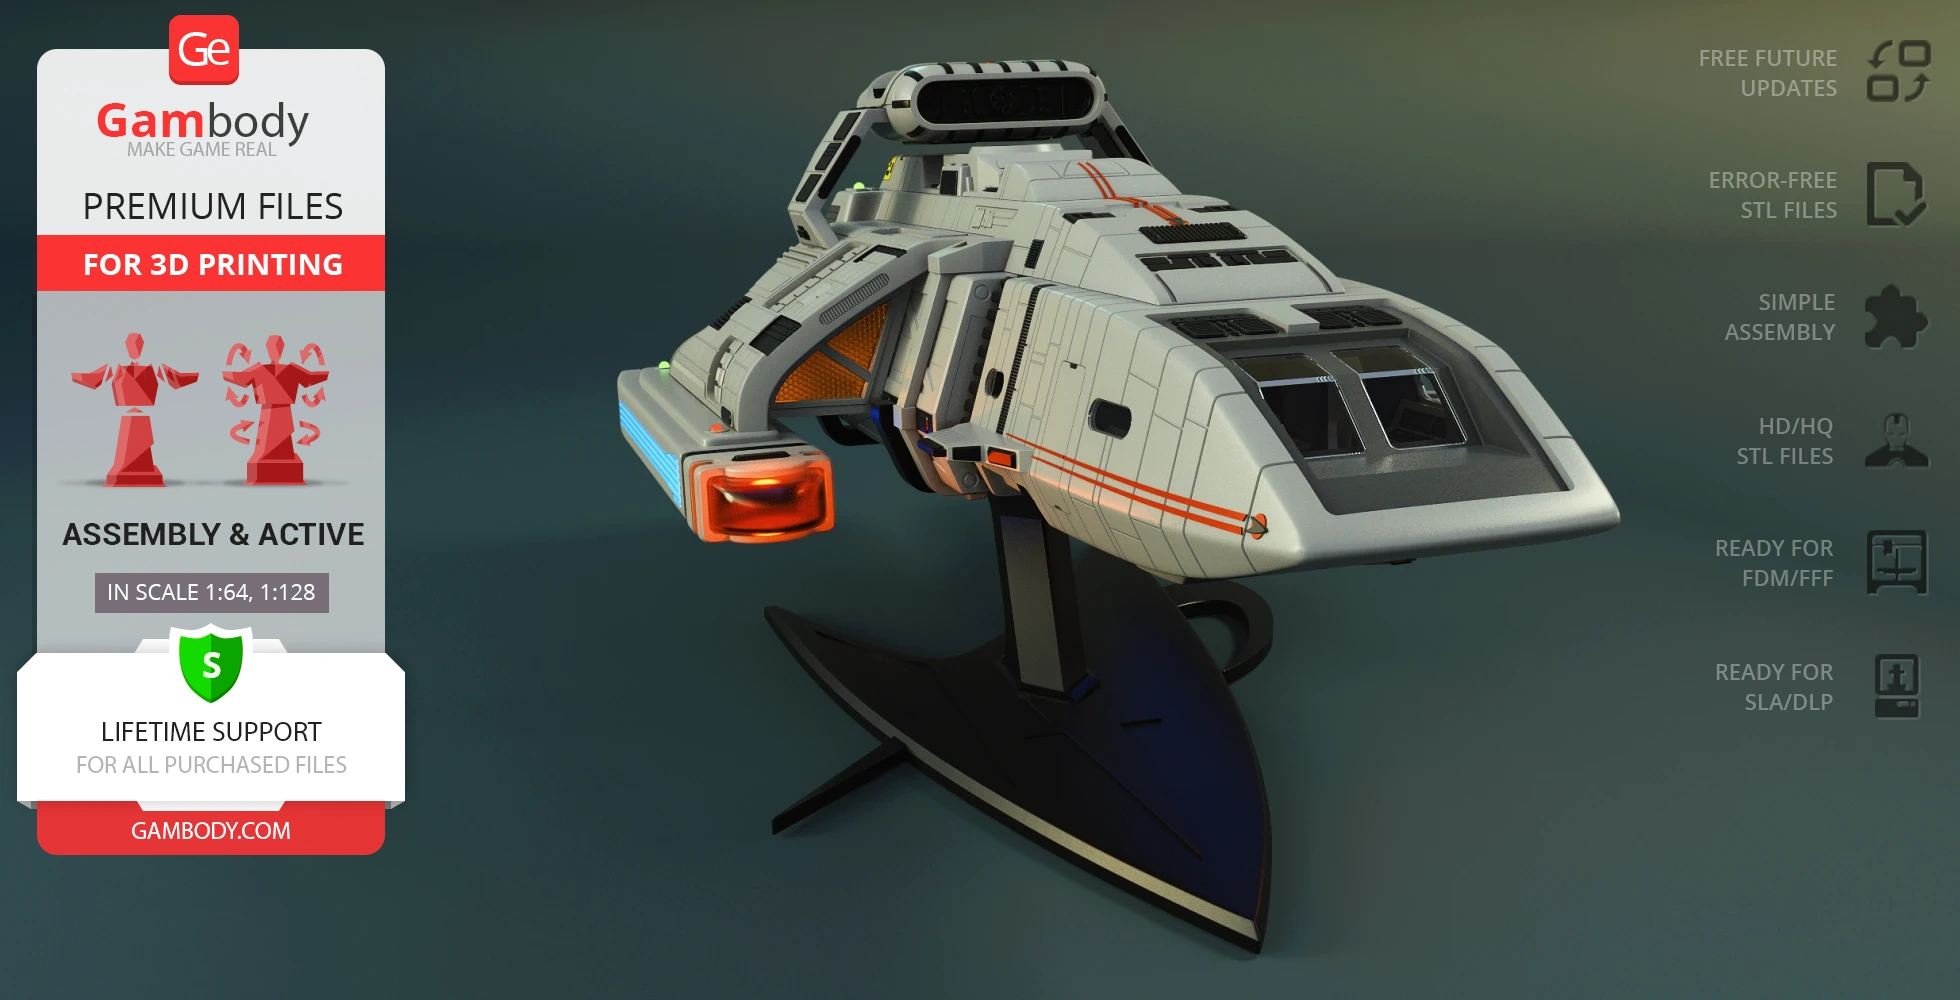
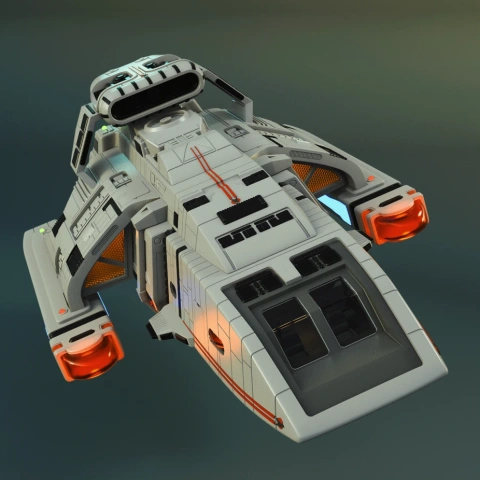
Type-11 shuttlecraft was yet another Federation Starfleet’s beautiful invention to assist intergalactic missions within the Star Trek universe. Most famously, it was assigned to the USS Enterprise NCC-1701-E and participated in the capturing of Data in orbit of Ba'ku. The convenient craft, just like its predecessors, comprised a compact body and two engine nacelles attached to the ventral sides. What was concealed inside it, you can find out with the new Type-11 Shuttlecraft model for 3D printing!
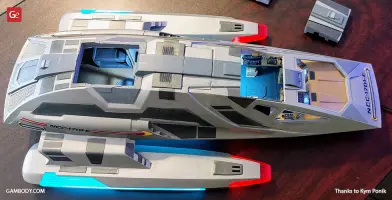
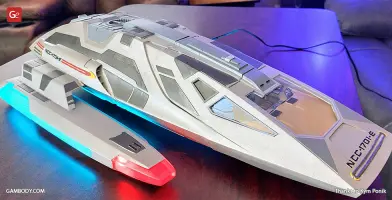
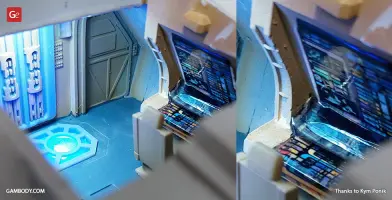
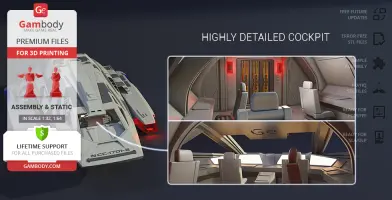
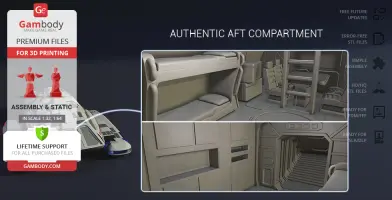
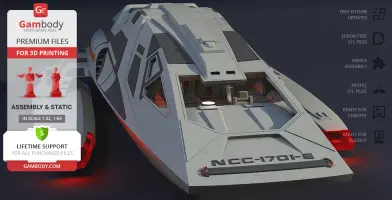
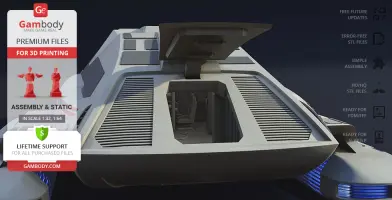
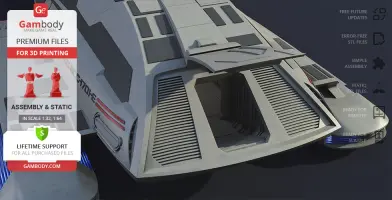
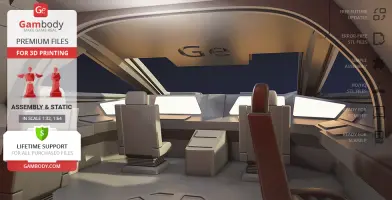
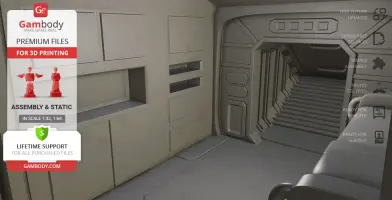
Type-11 Shuttlecraft 3D Printing Model has an immensely detailed design that invites you in. Apart from a classic sleek body with elegant ridges and aerodynamic nacelles, it has an incredible interior. The cockpit and the aft compartment are equipped with seats, control panels, bunk beds, and a table for your crew’s dining and meeting needs. The interior can be observed through the large window and accessed through removable panels and a number of opening hatches. Are you ready for this 3D printing trip?
ADAPTATION FOR 3D PRINTING
Type-11 Shuttlecraft for 3D printing is a static assembly model and its moderation and adaptation for different types of 3D printers took the Gambody team 27 hours in total.
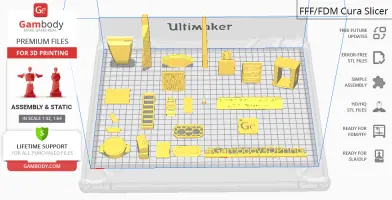
For you to receive the cleanest 3D printing result possible and minimize the amount of filament needed for generated support, the ship was divided into convenient assembly parts.
All assembly parts in the FFF/FDM 1.0 version are provided in STL files in recommended positions that were worked out in order to ensure the smoothness of the details’ surfaces after printing and that the 3D printing beginners won't face difficulties when placing the parts on a build plate. When downloading any model's file you will also receive "Assembly Manual" for FFF/FDM 1.0 and DLP/SLA 1.0 versions in PDF format. We highly recommend that you get acquainted with the “Assembly video” and "Assembly Manual" before getting down to the Type-11 Shuttlecraft model.
The model is saved in STL files, a format supported by most 3D printers. All STL files for 3D printing have been checked in Netfabb and no errors were shown.
The model’s scale was calculated from the length of the Type-11 Shuttlecraft which is 16 000 mm. The 3D printing model’s chosen scales are 1:32 for the FFF/FDM version and 1:64 for the DLP/SLA version.
VERSIONS' SPECIFICATIONS
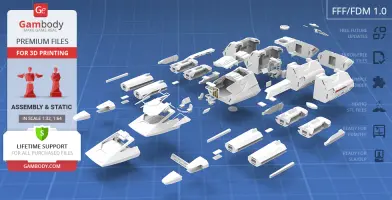
FFF/FDM 1.0 version features:
- Contains 58 parts;
- A printed model is 115 mm tall, 278 mm wide, 514 mm deep;
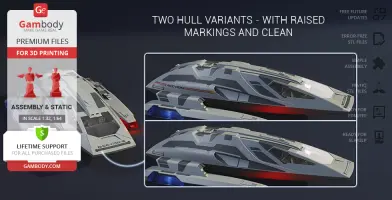
- Two hull variants - with raised markings and clean;
- Two window variants - simple window frame and with insertable glass;
- You can cut out the window from a 0.5 mm plastic sheet and install it into the window frame;
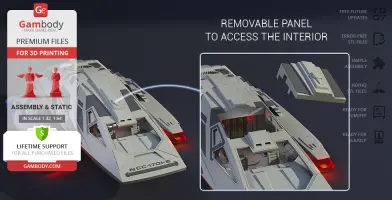
- Removable panel to access the interior;
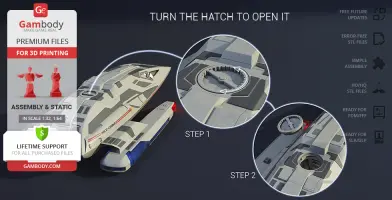
- Turn the dorsal hatch to open it;
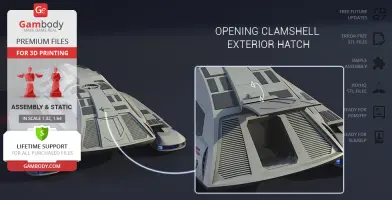
- Opening clamshell exterior hatch;
- Highly detailed cockpit;
- Authentic aft compartment;
- Nameplate for your display;
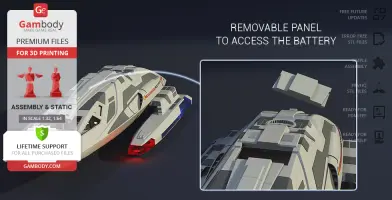
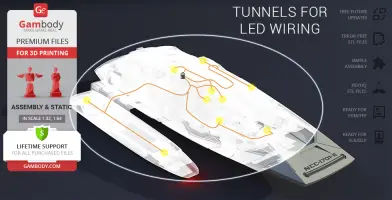
- Tunnels for LED wiring are provided to light up the cockpit, several spots in the aft compartment, and the nacelles; the battery can be stored in the central compartment and the removable panel in the underside of the craft is provided for your convenience;
- All parts are divided in such a way that you will print them with the smallest number of support structures.
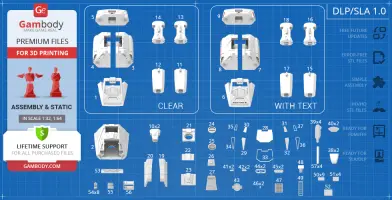
DLP/SLA 1.0 version features:
- Contains 57 parts;
- A printed model is 58 mm tall, 139 mm wide, 257 mm deep;
Two hull variants - with raised markings and clean;
- Two window variants - simple window frame and with insertable glass;
- You can cut out the window from a 0.5 mm plastic sheet and install it into the window frame;
- Removable panel to access the interior;
- Turn the dorsal hatch to open it;
- Opening clamshell exterior hatch;
- Highly detailed cockpit;
- Authentic aft compartment;
- Nameplate for your display;
- Tunnels for LED wiring are provided to light up the cockpit, several spots in the aft compartment, and the nacelles; the battery can be stored in the central compartment and the removable panel in the underside of the craft is provided for your convenience;
- All parts are divided in such a way to fit the build plates and to ensure that support structures are generated where needed.
You can get the model of Type-11 Shuttlecraft for 3D Printing immediately after the purchase! Just click the green Buy button in the top-right corner of the model’s page. You can pay with PayPal or your credit card.
Watch the tutorial on how to assemble Type-11 Shuttlecraft 3D Printing Model at Gambody YouTube channel.
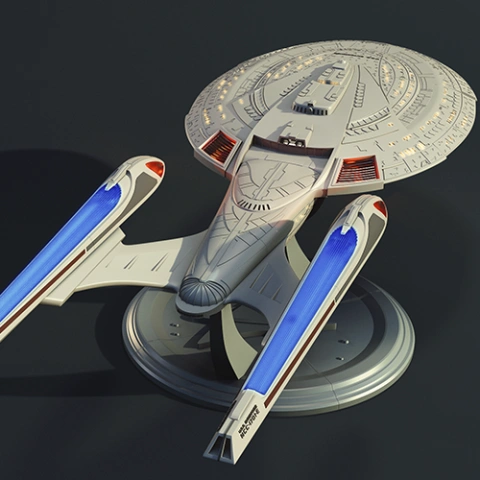
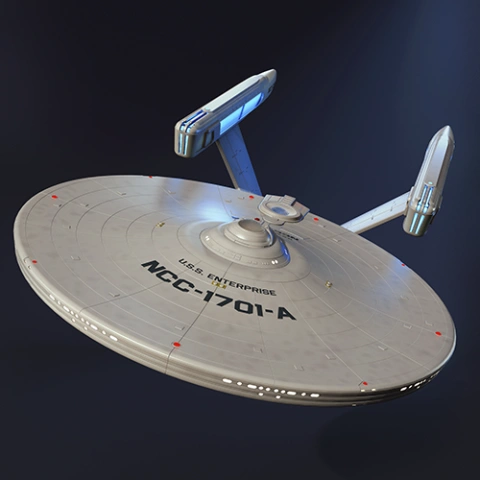
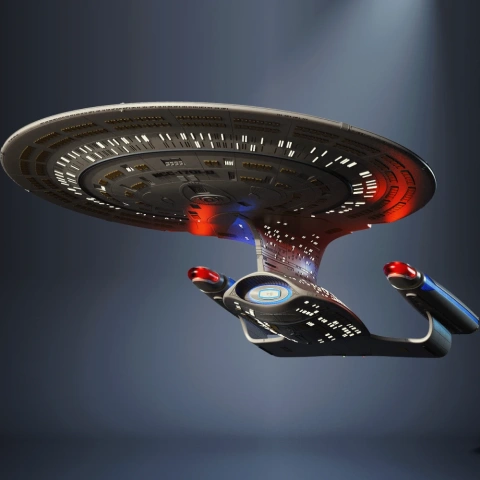
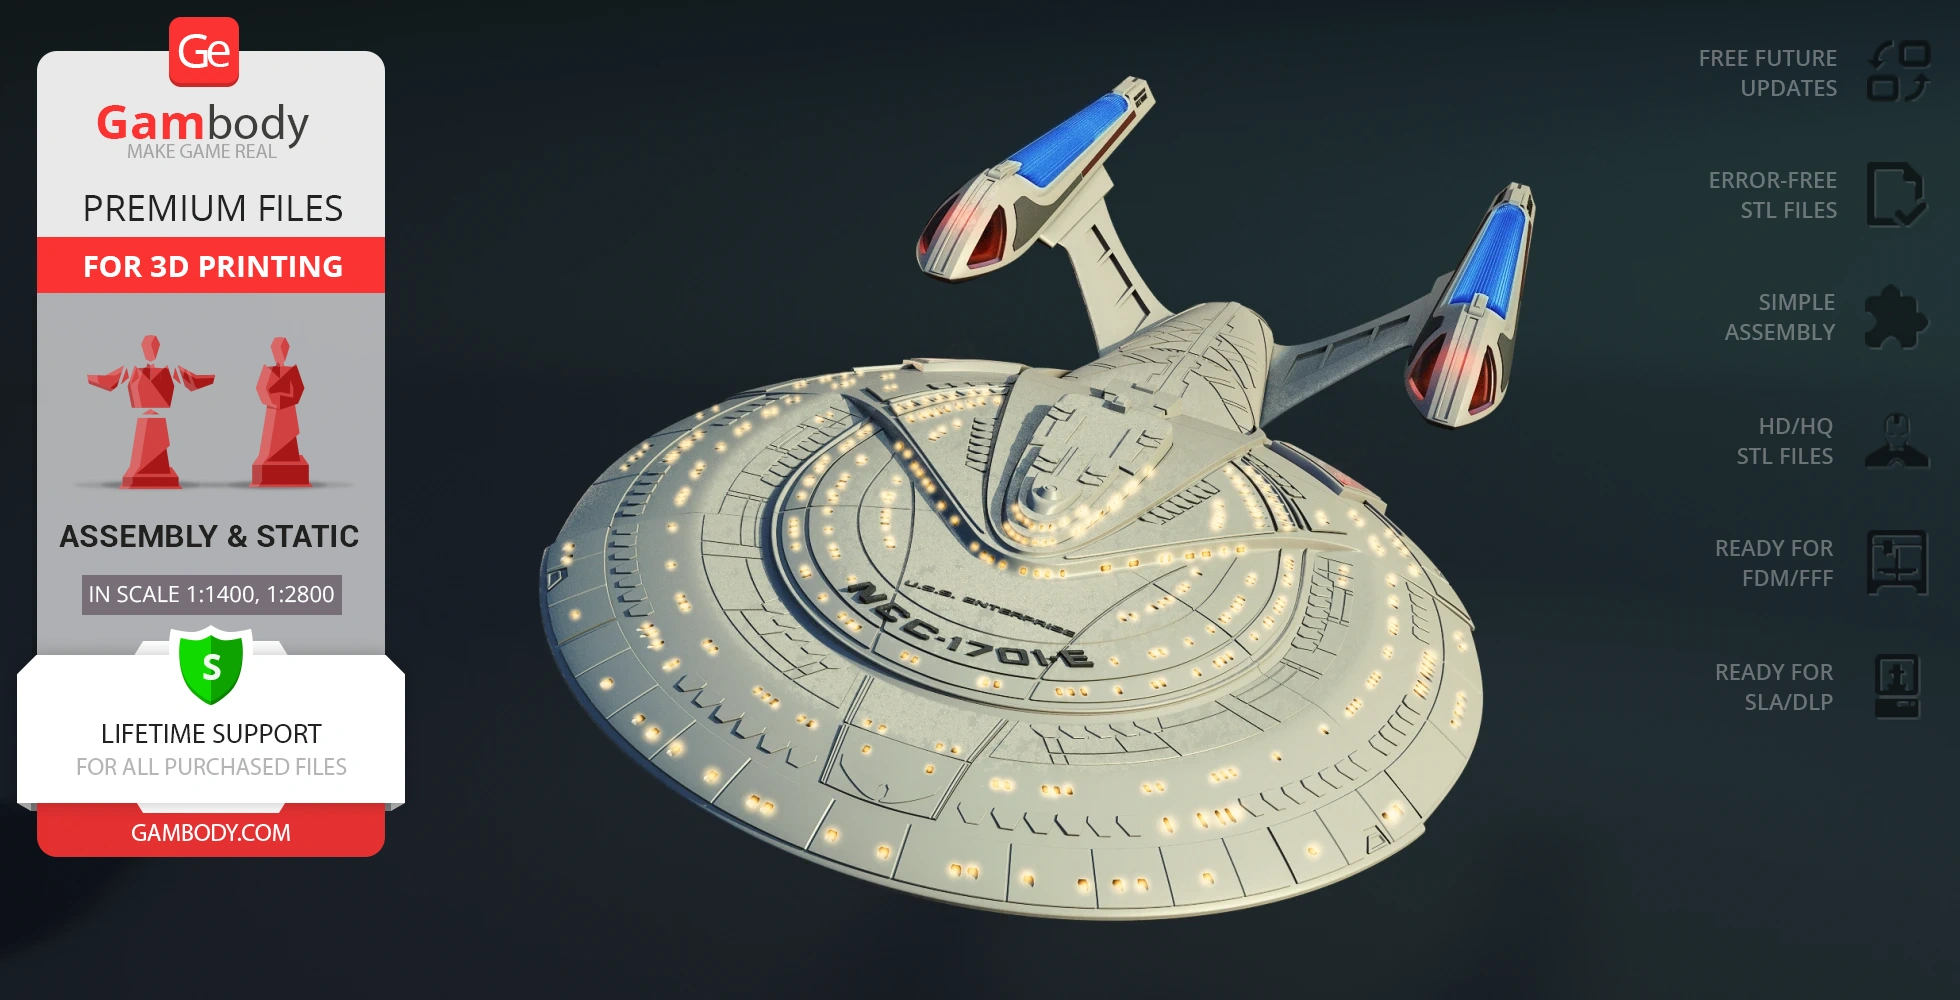
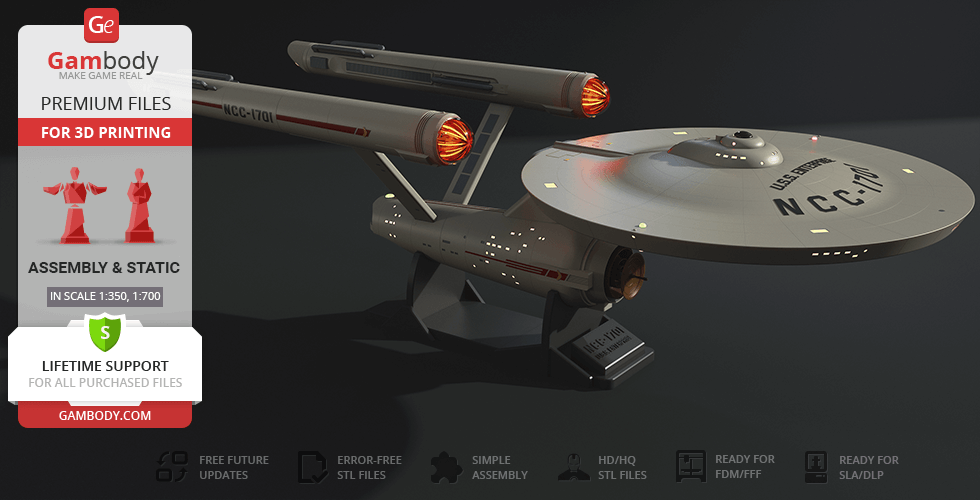
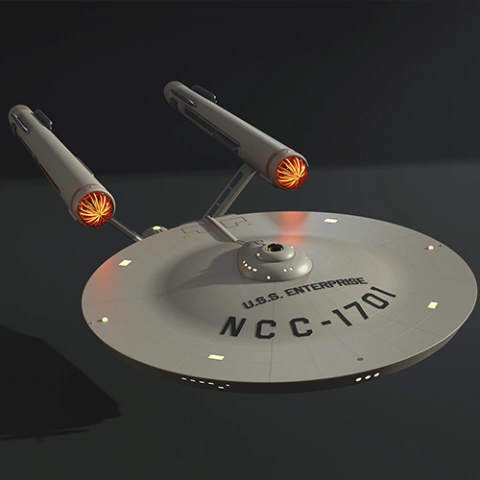
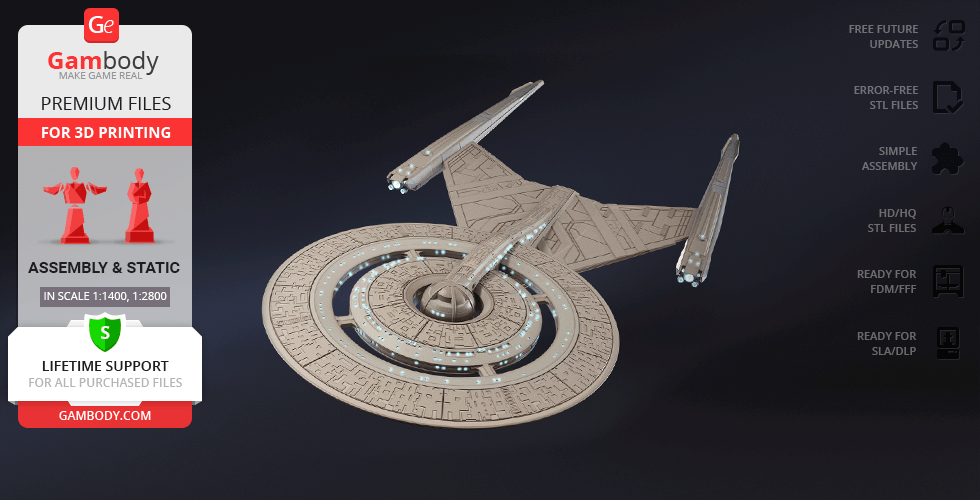
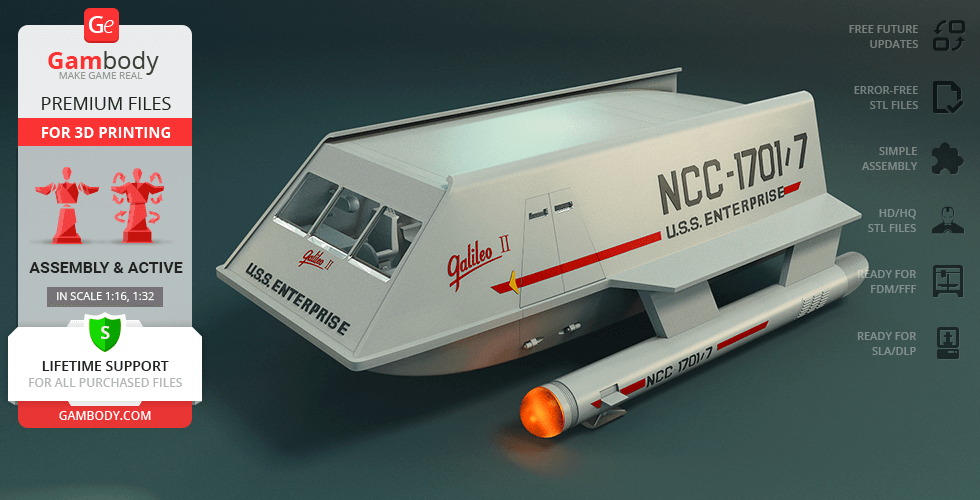
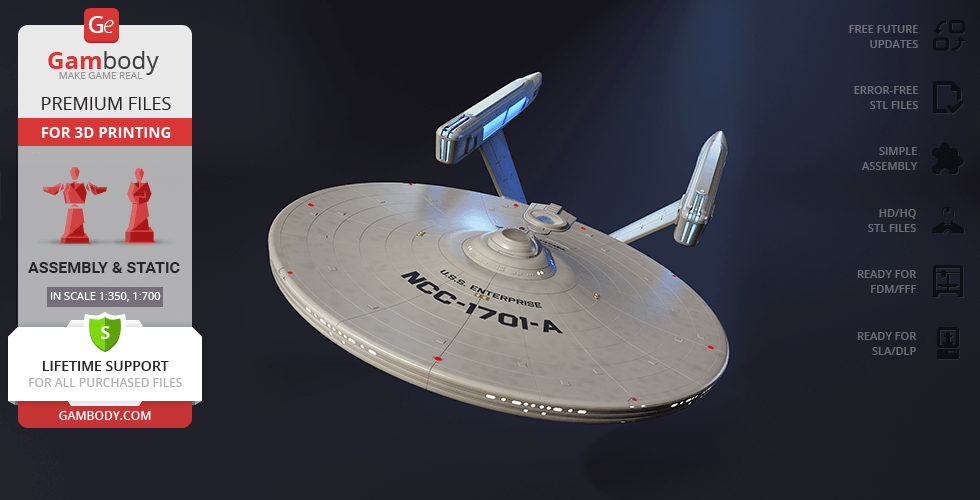
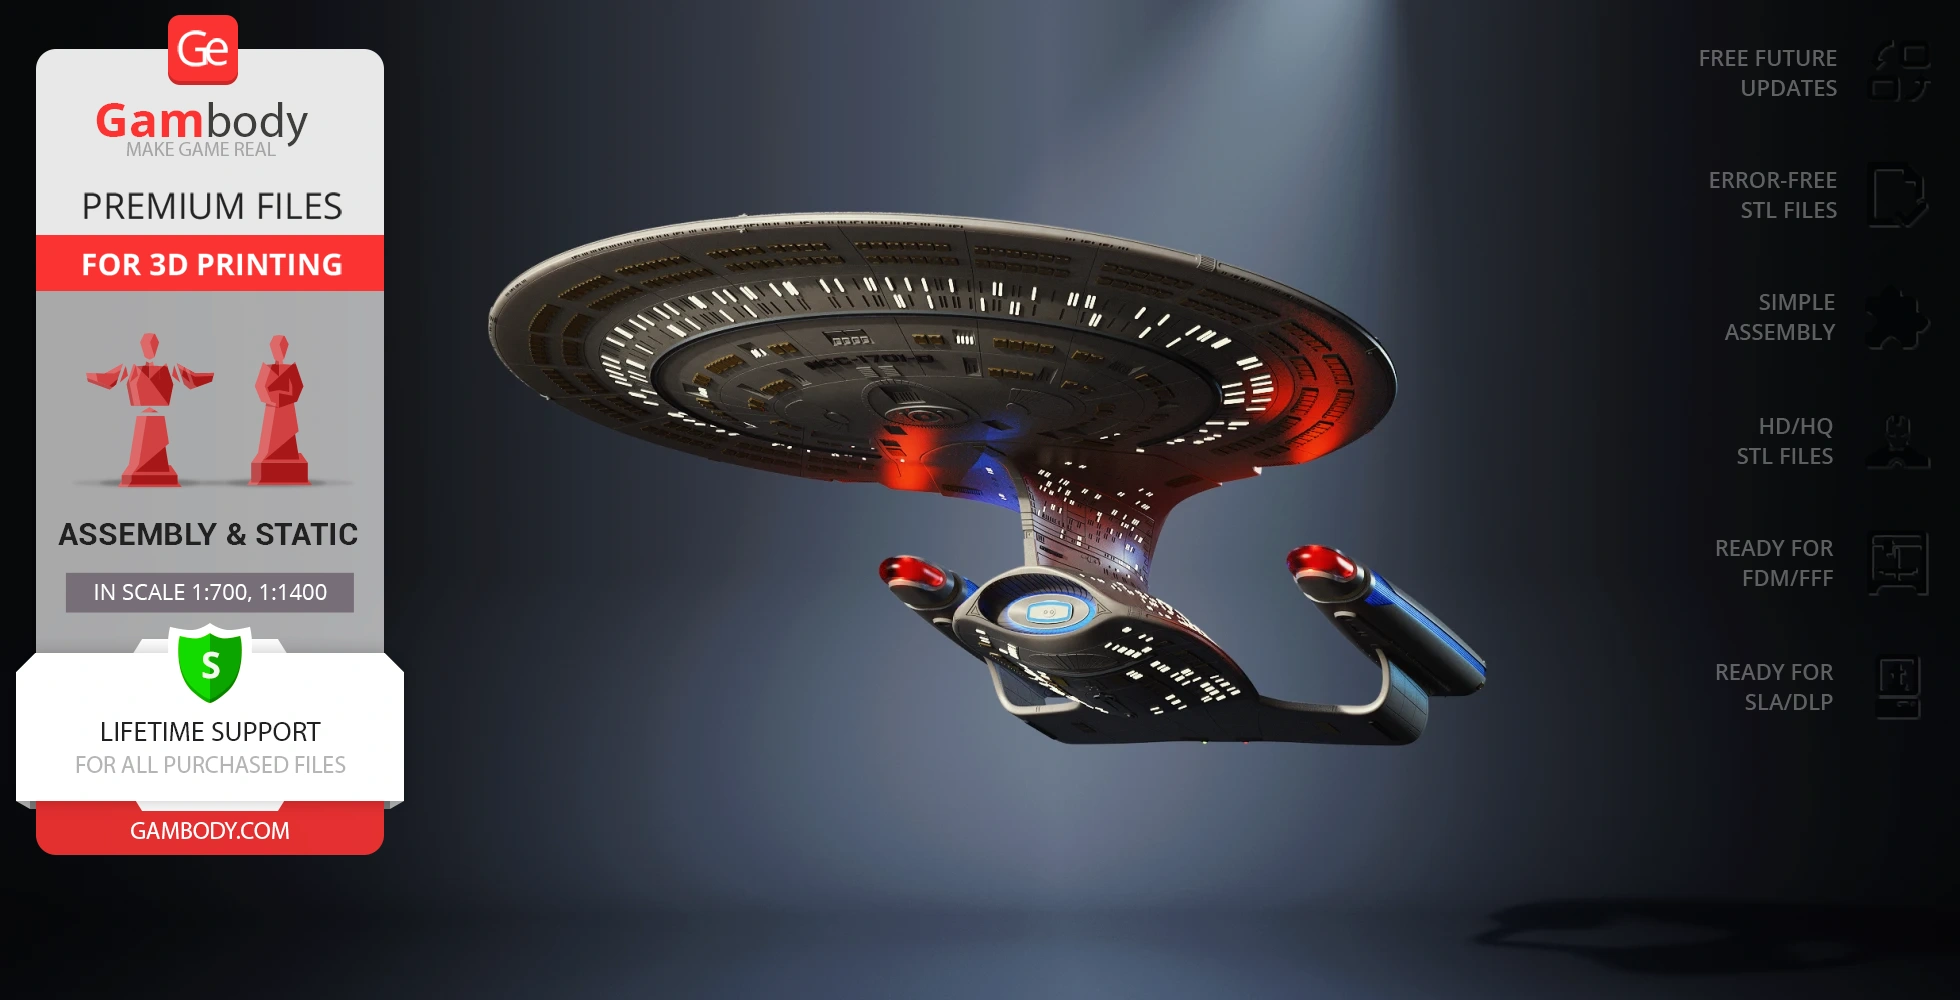
Also, you may like the USS Enterprise NCC-1701-E and USS Enterprise NCC-1701 3D Printing Models, and other Space Ships for 3D Printing.
_______
FAQ:
Where can I print a model if I have no printer?
How to get started with 3D printing?
How to set up my 3D printer?
How to choose right 3D model print bed positioning?
How to paint printed figurine?
Generic
Below you can find printing recommendations for Cura, Simplify3D, Slic3r and PrusaSlicer software.
Disclaimer: The following printing settings are a recommendation, not an obligation. The parameters can vary depending on the peculiarities of your 3D printer, the material you use, and especially the particular assembly part you are working with. Each part that any model comprises often needs preliminary review, and you are free to tweak the settings the way you find suitable.
Note:
- You can scale up the model (downscaling for FFF/FDM 3D printers is not recommended!);
- All connectors should be printed at 100% Infill.
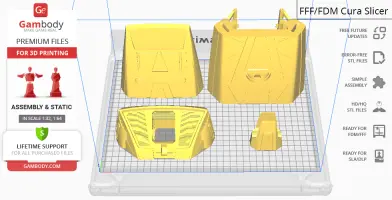
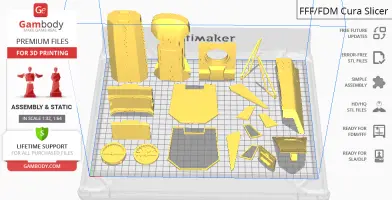
Cura printing recommendations:
These are averaged settings which were tested in the Cura 5.2.1 slicer. Test models were printed on Anycubic Vyper, Creality Ender 3 Pro with PLA filament.
To avoid printing problems, we recommend the following settings: download
Simplify3D printing recommendations:
These are averaged settings which were tested in the Simplify3D 5.0.0 slicer. Test models were printed on Anycubic Vyper, FLSUN v400, Ender3 S1 with PLA filament.
To avoid printing problems, we recommend the following settings: download
Slic3r printing recommendations:
These basic 3D printing settings recommendations for beginners were tested in Slic3r 1.3.0 software. Test models were printed on Ultimaker 2, Creality Ender 3, Creality Cr-10S pro v2, Anycubic I3 Mega, Anycubic I3 MegaS, Anycubic Vyper with PLA and PetG filaments.
To avoid printing problems, we recommend the following settings: download
PrusaSlicer printing recommendations:
These basic 3D printing settings recommendations for beginners were tested in PrusaSlicer 2.3.1. Test models were printed on Ultimaker 2, Creality Ender 3, Creality Cr-10S pro v2, Anycubic I3 Mega, Anycubic I3 MegaS, Anycubic Vyper with PLA and PETG filaments.
To avoid printing problems, we recommend the following settings: download


Comments