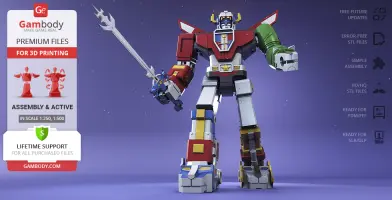
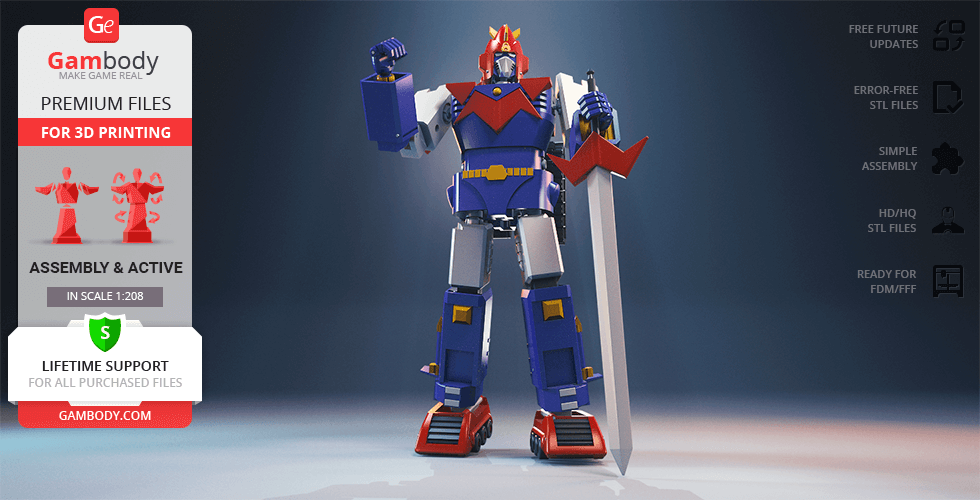
This 3D model of Voltron (1984) consists of files in StereoLithography (.Stl) format that is optimized for 3D printing.
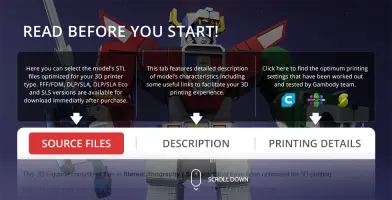
Before printing the files, we strongly recommend reading the PRINTING DETAILS section.
WHAT WILL YOU GET AFTER PURCHASE?
- 4 versions of Voltron (1984) STL files for FFF/FDM, DLP/SLA 3D printers- files for all versions are available for download after the purchase;
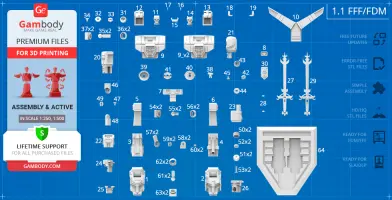
- STL files of high-poly Voltron (1984) Model for 3D printing consist of 187 files;
- Sizes for:
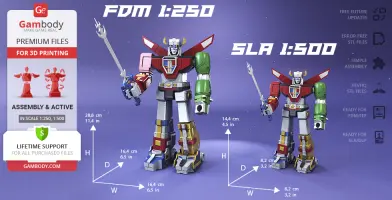
- FFF/FDM: 288 mm tall, 164 mm wide, 164 mm deep;
- DLP/SLA/SLS: 144 mm tall, 82 mm wide, 82 mm deep;
- Assembly Manual for FFF/FDM 1.0 and DLP/SLA 1.0 versions in PDF and video formats;
- Detailed settings that we provide as a recommendation for Cura, Bambu Studio, Simplify3D, Slic3r and PrusaSlicer for the best print;
- Full technical support from the Gambody Support Team.
Detailed information about this 3D printing model is available in the DESCRIPTION section.
ABOUT THIS 3D MODEL
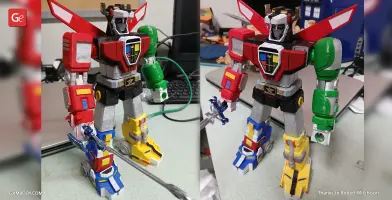
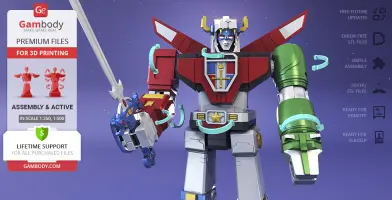
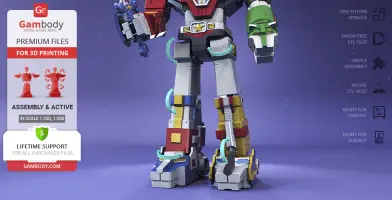
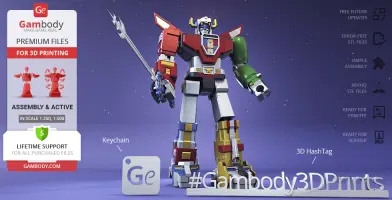
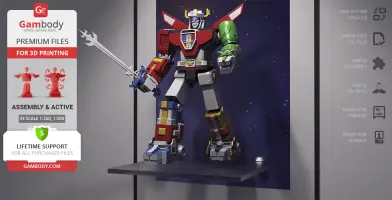
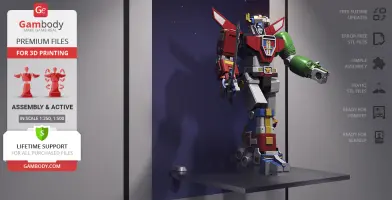
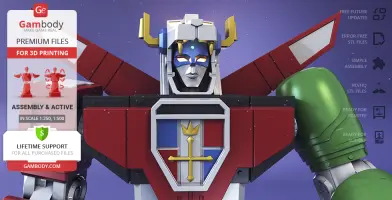
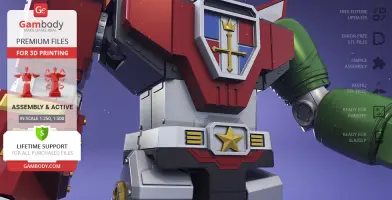
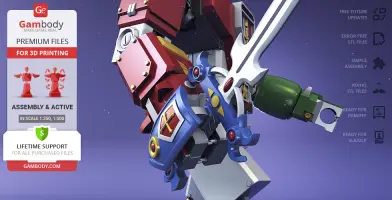
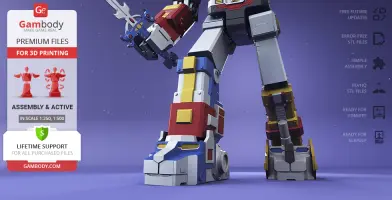
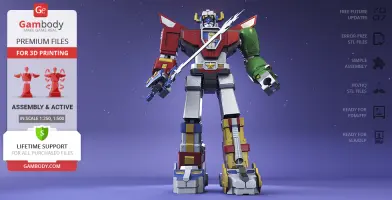
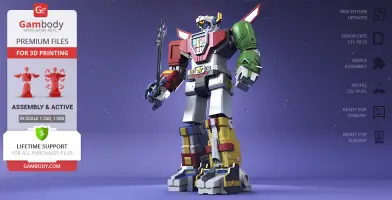
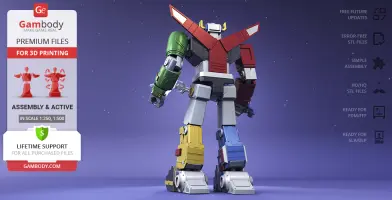
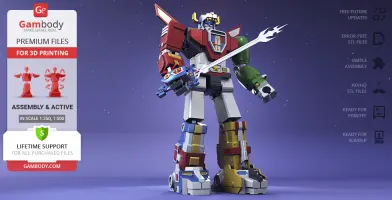
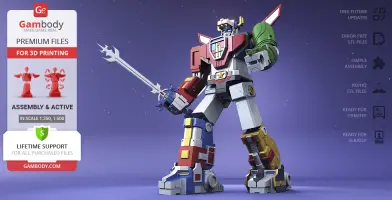
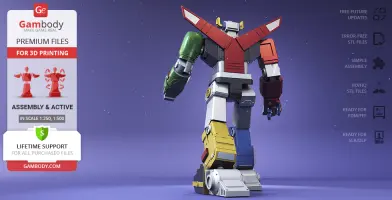
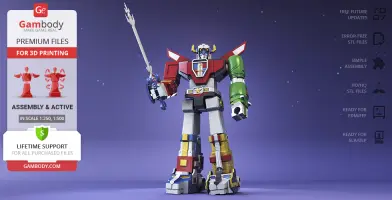
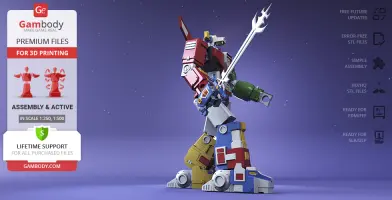
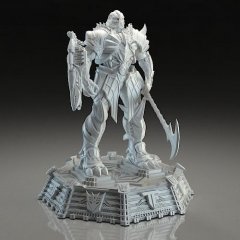
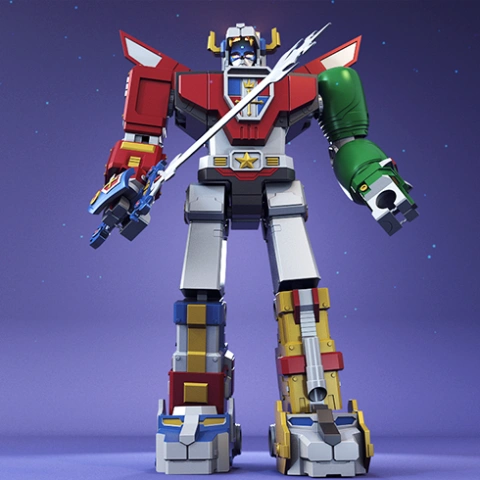
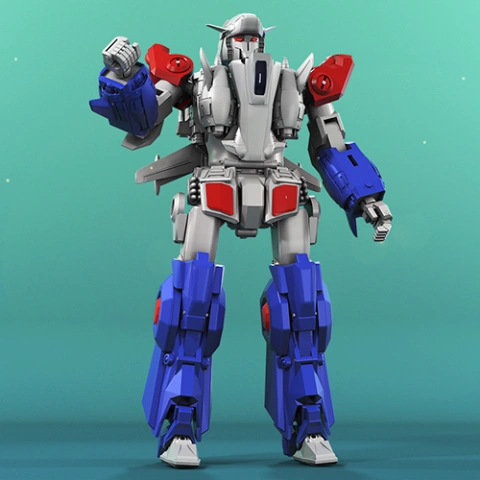
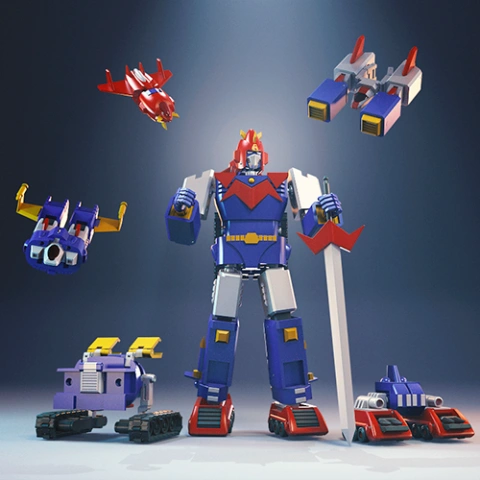
Voltron is an enormous super robot composed of Black, Red, Green, Blue, and Yellow robot lions joined together. Piloted by five space explorers, the titular robot Voltron defends the universe from evil witches and Robeasts in the course of the animated TV series franchise. And now, the mighty legend of the ’80s who is loved by good and feared by evil today becomes a part of Gambody’s anime selection for 3D printing! It may seem impossible to tame five robotic lions but the 3D artist behind the Voltron model easily coped with the task while dedicating circa 170 hours to complete the project! Particularly inspired by the original 1984 super robot, the author of the Voltron for 3D printing paid utmost attention to the design of each lion comprising the Defender of the Universe. Any fan of the classic anime series would also appreciate the artist’s approach to the armour details that the Voltron model is equipped with. Thus, a large star design adorns the robot’s belt and Voltron’s trademark chest plate depicts a crown with a cross underneath. A pair of large sturdy wings is attached to the back of a 3D printing super robot and the stare of Voltron’s helmeted head seems to be fixed on the upcoming threats. Last but not least, the awesome Blazing Sword that the red lion can be optionally displayed holding is an absolutely well-loved piece from the Voltron’s arsenal! The author of the model has also prepared a nice little shield to mount on the lion's head whenever you choose to display the robot wielding its ultimate weapon.
"Ready to Form Voltron! Activate Interlocks, Dynotherms Connected, Infracells Up, Megathrusters are go...Let's Go Voltron! Form Feet and Legs, Form Arms and Body, and I'll Form the Head!!" … the iconic sequence can now we fulfilled by means of your 3D printer!
ADAPTATION FOR 3D PRINTING
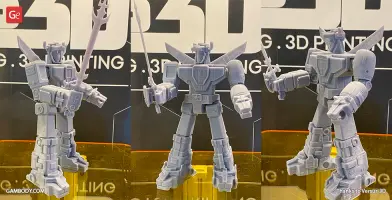
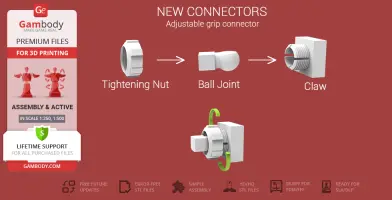
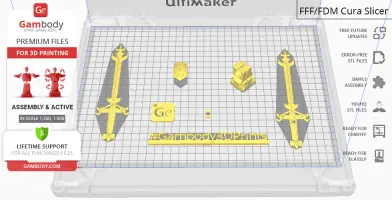
Voltron (1984) model for 3D printing is a highly articulated assembly model and its moderation and adaptation for different types of 3D printers took Gambody team 43 hours in total. In order to ensure the multidirectional movement of the robot, it was divided into many assembly parts and special mechanisms were introduced into all model’s joints to give you an opportunity to display Voltron in a variety of positions. Thus, the robot’s lion feet, hips, and shoulders are equipped with the new adjustable grip connector that comprises a ball-and-claw joint and a tightening nut. This connector enables a full rotation of the joint and allows you to control the grip by adjusting the tightening nut. For the articulated robot to stand firmly in any position you may choose there was a ratchet mechanism introduced in the model’s knees, body, elbow, lion hands, and head joints. We highly recommend that you watch the “Assembly video” to see the directions and the way that the robot’s joints move in. The assembly of the lower jaw of the model's right lion hand requires one additional “pin”. This pin does not come in the STL file but can be made out of a short piece of regular 1.75 PLA. In order for you to achieve the cleanest 3D printed result possible, Voltron’s Blazing sword and the back wings were split into two halves for their convenient placement on the build plate. All assembly parts are provided in STL files in recommended positions that were worked out in order to ensure the smoothness of the details’ surfaces after printing and so that the 3D printing beginners won't face difficulties when placing the parts on a build plate. We highly recommend that you watch "Assembly video" in the photo preview section before assembling the Voltron. When downloading any model's file you will also receive "Assembly Manual" for FFF/FDM 1.0 and DLP/SLA/SLS 1.0 versions in PDF format.
The model is saved in STL files, a format supported by most 3D printers. All STL files for 3D printing have been checked in Netfabb and no errors were shown.
The model's scale was calculated from the actual height of Voltron that is 60000 mm. The 3D printing model's chosen scale is 1/250 for the FFF/FDM version and 1/500 for the DLP/SLA/SLS version.
VERSION SPECIFICATIONS
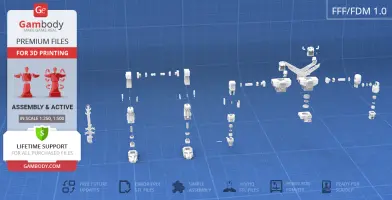
FFF/FDM 1.1 version features:
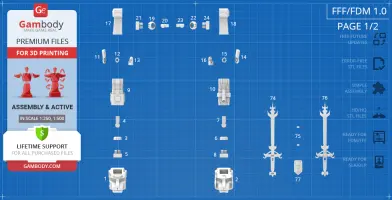
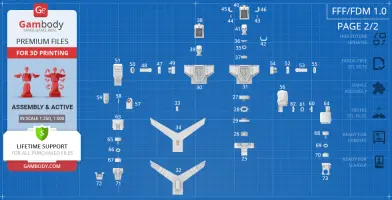
- Contains 65 parts;
- When printed the model stands 288 mm tall, 164 mm wide, 164 mm deep;
- An updated version with improved connectors and joints that ensure articulation;
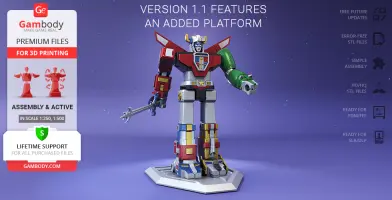
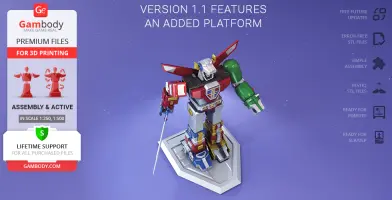
- The version features an added platform;
- The wings are provided as one-piece parts;
- All parts are divided in such a way that you will print them with the smallest number of support structures.
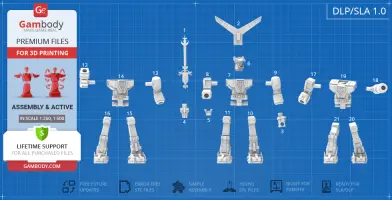
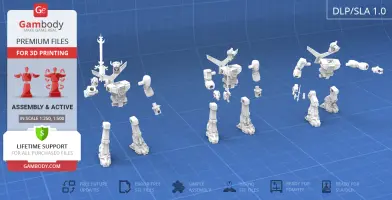
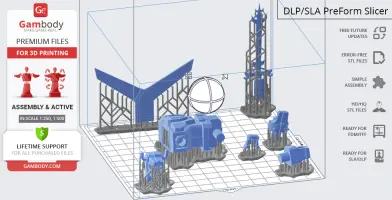
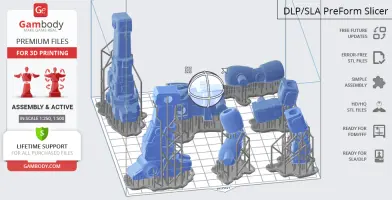
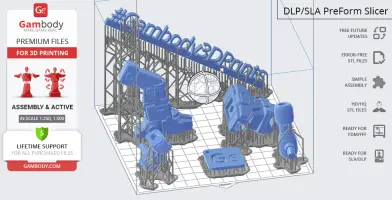
DLP/SLA 1.1 version features:
- Contains 24 parts
- A printed model is 144 mm tall, 82 mm wide, 82 mm deep;
- The version features an added platform;
- The version comes in three different static variants of Voltron's pose for you to choose from;
- All parts are divided in such a way to fit the build plates and to ensure that support structures are generated where needed.
FFF/FDM 1.0 version features:
- Contains 77 parts;
- When printed the model stands 288 mm tall, 164 mm wide, 164 mm deep;
- Made with several sets of special connectors to ensure the model's articulation and multidirectional movement of the joints (Voltron's lion feet, knees, hips, body, shoulders, elbows, lion hands, head, etc. are fully articulated);
- The model's lion feet, hips, and shoulders are assembled with the new adjustable grip connector that allows the full rotation of the ball-and-claw joints that you can control by adjusting the tightening nut;
- The ratchet mechanism in knees, body, elbow, lion hands and head joints ensures the robot's firm standing in any position you prefer;
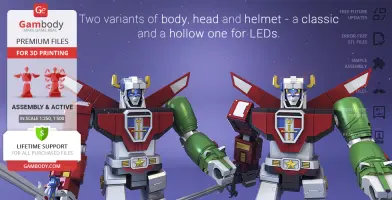
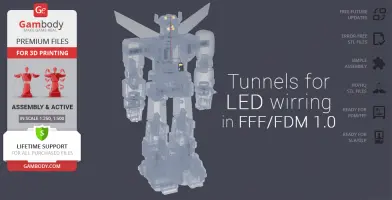
- There are two variants of the model's body, head and helmet - a classic and a hollow one for LEDs wiring;
- The assembly of the lower jaw of the model's right lion hand requires an additional “pin” that can be made out of a short piece of regular 1.75 PLA - watch the "Assembly video" to see the pin coloured red;
- We recommend that you watch the "Assembly video" and read the "Assembly Manual" before assembling the Super Robot;
- All parts are divided in such a way that you will print them with the smallest number of support structures.
DLP/SLA/SLS 1.0 version features:
- Contains 21 parts;
- A printed model is 144 mm tall, 82 mm wide, 82 mm deep;
- The version comes in three different static variants of Voltron's pose for you to choose from;
- The versions' assembly parts #1, 2, 3, 4, 5 and 6 are uniform for all pose variants of Voltron;
- All parts are divided in such a way to fit the build plates and to ensure that support structures are generated where needed.
You can get the model of Voltron (1984) for 3D Printing immediately after the purchase! Just click the green Buy button in the top-right corner of the model’s page. You can pay with PayPal or your credit card.
Watch the tutorial on how to assemble Voltron (1984) 3D Printing Model at Gambody YouTube channel.
Also, you may like other Robot 3D Printing Models, as well as Robotech Models for 3D Printing and Anime 3D Printing Figurines.
_______
FAQ:
Generic
Below you can find printing recommendations for Cura, Bambu Lab, Simplify3D, Slic3r and PrusaSlicer software.
Disclaimer: The following printing settings are a recommendation, not an obligation. The parameters can vary depending on the peculiarities of your 3D printer, the material you use, and especially the particular assembly part you are working with. Each part that any model comprises often needs preliminary review, and you are free to tweak the settings the way you find suitable.
Note:
You can scale up the model (downscaling for FFF/FDM 3D printers is not recommended!);
All connectors should be printed at 100% Infill.
Bambu Lab printing recommendations:
These basic 3D printing settings recommendations for beginners were tested in Bambu Studio 1.9.1. Test models were printed on the Bambu Lab A1, Bambu Lab A1 Mini, Creality Ender 3 S1, Anycubic Kobra 2, and Anycubic Vyper using PLA and PETG filaments.
To avoid printing problems, we recommend the following settings: download
Cura printing recommendations:
These are averaged settings which were tested in the Cura 5.2.1 slicer. Test models were printed on Anycubic Vyper, Creality Ender 3 Pro with PLA filament.
To avoid printing problems, we recommend the following settings: download
Simplify3D printing recommendations:
These are averaged settings which were tested in the Simplify3D 5.0.0 slicer. Test models were printed on Anycubic Vyper, FLSUN v400, Ender3 S1 with PLA filament.
To avoid printing problems, we recommend the following settings: download
Slic3r printing recommendations:
These basic 3D printing settings recommendations for beginners were tested in Slic3r 1.3.0 software. Test models were printed on Ultimaker 2, Creality Ender 3, Creality Cr-10S pro v2, Anycubic I3 Mega, Anycubic I3 MegaS, Anycubic Vyper with PLA and PetG filaments.
To avoid printing problems, we recommend the following settings: download
PrusaSlicer printing recommendations:
These basic 3D printing settings recommendations for beginners were tested in PrusaSlicer 2.3.1. Test models were printed on Ultimaker 2, Creality Ender 3, Creality Cr-10S pro v2, Anycubic I3 Mega, Anycubic I3 MegaS, Anycubic Vyper with PLA and PETG filaments.
To avoid printing problems, we recommend the following settings: download


Comments