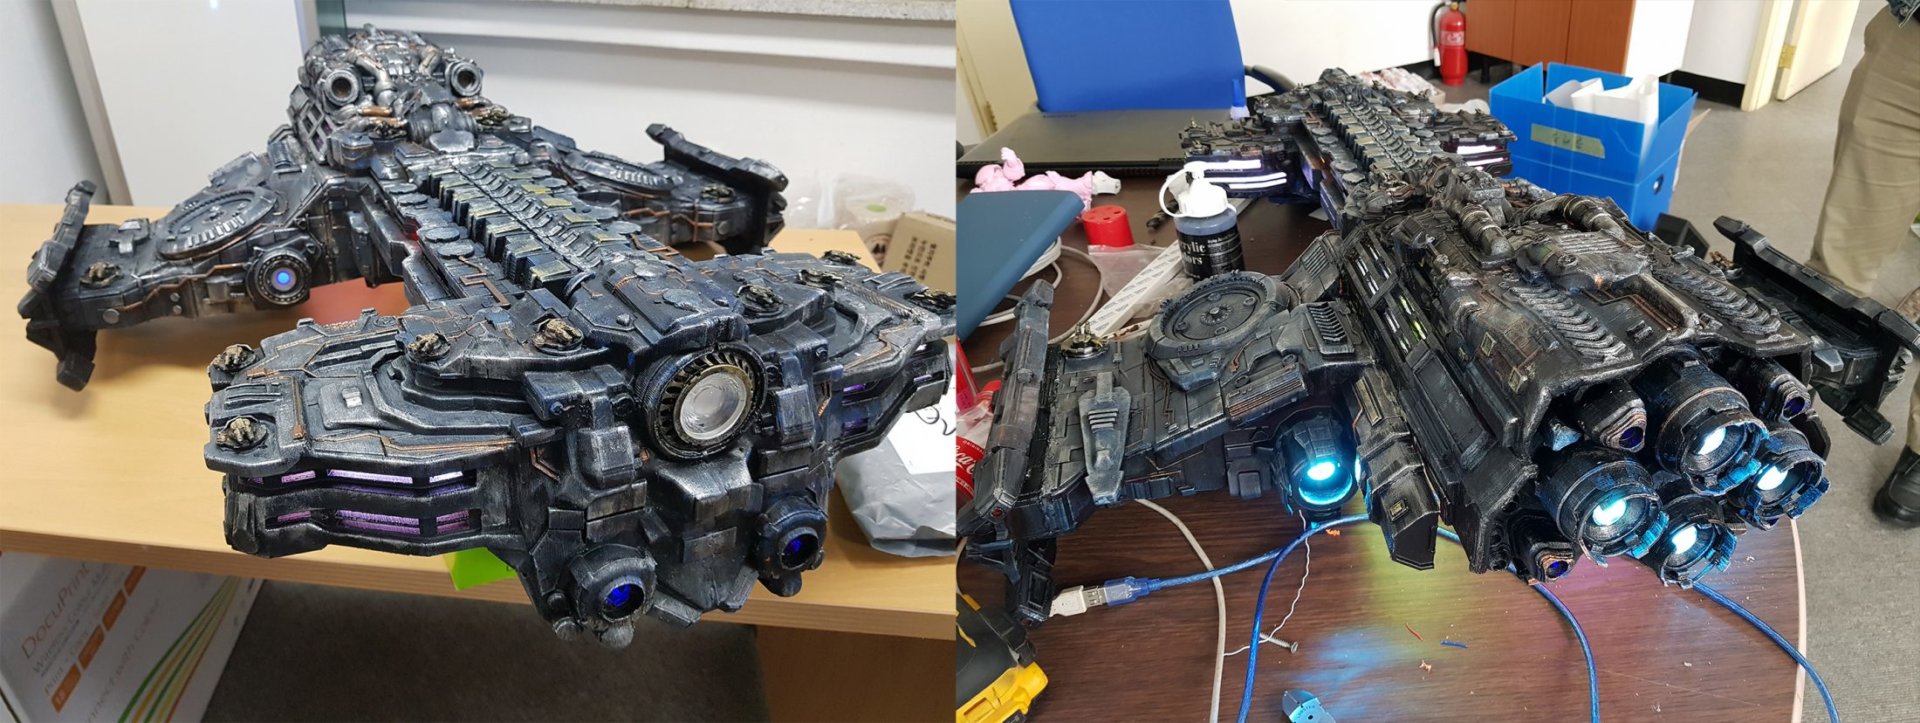
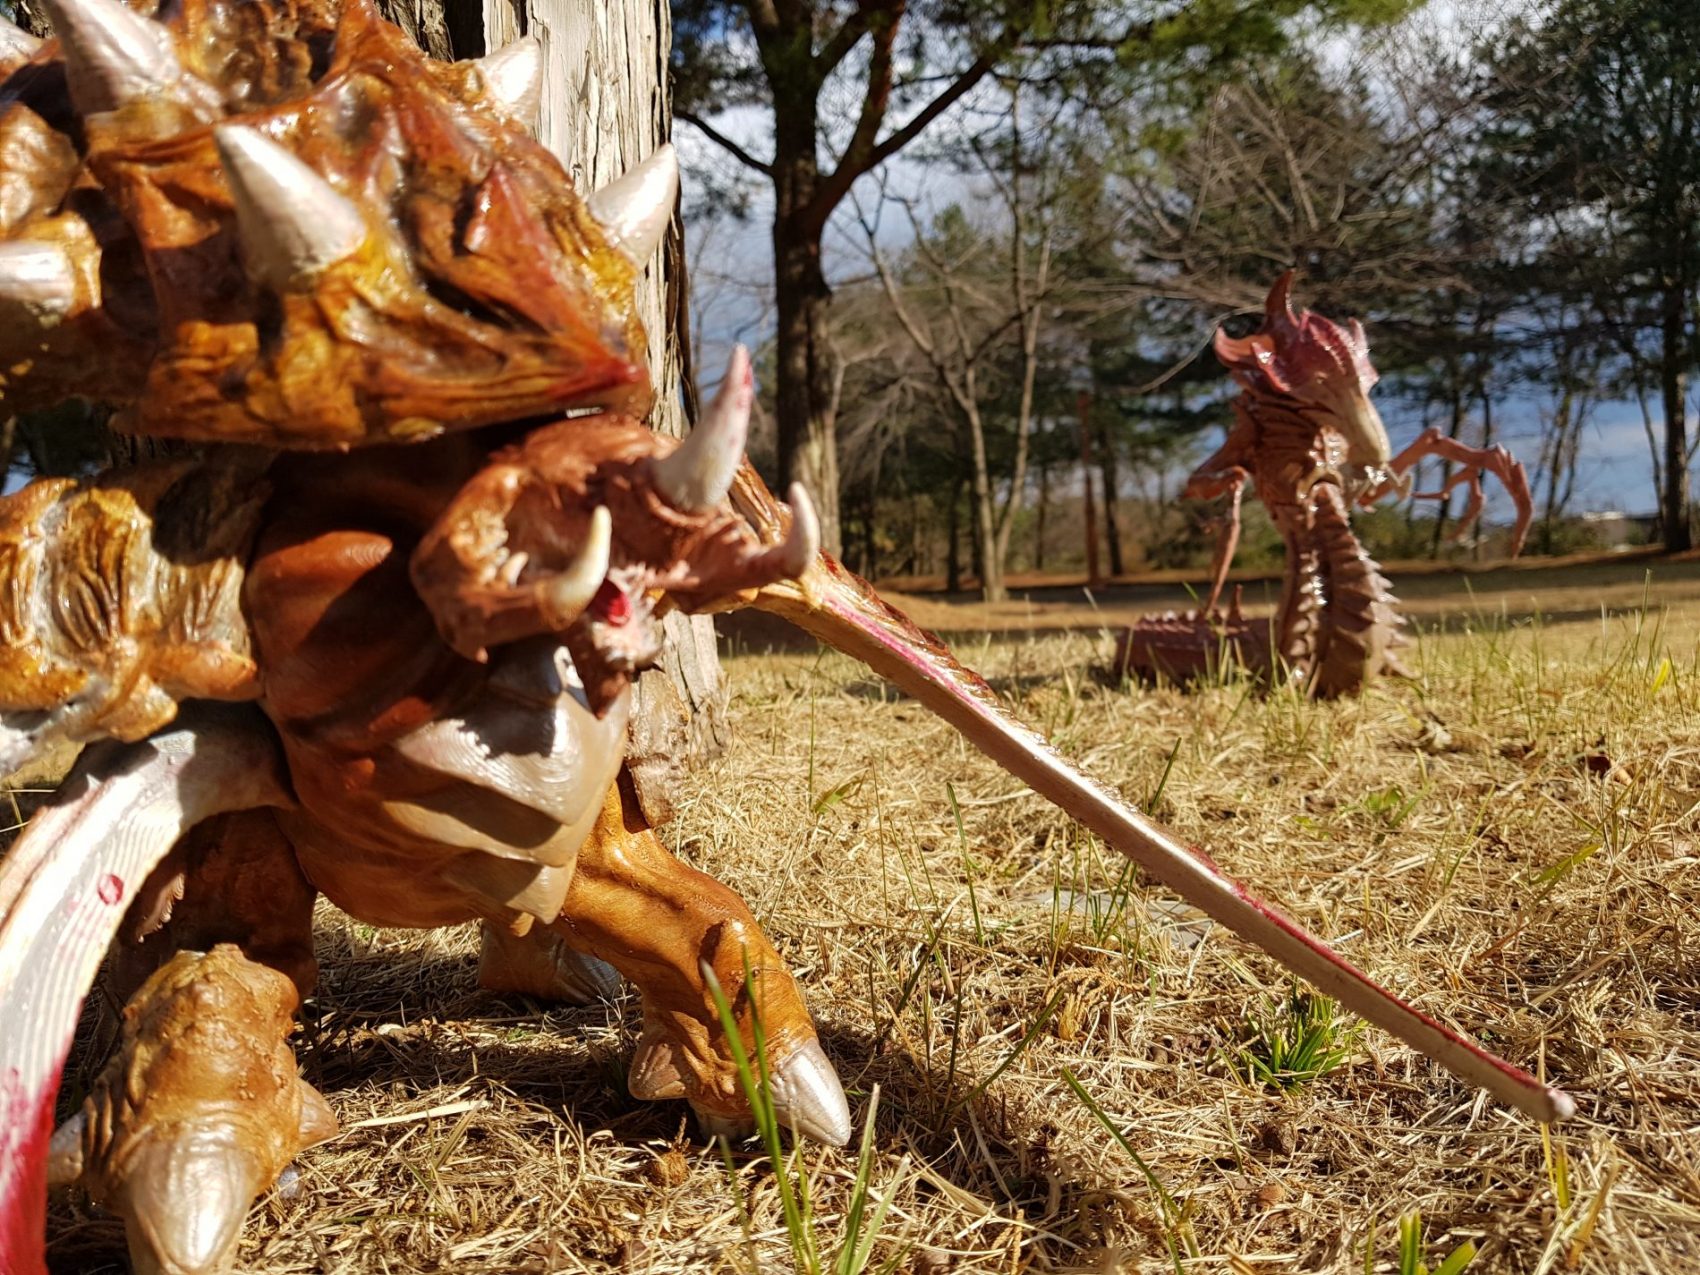
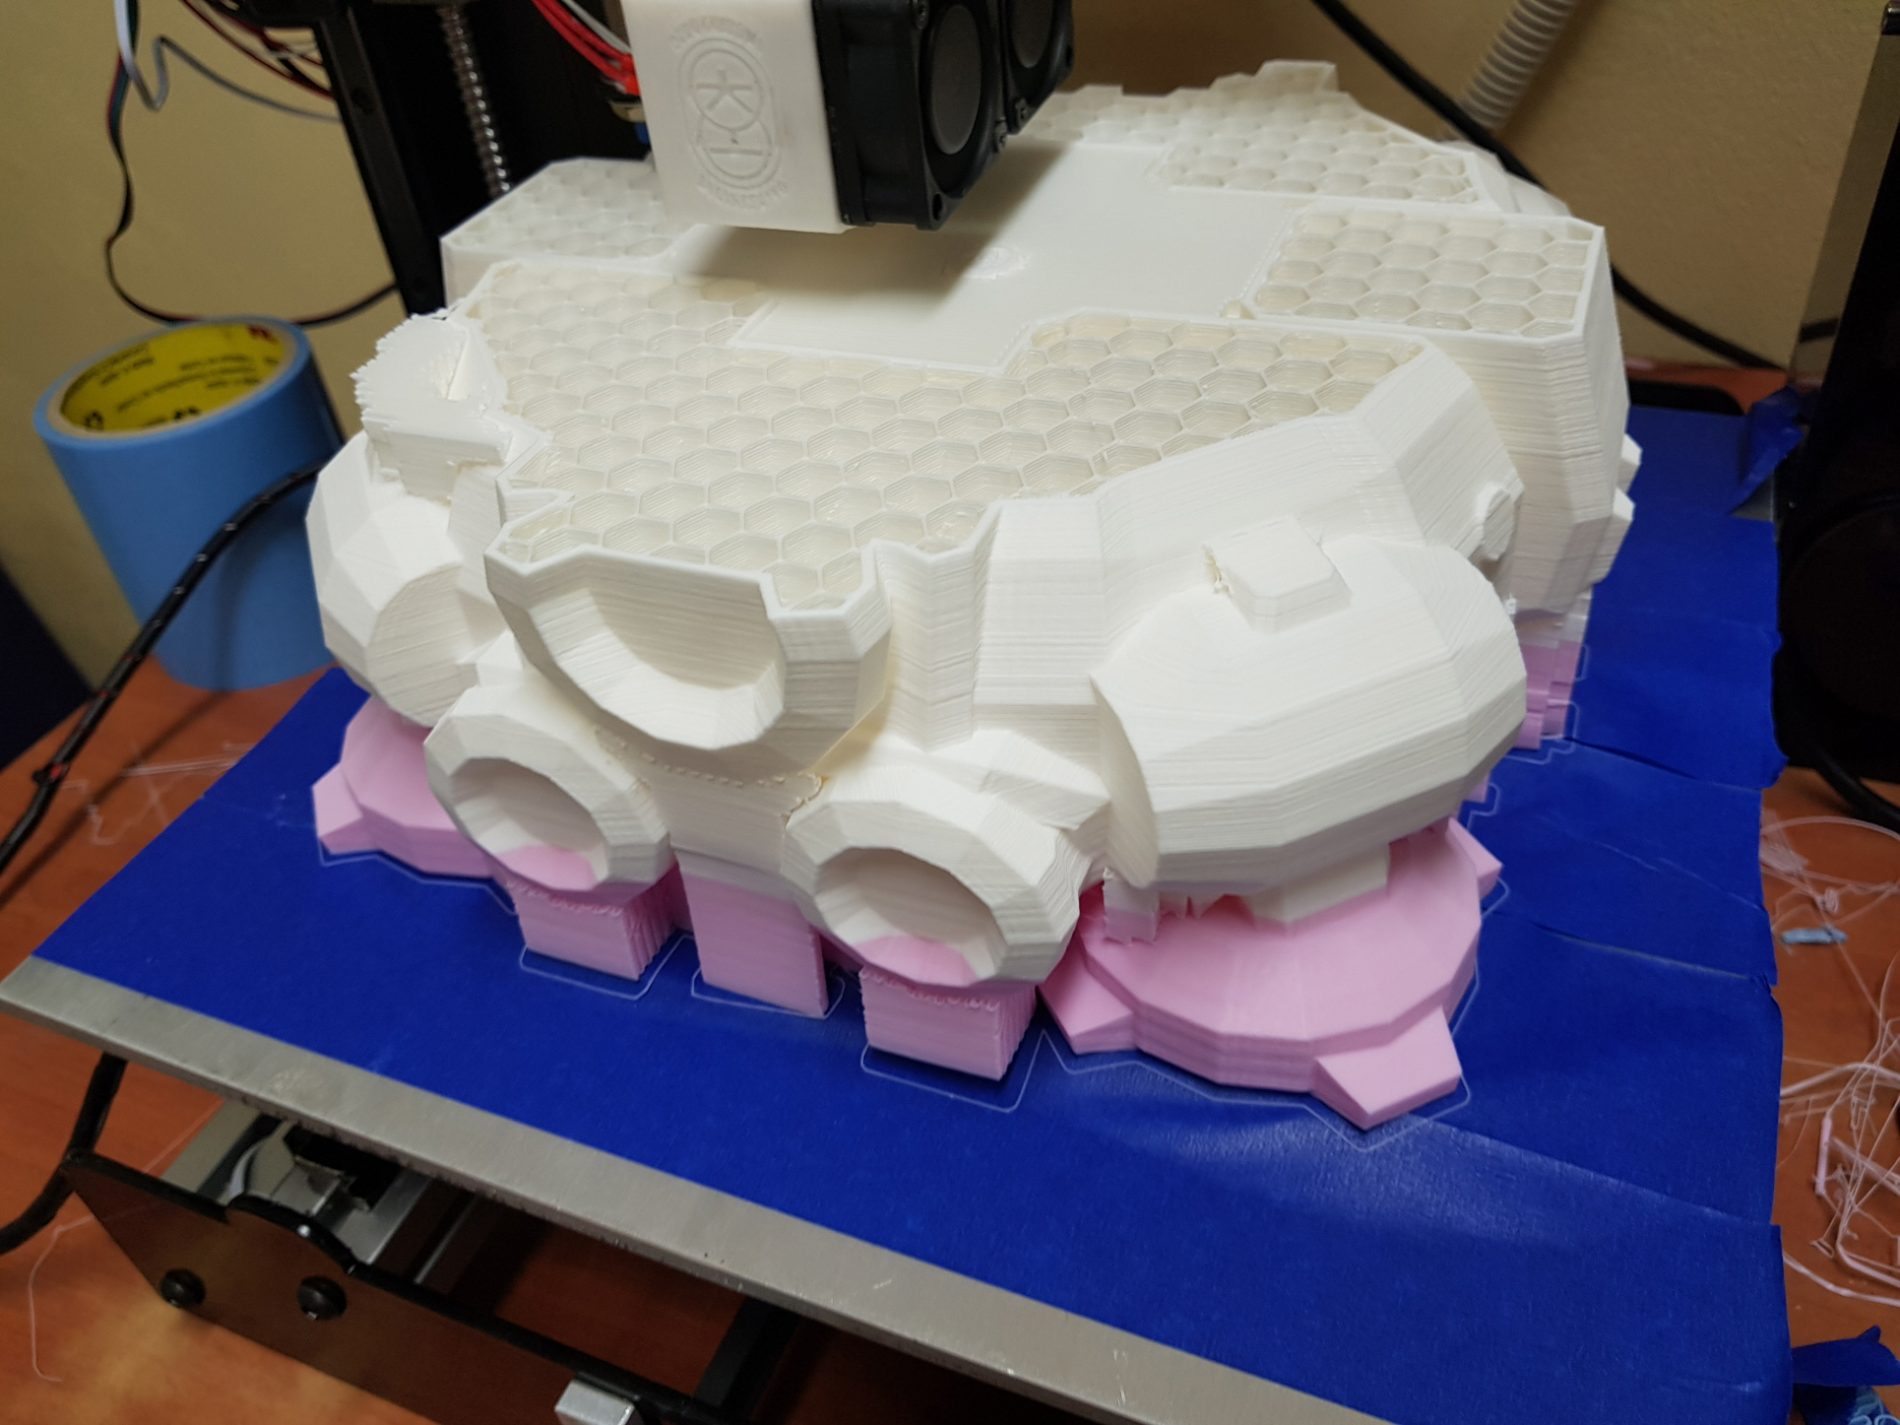
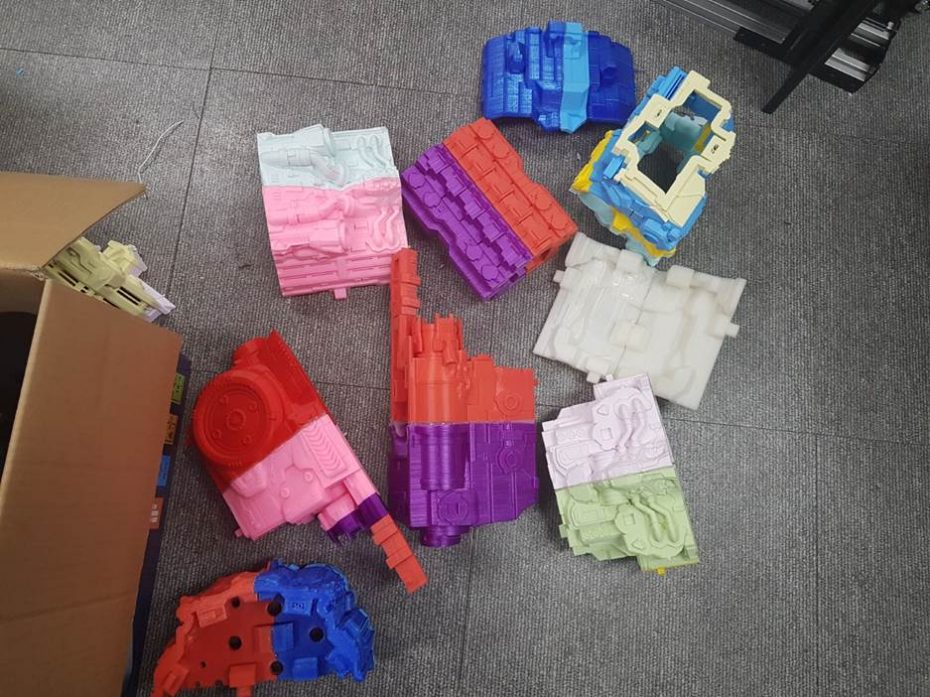
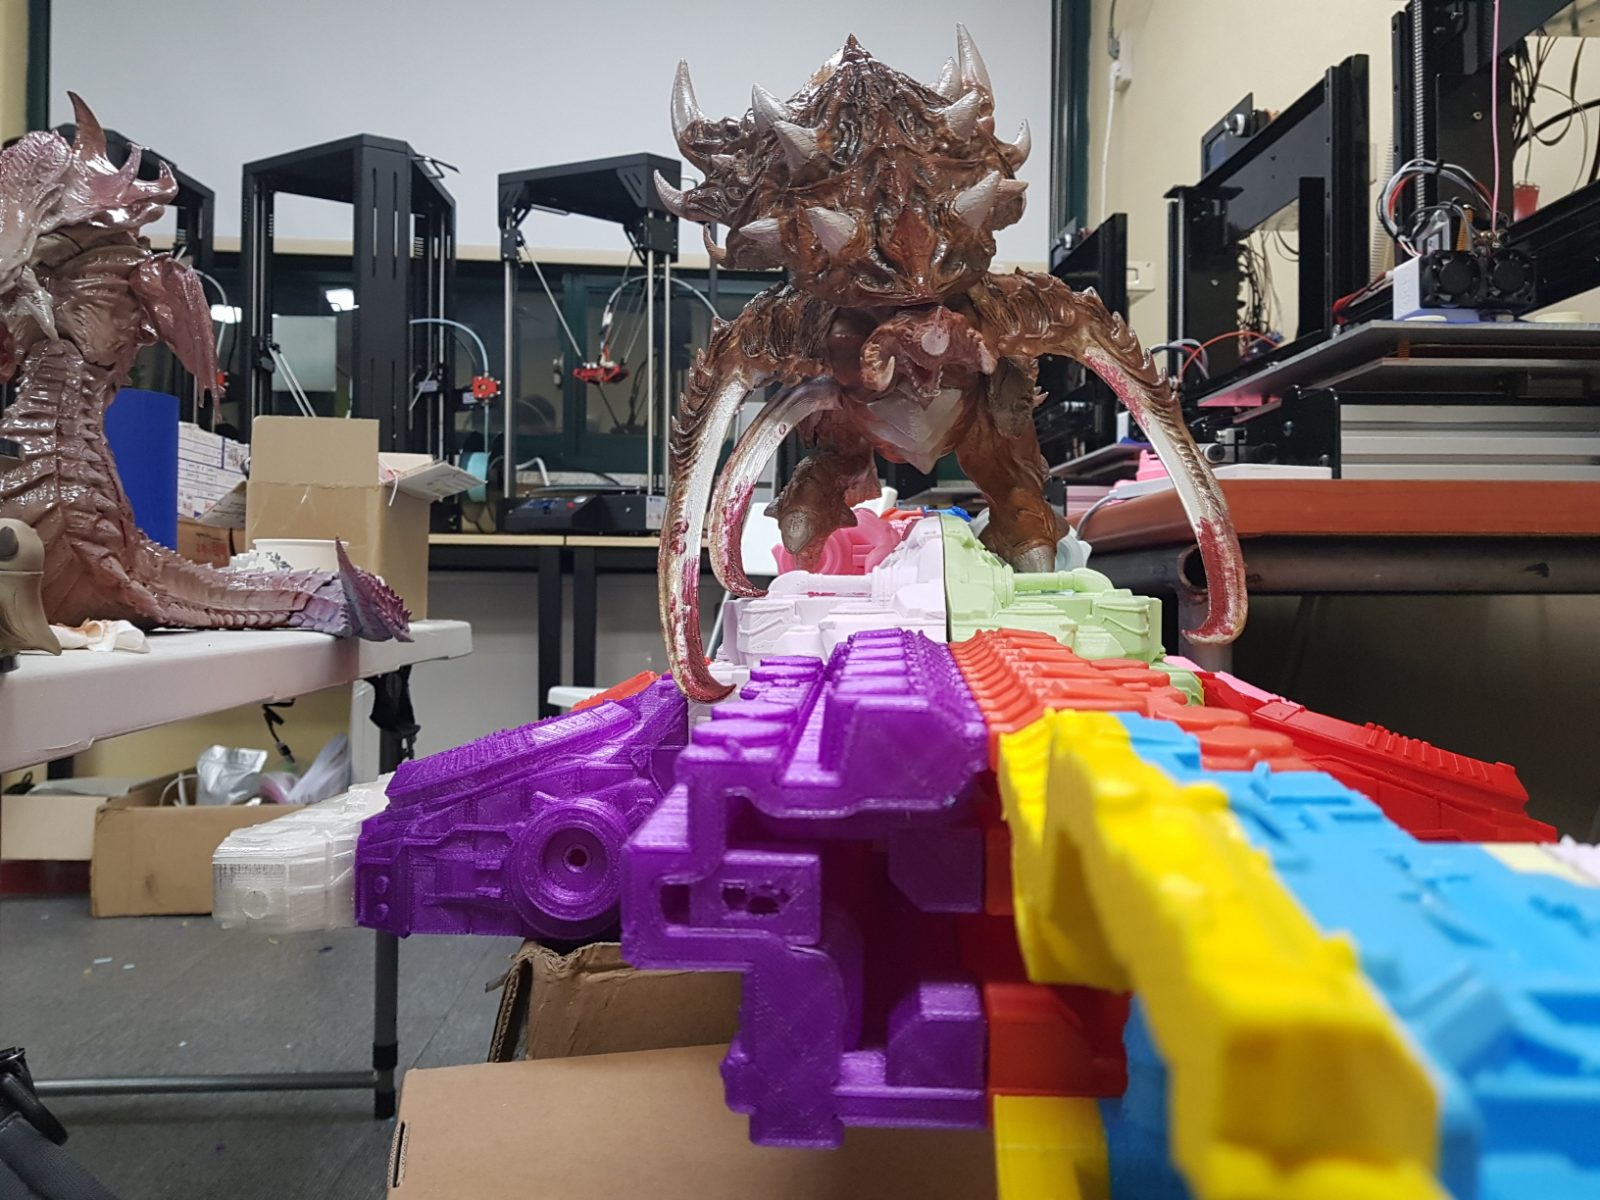
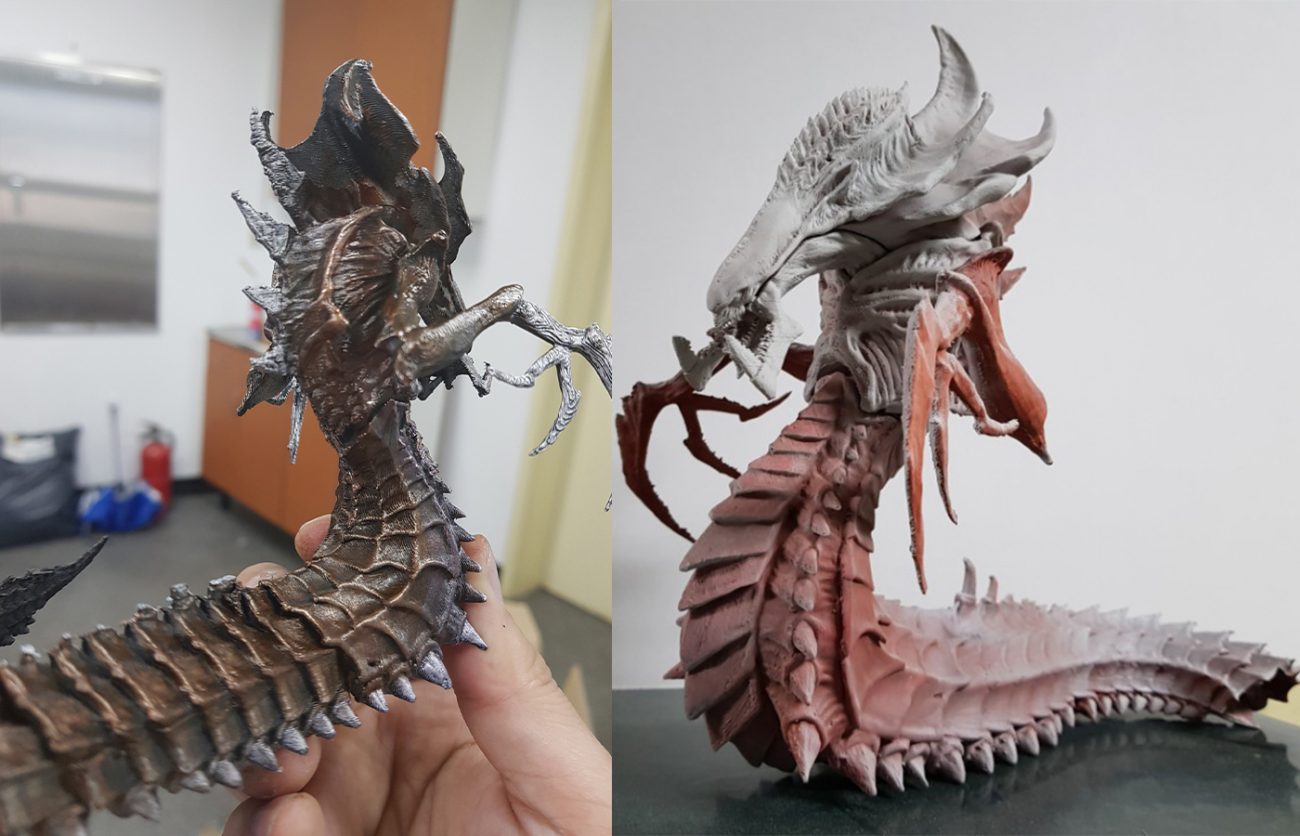
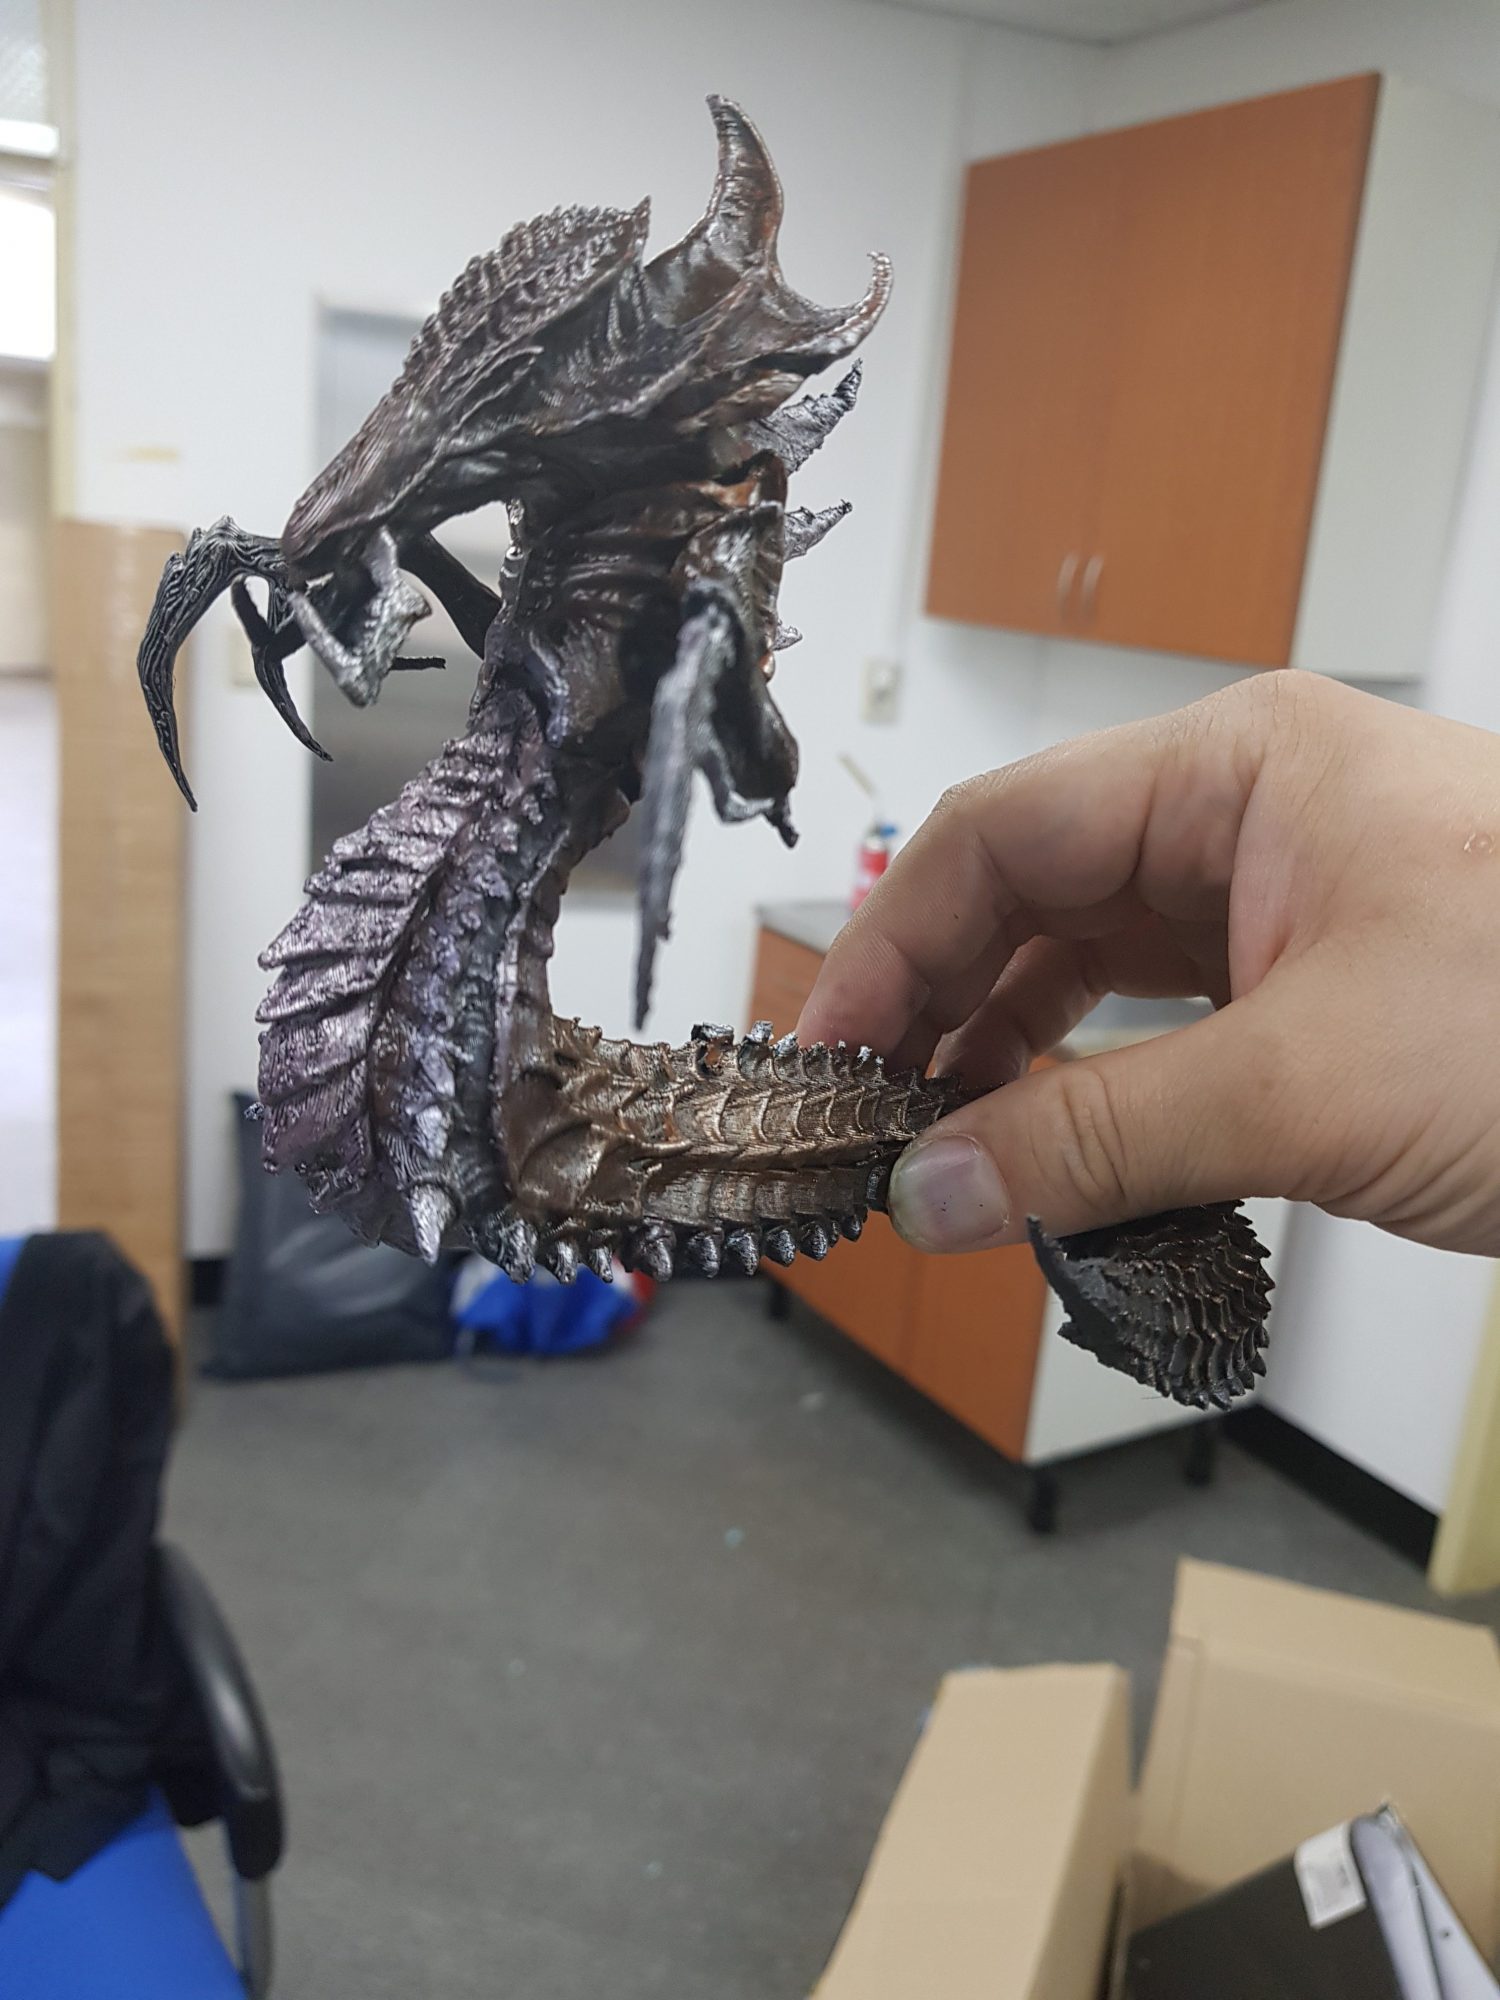
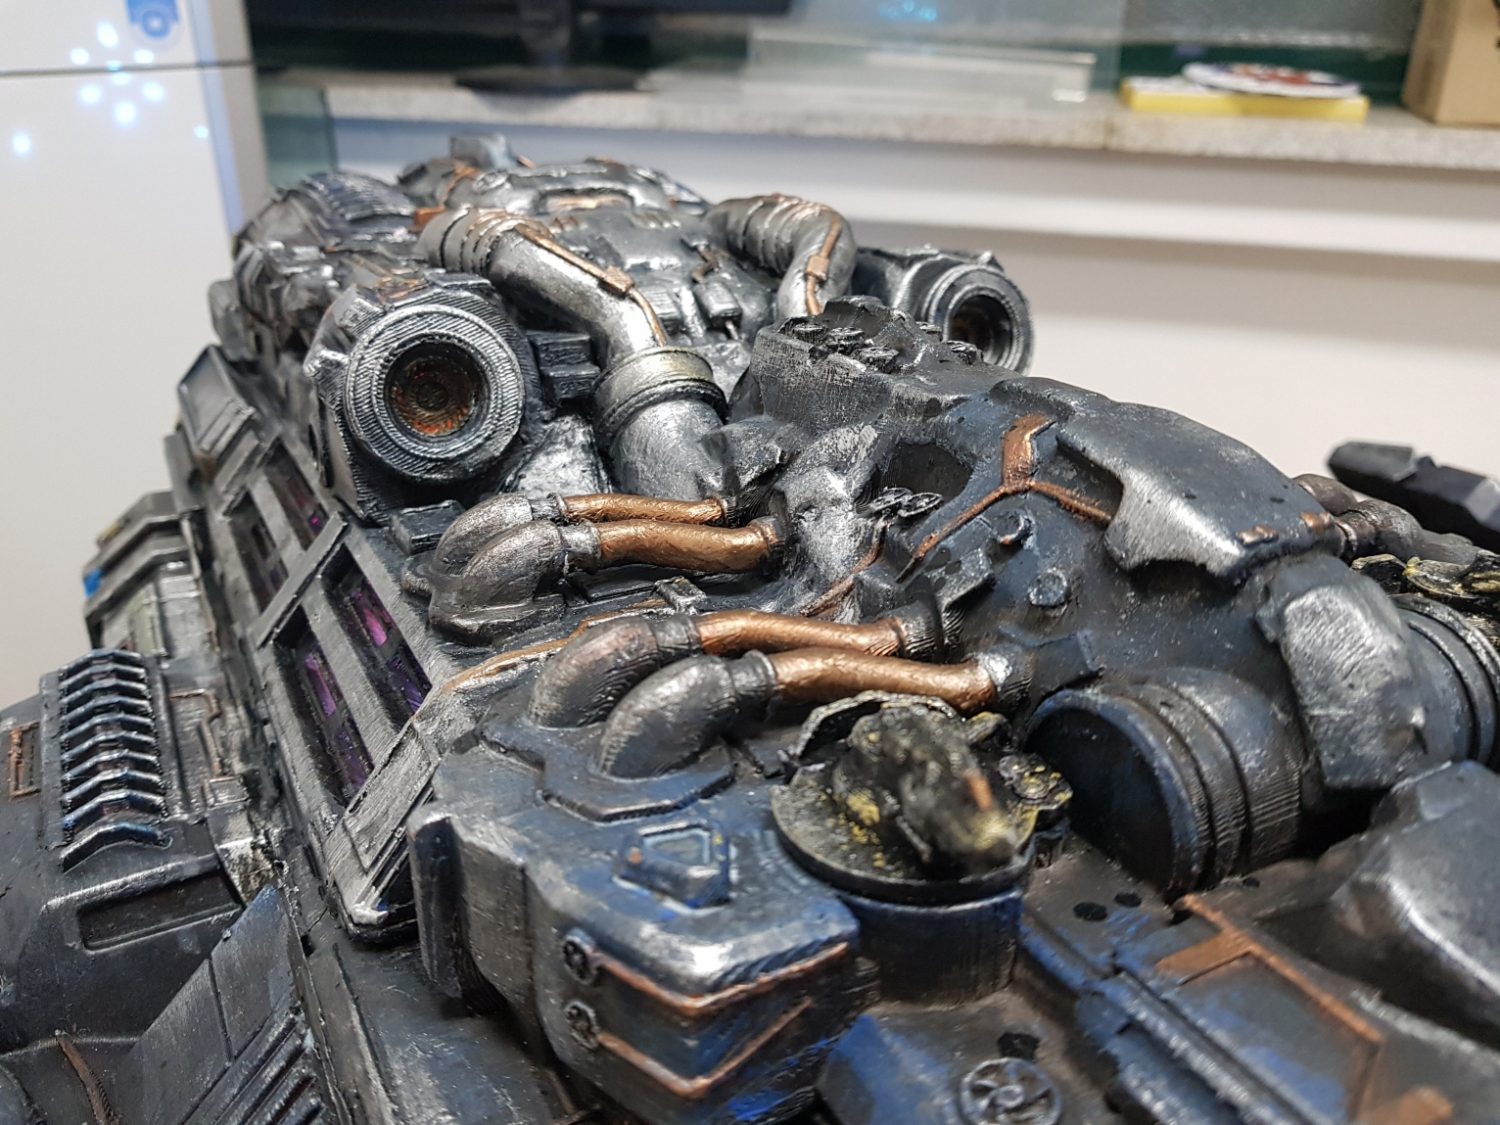
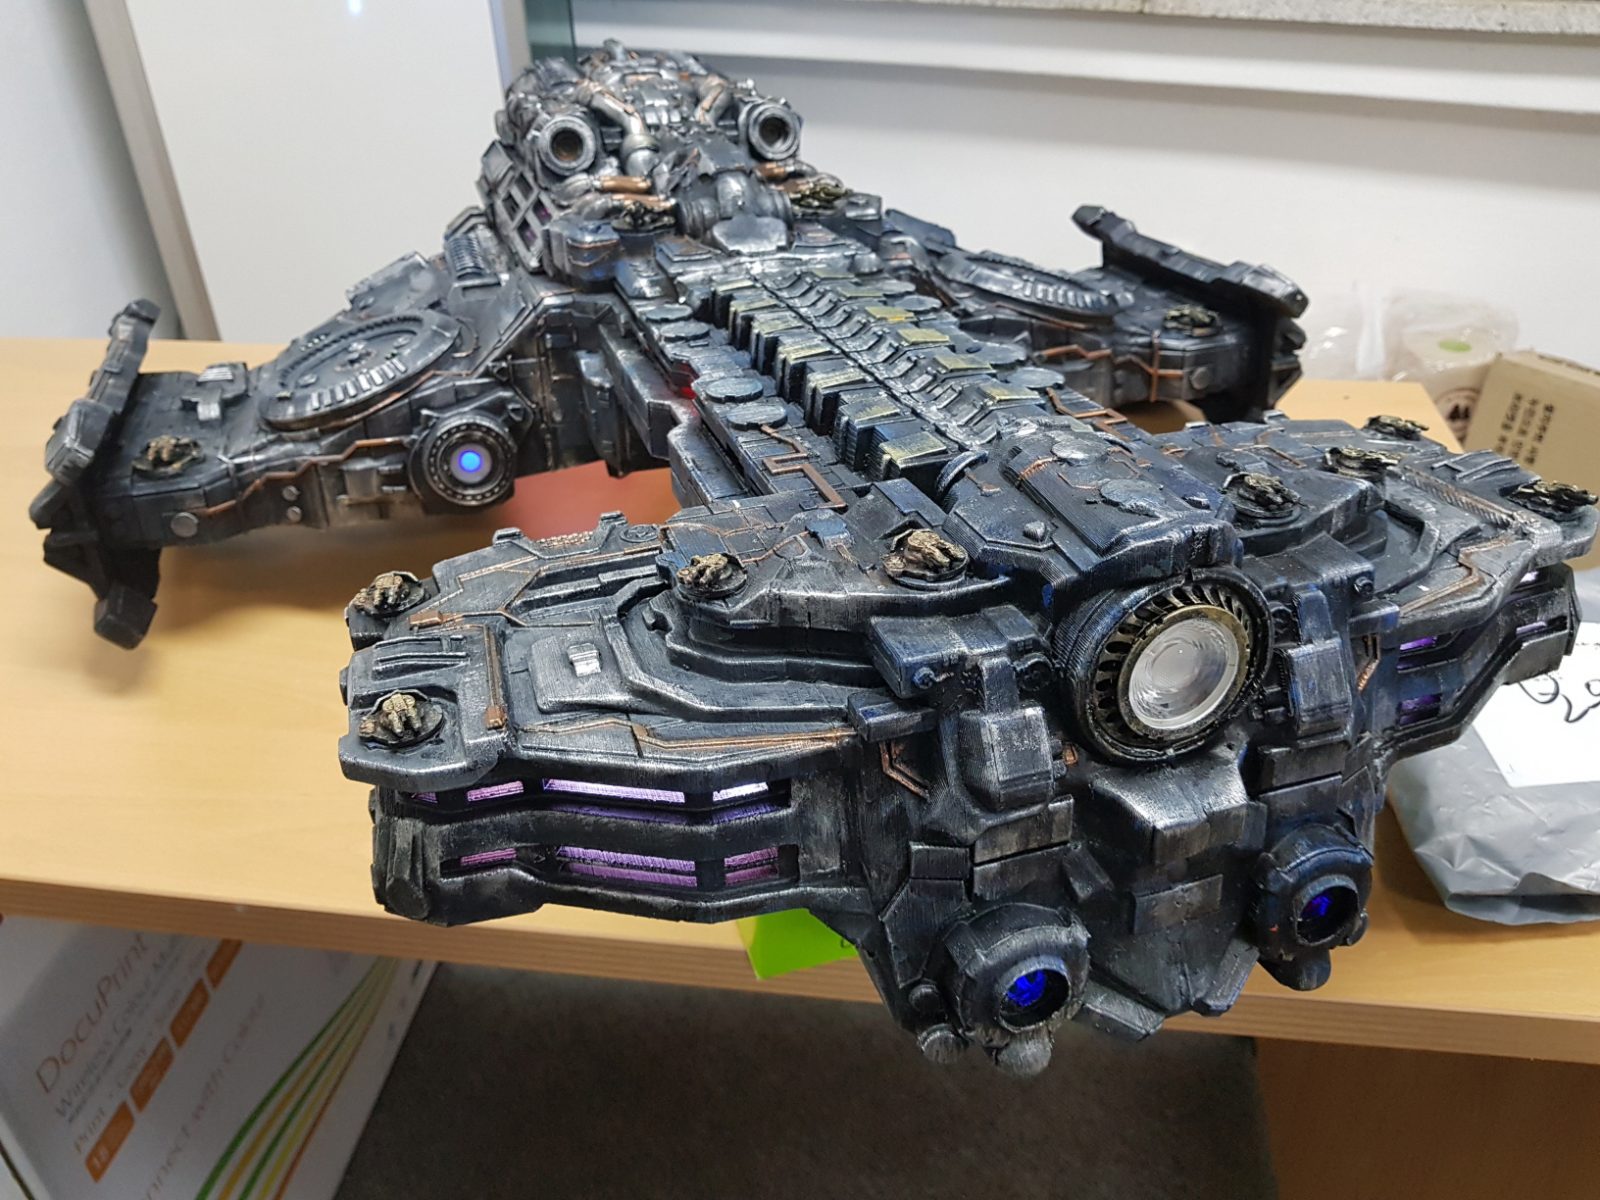
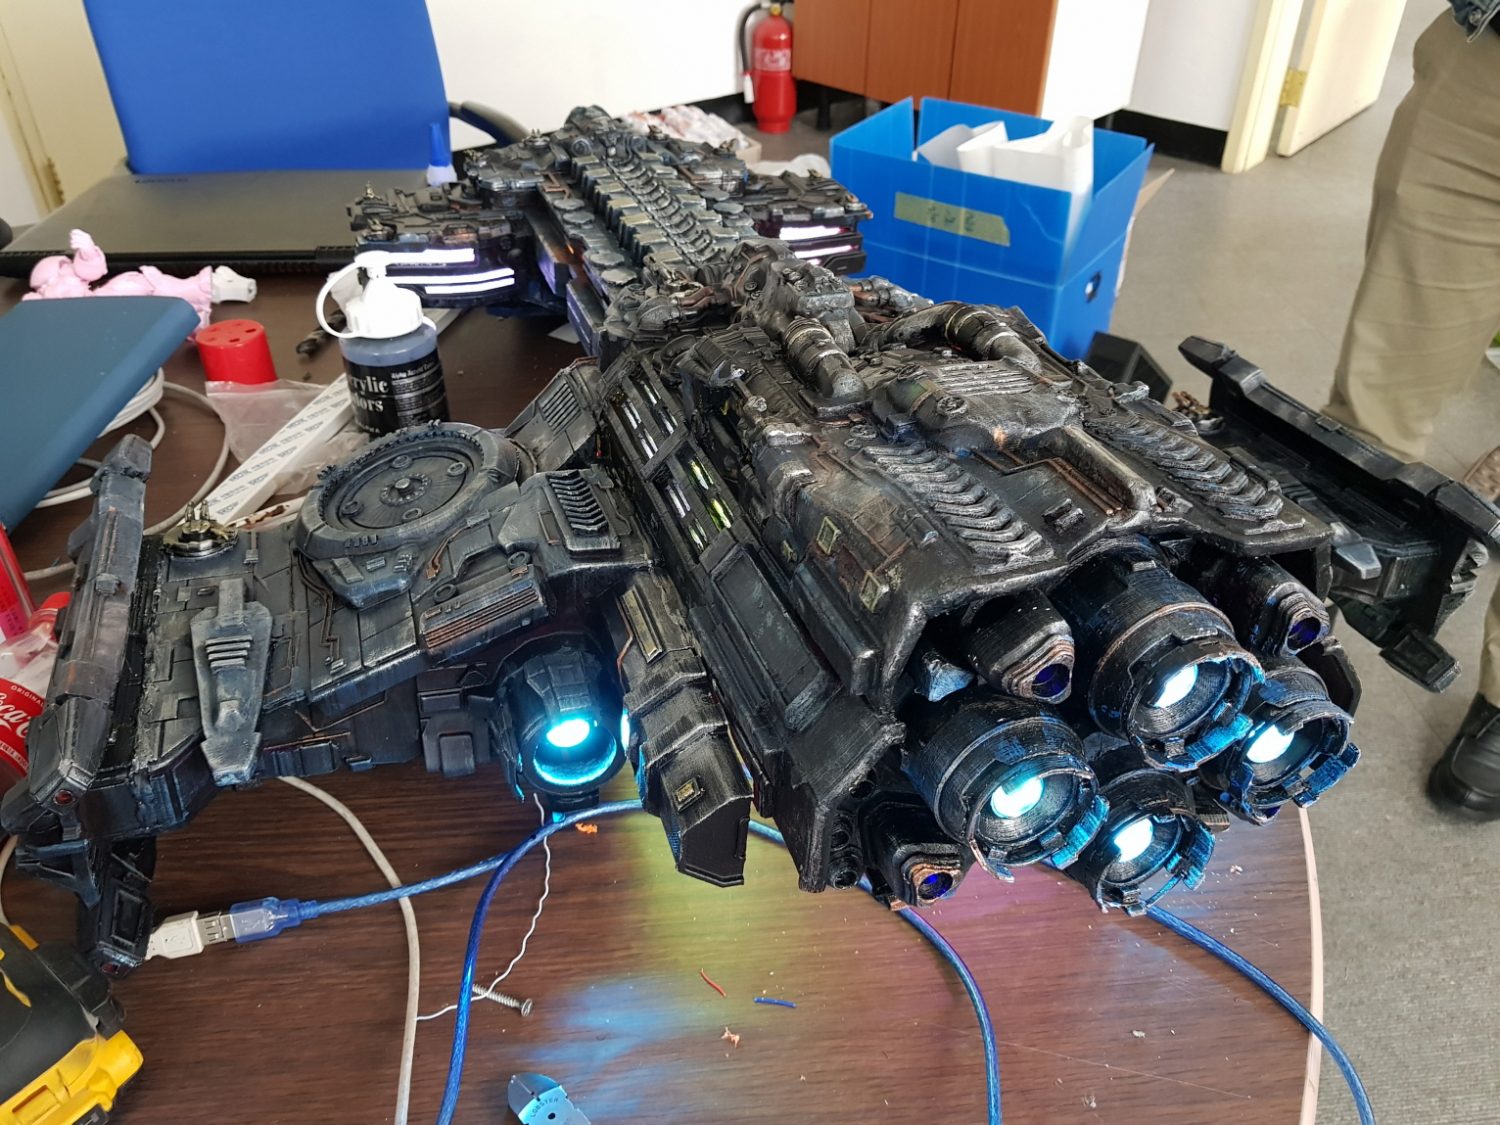
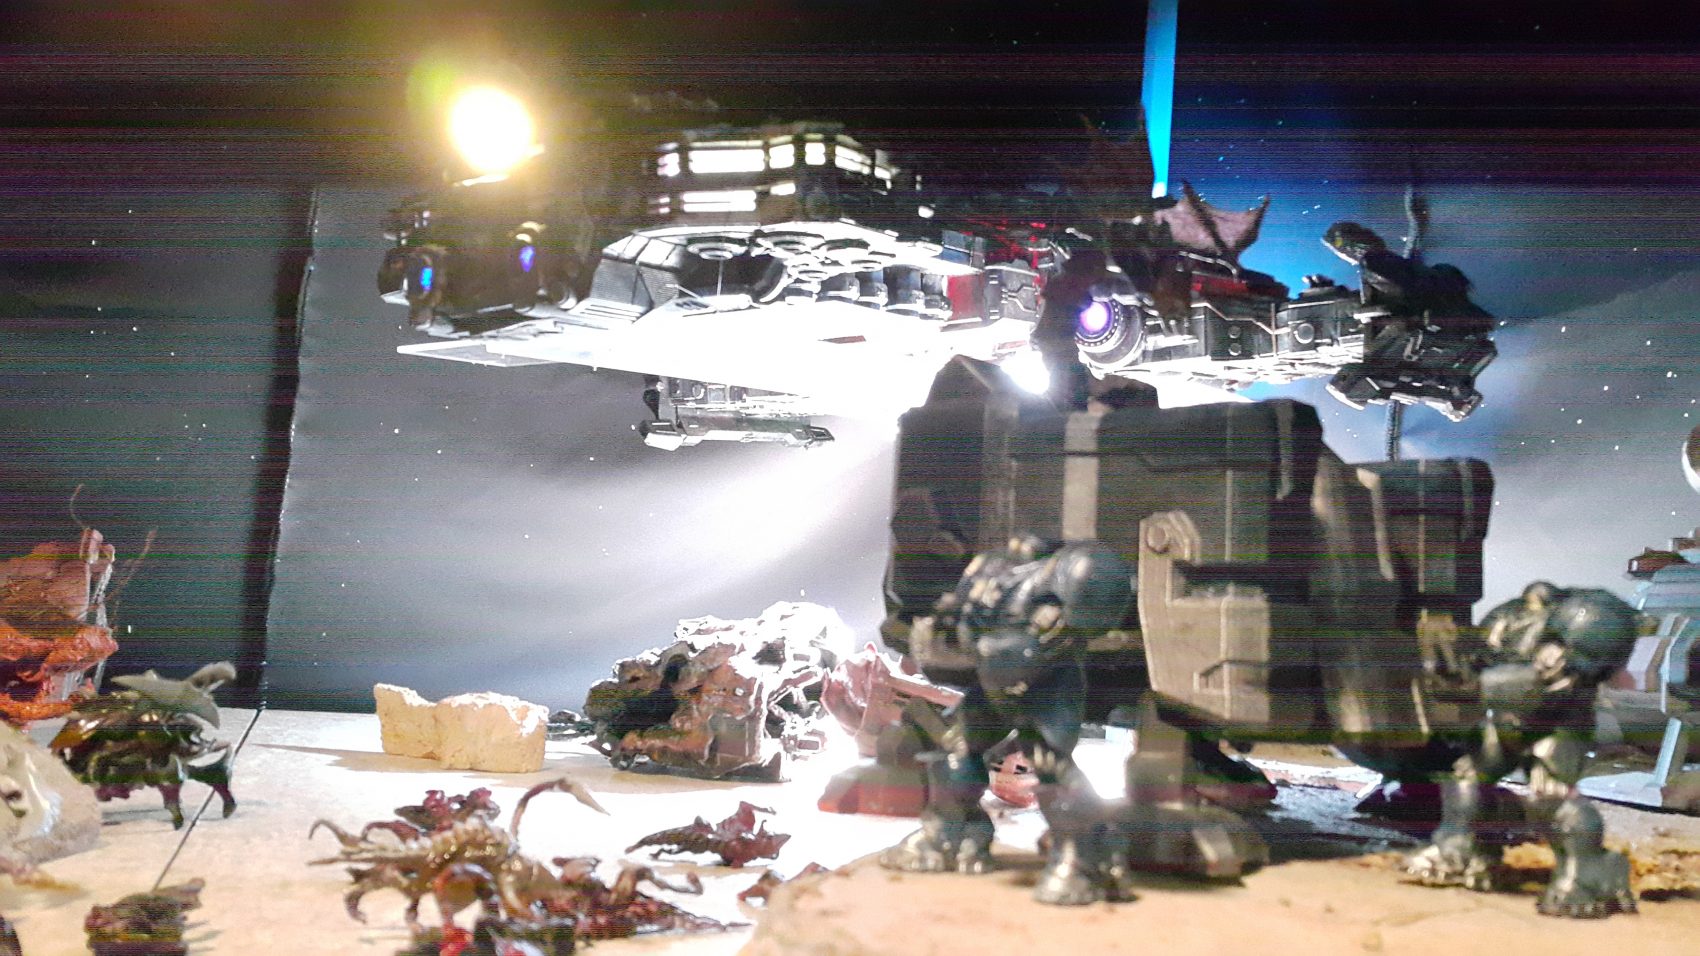
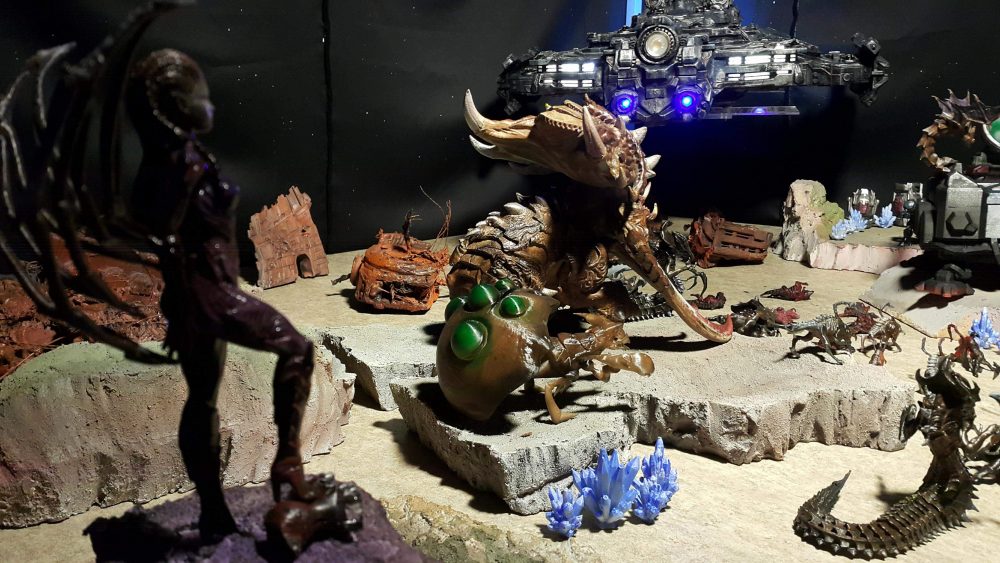
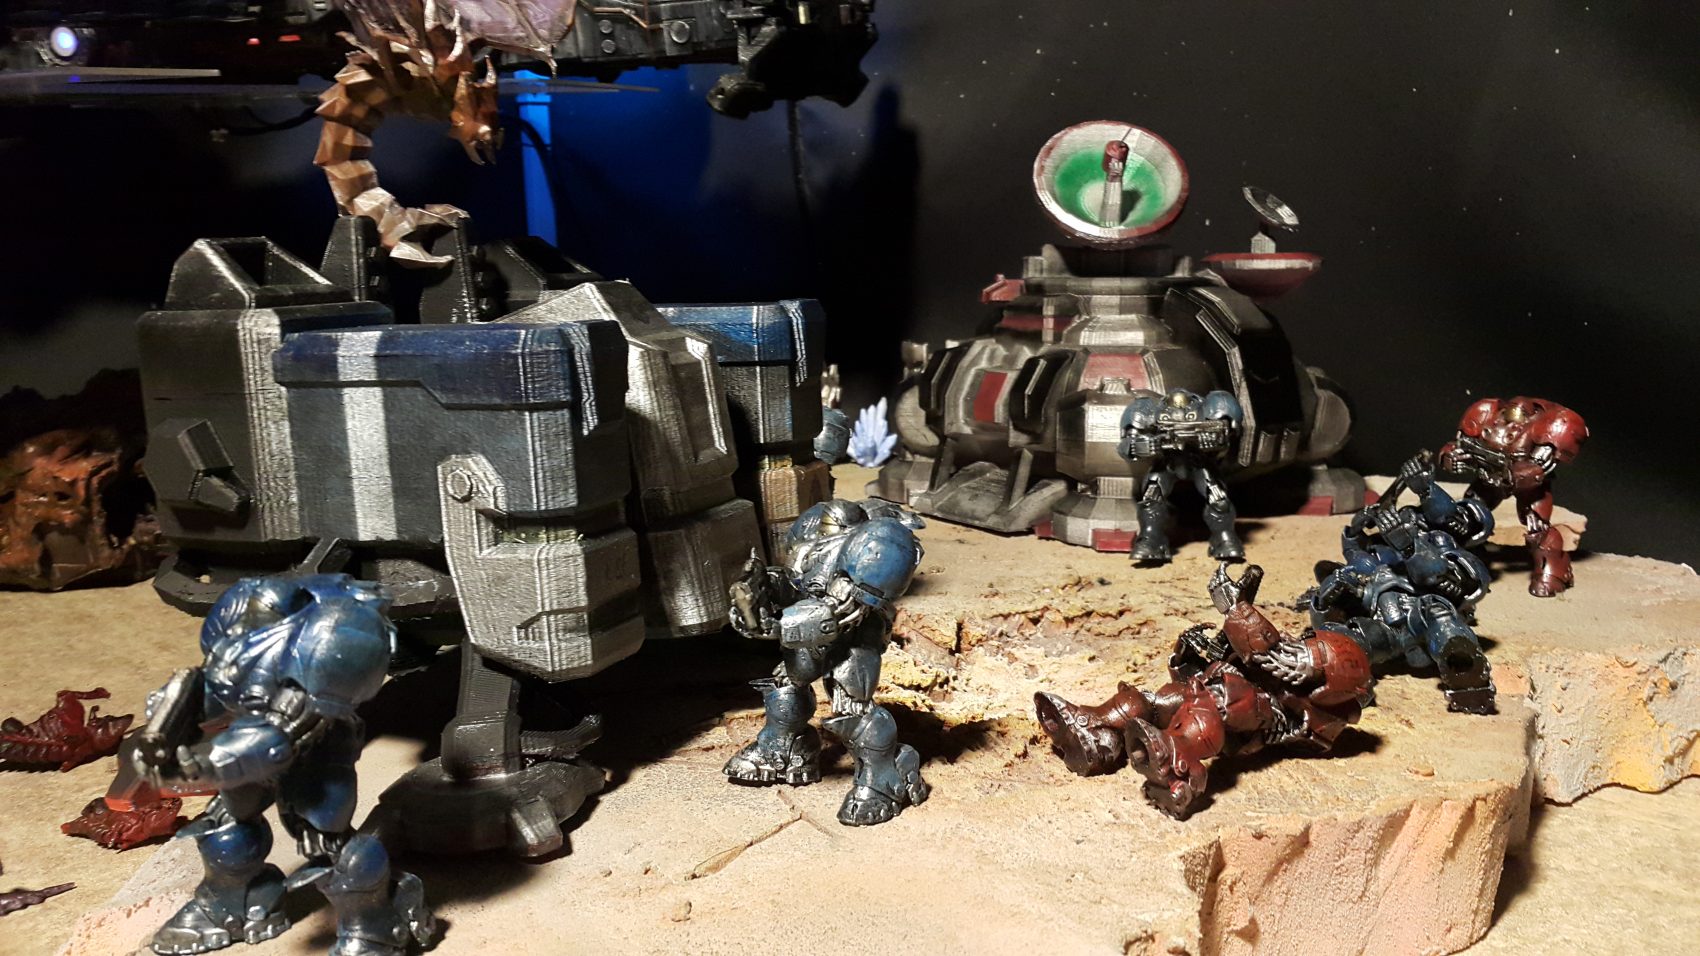
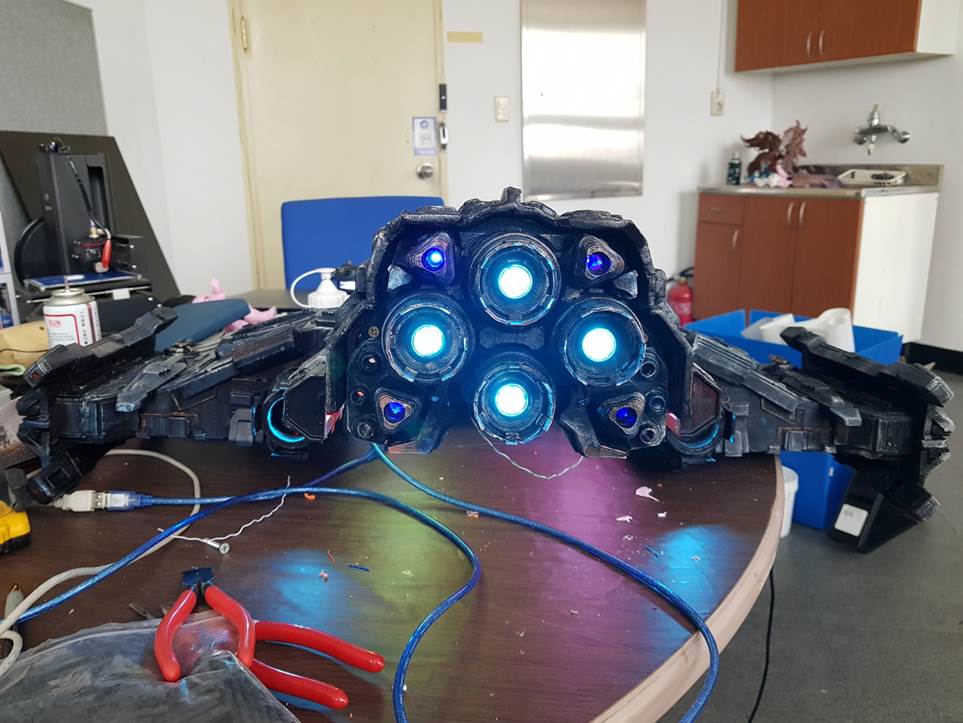
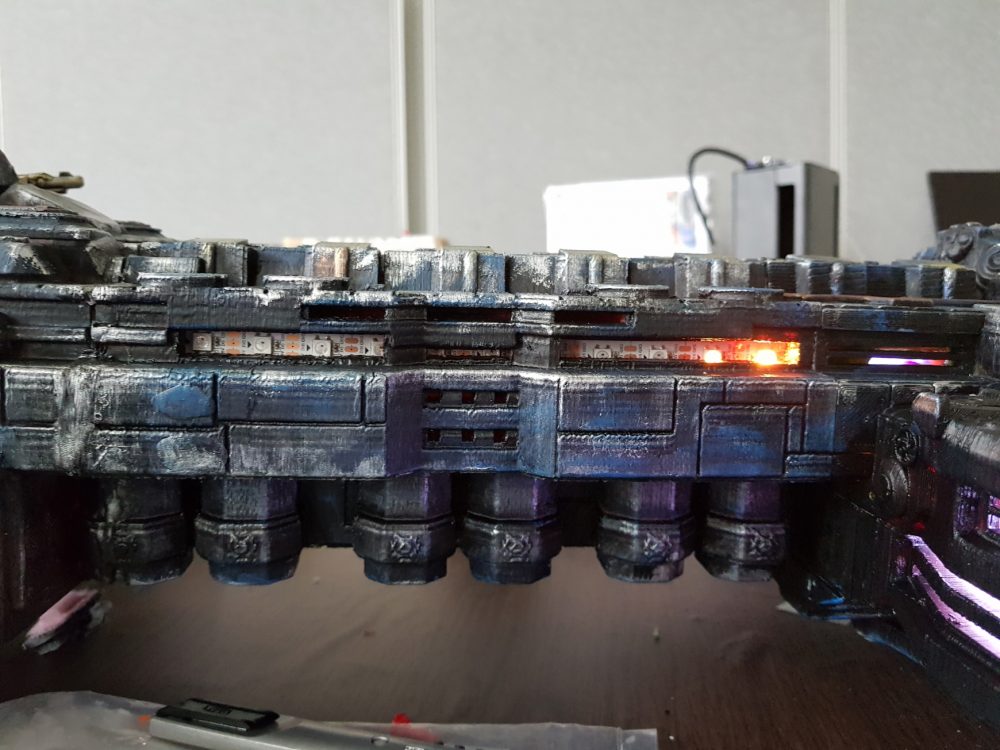
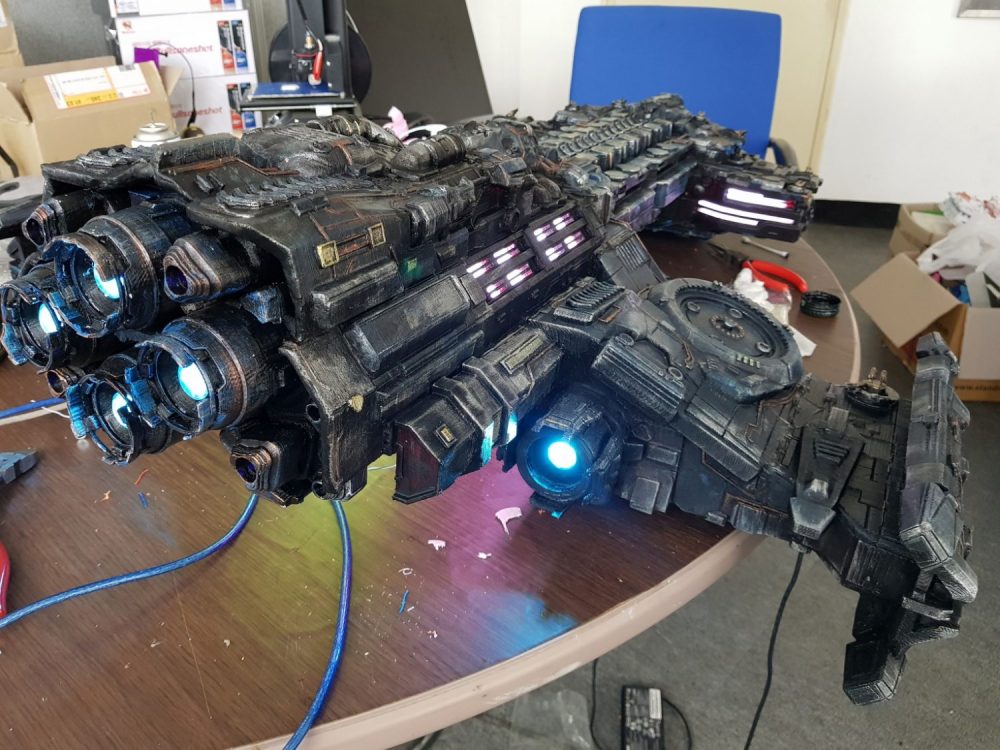
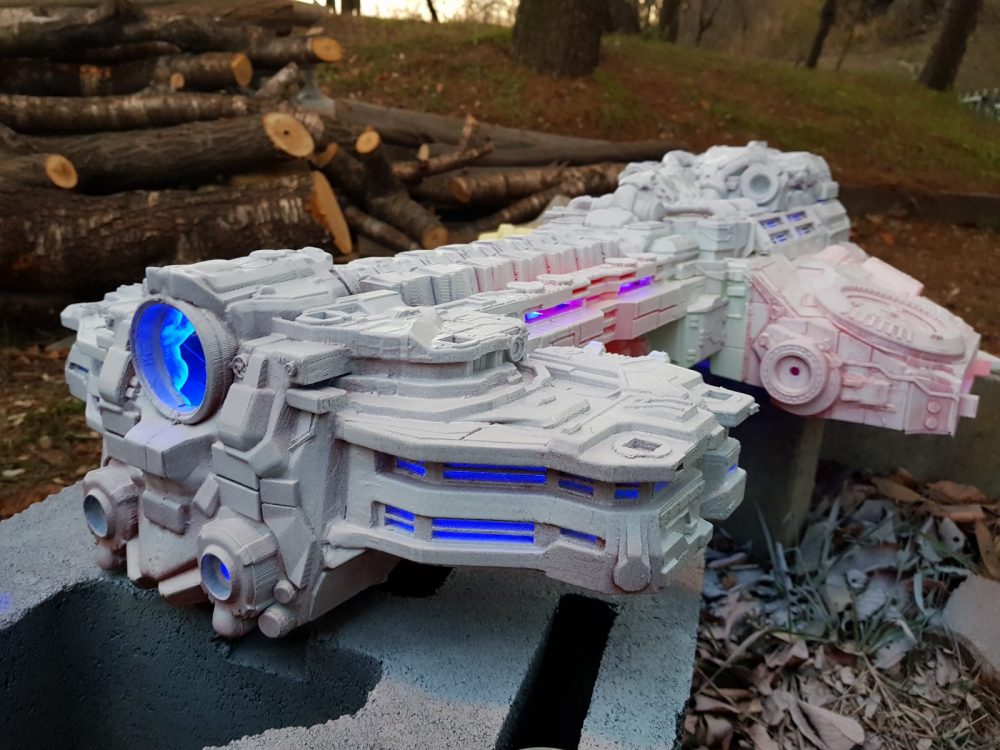
If you haven’t seen the 3D printed StarCraft Battlecruiser model made by Byoungyoung Choi yet, this interview is the best opportunity to get to know the maker and the production of the Battlecruiser from StarCraft video game that turned into a StarCraft diorama.
We contacted Byoungyoung Choi and asked several questions about his hobby – 3D printing and the making process of the Hyperion battlecruiser model. And this is what we found out.
First, we would like to say ‘WOW’! There’s no better word to describe our admiration and awe for your incredible job. The replica of the 3D printed StarCraft Battlecruiser model looks as if it has just left the video game and entered into our world to knock us off.
Also, we would like to thank you for accepting to do this interview with us. As you probably suspect, our readers are curious to learn as many details as possible about the whole process: from inception to completion.
1. First of all, we are curious to know, why did you choose to replicate the 3D printed StarCraft Battlecruiser model?
I’m starting up a small startup company that creates business items that utilize 3D printers. I have about 10 or so 3D printers, create a variety of fun and diverse props, and have classes.
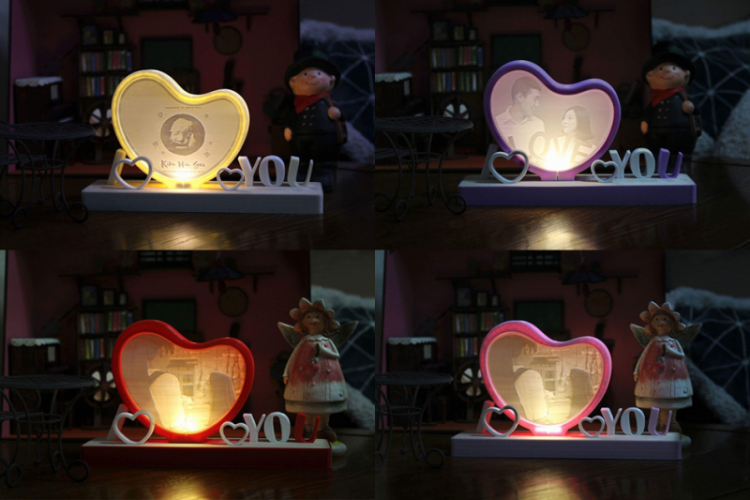
When I first had a 3D printer, I made and sold a product called heart lamp or moon lamp (South Korean president, Moon Jae-in & Roh Moo-hyun PS. Moon lamp was not sold).
Heart lamps were popular with lovers. Now we are developing filter products to filter out harmful substances from 3D printers.
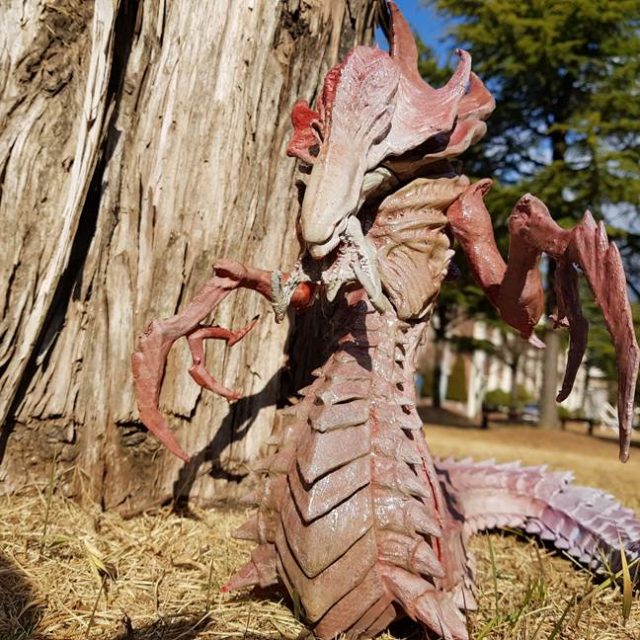
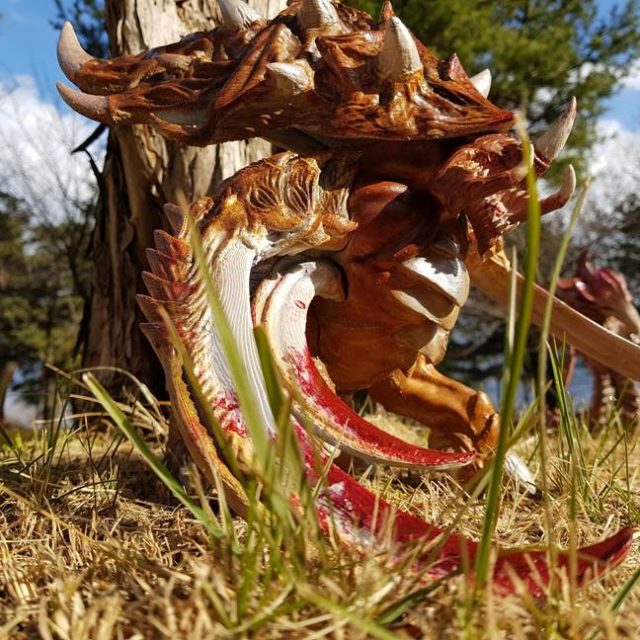
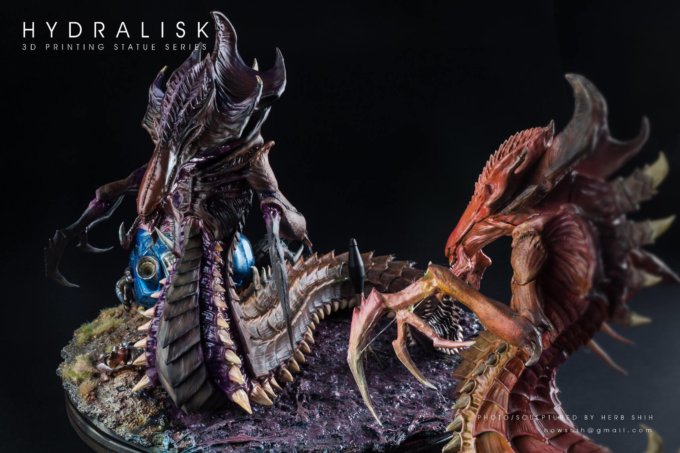
At that time, I felt the need to consume the bad materials of a long-neglected 3D printer. I love StarCraft and when I search “starcraft 3D miniatures” on Google, I often found a Gambody 3D Printing miniatures (Ultralisk, Hydralisk).
The high-quality 3D model uploaded to Gambody site made my life as a maker fun. Perhaps the first thing I downloaded was the Batman figurine.
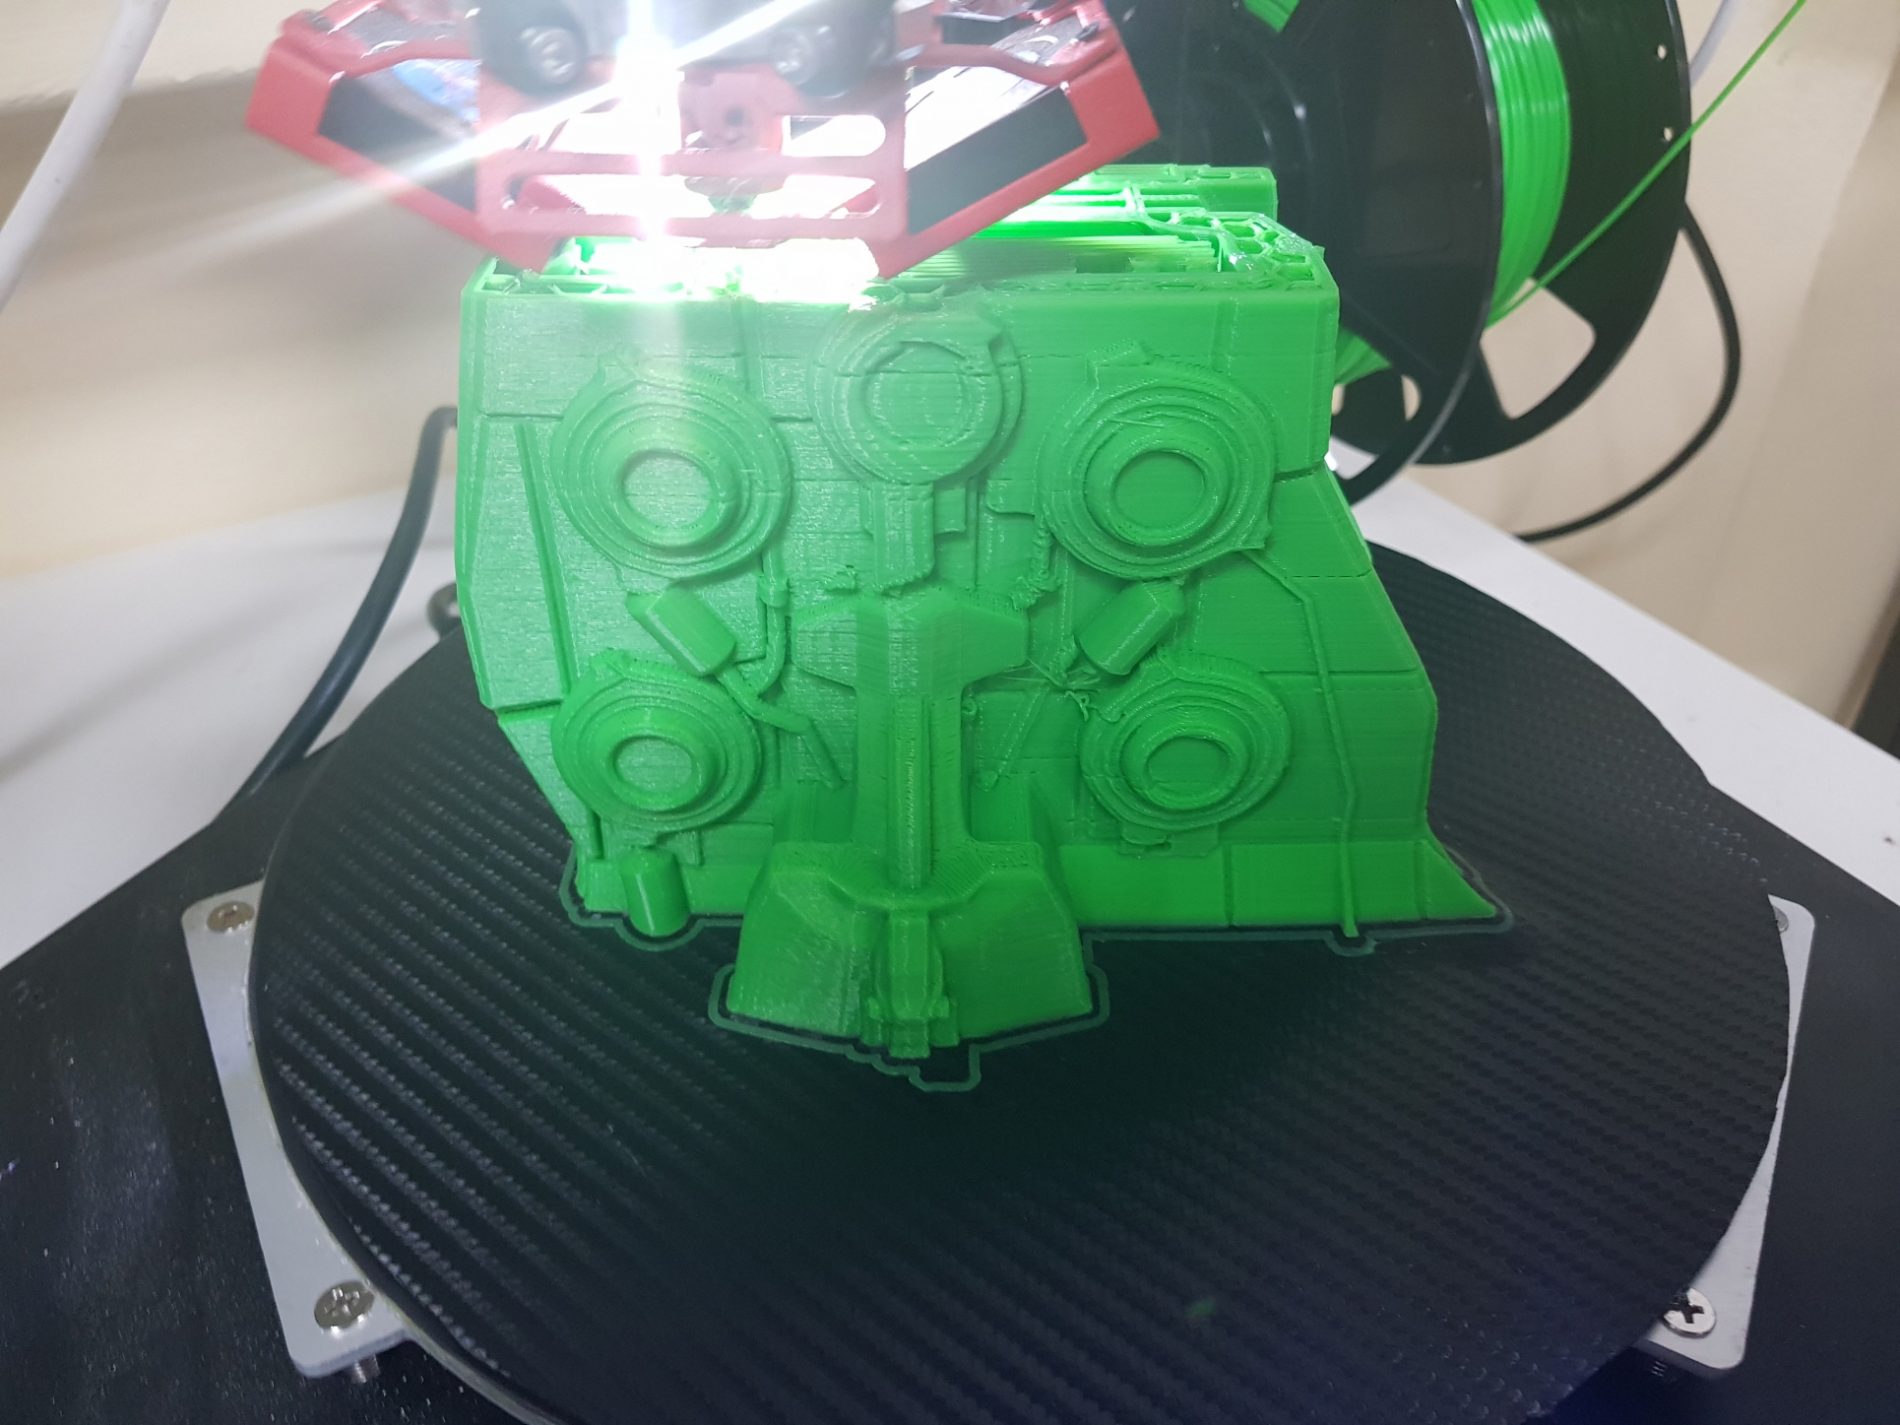
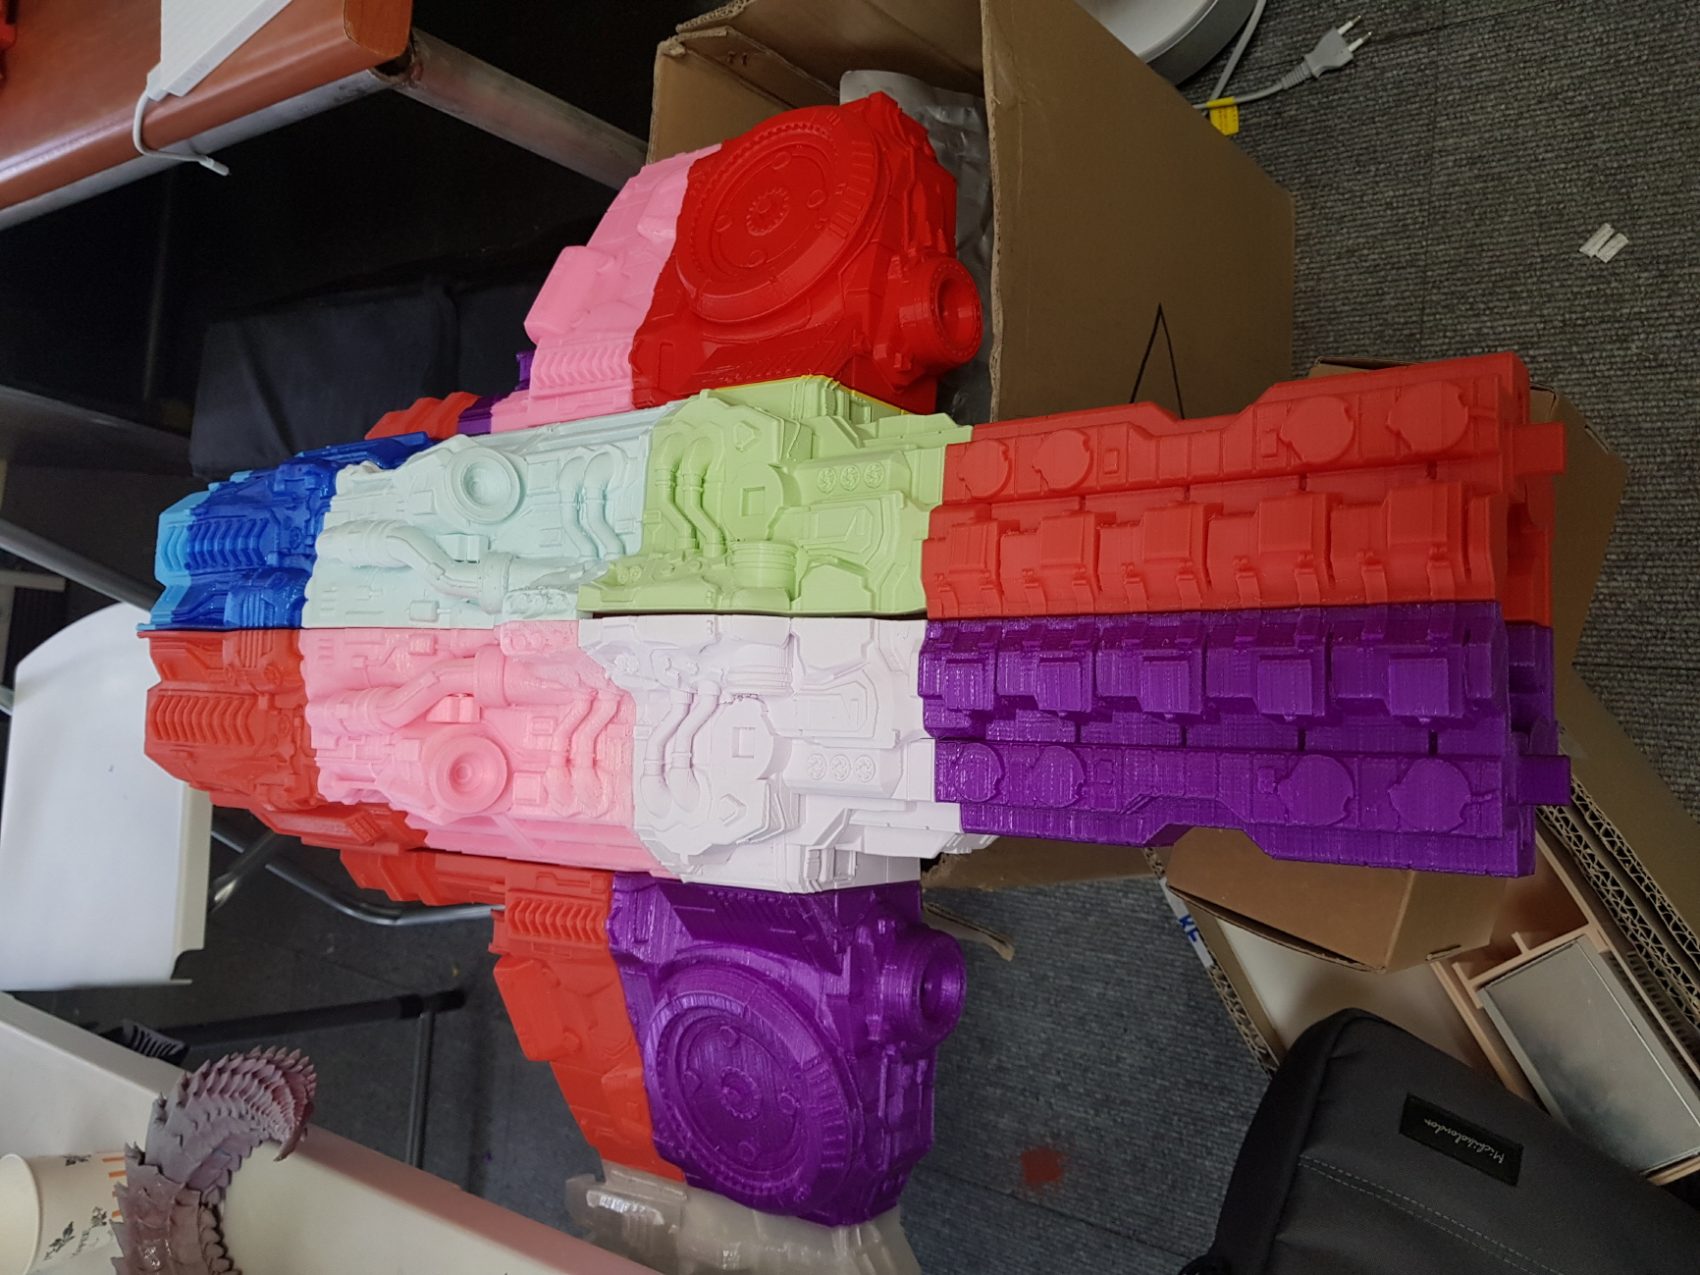
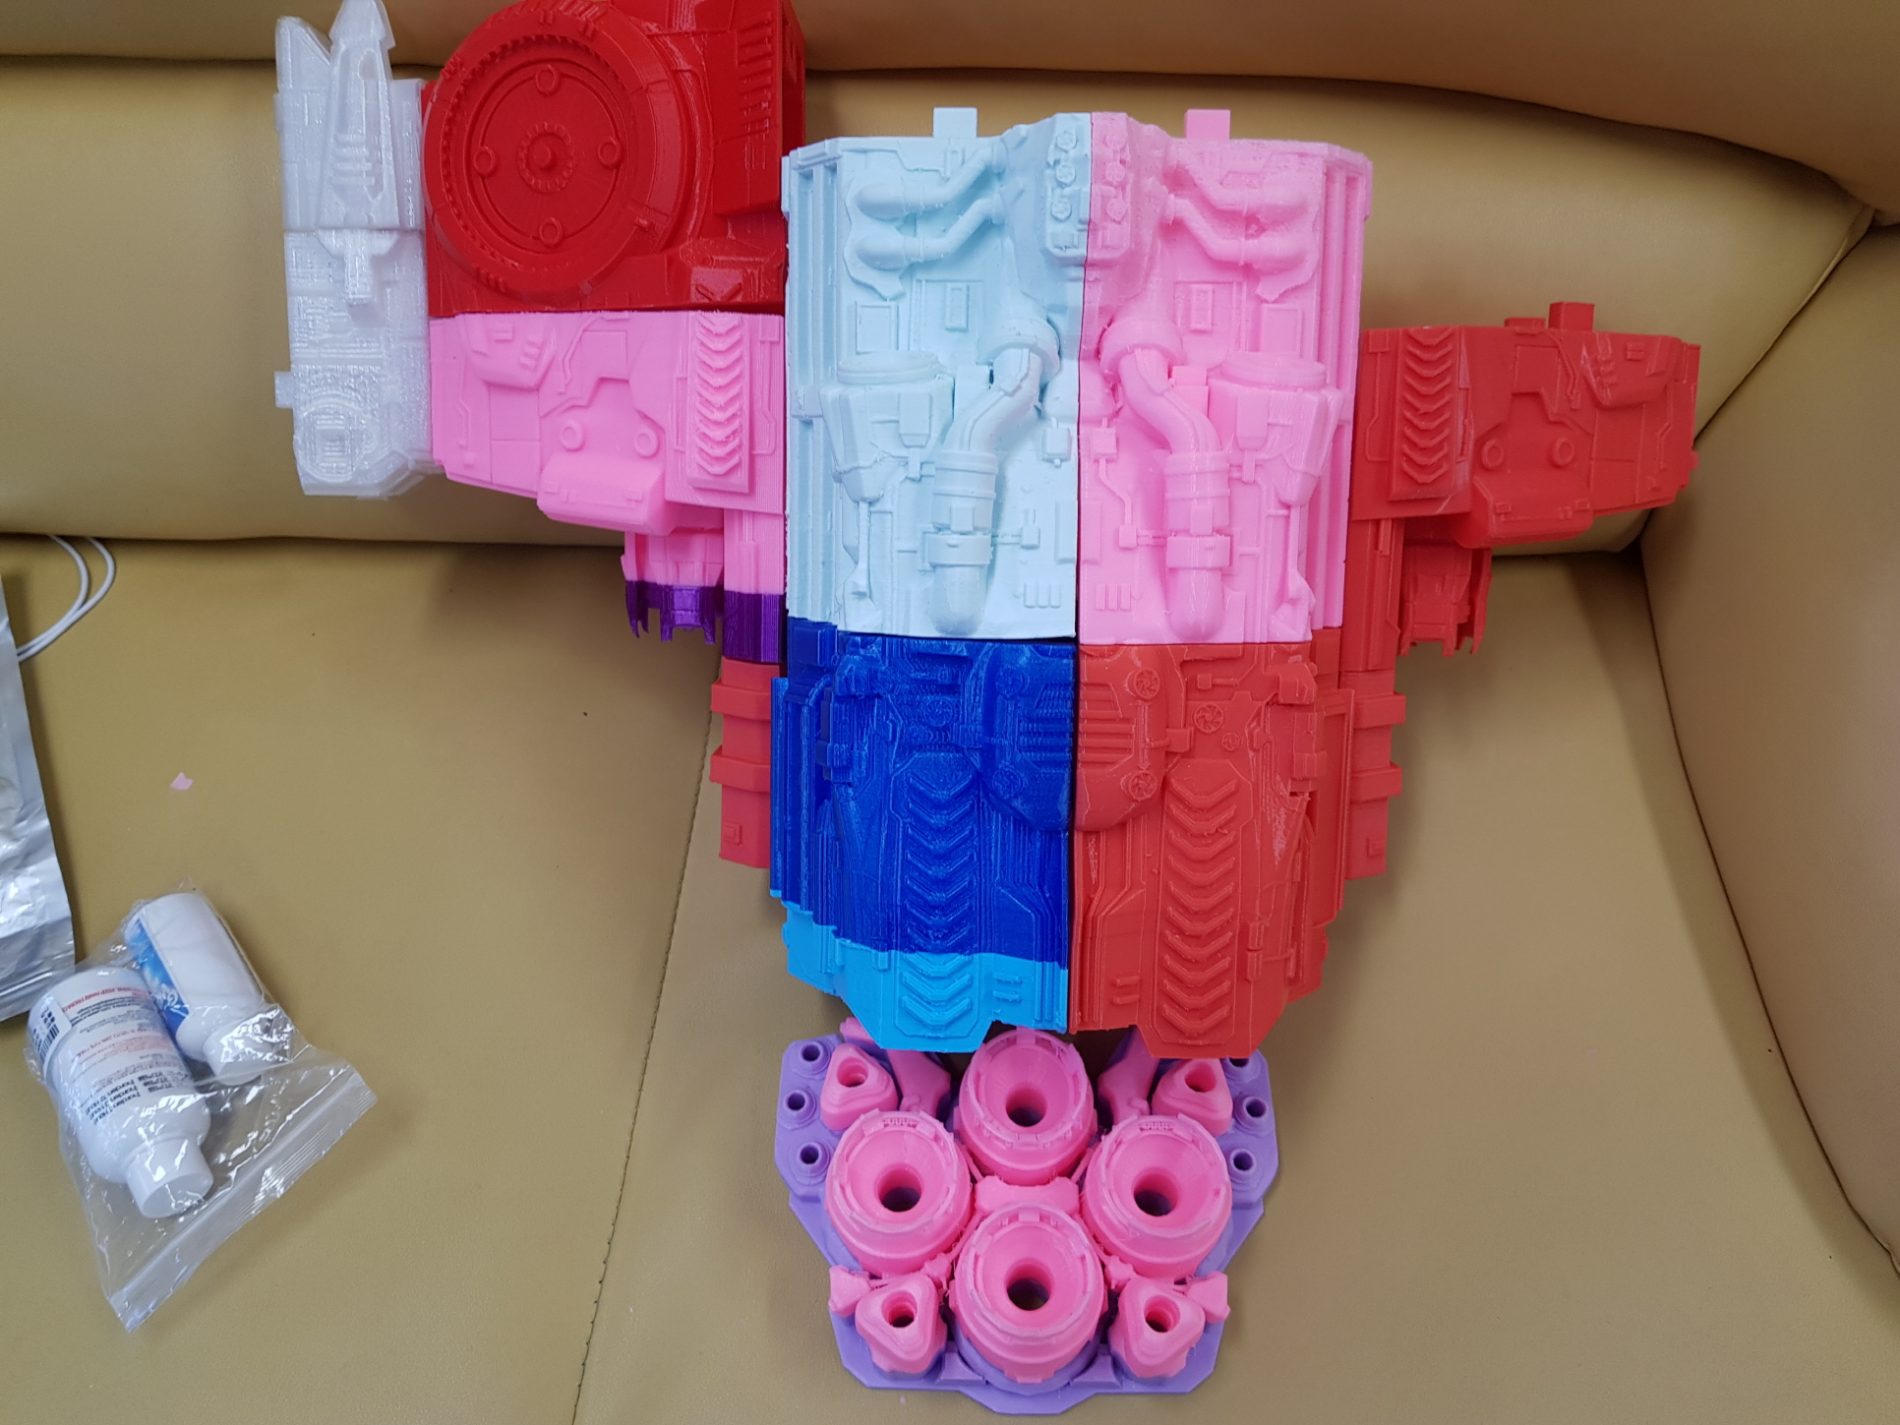
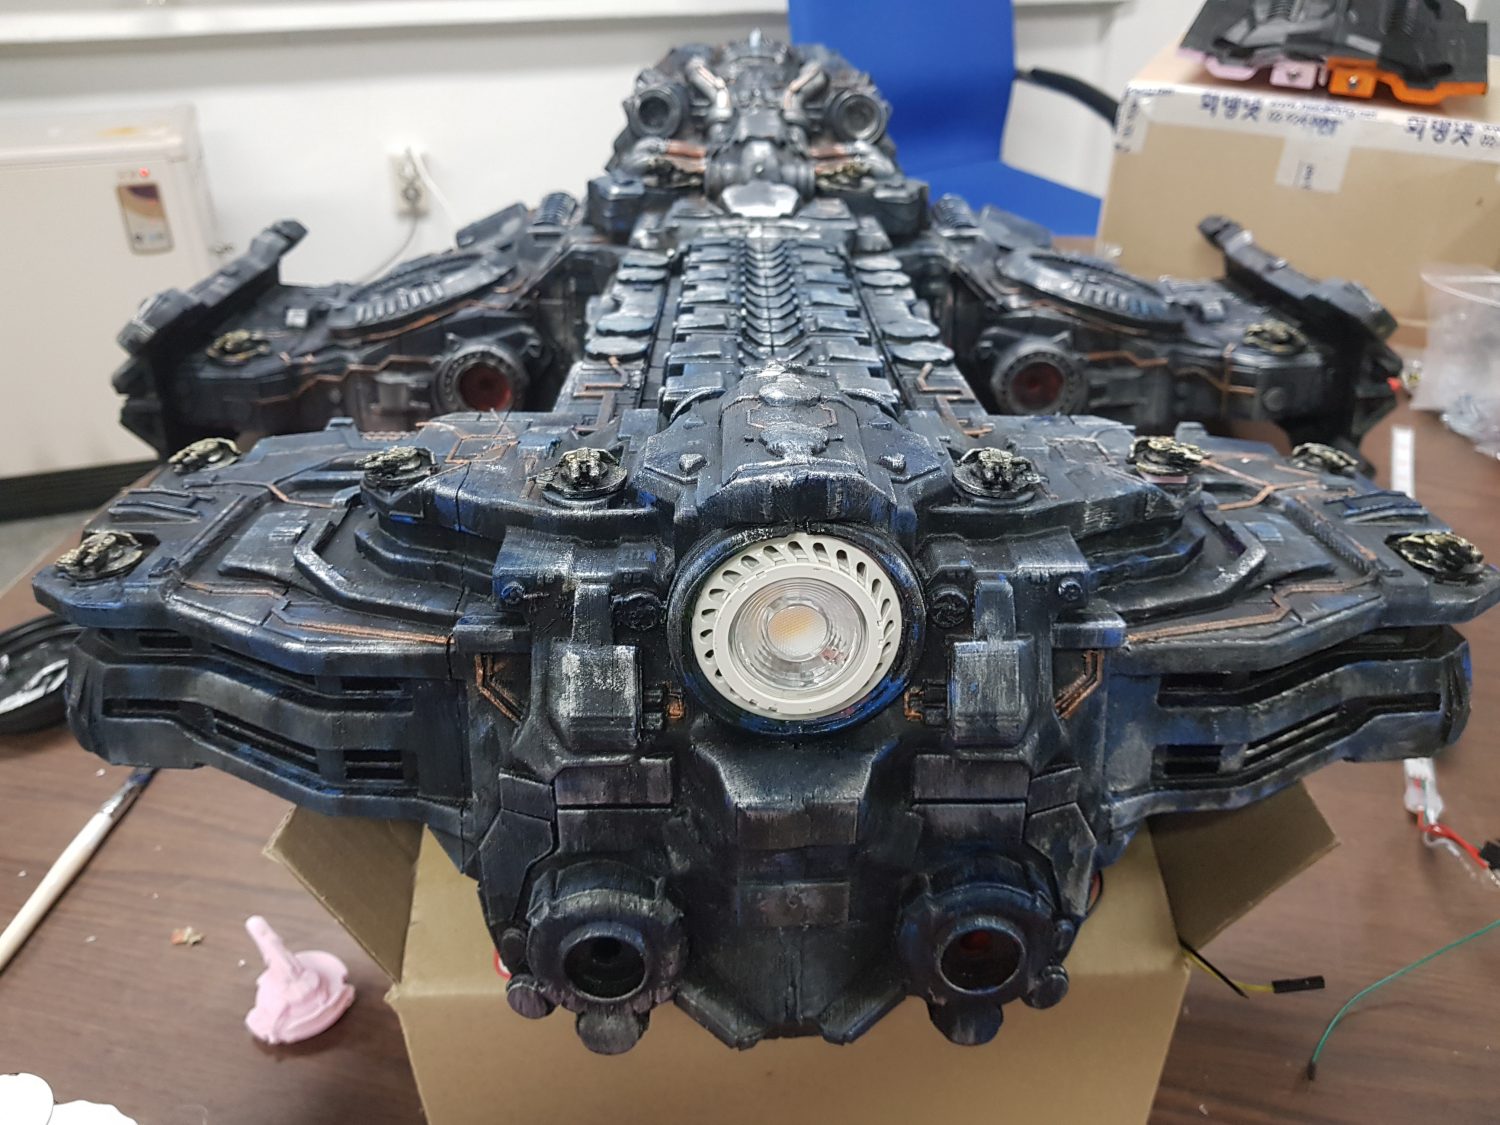
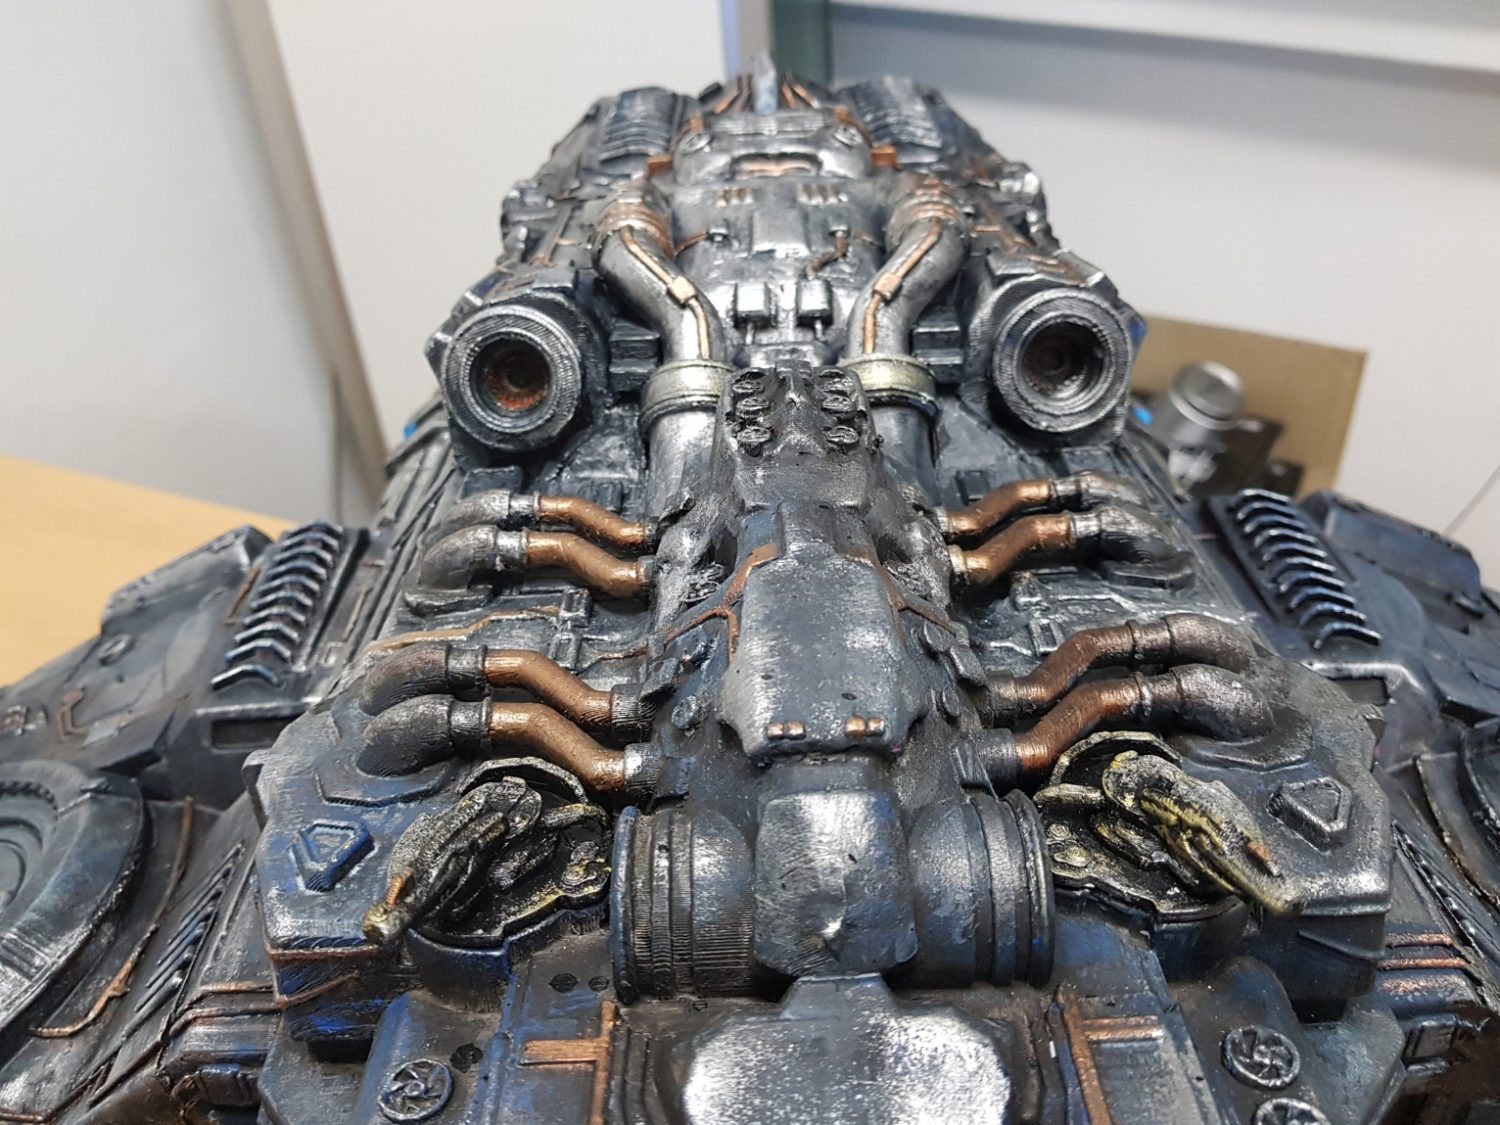
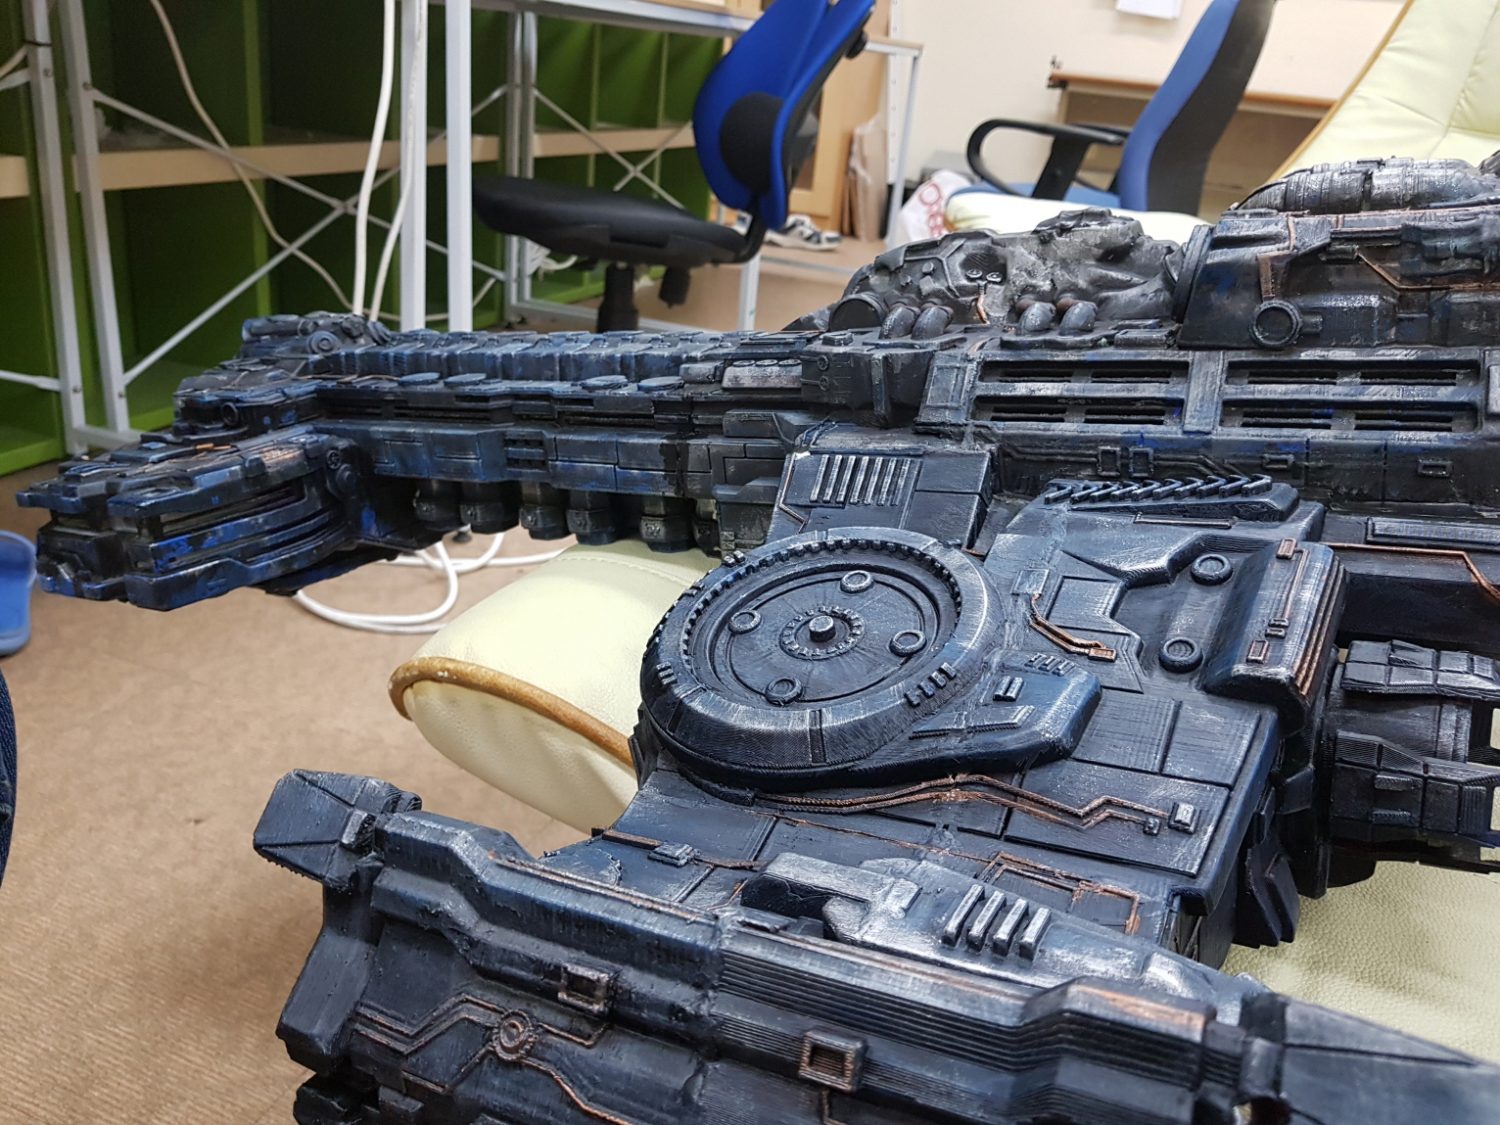
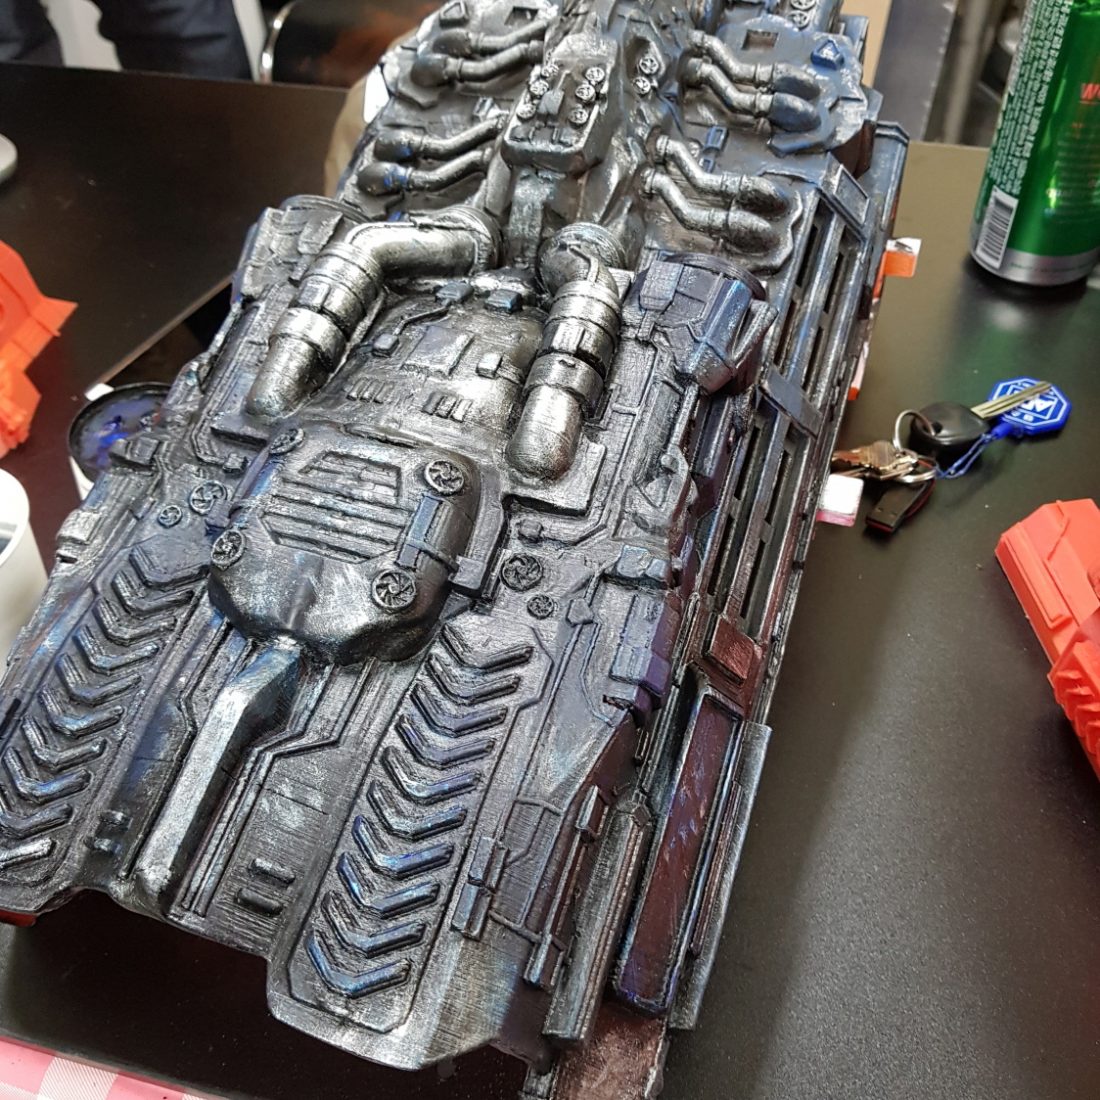
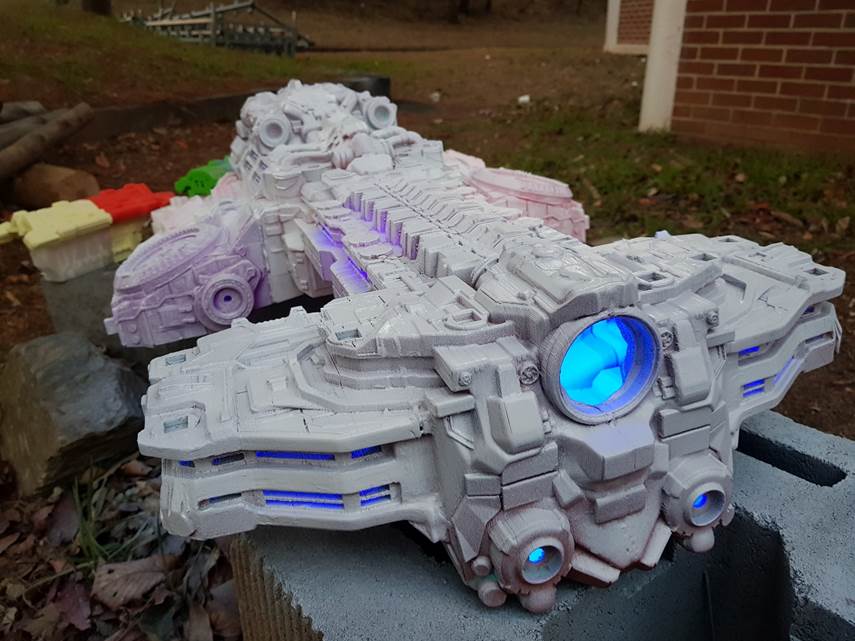
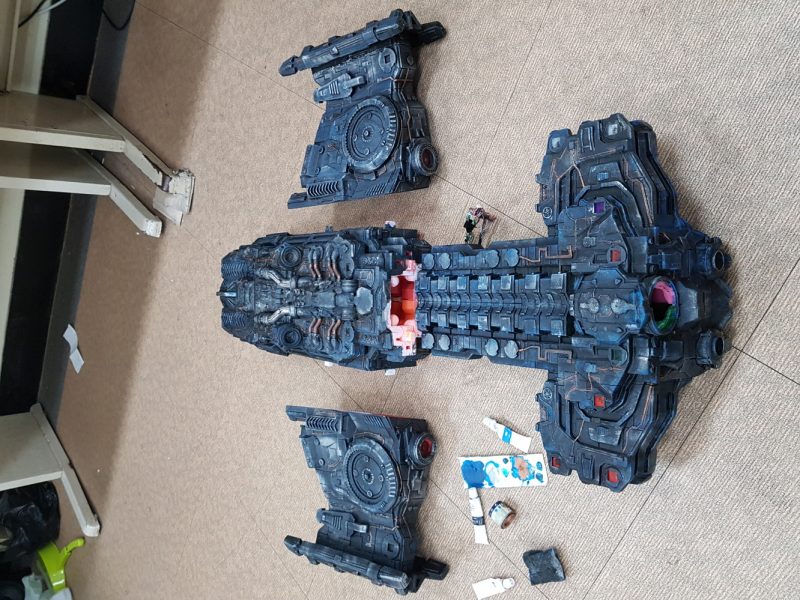
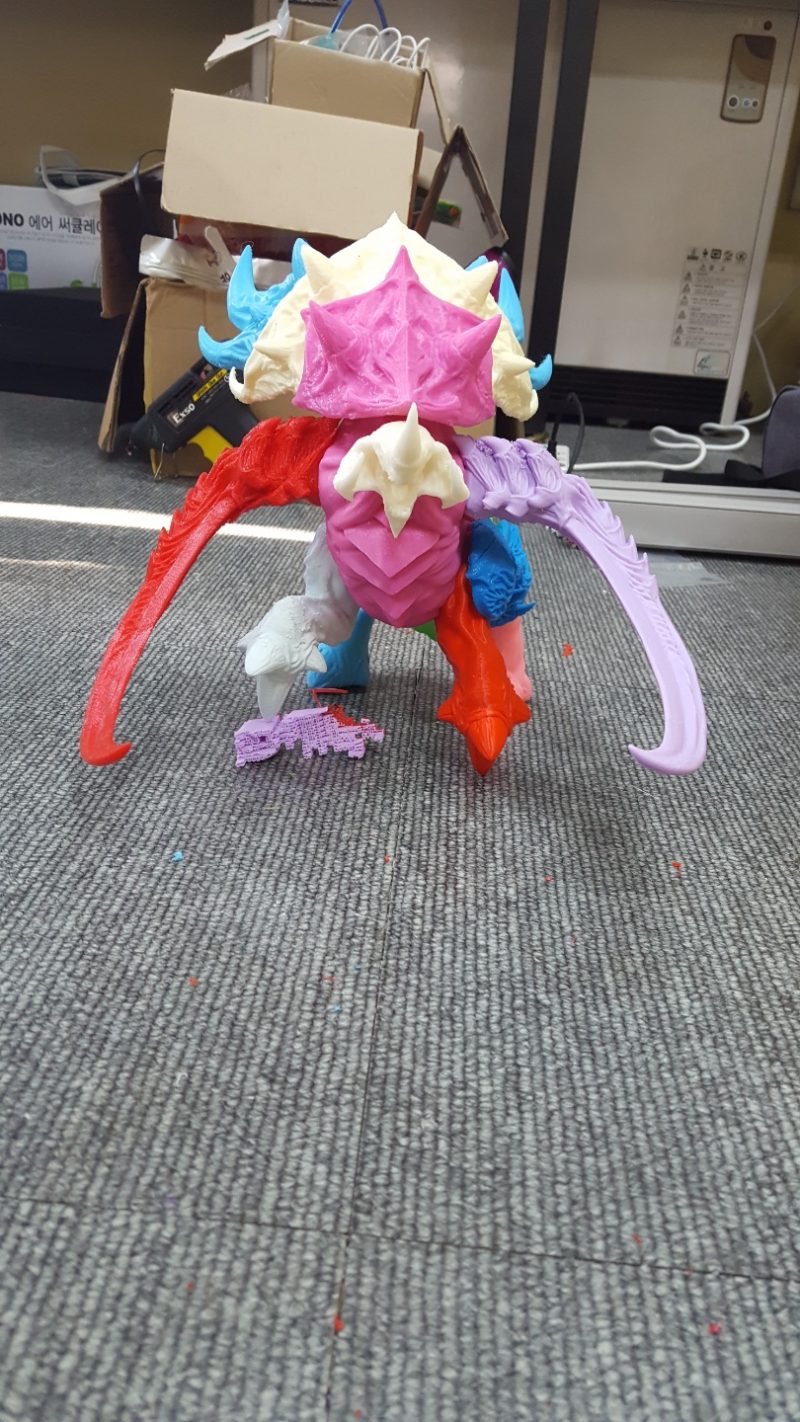
The Battlecruiser was an ideal 3D model file to consume bad materials. Because of the large size, I thought it would be easy to consume printing materials and I made up my mind to own them. The StarCraft Battlecruiser model in the picture shows a variety of colours because I used different printing materials to print its parts. But I was more fascinated by this model in the process of making it.
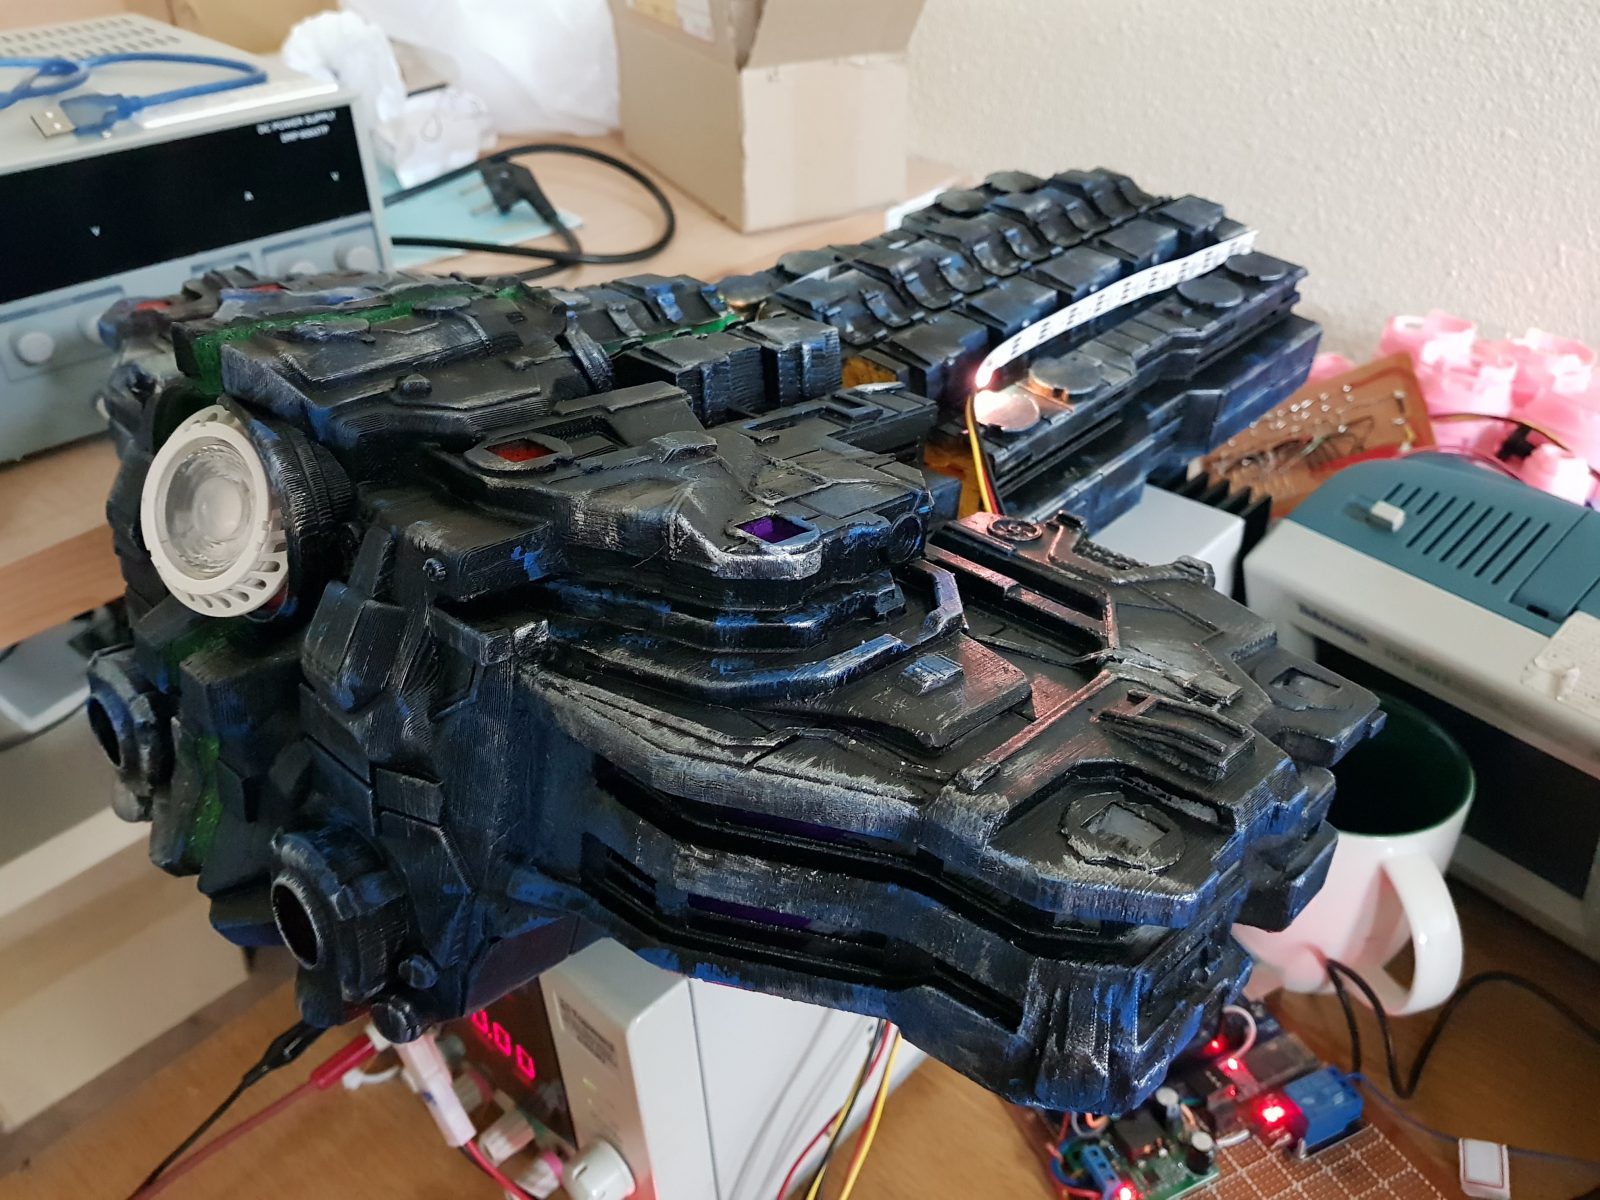
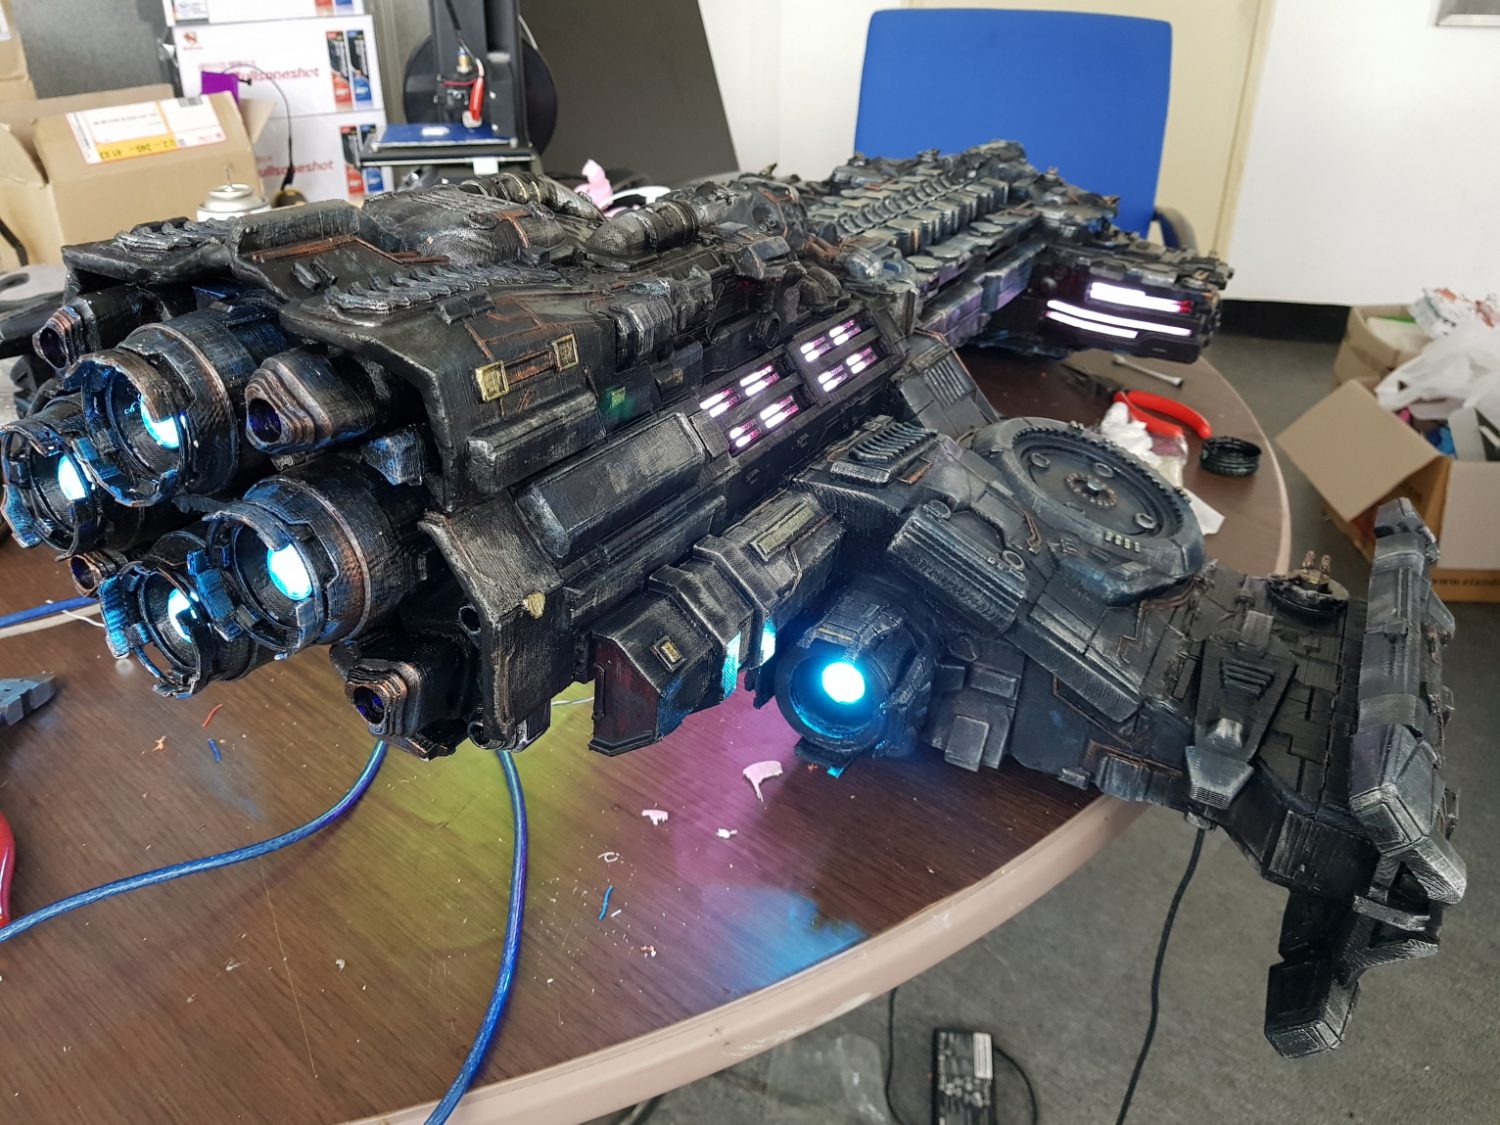
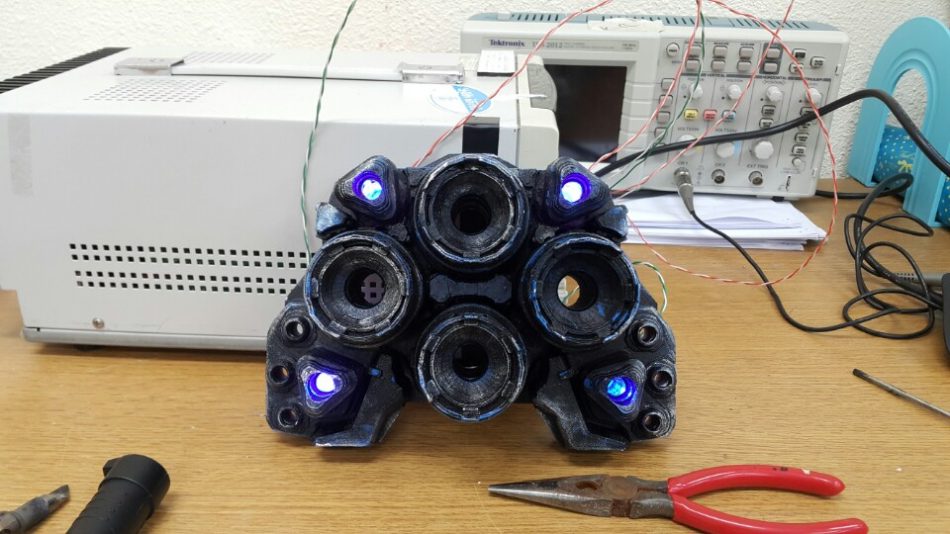
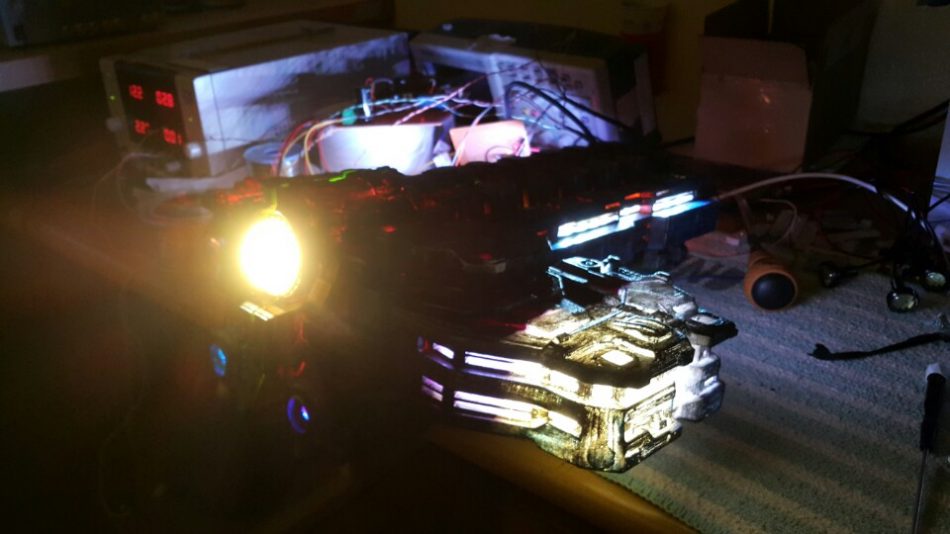
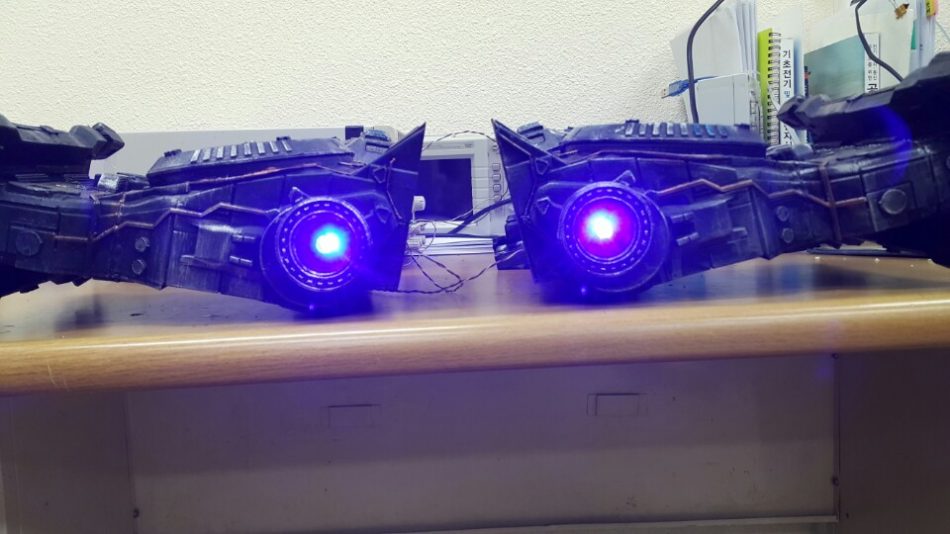
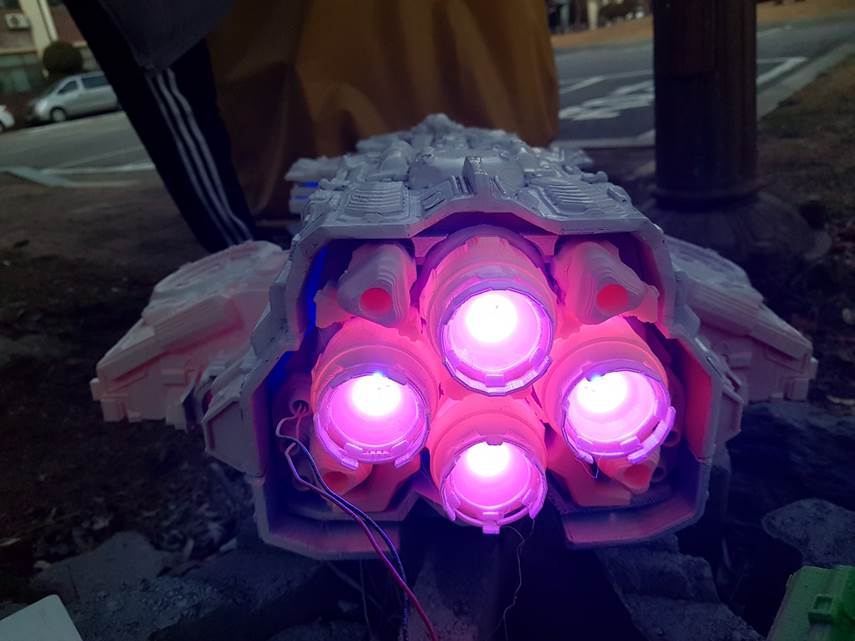
When I finished assembling the model, I thought that something was missing. This is how the idea to install LEDs popped into my head.
However, a problem occurred. We’ve increased the size of our models by 300 % to create a big Battlecruiser. 3D printed StarCraft Battlecruiser model made of poor quality material cracks very frequently and it breaks because it cannot hold the weight of its wings. So, we had to make it again from scratch. There is another reason why I chose Battlecruiser. It was an ideal structure for installing LEDs compared to other mechanical models.
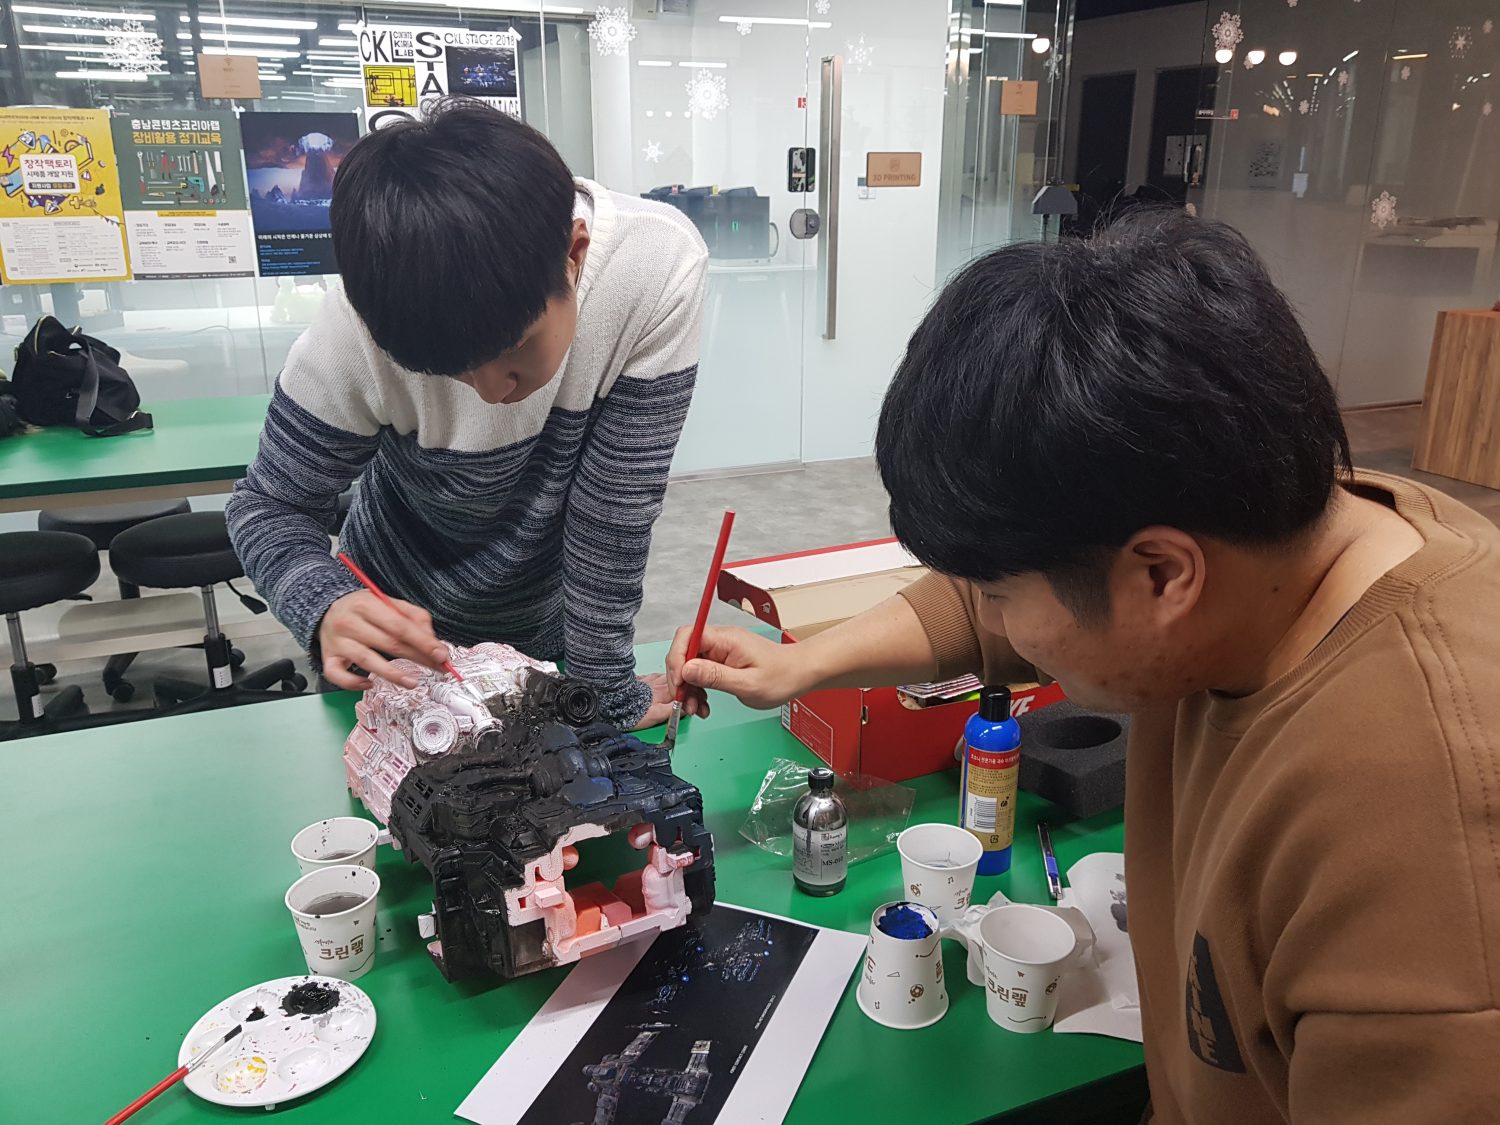
So, we rebuilt the StarCraft Battlecruiser model with a better quality material. I wanted to create a complete Battlecruiser model but there was another problem I was facing. I didn’t know how to paint. So I went to the person who was good at painting, and I learned to paint with acrylic hand brushes. I sincerely thank Song Jae-young (SCOOP, South Korea) for taking this opportunity to teach me painting techniques.
Meanwhile, a college student was fascinated by the grandeur of the 3D printed StarCraft Battlecruiser. He majored in control instrumentation engineering and he was an experienced expert on electrical control. With the help of a college student friend, we can develop the Yamato Canon feature and the dimensional takeoff capability. As mentioned above, the StarCraft project is now in full swing.
2. We don’t want to know the exact amount of filament that went into the ship (we don’t want to scare other enthusiasts). Nevertheless, we wouldn’t mind to find out the type of filament you used.
We used PLA material for this project. Also, the Battlecruiser canon is made from ABS. All character production is FDM 3D printed.
2. Everybody knows that StarCraft Battlecruiser 3D printing model requires a lot of work and printing material. Where did you find the patience to print, paint and enhance it with lights?
First, I like StarCraft very much. StarCraft world is amazing and interesting. And among them, Hyperion is incomparable. In particular, the dimensional leap forward and the Yamato Canon bring more out of it than the Millennium Falcon of Star Wars. I don’t think we need to explain it clearly because I fell in love with it at first sight. This project is not my own. This was possible because some people interested in producing StarCraft diorama helped us actively.
3. How would you describe the entire process?
Since we didn’t make any effort to include the production process, we don’t have many photos and videos during the production process. It is difficult to explain in detail all of the manufacturing processes, so there are only a few categories:
Step 1. 3D Printing
• 20 to 40 hours per part (300% scale)
• Total number of working days: maybe about 1 month
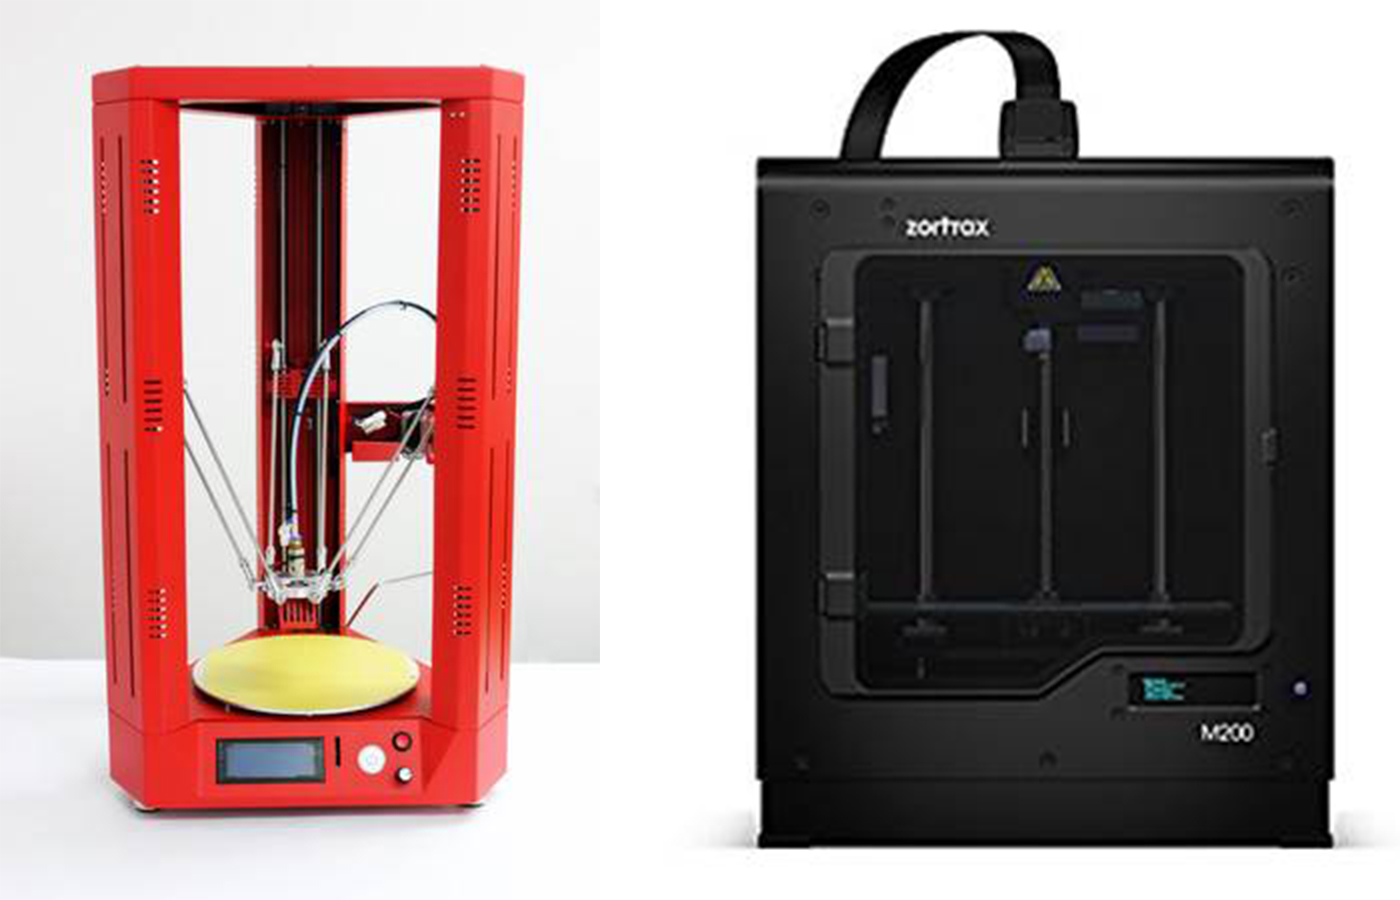
• Main used equipment – S3D delta 3Dprinter (South Korea)
– (ZORTRAX M200 (detailed parts, Poland)
• Slicer: Simplify3D
Step 2: Painting
• Hand painting techniques with acrylic paints
Step 3: LEDs
• Arduino Cording (Use 3 Aduino Nanos, Use 1 Aduino Mega)
• Halogen lamp (Yamato cannon)
• FLASH lamp (dimension take-off effect)
• Install LED (window light)
Step 4: Features’ implementation
• YouTube voice extraction
• Adjust LED behaviour and sink sound
• Modify the bottom of the 3D printed StarCraft Battlecruiser model so that it can always be opened and closed
4. What was the most exciting thing about the StarCraft Battlecruiser 3D printed model project?
There is grandeur in StarCraft Battlecruiser that other models do not have. 3D printed Battlecruiser model is relatively easy to assemble because there are no interior layout elements.
5. Where did you get the required equipment to set up the light for the ship and what exactly have you used to recreate the lights?
This project is not designed to be exhaustive. Most of the processes so far have been improvised. Therefore, the production process was not made into a picture or video. In addition, it is difficult to provide a tutorial video. However, we will soon make another battlecruiser. Our work so far has covered StarCraft’s ground battle. The next piece will bring together space warships from various movies, animations and games. And like Blizzard’s “Heroes of Storm”, there are many characters in one place. For that work, we’re going to make another Battlecruiser. However, we need time and money. So we can’t predict when the project will begin. When I start the project, I’ll let you know first. Maybe at that time, we’re going to produce project tutorial movies. Thank you very much for your interest in our project. Currently, StarCraft Diorama is participating in a contest for 3D printing works in Korea.
6. What post-printing processing techniques you used to smooth the Battlecruiser miniature?
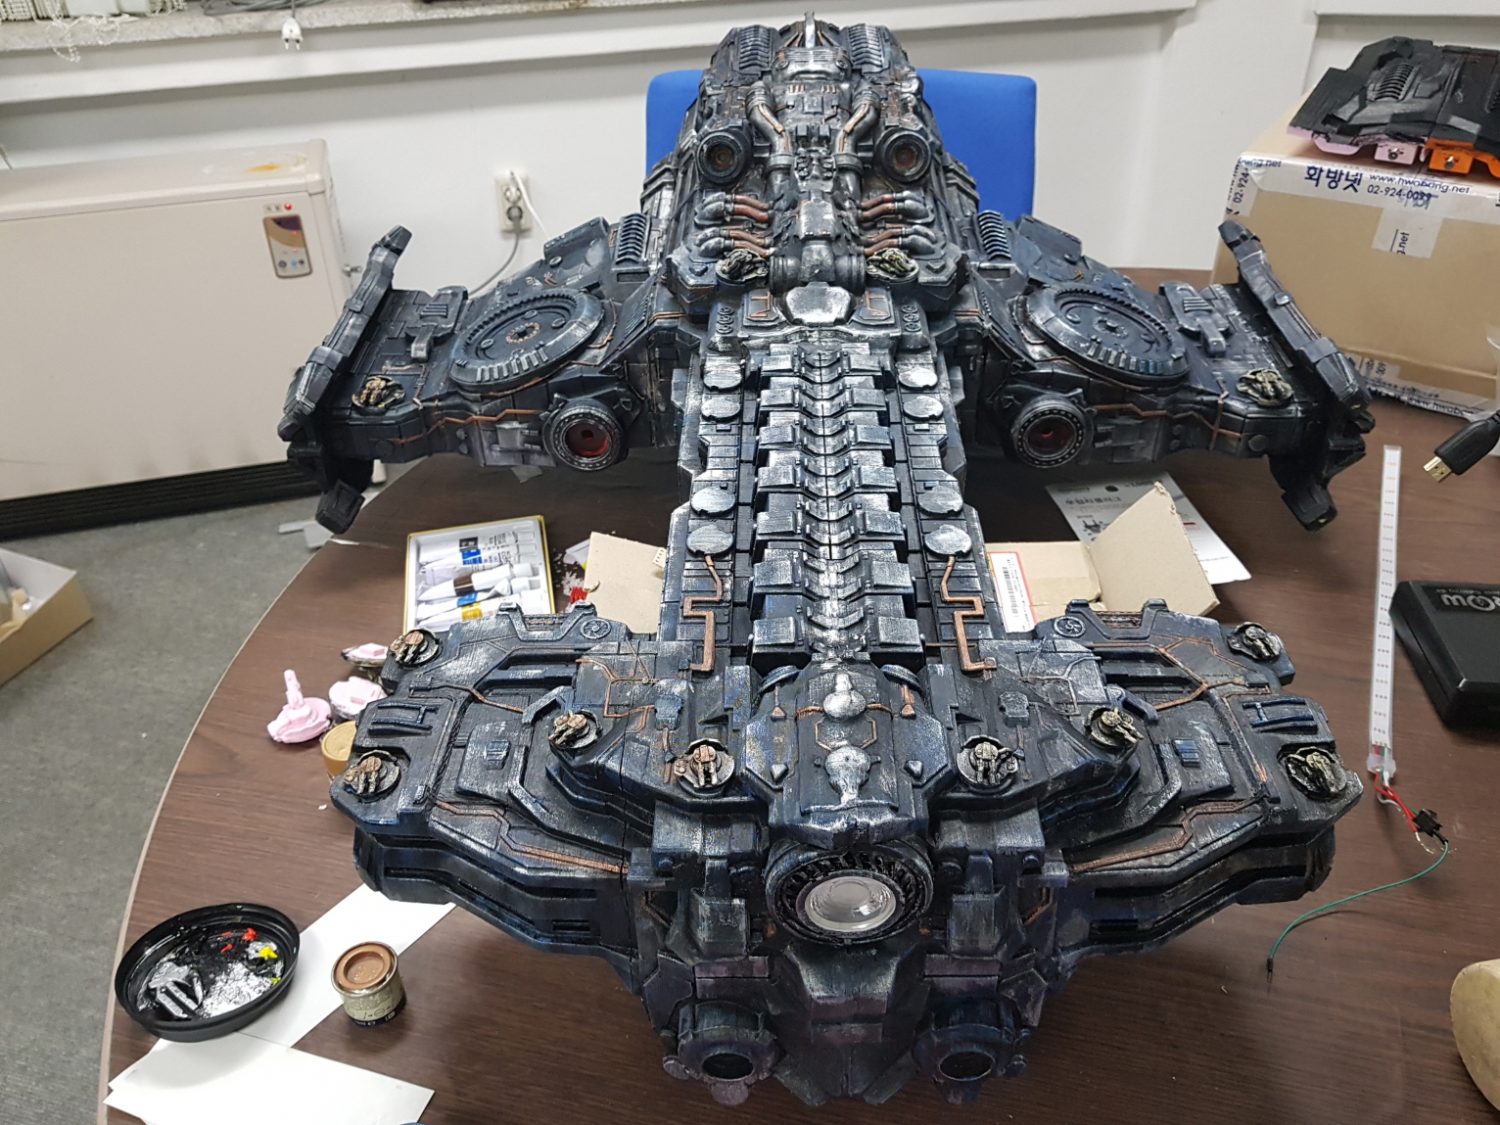
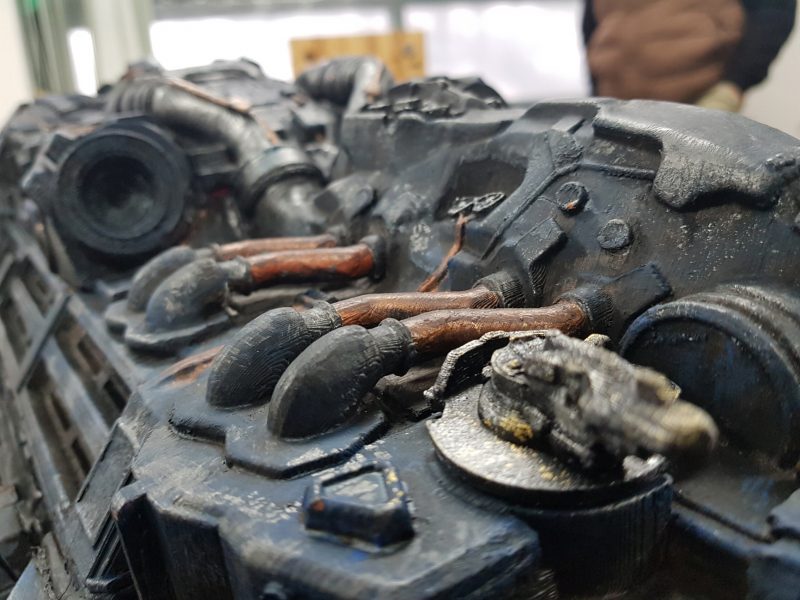
First, I used red putty to close the gaps. Second, we smoothed out the surface of the ship. However, it was difficult to grind some specific parts. Unsmoothed surfaces are adequately hidden by painting techniques. Although it is not visible, the seams between the parts need to be filled out.
7. Was the painting an easier part of the job? What painting techniques and paints you used for the model?
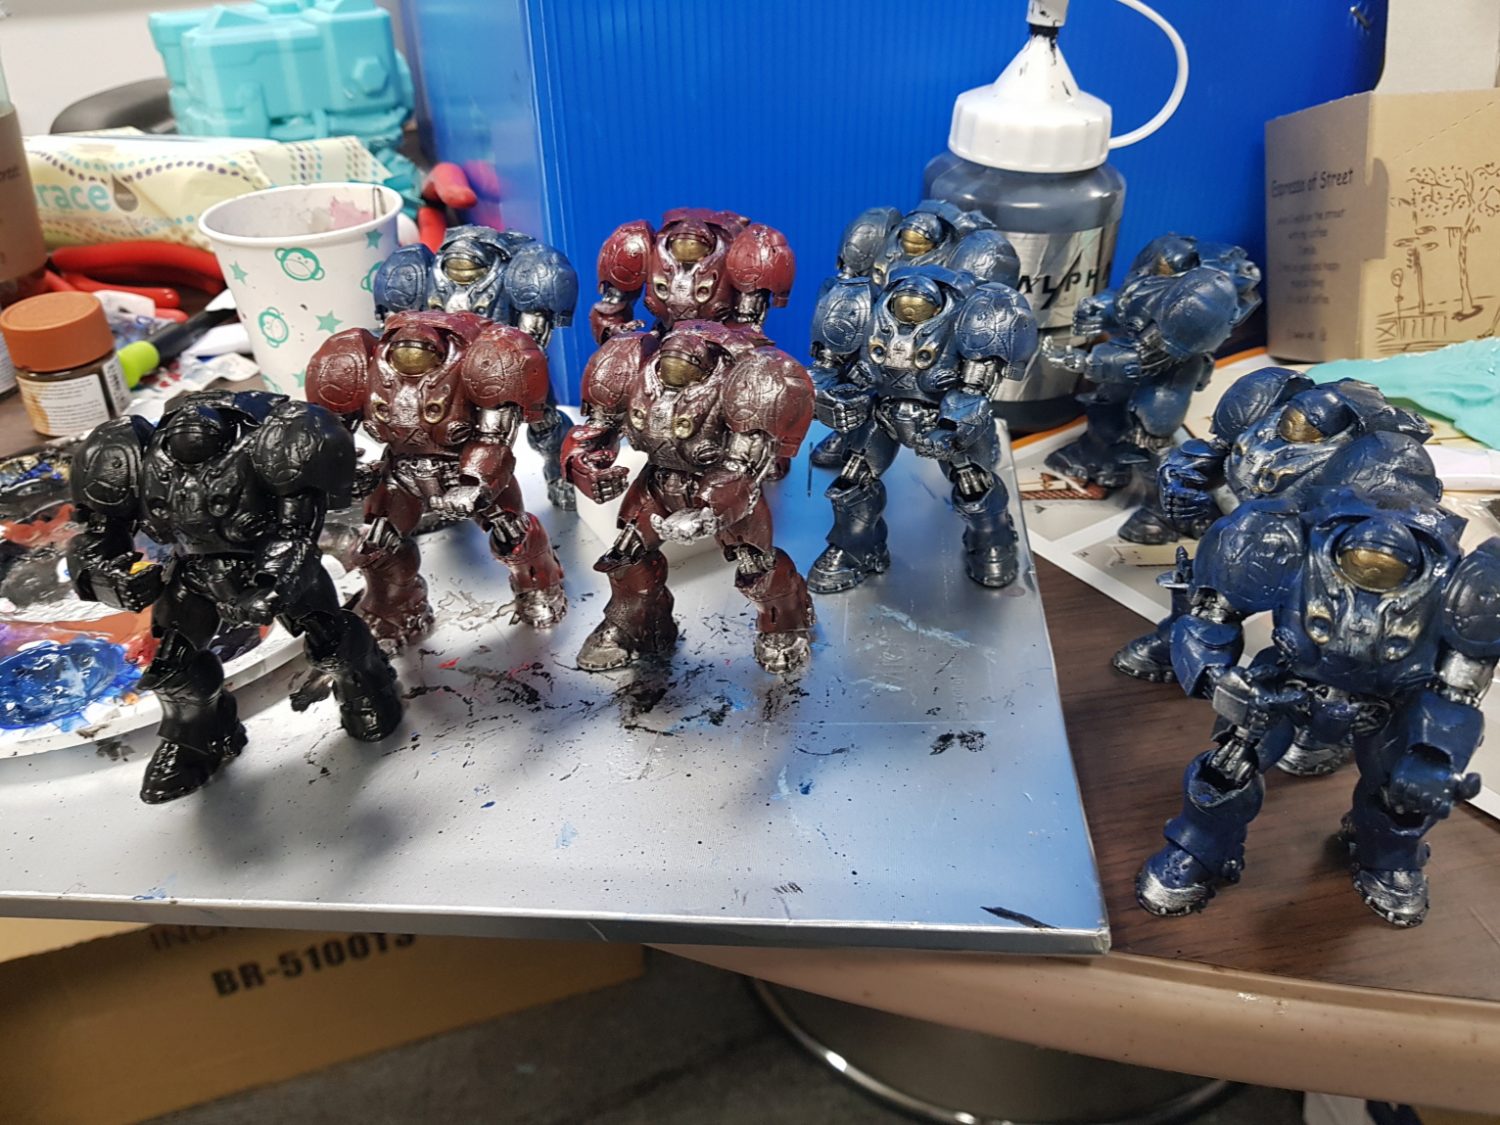
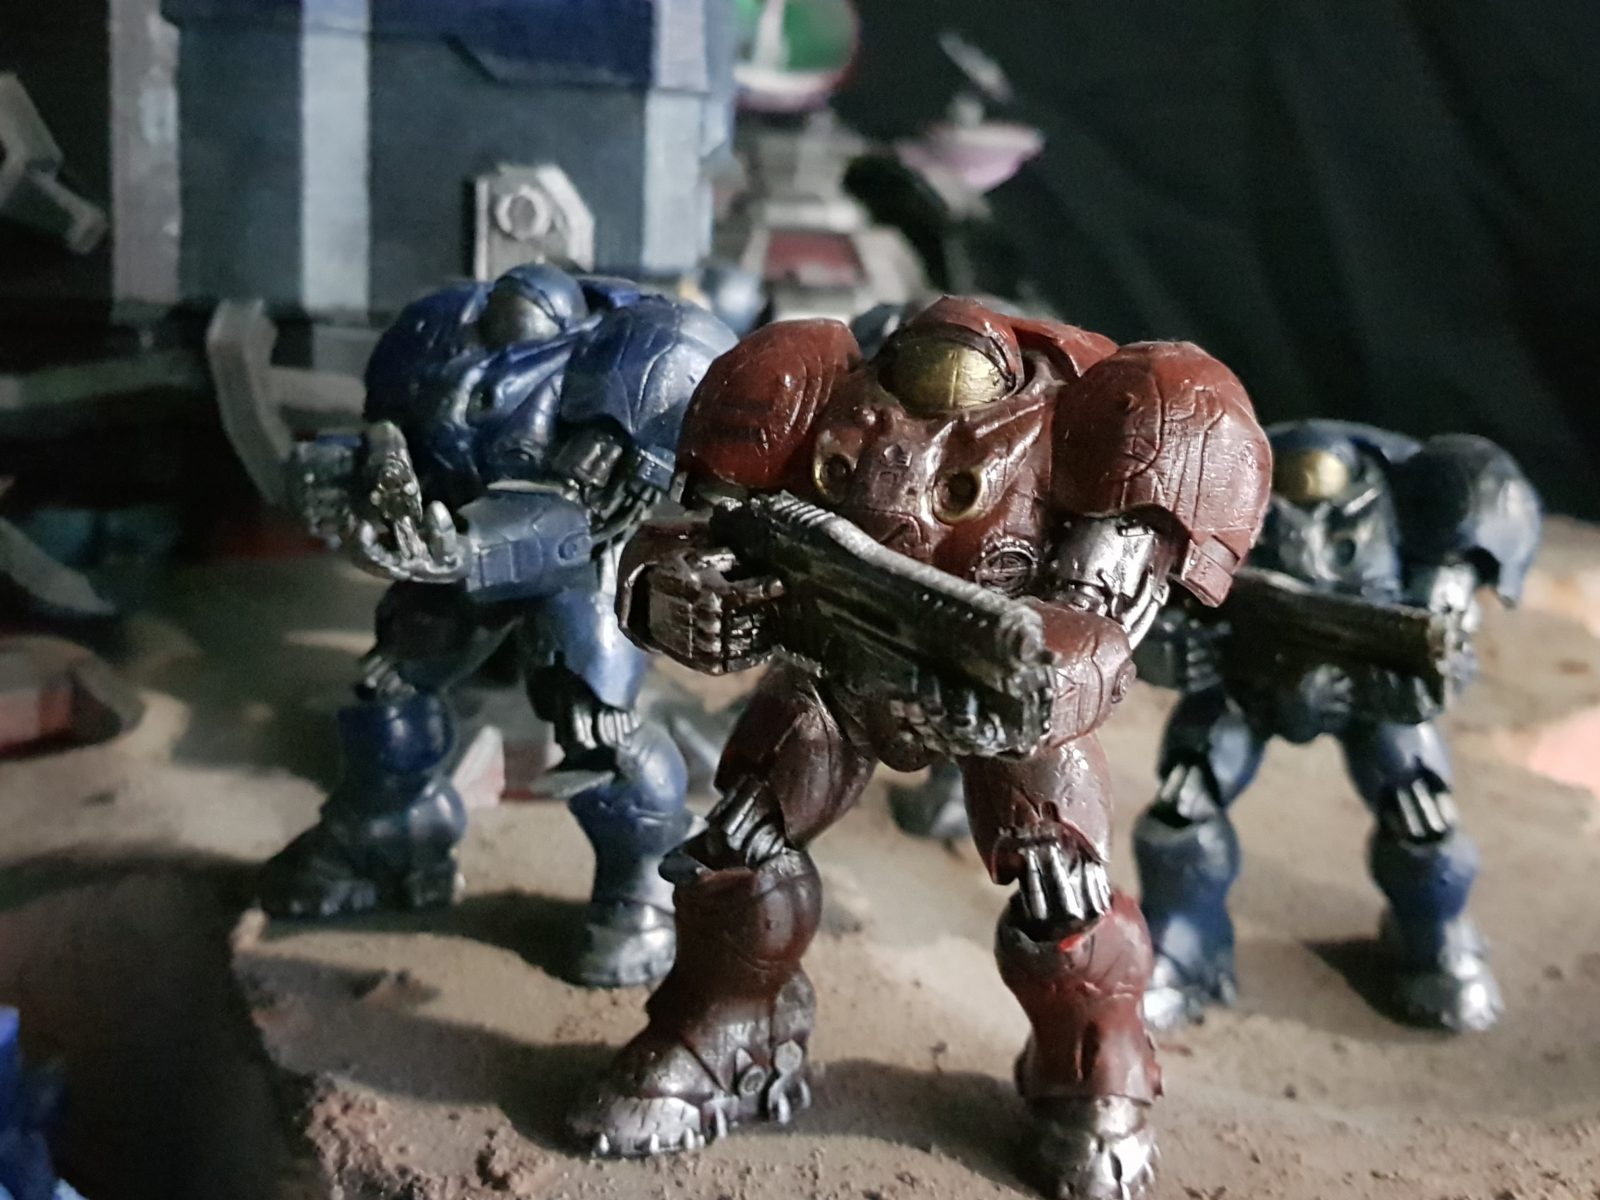
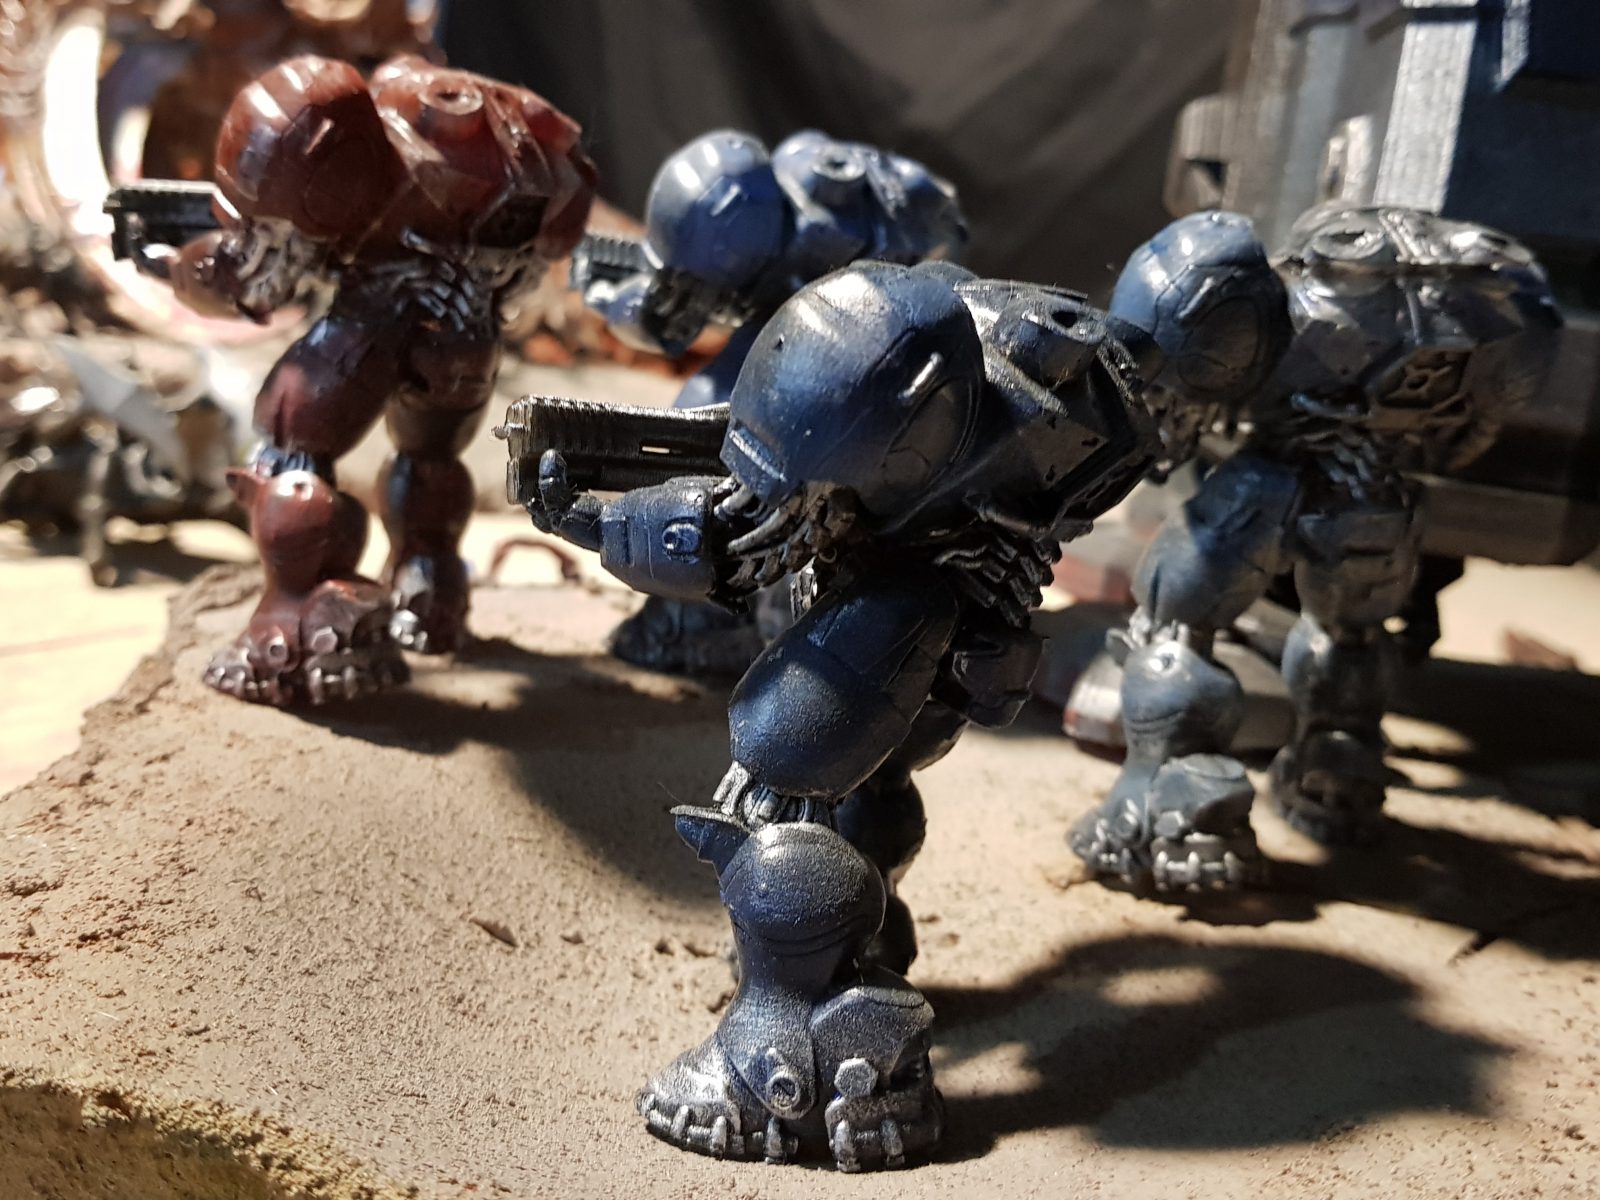
Unfortunately, I didn’t have airbrush equipment. Now I have bought one and am taking beginner classes. My painting mentor is Song Jae-young (SCOOP). But Song Jae-Young made me realize that even one brush can do a great paint job. The entire miniature is coated in black acrylic. The acrylic paint takes a lot of water, allowing it to flow down to places. The Hyperion ship is blue in colour, the symbol of Jim Rainer. After letting the miniature dry for a day, we swished the brush over the miniature surface to give it some silver traces. We painted the weapons with metallic gold paint and the pipes with metallic copper paint. The bottom part of the Battlecruiser model is not detailed painted. We used hand-painting techniques to have the miniature the way you can see it in final production pictures.
8. Is there anything you would improve in the StarCraft STL files of Battlecruiser?
I don’t remember the file number correctly. When assembling body parts after output, the parts of the body were broken due to different shapes. We would like to have it amended for other buyers. When building the engine power components at the rear end, there were many difficulties in removing supports. I hope this is improved, but I think it’s hard.
9. Where and how did you hide the power source for the lighting?
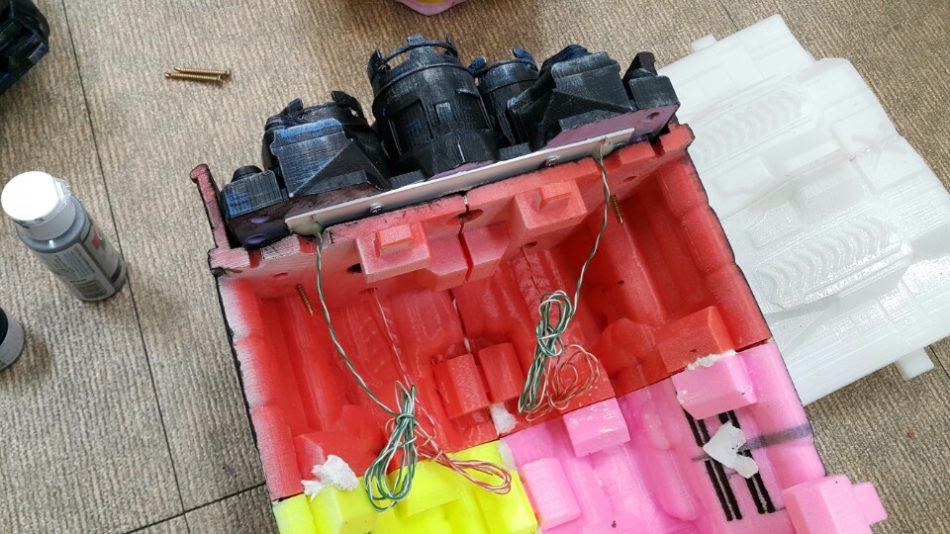
Lighting power is always supplied. And then, The 3D printed StarCraft Battlecruiser model is a floating concept. We drilled a hole into the lower rear part of the Battlecruiser. It provides power to the Aduino boards and various LEDs. Some of the wires from the bottom of the Battlecruiser connect to the speakers, while others connect to the power distribution. I can’t give you a detailed wiring diagram right now. They were too spontaneous, and we didn’t prepare any materials on the production process.
10. What 3D printer have you used to replicate the ship?
I used an open source-based FDM 3D processor produced in Korea (S3D delta). The detailed parts were made in Poland using Zotrax. Other equipment was not used for this project due to various problems at the time of printing. Also, very detailed parts were made very well by Zotrax. Equipment was expensive, but it became one of my favourites.
11. What will be the fate of the 3D printed StarCraft Battlecruiser model? Will it be part of a larger StarCraft diorama or you rather display it in your house/office?
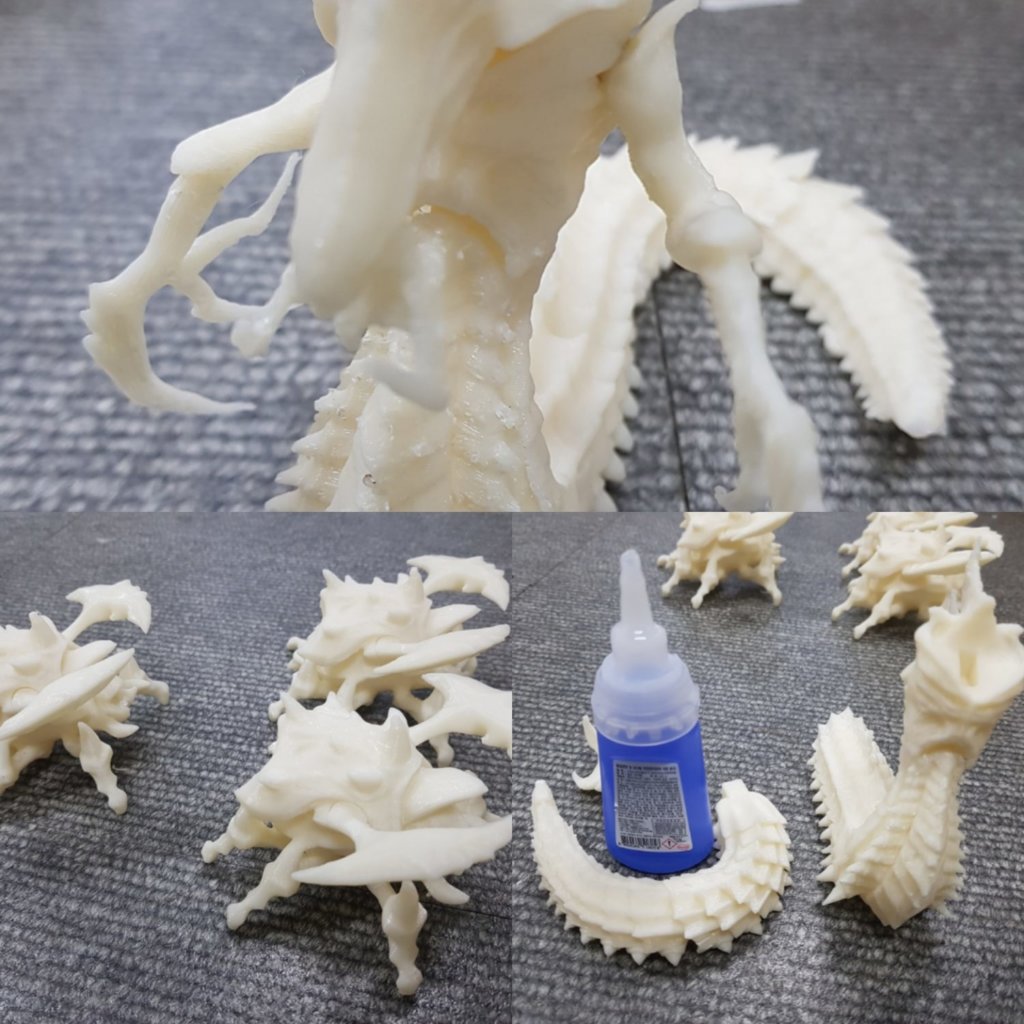
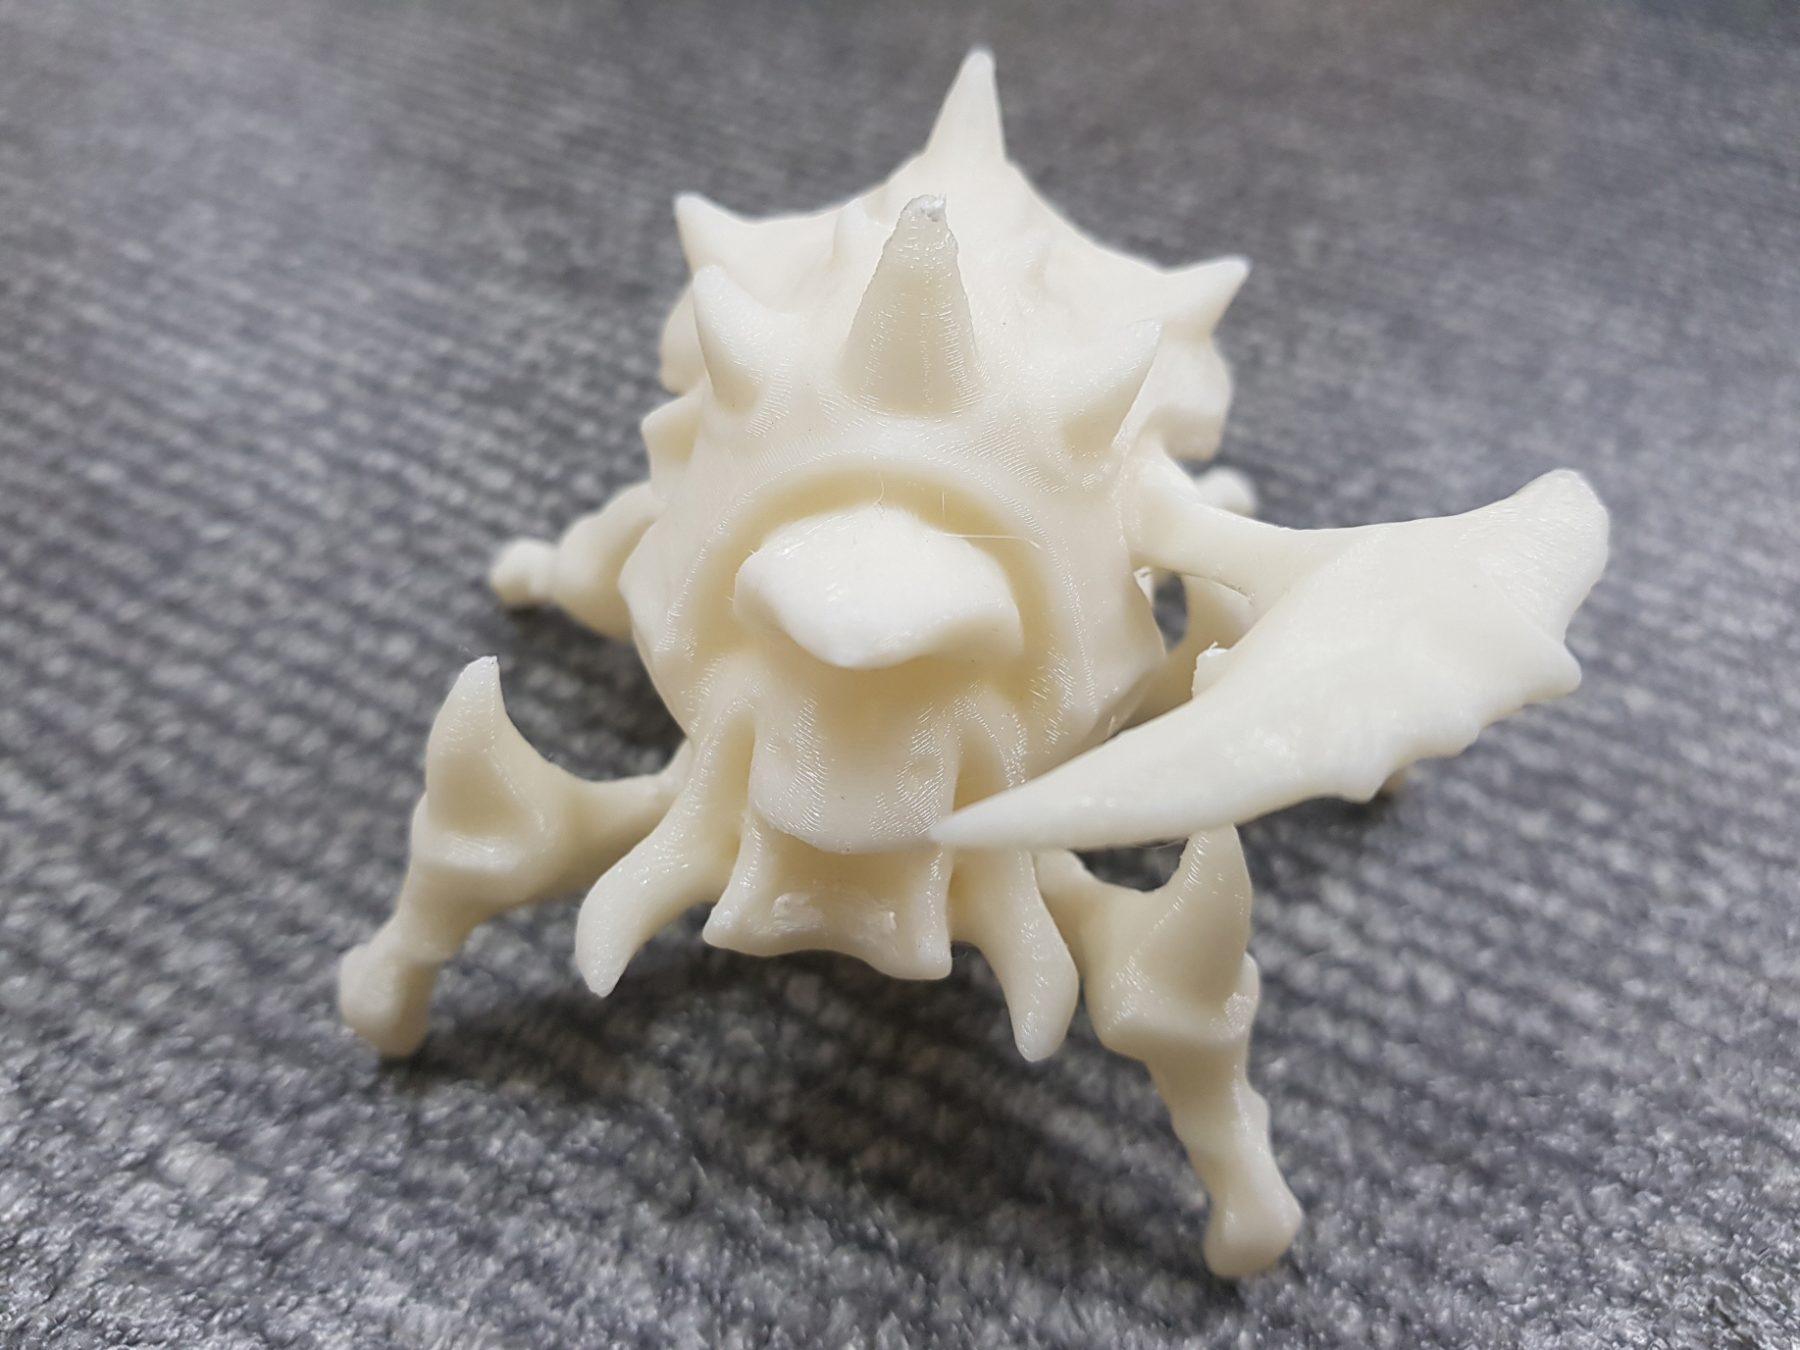
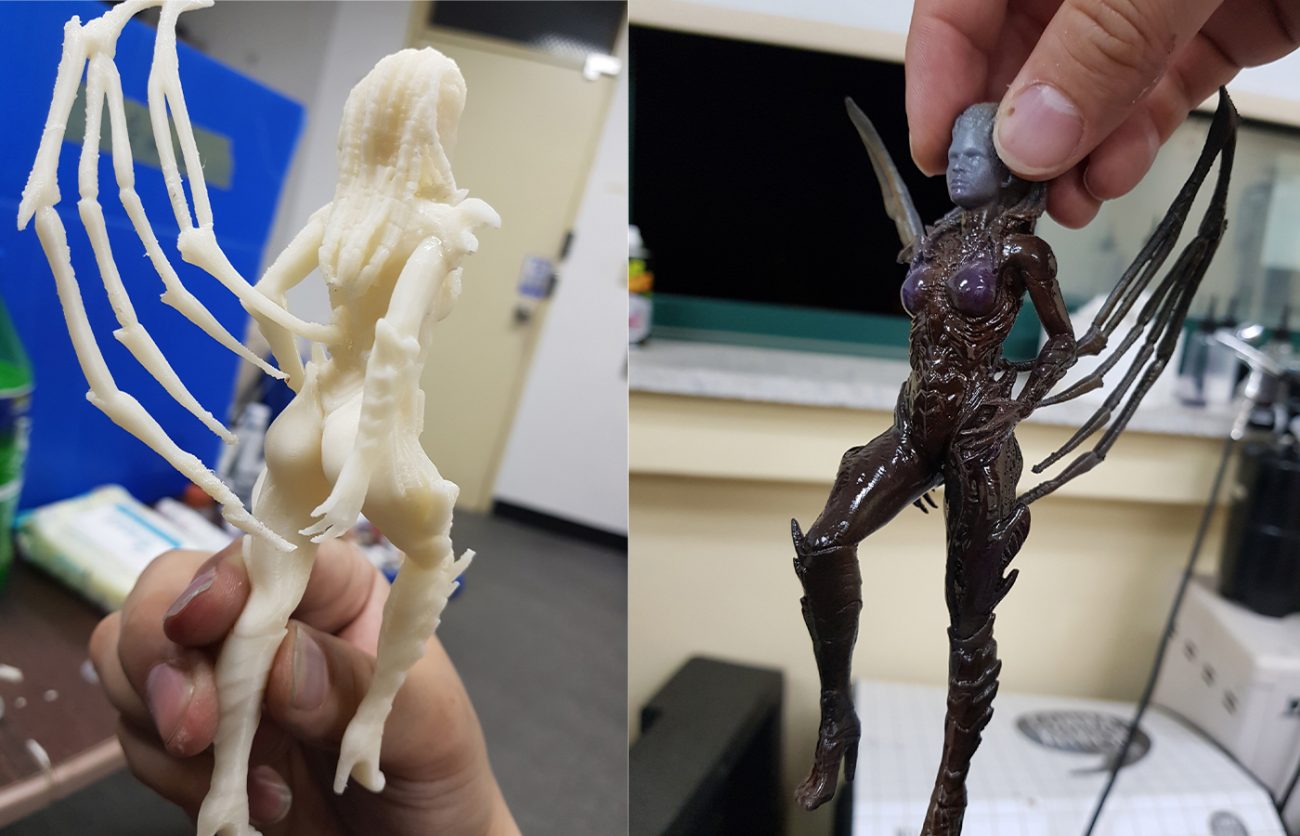
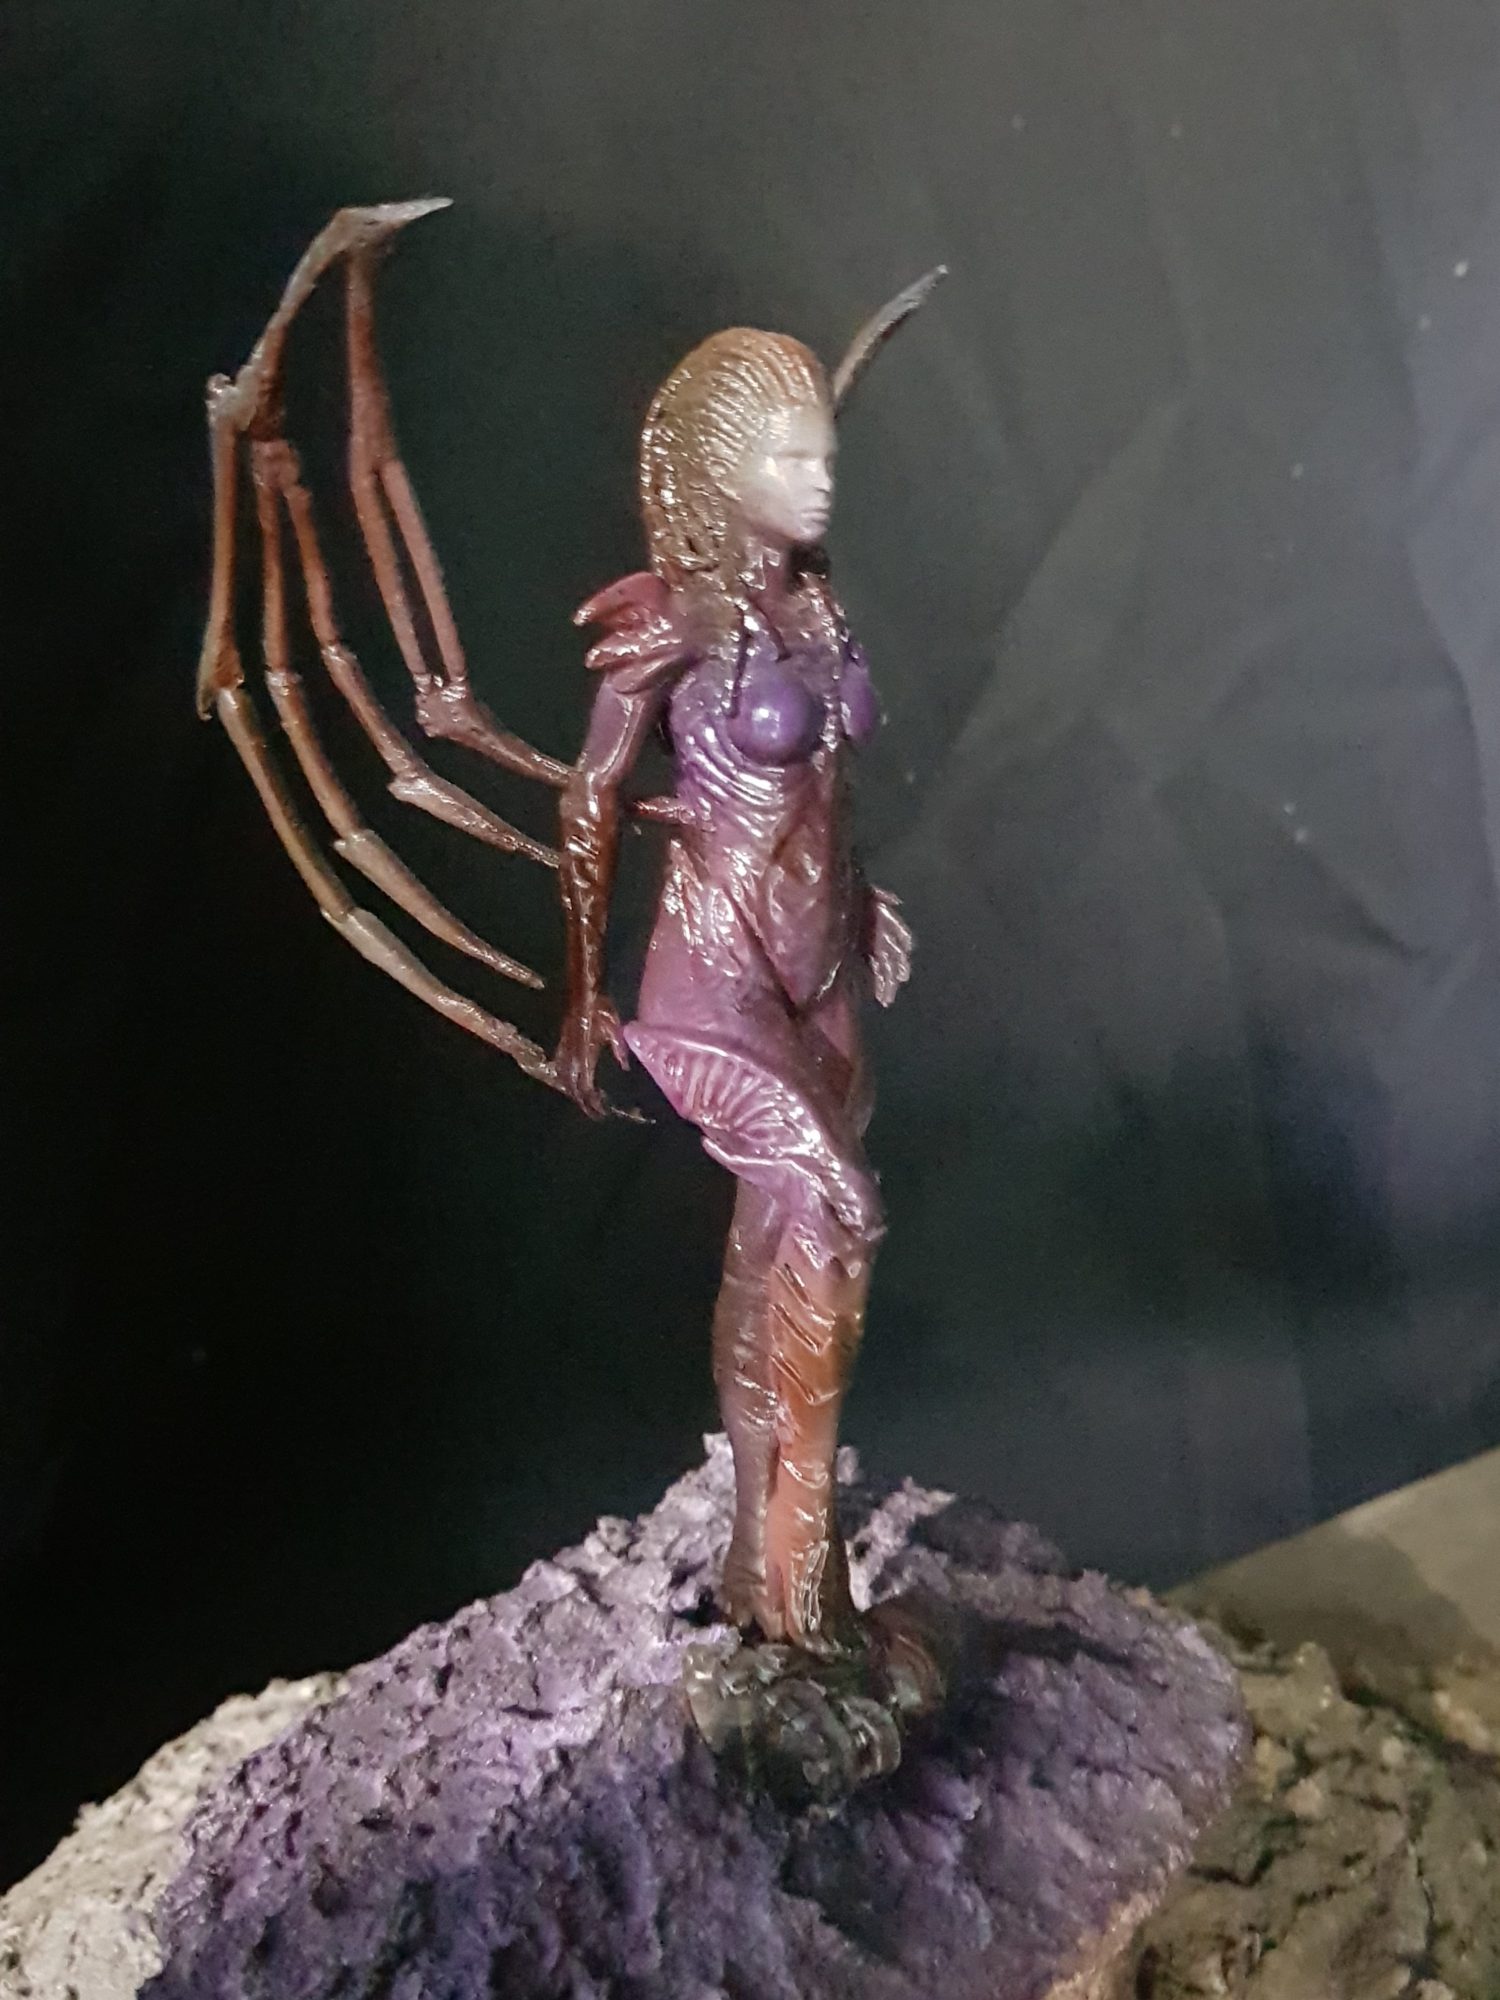
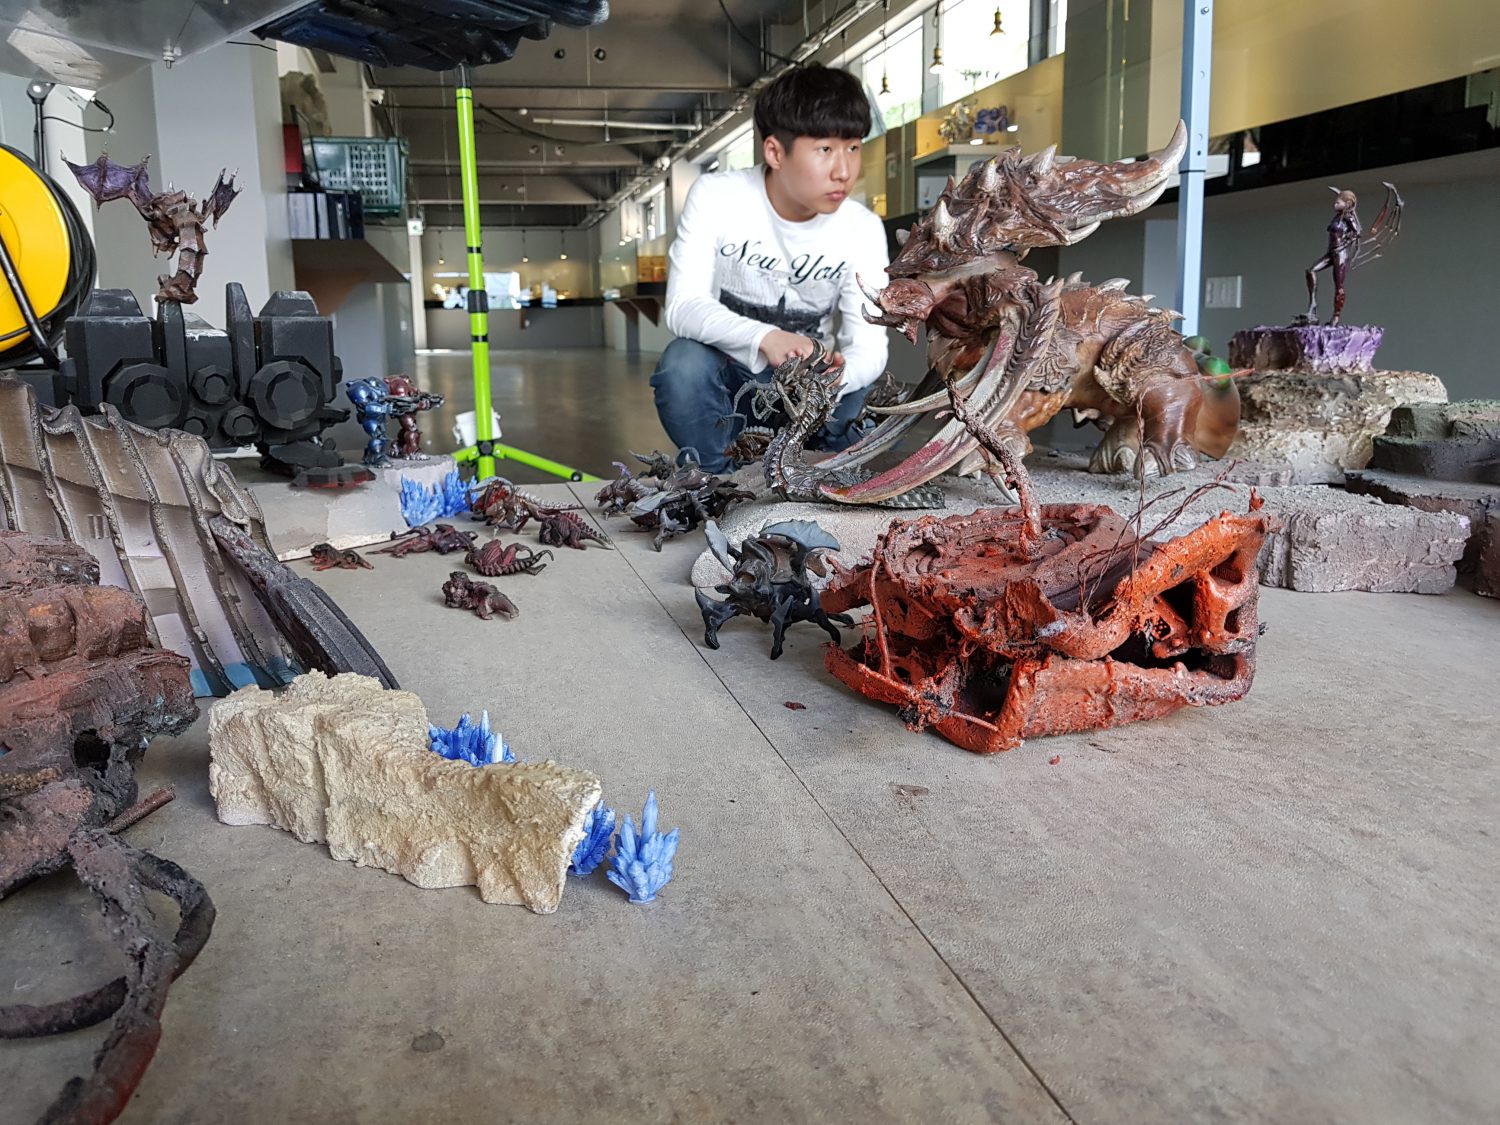
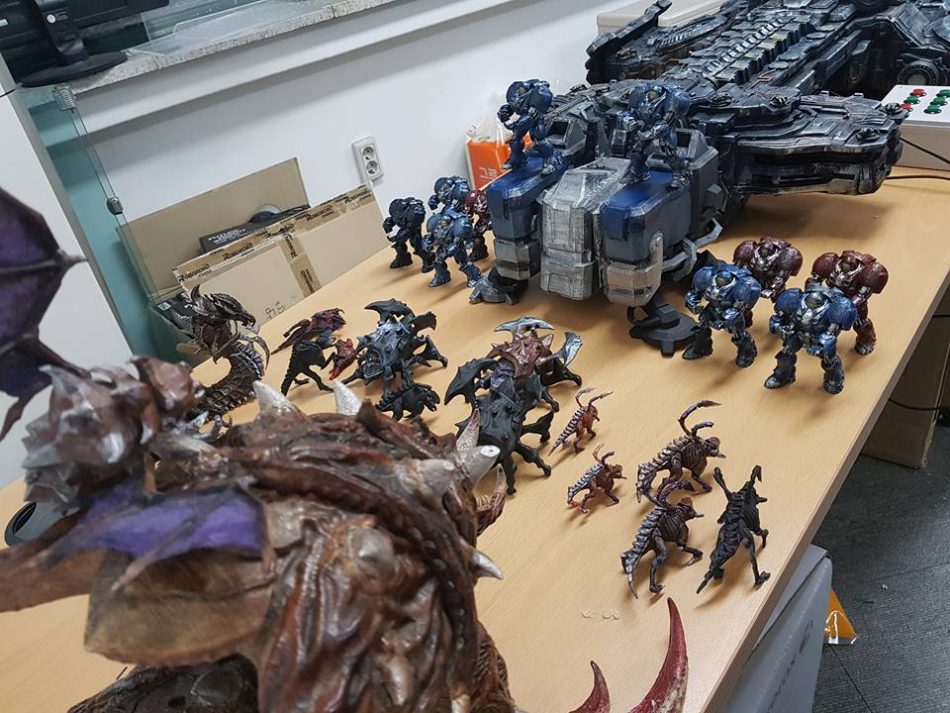
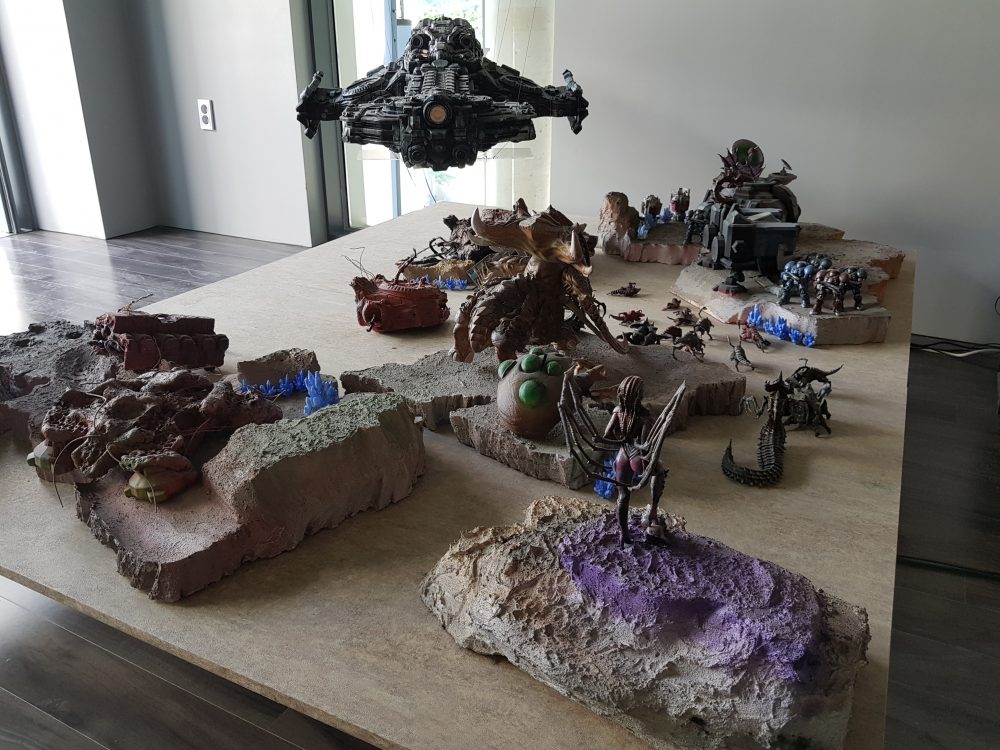
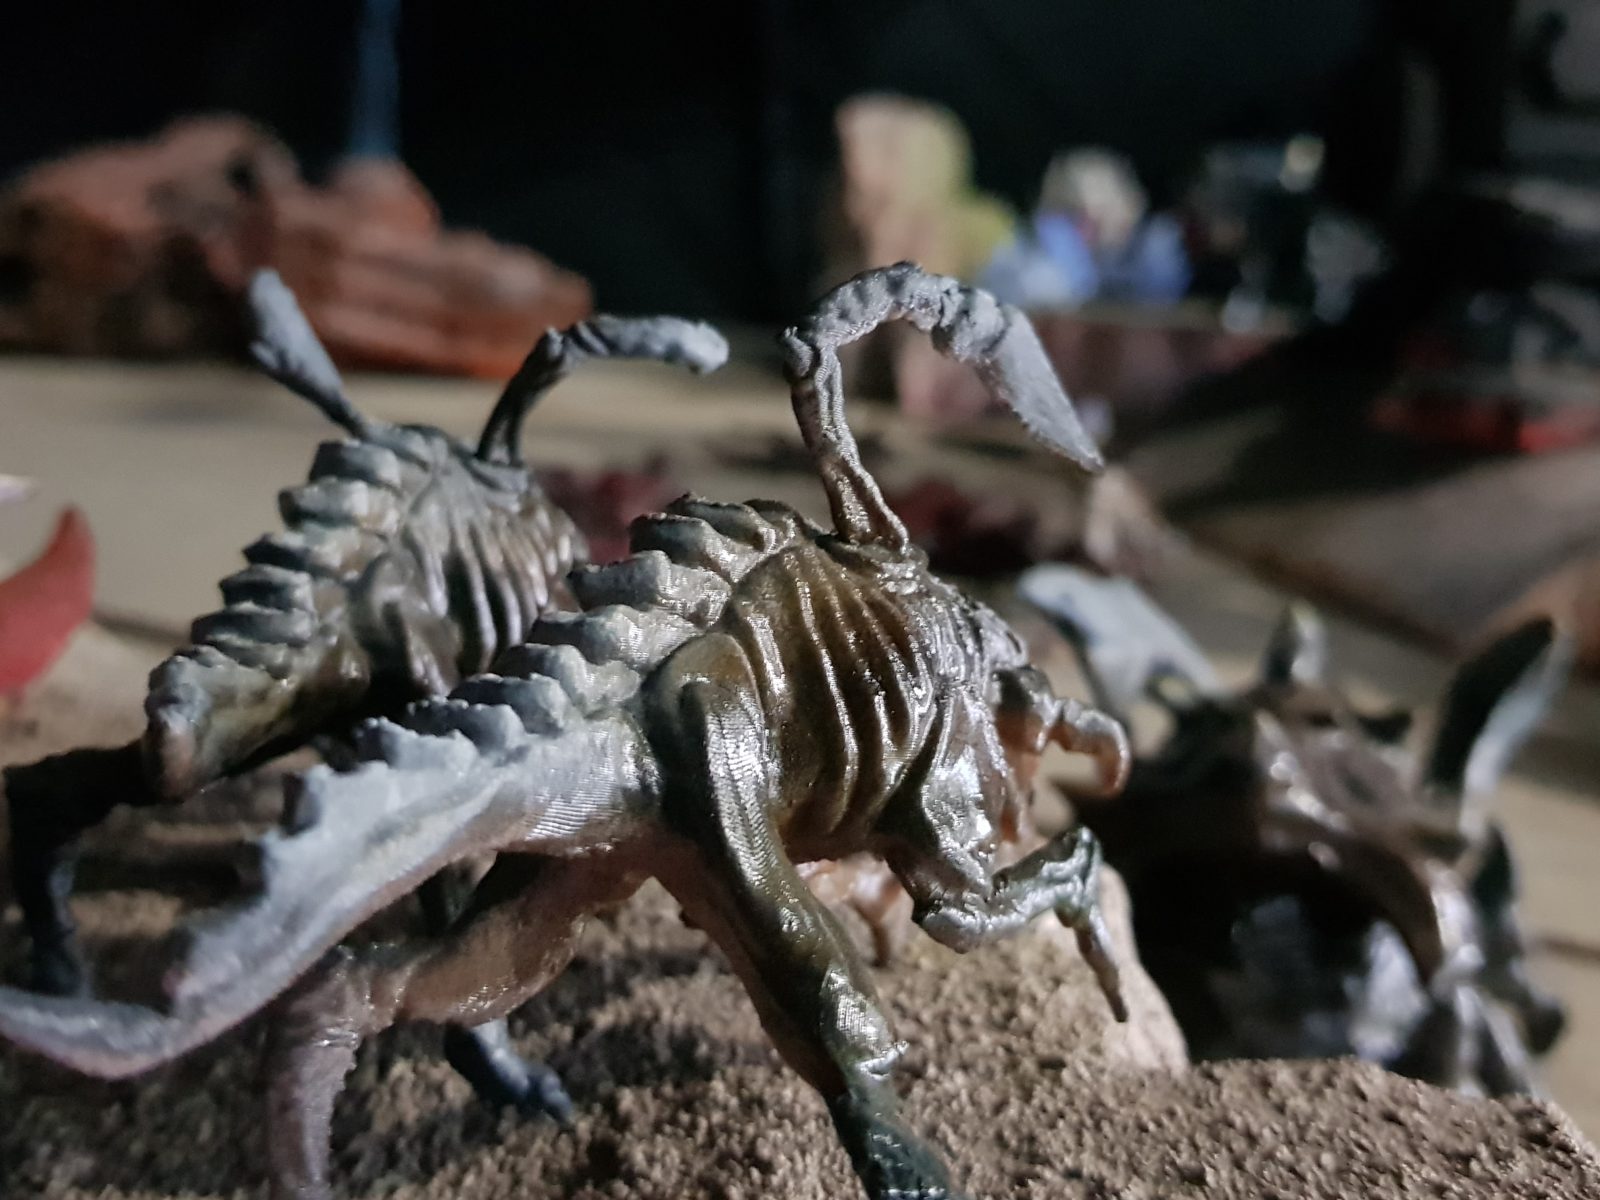
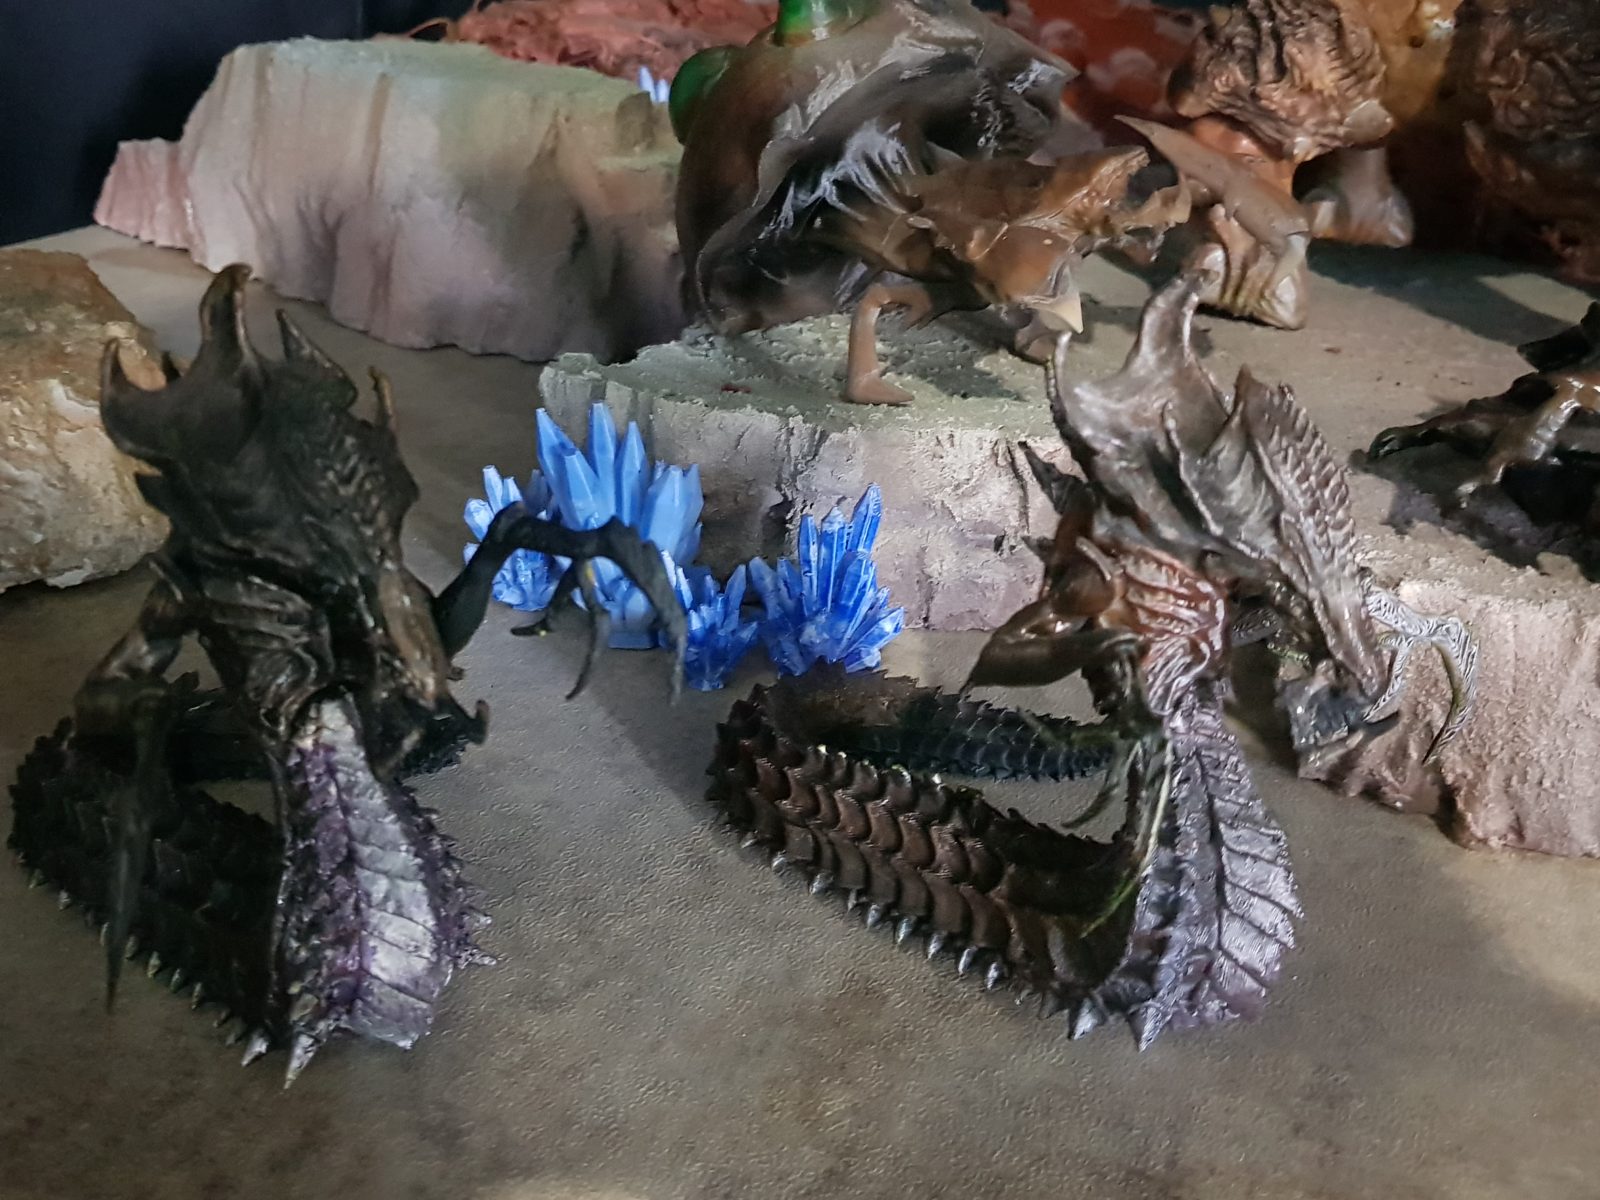
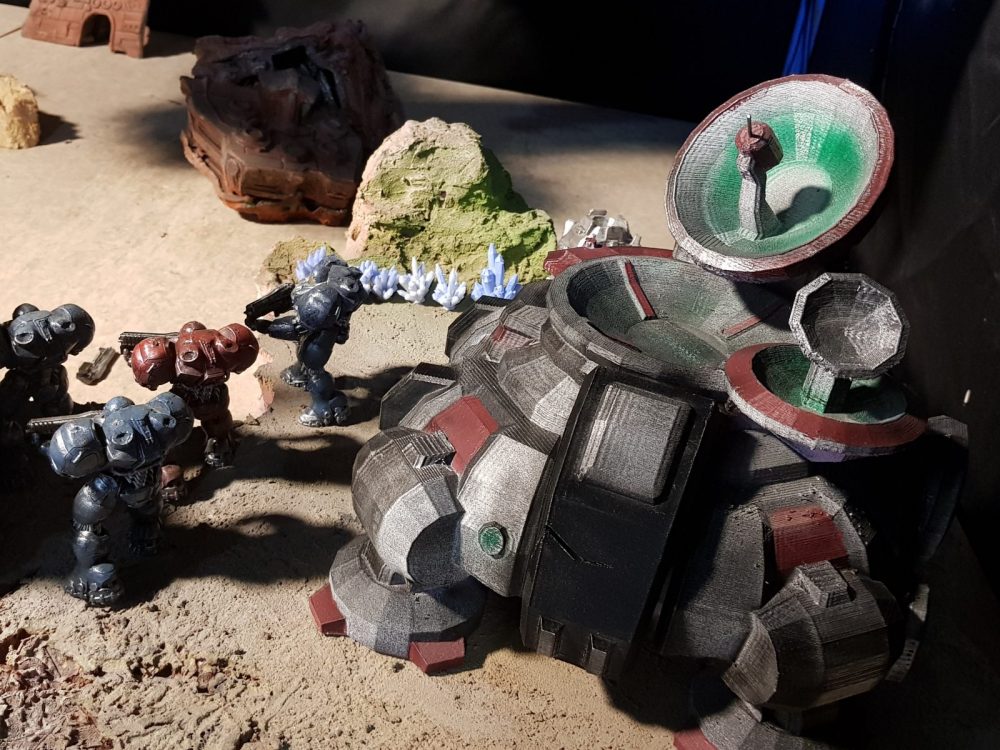
I didn’t mean to but at the recommendation of an acquaintance, I am participating in a contest in Korea. The contest will feature the works of Gundam Diorama, custom works, and movie and animation characters. The museum is called ‘Jungle Museum’ and it is located in Cheongdo, North Gyeongsang Province. I am still at the beginning of what I hope will become my every-day hobby and even more. Also, we did not produce the artwork to participate in the contest, and we had the desire to create a big diorama during the Battlecruiser miniature production process. So I bought various models made by great digital makers at Gambody. Unfortunately, there were no different StarCraft miniatures as I wanted at the Gambody site. The Swarm Host unit had a Zeratul attached that we did not need. Juggling and visible hell were not found. Therefore, we found a high-quality model in the Gambody and several miniatures at other sites. Although it is not yet complete, the deadline for the exhibition is approaching and the StarCraft Diorama is incomplete yet but we will manage to do it in time. The Battlecruiser model and the entire StarCraft Diorama will be on display at our Makerspace after the show ends. Our Makerspace will open in July. Hope to see you there.
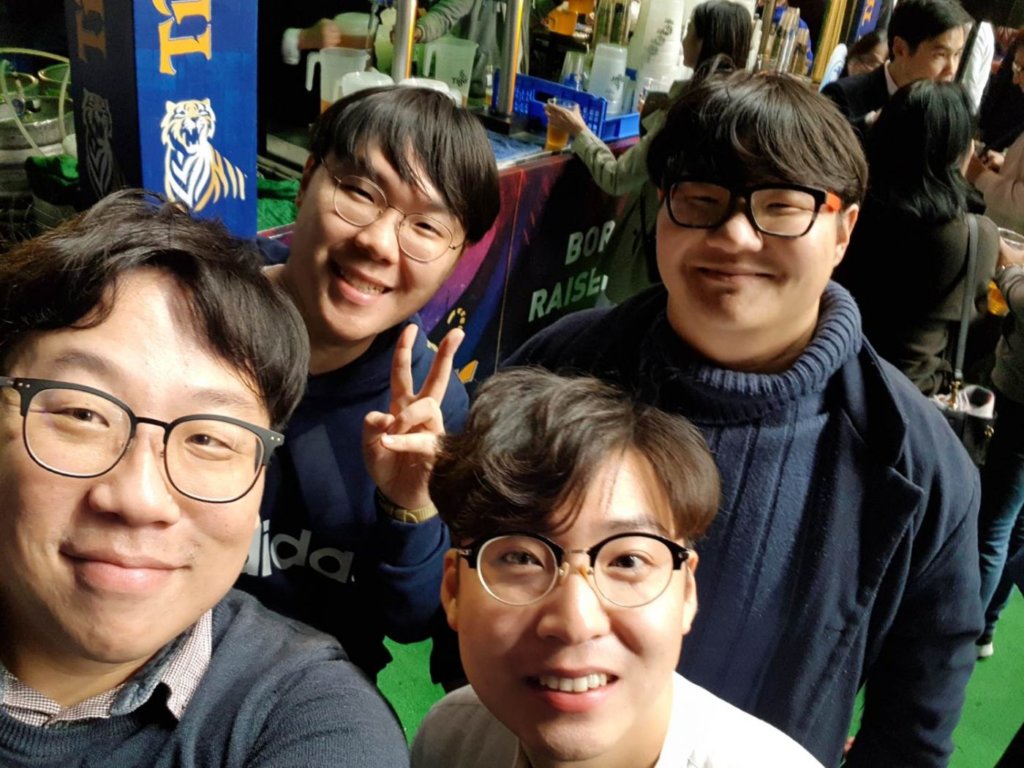
Left side of the picture: Choi Byeong-Yeong, Environmental Engineer and 3Dprinting MAKER
Thanks for the interview opportunity and keep up the great work!
