What Ender-3 upgrades can change your life once and forever? One of the world’s most popular desktop 3D printers offers plenty of modifications you can try, and many of these adjustments are super-easy, affordable, and fast to apply. Learn how to improve your printing results on Creality Ender-3, V2, Pro, Neo, V3 KE, S1, and MAX, and focus on enhancing your collection with fantastic new 3D prints this year.
The variety of projects you can 3D print with Ender-3 is superb! From highly-detailed spaceships and complex trains to adorable movie characters and popular cartoon figurines, your 3D printer can handle it all. Still, it will do even better once you add some upgrades and mods to reduce the noise, increase the value of your machine, and turn its base configuration into a modern device with more comfortable features and a better printing experience.
Ender-3 Upgrades
With various DIY mods available on themed forums and 3D printed markeplaces, finding the best Ender-3 upgrades can be an issue. Many of the so-called improvements can actually mess up your print quality. Don’t follow every advice you find, and don’t 3D print too many extra parts to change your Creality machine configuration. Think of what you want to improve and enhance, and go from there.
Below, Gambody focuses on the Ender-3 bed, nozzle, head upgrade, extra protection, and similar useful customizations you can make to start using more plastic materials, improving your printer storage, etc. The ideas were shared by Creality users who have Ender-3 (V2, Pro, Neo, Ender-3 V3, S1, MAX, and V3 KE).
Read also: Best 3D Printed Gifts to Make for 2025 Holidays.
1. Remote Wireless Control with OctoPrint
Who wouldn’t like to run their 3D printer without staying nearby and controlling its every move physically? While it is not advised to leave your machine unattended, some hobbyists choose to connect the OctoPrint and Raspberry Pi software interface to their printer and manage the printing remotely. Such an Ender-3 upgrade requires understanding all the pros and cons of using an extra mini-computer to control your 3D printer settings and stop or start prints on demand.
OctoPrint is developed as an open-source system for managing 3D printers. Raspberry Pi operating system is a great partner because it runs OctoPrint out of the box. You can find many online and YouTube guides on how to set up OctoPrint on your Ender-3, so watch them carefully before any changes because the kit requires more than just an OctoPrint, Raspberry Pi, extra SD card, camera, and cables to create the wireless monitoring of your 3D printer work at a distance.
2. Ender-3 Bed Upgrade
When your 3D prints keep failing because the first layer doesn’t stick to the platform no matter what glue you use, you need an Ender-3 bed upgrade. The default 3D printer bed is not bad. Creality keeps improving their machines, offering hassle-free auto-leveling and other great features. You can still enhance the adhesion by replacing the original build plate (pay attention to the fact that some versions of the machine, like Max, are bigger than V2, V3, and others).
For example, you can a branded tempered glass bed offered by Creality as one of their Ender-3 upgrades. This is the safest solution for Ender-3, Neo, and Pro since you don’t need to disassemble anything. The new plate is clipped on top of your default hotbed, offering you a much better adhesion and improving the quality of your 3D prints.
Another great upgrade idea is getting a magnetic flexible PEI bed for your Ender-3, V2, Pro, Neo, or Max (especially if you use a lot of PLA or ABS filament). It is designed to make removing your 3D printed model easy, and the installation is a breeze. The PEI bed is attached to the default hotbed magnetically, and when you wish to remove the print, all you have to do is slightly bend this extra surface that needs no glue to hold the first layers well in place.
The possible Ender-3 mods for your bed also include a glass top, which can offer a much better adhesion for several 3D printing materials. Besides, your 3D prints will have a much smoother surface for their first layer. By the way, if you own an Ender 3 Max, Neo, or V2, their standard feature is a carborundum glass bed, but some hobbyists prefer adding a PEI sheet on top.
Read also: Impressive Sunlu FilaDryer S4 Review: The Best 4 Spool Filament Dryer You’ll Ever Need!
3. Hotend and Extruder Upgrades for Ender-3
Hobbyists who tried different Ender-3 upgrades know which ones truly changed their lives for the better. One of the mods you can do is replace the standard plastic feeder with an all-metal piece. This modification can be great for the original Ender-3 and its later versions, V2 and Pro. The MK8 extruder is made of high-quality Aluminum. It is fast and easy to install, and it really improves the durability of your machine.
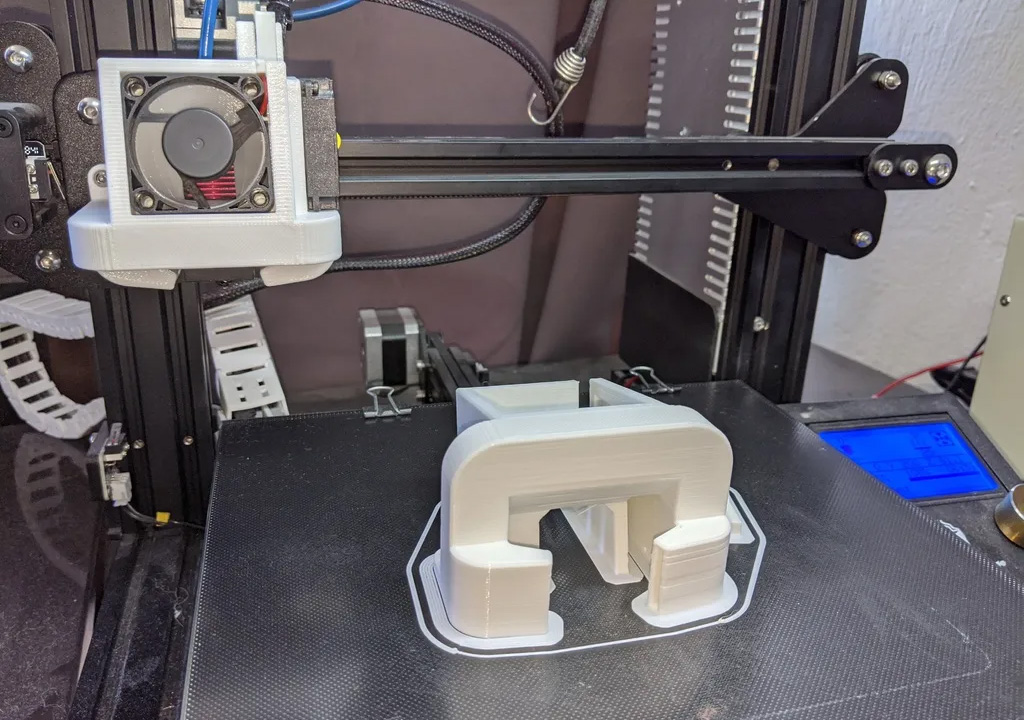
Another Ender-3 upgrade you can try is a free modification you can 3D print and install yourself. It’s called Satsana Ender 3 Fan Duct which helps to cool your machine much better, especially if you also decide to install a 5015 dual ball bearing blower cooling fan.
If you are a fan of BMG extruders, you can use some fun Ender 3 add-ons that help you achieve a similar result. You can buy an upgraded MK8 all-metal extruder with a double-gear extrusion mechanism that offers a stronger and smoother filament feed for Ender-3 and Pro. This extra part helps to push the 3D printing material, leading to fewer slips of your filament.
If you don’t own Ender-3 S1, which boats the Sprite Pro direct extruder, but wish to install it on your older Ender-3 printer, you can order this part (ensure it is compatible with your model). Such an upgrade will cost you $70+, and it can work great for non-S-series and S-series machines, as there are two versions on the market.
4. Ender-3 Nozzle Upgrade
Another great Ender-3 upgrade idea you can think of is replacing the nozzle to increase your print speed while still maintaining the high quality of your 3D prints. Learn How to Change a Nozzle on a 3D printer and depending on your project, replace nozzles without any issues.
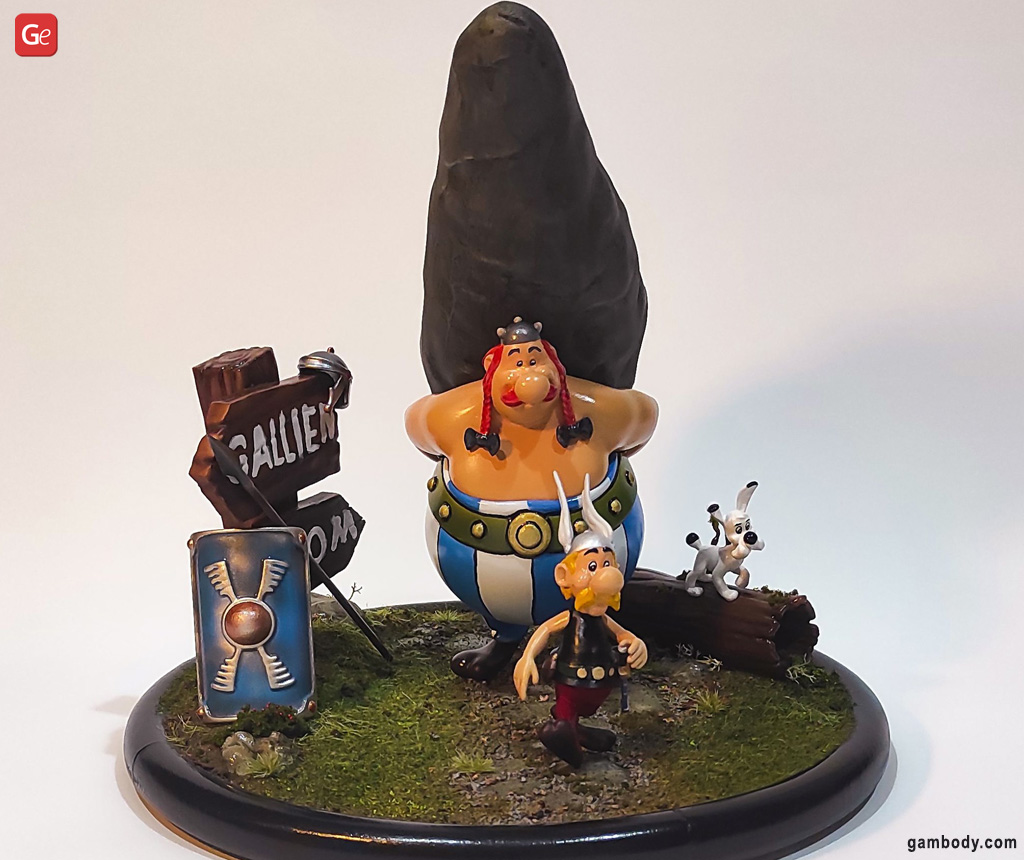
By choosing a larger nozzle diameter, you can also maximize your layer height which leads to bigger models in minimum time. You can find steel nozzle kits on Creality or find a variety of kits that are compatible with Ender-3, V2, V3 KE, S1, Max, Pro, Neo, etc.
5. Bed Leveling Mods
The two most famous auto-bed sensors that help level Ender-3 beds are BLTouch and CRTouch. Many enthusiasts who love to build highly detailed 3D models say this was their best decision.
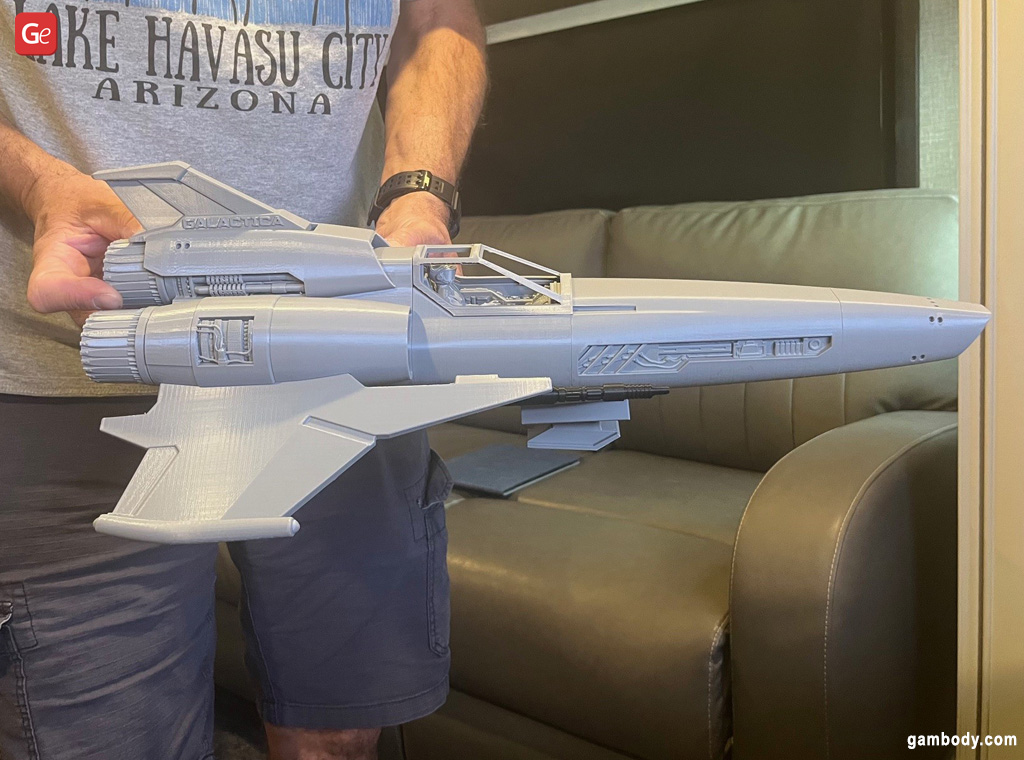
If your 3D printer doesn’t support the auto-bed leveling feature, get the BLTouch or CRTouch sensor and install this Ender-3 upgrade. It will save you calibration time and improve the print’s quality.
You can also learn more about the Modular Y carriage platform, designed for Creality Ender-3, V2, Pro, S1, and S1 Pro. This plate supports three-point and four-point leveling configurations, offering better performance and mounting options for bolt-on cameras, handlebars, and other extras.
Read also: Latest Bambu Lab A1 Mini 3D Printer Unboxing and Review.
6. Ender-3 Enclosure
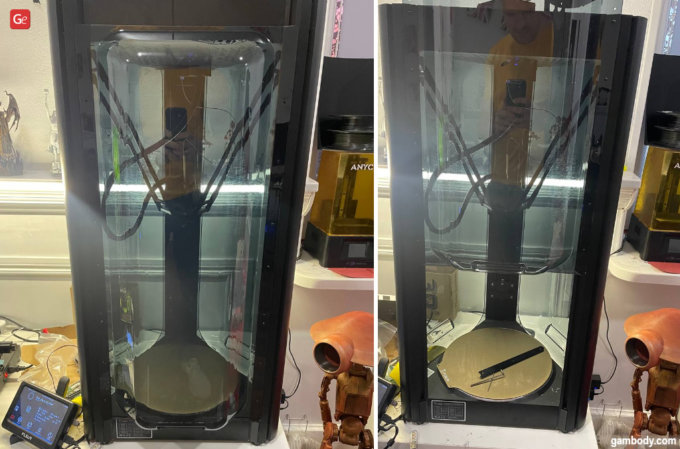
Sometimes the best Ender-3 upgrade you can think of is protecting it from dust and wind. The open-framed 3D printers by Creality, when not in use every day, should stay enclosed.
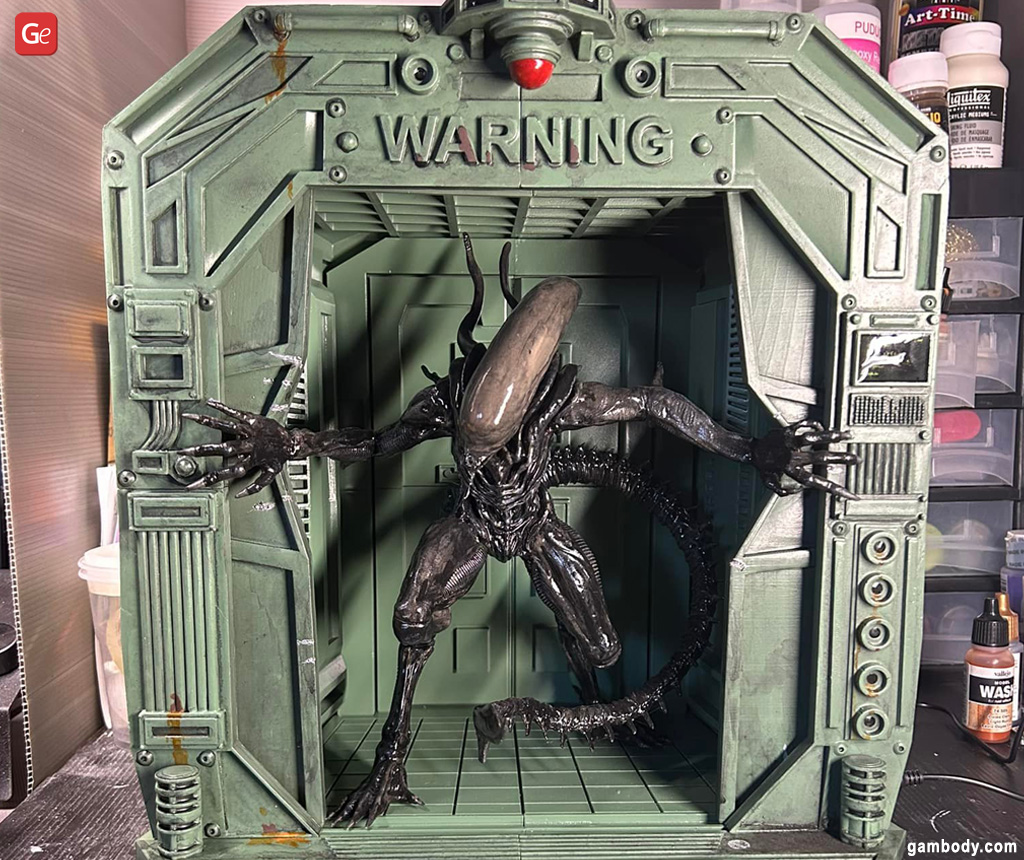
You can find your Best 3D Printer Enclosure or DIY one of your own and not only protect the surface of your machine but also improve its printing quality by stabilizing the temperature inside the chamber.
Cable Organizers
Some Creality Ender-3 upgrades are nearly free, but they can really improve your life a lot. Think of cable organizers you can 3D print yourself using free STL files from around the internet. You can make a filament guide that snaps into your machine frame and helps the 3D printing material to stay out of the way. This filament snap-in project is great for different series of Ender-3, including V2, Pro, Neo and Max.
A small cable clip structure is another simple upgrade you can build to ensure your printer’s cables are not in the way of the bed area.
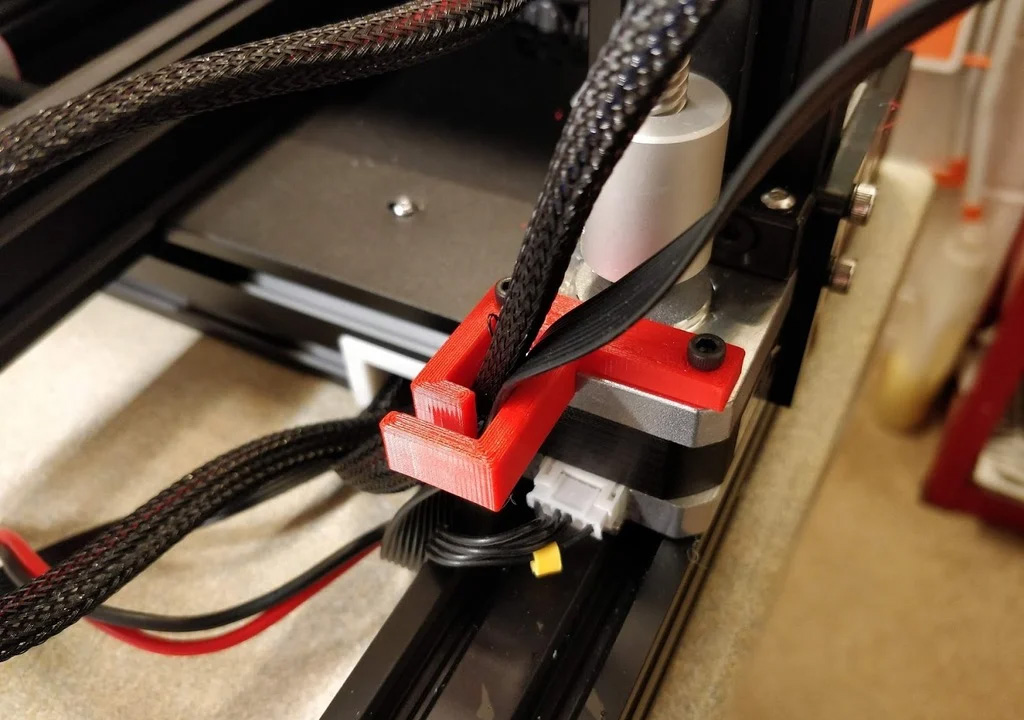
You can find many similar clips for your Ender-3 cables and upgrade your printing experience within an hour.
Whatever modifications you choose for your 3D printer, ensure you don’t overdo it. Sometimes, the less is the best. Select Ender-3 upgrades that help you organize the cords, improve your speed, simplify bed leveling, etc., and keep making impressive models that have a wow factor, amaze with LED lights, and work as fantastic displays. Share the photos of your 3D prints in Gambody 3D Printing Community on Facebook with thousands of hobbyists from all over the world.


