Fans of FDM 3D printing who wish to minimise or eliminate warping and shrinking can think of getting a 3D printer enclosure. Such a printer cabinet offers many advantages, but it does not suit everyone. Therefore, you must know all the pros and cons.
In this post, you will find a list of ideas for extra DIY safe and functional protection for your 3D prints and small or large 3D printer. Maybe you will decide to make one for yourself.
3D Printer Enclosure
While resin 3D printers are enclosed, FDM machines mainly comprise a frame and bed and have no printer cabinet.
Enthusiasts working with PLA at 60˚C (140°F) can run their Creality Ender 3, CR-10, Anet A8 and other devices without an additional box. However, those who are making figurines and projects of ABS at 105˚C (221°F) will benefit from a DIY 3D printer enclosure.
A 3D printer cabinet is a shell (box) that keeps the temperature in, protects the area from dust and models from warping. It plays an essential role in stabilising the “heat atmosphere” and helps the first layers stick well to the bed.
You do need a 3D printer enclosure if:
- You wish the temperature within the print area to be more stable when printing with ABS;
- You want to protect your FDM printer from dust;
- You need to organise your working space;
- You hope to reduce the 3D printing noise;
- You expect the 3D printer cabinet to low down the toxic fumes appearing while you are printing with ABS.
What you must decide:
- How much you can spend on a DIY 3D printer enclosure kit;
- You are ok with a cheap look, or you are concerned with the aesthetic look;
- Whether you need full access to your 3D printer or you would like to limit accessibility for your kids and pets.
When you have all the answers, you need to make a decision. Would you prefer a homemade DIY 3D printer enclosure or ready-to-buy accessory explicitly made for Creality Ender 3, CR-10, Anet A8 or a different machine?
Read also: Incredible Stuff You Can Make with a 3D Printer
DIY 3D Printer Enclosure
It does not matter if you add good ventilation to your room and extraction system to exude the toxic fumes or not. You can always build your DIY 3D printer enclosure kit from household items and transform other products into such a box.
Decide if you want to place all components (filament spool, power supply, display, control boards) inside the 3D printer cabinet or outside. It is best to choose non-flammable material for DIY 3D printer enclosure instead of using ordinary boxes, polystyrene and other combustible materials. Besides, a smoke detector inside the box can help you prevent fire.
1. Cardstock Boxes
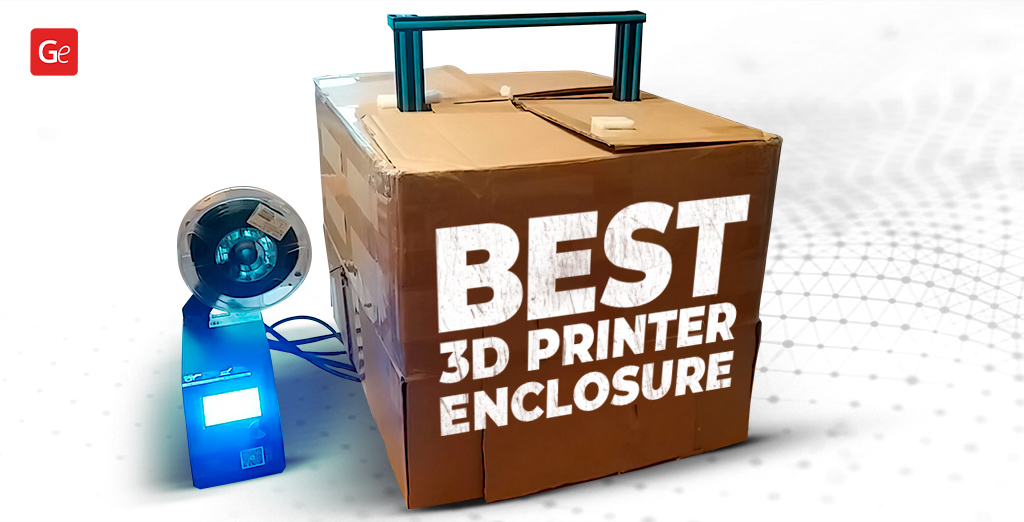
The simplest, fastest and cheapest DIY 3D printer enclosure is made of a shipping box. The big cardstock boxes can be found in numerous households and at post offices. You can go with a size bigger than your home machine with enough space for all the moving parts.
It is quick to cut “windows” and “doors” in your cardstock box and place it over the 3D printer. If you need to upgrade your machine or access it, all you have to do is remove your self-made cabinet.
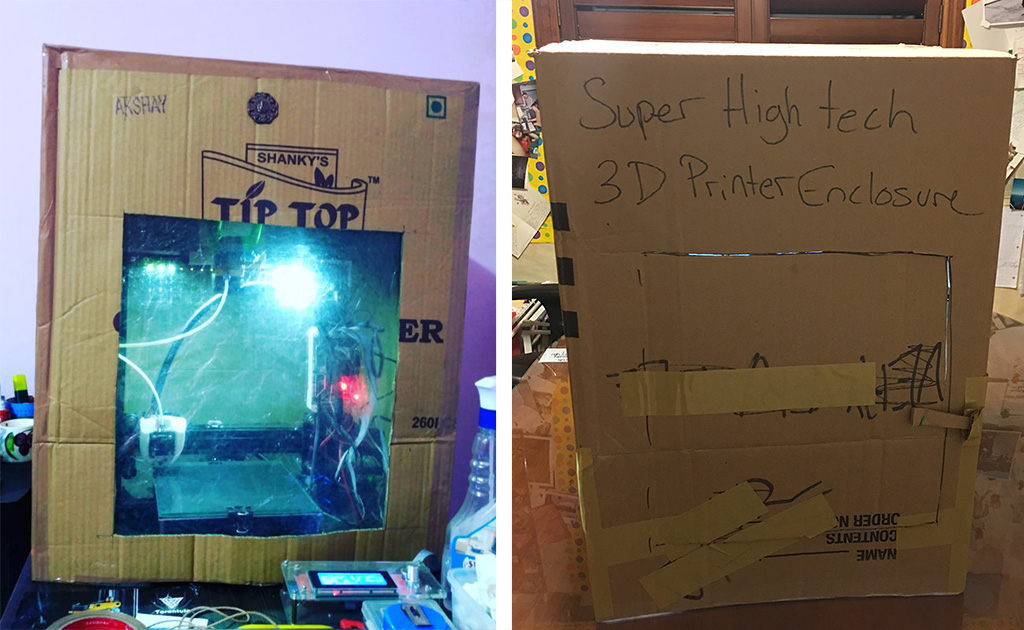
Pros: cheap (often 100% free), easy and fast to make.
Cons: flammable, extremely dangerous, requires a smoke detector and your control.
2. Plastic Boxes
The market has many transparent plastic boxes, which you can turn into a DIY 3D printer enclosure. You will need your time, some skills and instructions (or your fantasy) to build such a 3D printer cabinet yourself. But the variety of containers makes it easy to find the right size and price.
Sometimes you will have to combine two or even three plastic boxes if you need a tall or super-wide enclosure. It might be necessary to cut windows, holes for cables, make doors that open and close, etc. Many enthusiasts use plexiglass which is a solid, transparent plastic made of polymethyl methacrylate because it is durable and not as fragile as glass.
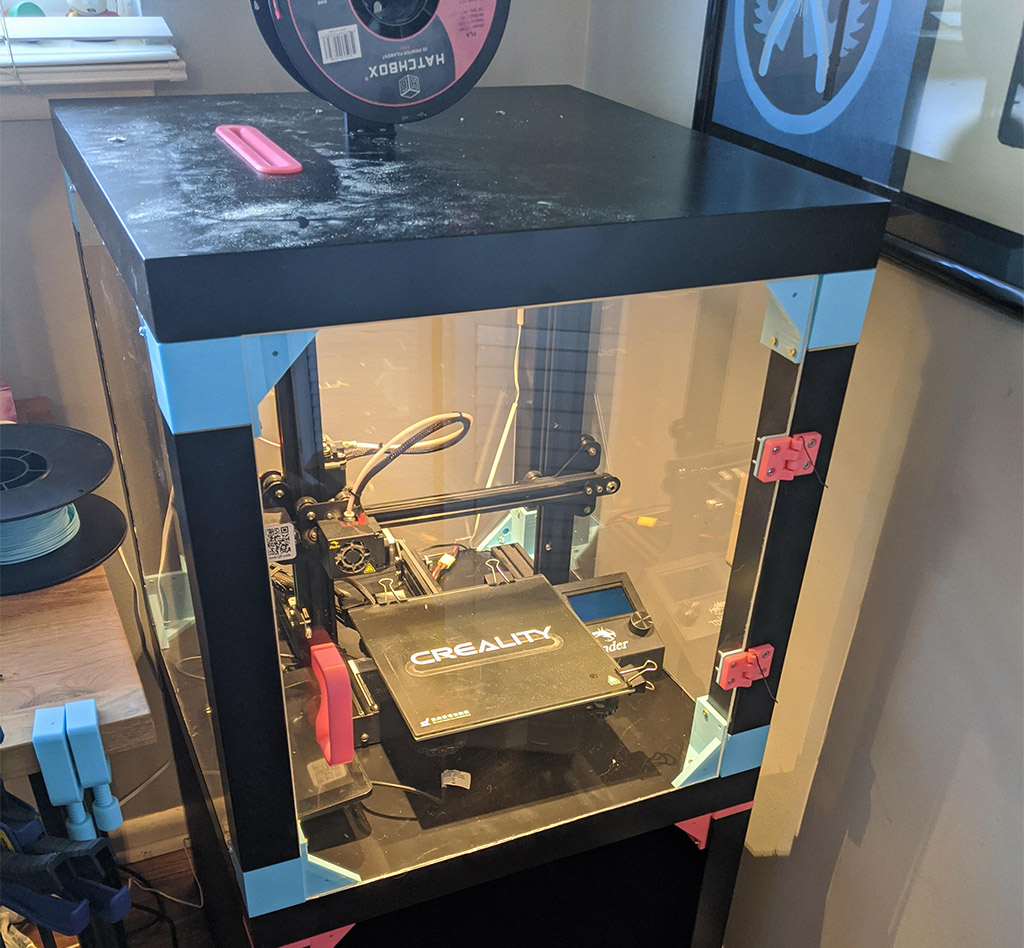
Pros: transparent walls that let you follow the 3D printing process, great custom opportunities to build your perfect printer cabinet.
Cons: the price can be high, time-consuming assembly or construction from scratch, flammable, dangerous, requires a smoke detector.
3. Photo Studio Shooting Tent
Portable and professional photo studio shoot tents and light boxes can become an excellent 3D printer enclosure, although they always cost money.
Such a box can play two roles. On the one hand, it can help to even the temperature inside the DIY 3D printer cabinet. On the other hand, you can use it to take professional-looking photos of your finished 3D prints.
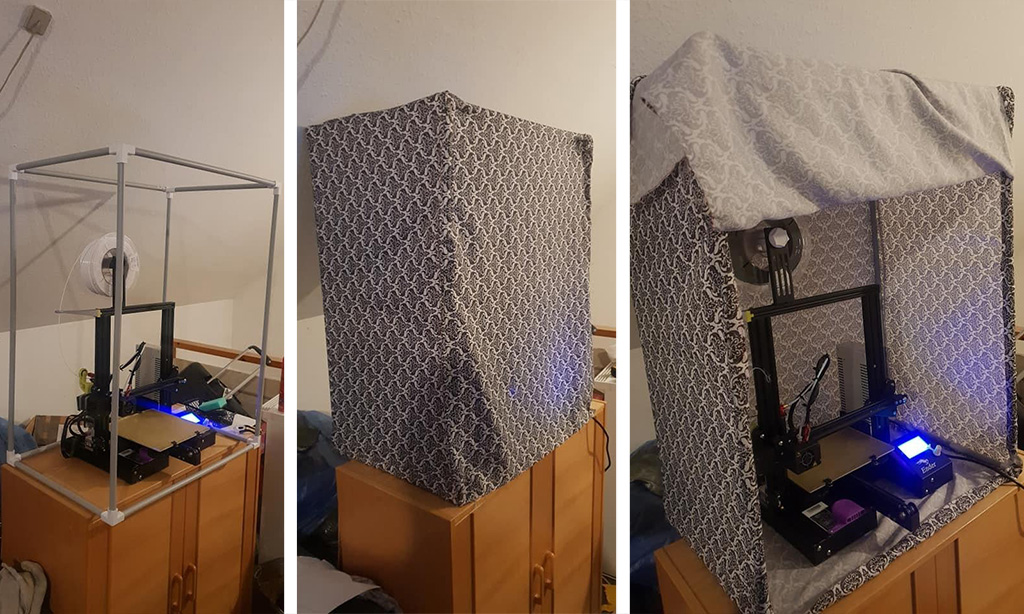
Pros: no need to cut “windows” and “doors,” excellent illumination for the models inside your machine, opportunity to take stunning shots of your 3D prints.
Cons: can be expensive for big 3D printers, flammable, dangerous, requires a smoke detector.
4. Used Furniture
Often, there is no need to buy boxes and search for a photo studio tent. You might have old wood furniture at your house, which you can transform from an ordinary closet into a perfect 3D printer enclosure. Of course, such work requires some time, equipment, might need money for refinishing and reassembling, additional parts, but the result could impress you.
Wooden cabinets have wooden doors, so you might want to replace the door with heat resistant glass. This way, you can see through and watch your 3D printer in action. Besides, it will be great if you can invest in fire retardant treatments for the wooden cabinet walls and roof.
Only look at this Star-Wars-inspired cabinet made by Reddit user BenaprScopian:
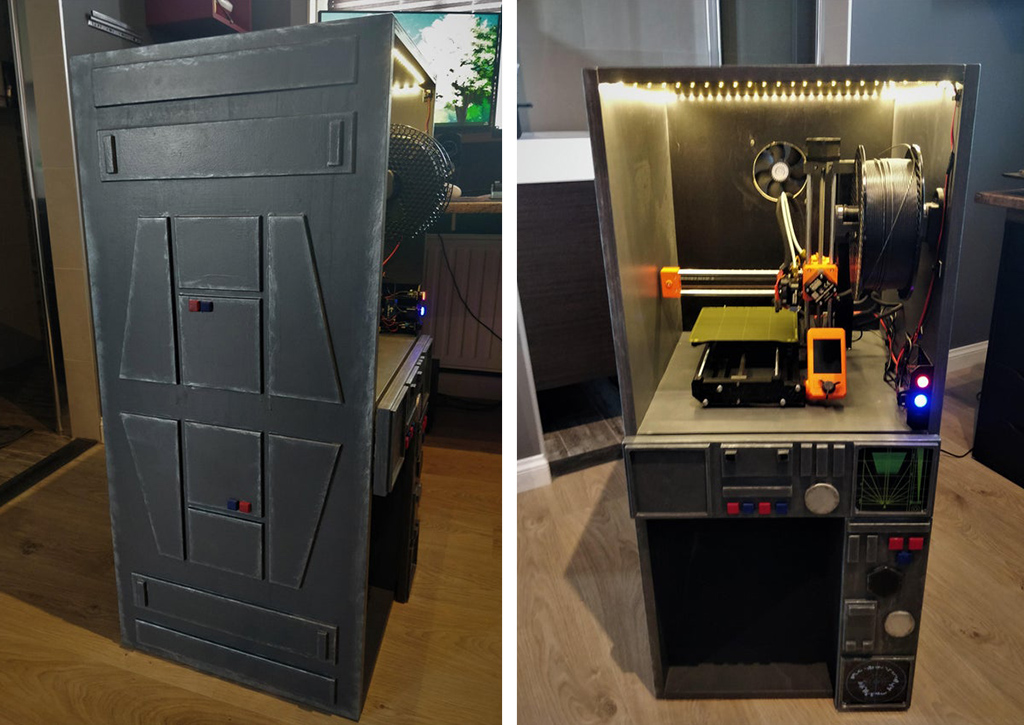
It is something you can make yourself too! And make sure to decorate your room with many fantastic 3D printing Star Wars models!
Pros: upcycling old closets can give a second life to your furniture, you can customise everything to your needs.
Cons: expensive, time-consuming, requires a smoke detector and fire retardant treatments.
Ready-to-Buy 3D Printer Enclosure
Not every 3D printing enthusiast is willing to make a DIY 3D printer enclosure from cardstock, plastic boxes, IKEA Lack side tables, metal and glass or other materials. Some users are happier to get a factory accessory explicitly made for Creality CR-10, Ender 3, Anet A8, another machine.
Factories produce ready-to-buy enclosures for different 3D printers. Thus, even if you don’t have an enclosed machine, you can order a special box made of fireproof and dustproof material.
Creality Ender 3 Enclosure
Suppose you wish to keep a constant temperature while your Creality Ender 3 or Ender 5 is running. Then, you could be interested in getting the official Ender 3 enclosure. The market has many offers, and you can find different sizes of this printer cabinet.
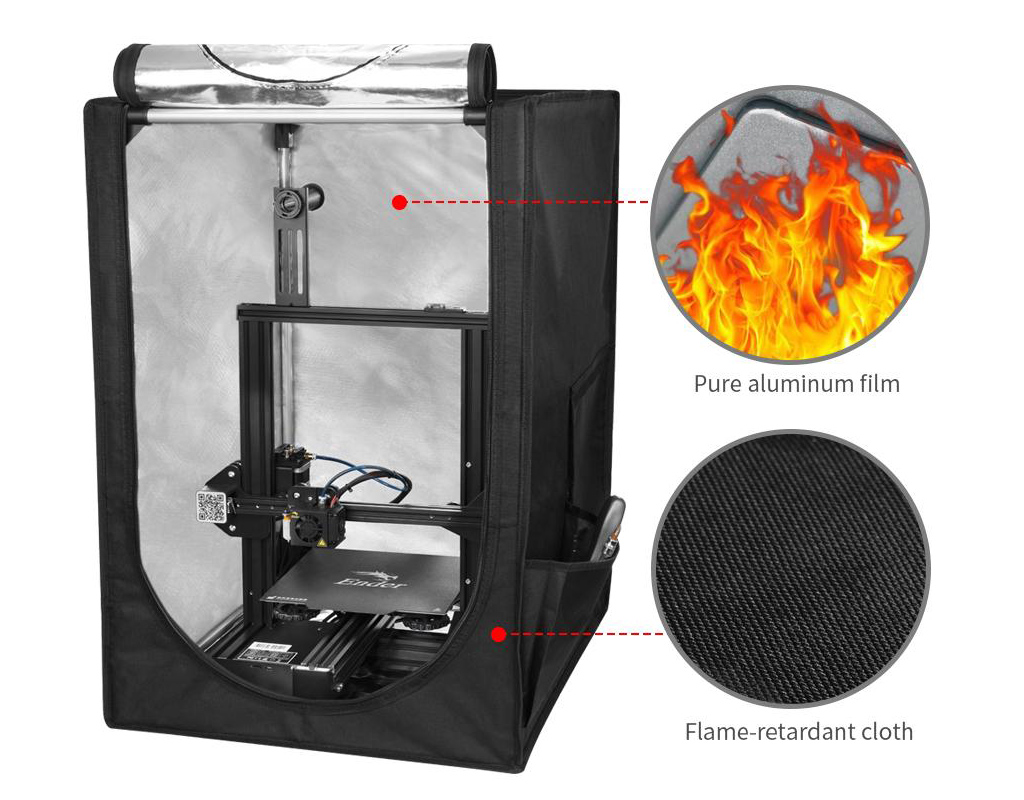
At about $80-$100, such an enclosure is often made of aluminium film and flame retardant material that will only melt in case of fire. The construction is light and easy to install. You can fold it for storage and enjoy the noise reduction effect when in use.
Creality CR-10 Enclosure
At about $60-$100, you can find a universal cabinet that suits many 3D printers, including Creality CR-10, CR-20 and others. Such CR-10 enclosure often offers pockets for tools, folding storage, dustproof and fireproof material (pure aluminium foil).
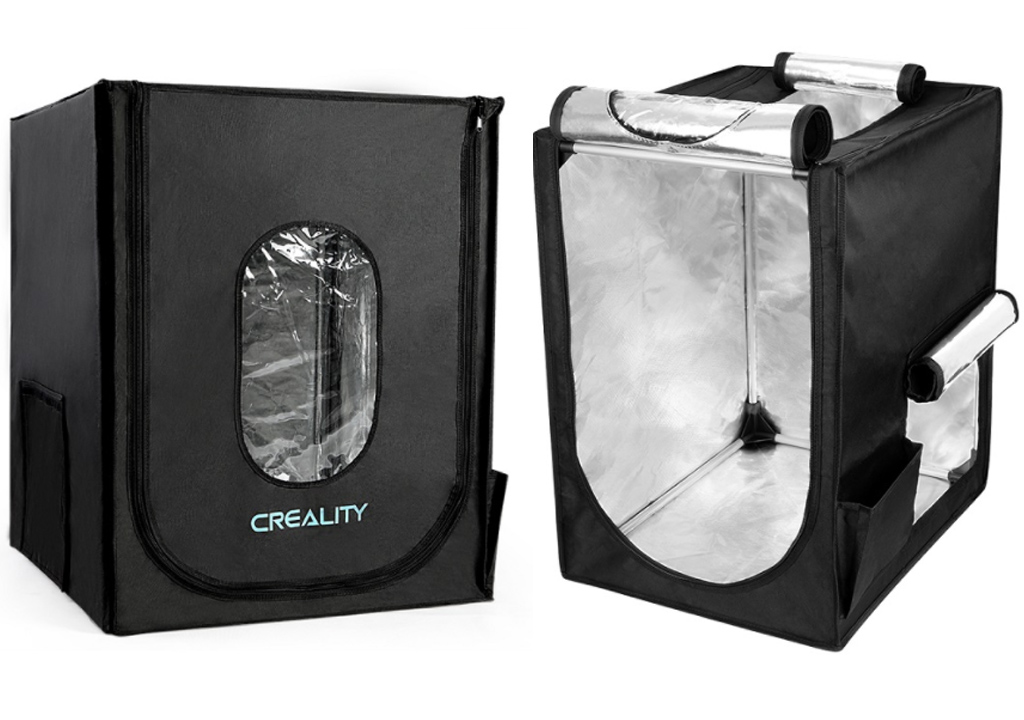
When enclosed, your 3D printer will be secured within the folding box. Its purpose is to stabilise and preserve the temperature, improve the printing quality, protect your machine from dust.
Anet A8 Enclosure
While you can find ready-to-buy Creality CR-10, CR-20, Ender 5, Ender 3 enclosures, similar accessories are not offered for Anet A8 users. Still, you can get one of the folding cabinets designed for other machines sized to fit your particular 3D printer.
Also, there are many great tutorials and videos on how to make one on the internet. So, if you are searching for a nice Anet A8 3D printer enclosure, you might want to build it yourself just like Reddit users inhuman and u/ilcadm did.
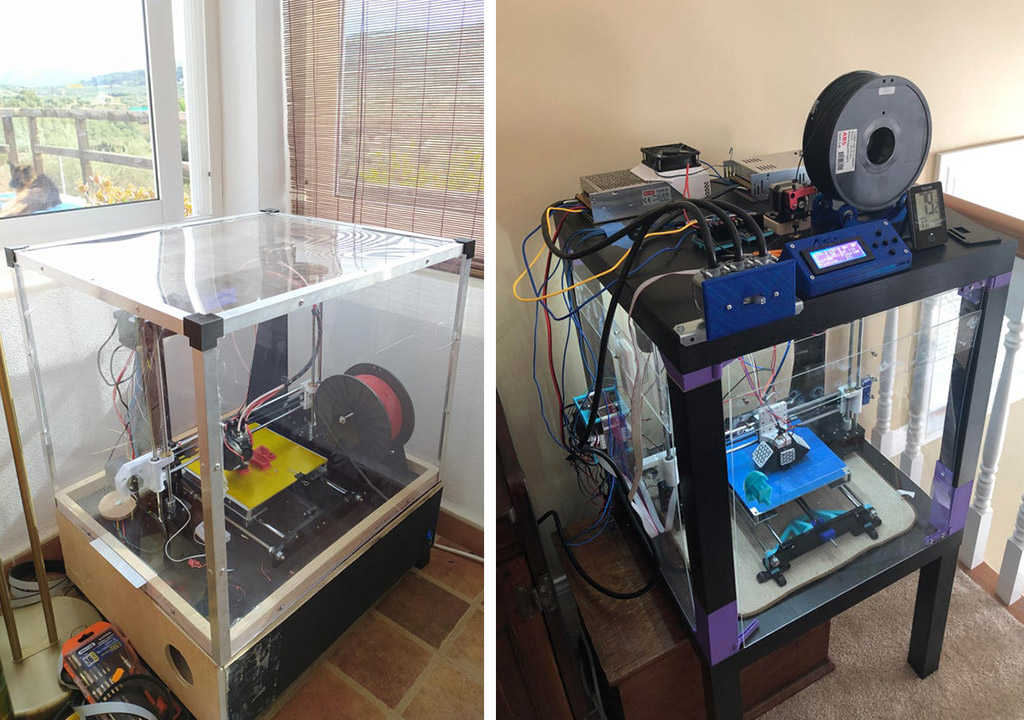
An excellent 3D printer enclosure kit can improve life for hobbyists with FDM machines and protect your device from dust (when not in use). It also helps preserve constant temperature, improve the quality of 3D prints made of ABS filament and reduce the warping issues. You can DIY such a printer cabinet or purchase a ready-to-buy box. When you are happy with your 3D printed models, make sure to join Gambody 3D Printing Community on Facebook to share their photos.
