Every 3D printing enthusiast knows how important it is to find highly detailed STL files to create professional-looking models. However, issues with a 3D printer can affect the final result and upset you. Thus, taking care of your machine and following Gambody’s 3D printer cleaning nozzle tips is a must for every person who wants to be happy with their 3D prints.
The extrusion will not work correctly when your 3D printer nozzle is clogged, broken, dirty, “tired,” or overused. Of course, no device can work forever, and nozzles should be replaced once in a while. Still, you can extend your nozzle lifespan and improve your 3D printing performance if you learn some handy tips in this post.
3D Printer Nozzle
The extruder and nozzle are components in FDM 3D printers that influence your 3D printed result the most. The filament extrudes through the nozzle and helps you build a project layer by layer. If you want to make smooth, error-free, finished parts, you must never forget about cleaning the nozzle on time.
Learn to identify the problems with your device. Follow the instructions on how to clean a 3D printer nozzle, prevent some well-known issues, be on time to replace the worn-out part of your machine, and clean the extruder. You will see how your 3D printing experience will improve and how many fantastic 3D prints you will create.
Jump to a section:
- Issues You Face;
- How to Clean a 3D Printer Nozzle;
- How to Prevent Nozzle Clogging;
- When to Replace a Nozzle;
- FAQ.
Issues You Face
A 3D printer clogged nozzle is one of the most common issues that cause failed prints. It can lead to numerous unpleasant consequences:
- The first layer fails – When you wish to 3D print a figure, load your filament and wait but see no first layer, it could be the clogged nozzle problem.
- Hot end jams – Sometimes, dirty nozzles cause the hot end jam issue when your device cannot extrude filament.
- Nozzle picking up filament – Dirty and old nozzles can pick up some filament already laid down when moving across the layer.
- Missing layers – It could be necessary to unclog a 3D printer nozzle if you start a 3D print and return to see it missing layers or lacking the whole project.
- Inconsistent extrusion – Ensure everything is fine with the nozzle when your 3D printer cannot keep up with the smooth filament flow and extrudes it in bursts or with missing parts.
If you experience any situations above, check your 3D printer nozzle and unclog, replace or clean it inside and outside. However, ensure that other things, such as an unlevelled bed, improper Z-offset settings, stepper motor issues, wet filament, and hot end path, do not cause these problems.
Read also: How to Change a Nozzle on a 3D Printer from 0.4mm to 0.8mm
How to Clean a 3D Printer Nozzle
Once you have considered all possible causes of your failed layers or 3D prints, check everything, starting from the simplest to the most challenging task. And if you believe it is something to do with the extruder or nozzle, follow the 3D printer cleaning nozzle tips.
1. How to clean the outside of the 3D printer nozzle
The first problem you can notice quickly is the debris outside the nozzle. If parts of the melted filament are stuck on the nozzle, you need to clean the piece with an alcohol wipe, a damp paper towel, or a cloth. Ensure the nozzle is hot while cleaning it, and protect your hands with heat-resistant gloves to avoid burns.
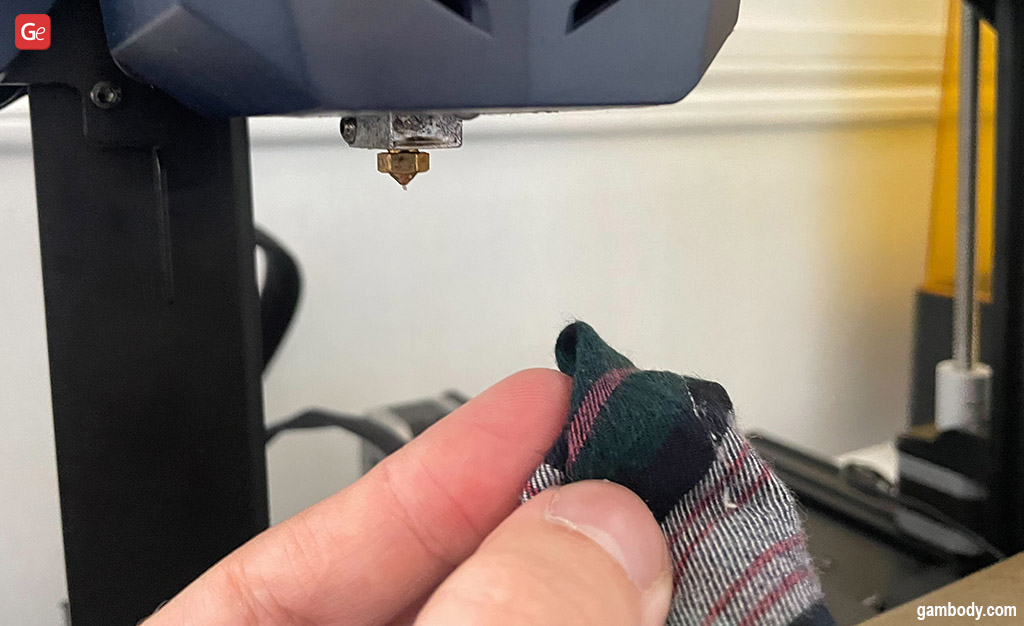
This 3D printer nozzle issue can repeat if your bed is not leveled correctly or Z-offset is too low. Check all possible issues and try 3D printing with a nozzle sock in the future. This way, less filament will get stuck to this part of your device.
2. Unclogging a 3D printer nozzle from inside
When you 3D print a lot, pieces of filament can turn into debris inside the printer’s hot end and block the nozzle wholly or partially. So, act as soon as you notice missing layers or parts of your project or see that nothing extrudes.
These are the most popular methods you can try:
1) Hot temperature cleaning tips
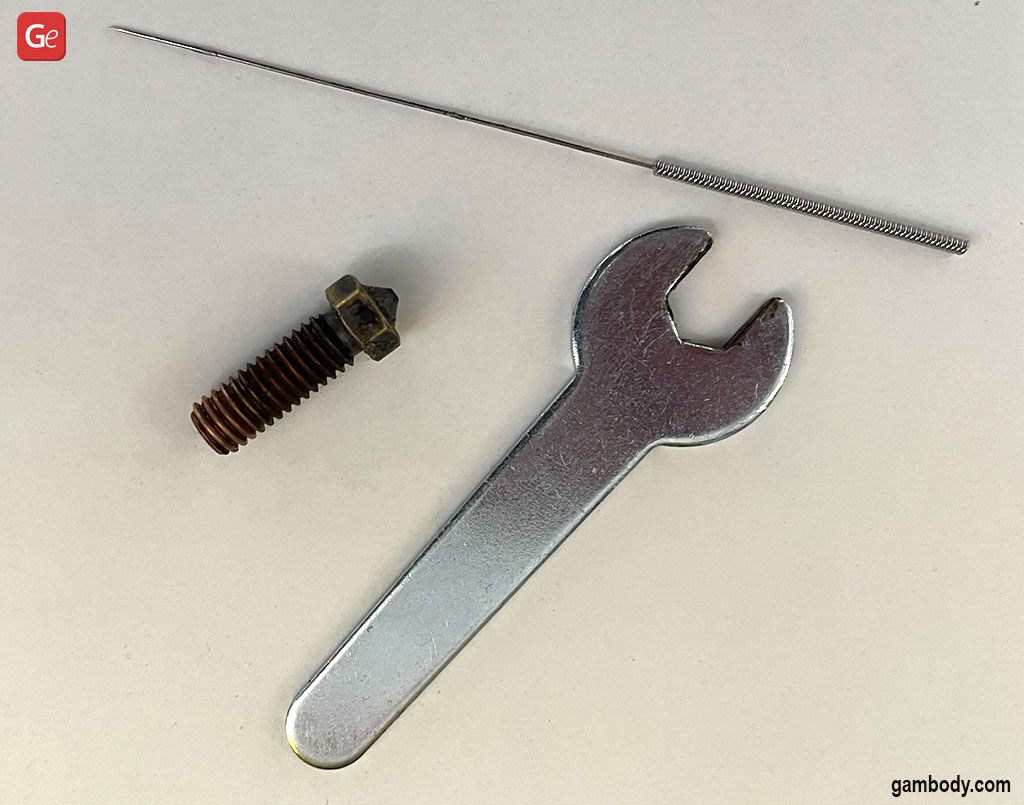
If you need to clean a clogged nozzle in your 3D printer, use a metal needle of a suitable diameter to push any filament leftovers out of your way and tweezers to ensure nothing is left inside. Or choose a cleaning kit, a brass wire brush, or something similar with soft bristles to remove residue from one of the smallest yet critical parts of a 3D printer.
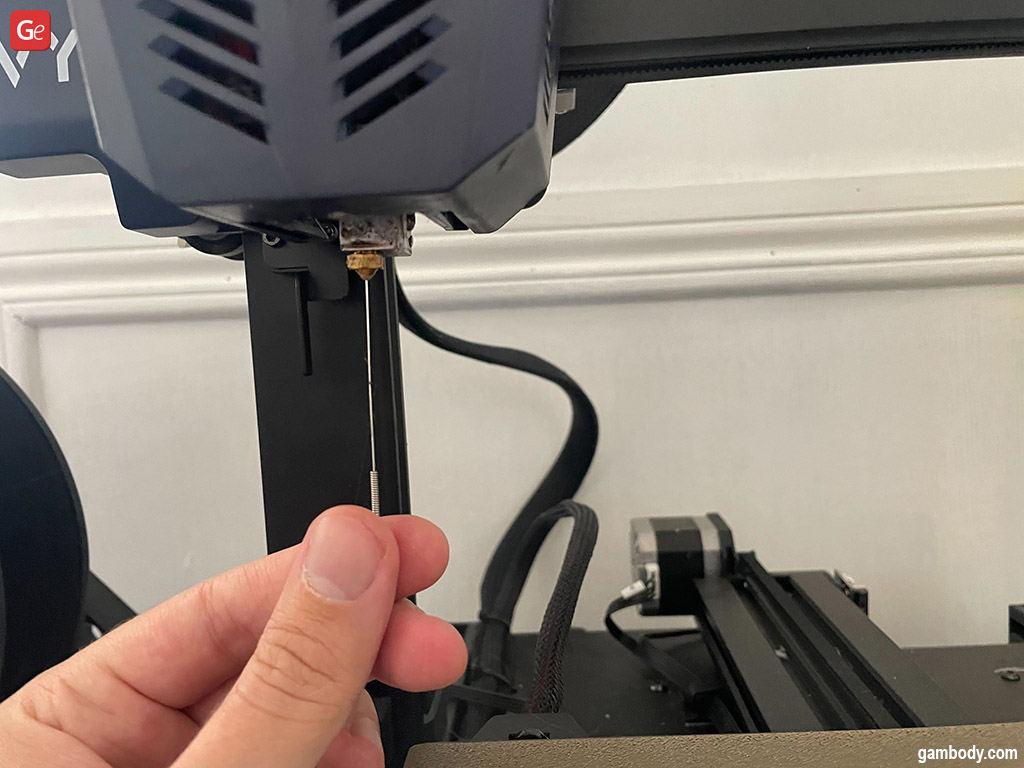
You can heat the nozzle with a heat gun if a needle does not work. Be extra cautious. Even though this method will melt any plastic leftovers and help to remove them quickly, the high temperatures can mess up your nozzle shape. Use pliers to hold this part of your 3D printer carefully and avoid overheating issues. Do not touch the hot nozzle or end with bare skin to avoid burns.
2) Using chemicals
You can also soak the removed nozzle in acetone for half an hour, eliminating old ABS impurities (but first ensure acetone will not hurt your nozzle material). But before you unscrew the nozzle, heat it. This way, removing it from the heater block will be easier.
Leave the nozzle in a cup filled with acetone, and after half an hour, the remains of the ABS material will dissolve. Then, remove any remains with a soft wire brush and clean the tip with a cloth. When the nozzle dries completely, reassemble your device and work on new fantastic 3D prints.
P.S. You can use other chemicals to clean the nozzle, depending on its material. However, it is best to avoid any high-density, highly-concentrated hydrochloric acid, and similar products not to damage your 3D printer parts.
Read also: 3D Printing Troubleshooting Guide to Fix 10 Common 3D Printer Problems
3) Atomic pull
You can try using cold pulls (also known as atomic pulls) to clean the hot end of any debris. You don’t have to disassemble your 3D printer or use any special cleaning tools with a cold pull.
Removing the clog with Nylon, ABS, or PLA filament is easy. But you should preheat the nozzle first to the temperature of the 3D printing material and keep pushing it manually to begin extrusion. Keep going while waiting for the hot end to cool down.
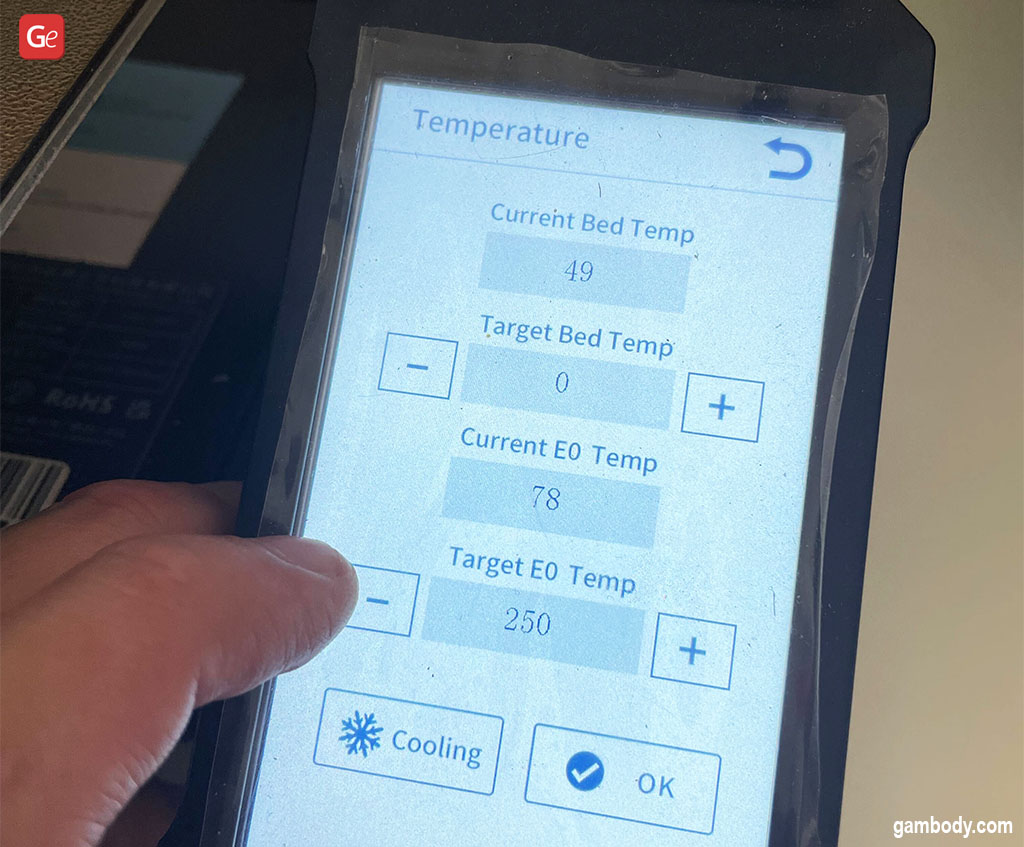
Clean the tip of the nozzle from any extruded filament and heat your 3D printer to approximately 194 °F (90 °C). At this temperature, you need to pull the rest of the 3D printing material from the inside of the nozzle.
4) Nozzle replacement
Another solution is to replace your old nozzle with a new one but ensure your hot end is hot and remove the debris from it and the filament from the extruder before switching the nozzles.
Do not touch the hot nozzle or end with bare skin to avoid burns.
5) Using special self-cleaning filament
Find the special cleaning filament in a store nearby or order it online, and start cleaning the nozzle before each big project you wish to 3D print.
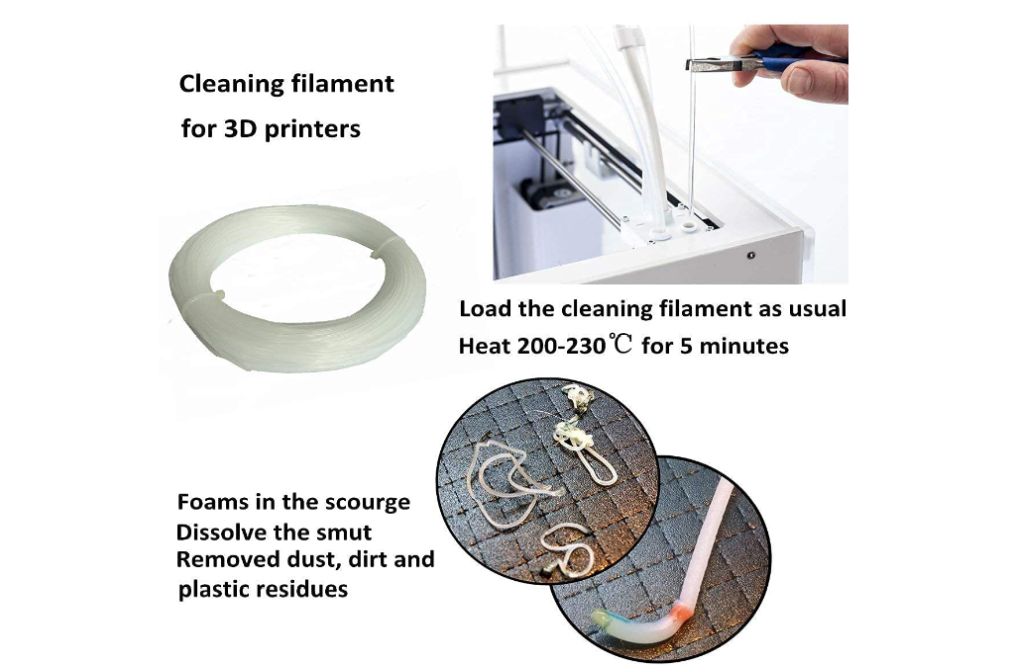
Read the instructions and heat your device to the required temperature. Please wait for the filament to extrude; once it becomes white and contains no dirt or debris, you are good.
This method might sound too expensive. Still, you will notice that cleaning requires a small amount of filament. And you don’t have to use it every day.
3. Gaps between the nozzle and PTFE tube
It could be challenging to fix issues with your failed 3D prints by cleaning a 3D printer nozzle. If you keep removing debris and cleaning nozzles too often, but the problems continue, look at the connection between a nozzle and your PTFE tube. Sometimes, there is a gap that needs fixing to avoid future failures.
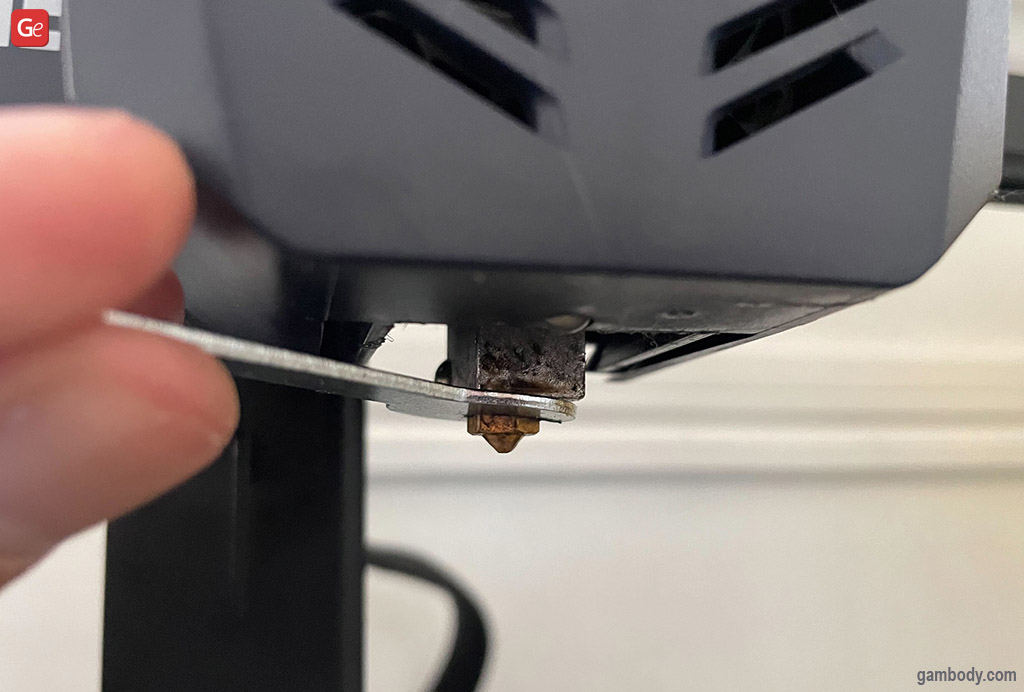
Ensure that you have pushed the tube (it should have an even end) well down into the hot end after unscrewing the element and cleaning the insides. Once the gap is closed, no filament will get inside, and you won’t have to unclog your 3D printer nozzle daily.
4. Low-quality plastic
You will get tired of cleaning a 3D printer nozzle because off bad plastic containing dirt and dust. Use a universal filter and lubricator if you work with cheap filaments.
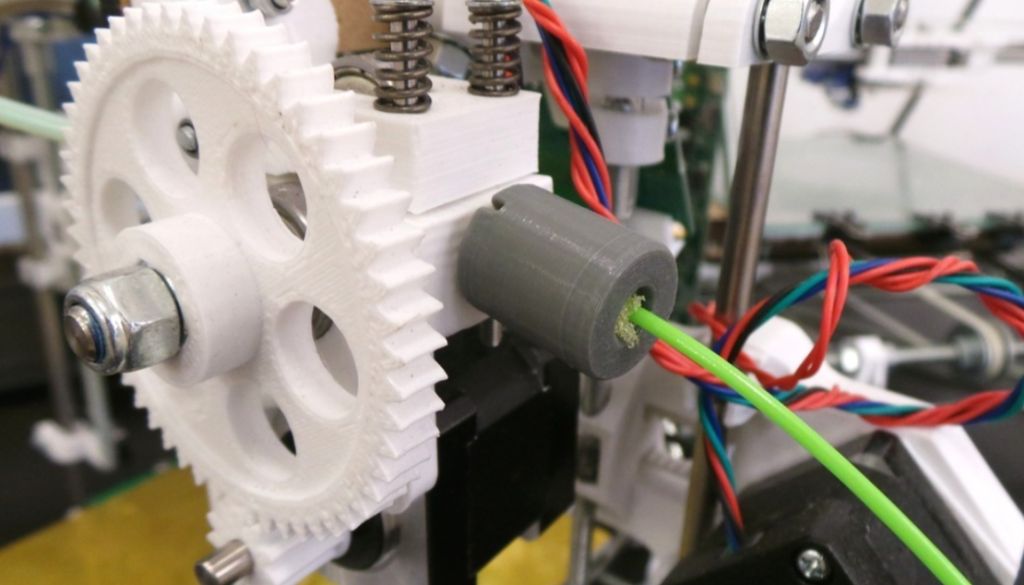
Where can you find it? Search for shops that sell it online or download the free filament filter STL files and 3D print it for personal use. Add a sponge inside, which will regularly wipe your filament to prevent extruder clogging issues. Also, moisten the sponge with household mineral oil to lubricate the 3D printing material and protect your extruder motor from stress.
Switch sponges as you keep 3D printing, and extend the life of your hot end and extruder that will be thankful to you for reduced friction.
Read also: Best Tips on How to Store 3D Printer Filament
5. Incorrect slicer settings
Nozzle clogs can appear for a large number of reasons. And these are some of the everyday things you might have issues with:
- The wrong temperature set for your 3D printing material;
- Too much retraction causing air pockets within your print head;
- High retraction speed;
- A cluttered desk with too much mess around your 3D printer;
- High travel speed causing the nozzle not to stop material extrusion before moving.
To avoid regular unclogging 3D printer nozzle actions, you should calibrate your temperature, reduce retractions and retracting filament speed, and test printing different 3D models to figure out the best slicer settings and parameters for your machine. You will notice that once you are set up correctly, you won’t have to clean the parts of your printer too often.
How to Prevent Nozzle Clogging
It is perfect if you can clean a nozzle after finishing each 3D print. This way, you can be sure any filament leftover is removed in time and does not cause clog issues.
It is also great to remember to clean your nozzle after switching from one type of filament to another. For instance, if you were working with PLA but needed to continue with ABS, clean the hole so that no particles and debris are left inside.
Here are some tips for daily, weekly, and monthly activities:
- Hobbyists who 3D print every day should wipe the dust and remove debris from the nozzle before starting the machine. Also, ensure that your axes are moving correctly and the bed is leveled. It will save you many nerves and help you run filament smoothly, avoiding any clogging issues on the go.
- Users who print occasionally and know they will only run a 3D printer once a week or several times a month need to clean the nozzle after every finished 3D print. Then it is best to avoid dust and debris by using a cover.
- Use special cleaning filaments monthly, calibrate your device, clean its rods, and re-oil when necessary.
Ideally, your nozzle needs cleaning after every 100 printing hours. But if you notice that the quality of your 3D prints starts to decrease earlier, try to find the reason to prevent any unpleasant issues.
Read also: Best 3D Printer Enclosure: Functional, Safe, Cheap, DIY Cabinet
When to Replace a Nozzle
Often cleaning a nozzle in a 3D printer will not fix the problem. Sometimes, this part of the machine needs a replacement.
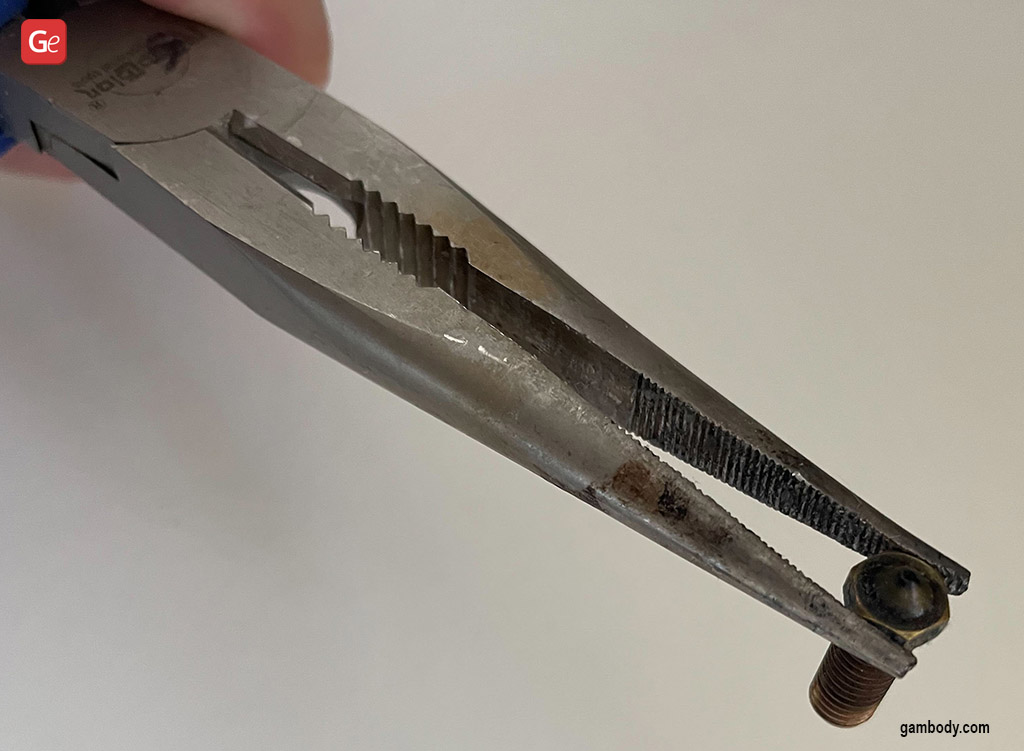
There are many types of nozzles based on their diameter and materials. Some serve for longer, and others require a replacement more often. But a lot depends on how much you 3D print and how big your 3D printing projects are.
1. Material switch
Users who were mainly using regular PLA filament for making small prints but decided to go with bigger projects may consider also replacing their 0.2 mm nozzle with a 0.4 mm one. The smaller diameter of an exit hole is perfect for miniatures. But big models require a bigger diameter.
Also, if you prefer Wood filament or experiment with glow-in-the-dark 3D printing material, your nozzle can degrade faster and require a replacement more often.
2. Faster printing speeds
When you wish to increase your 3D printing speed without getting a new 3D printer, you can replace your 0.2 mm – 0.4 mm nozzle with a 1.0 mm part.
This way, you can start making bigger models quicker, and your bigger exit hole will not become clogged that fast (compared to using a smaller one for the same projects). However, the quality of the prints’ detail will reduce since there will be fewer lines.
Read also: Can You 3D Print 10 Times Faster?
3. Longer nozzle life
The nozzle lifespan depends not only on how often you 3D print or clean it, but also on its material.
Most nozzles under $7-$10 are made of brass and can be great for printing with ABS, PLA, or PETG. If you wish to work with abrasive materials, it is better to spend a little bit more on a steel nozzle that would last longer. And if you want to get a long-lasting part that is not afraid of abrasion, you should look for a ruby-tipped nozzle that costs around $100 a piece but will make you happy for years.
FAQ
How do I clean the nozzle in Ender 3?
Experiencing Ender 3 clogged nozzle issues is just as common as having problems with other 3D printers. It would be best to clean your Ender 3 nozzle after every print you make. This way, you can prevent unpleasant clogging issues and extend the life of your machine.
Whether you have Ender 3 (V2, Pro), you can use the standard cleaning nozzle techniques. Wipe the tip of a nozzle with a cloth after each print, use a needle or brass wire brush to remove debris from the inside, perform atomic pull periodically, prevent issues by using cleaning filament, etc.
How do I know if a nozzle is partially or fully blocked?
In most situations, you can tell that your nozzle is partially blocked when issues happen mid-print. The extrusion stops being smooth; you start to miss layers, find lines thinner than usual, material stringing, or fail to finish the project due to poor adhesion.
Entire blocks cause the printer not to work correctly and fail to start even the first layer. The filament doesn’t flow.
3D printer cleaning nozzle tips are perfect for enthusiasts who need a smooth filament flow on their FDM 3D printer. A clogged hole exit usually causes uneven layers, under extrusion, or unsteady flow that ruins your 3D prints. Avoid clogged nozzle issues, clean your extruder and hot end periodically and replace nozzles on time.


