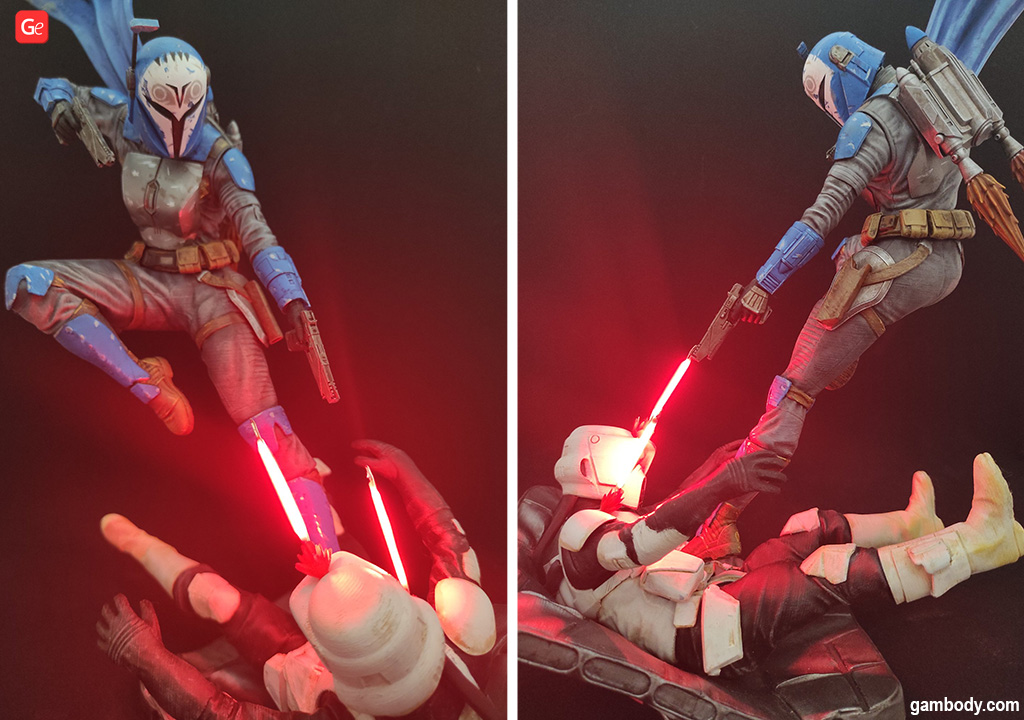
You can make your 3D printed models look even more professional once you learn how to install LED strip lights in 3D prints. Lighting up dragon fire breath, spaceship panels, car parts, robots, and other projects is not that difficult once you master LED light installation and setup. Many talented Gambody hobbyists create outstanding masterpieces using highly-detailed 3D printing models, their 3D printer, and LED strip lights, and they are willing to share their secrets and tips with you.
You can use different methods of LED lighting installation, choosing from small diodes to LED lightbulbs and strips. Although, it is best to avoid heating bulbs when introducing the lights into your 3D prints not to ruin the plastic.
Types of LEDs
Before you learn how to set up LED lights into a 3D printed model, you should find out more about the most popular types of this lighting.
Read also: Best Resin Printing Tips for Orienting Models on SLA/DLP/LCD 3D Printers
LED Strip Lights
Most hobbyists would tell you that they prefer LED strip light installation because strips don’t cost a lot, come in various widths and lengths, are simple to power, have multiple choices, and more.
You can choose a strip with a power supply & light controller or a USB connector. Installing LED strip lights might require some soldering work, or you can avoid it by powering the cool LEDs with a power bank or a mobile device charger.
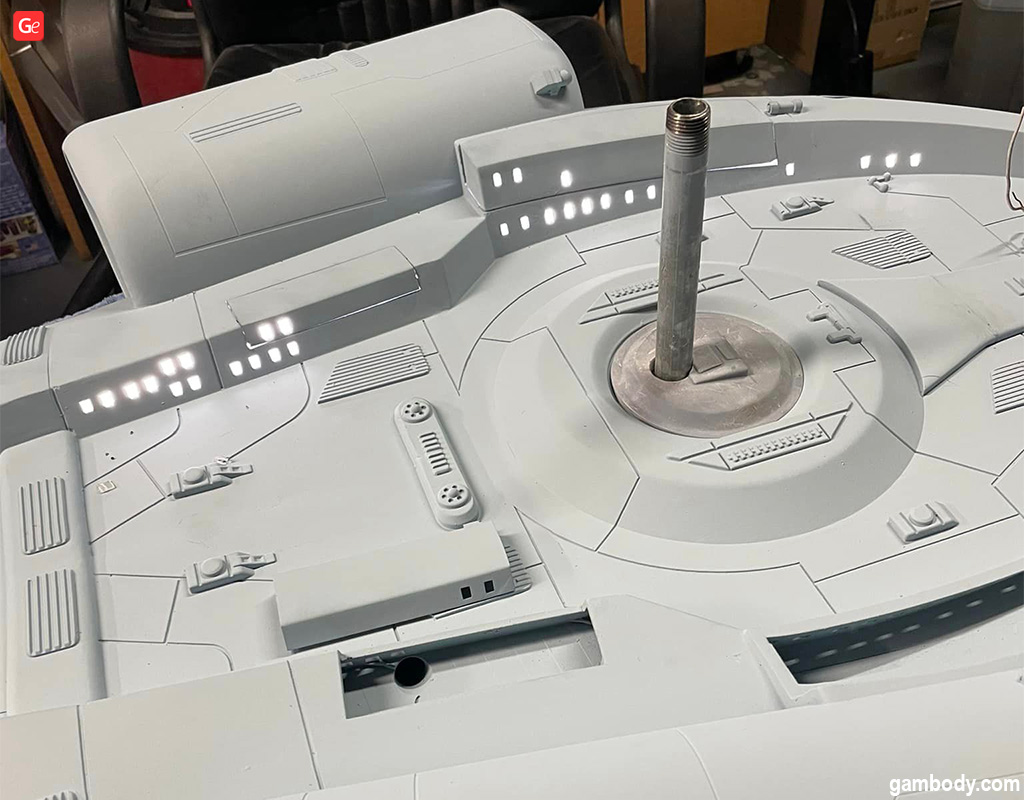
You can easily find USB LEDs on Amazon. And don’t worry about the lengths; you can cut the strip with regular scissors at marked spots and get your desired size quickly.
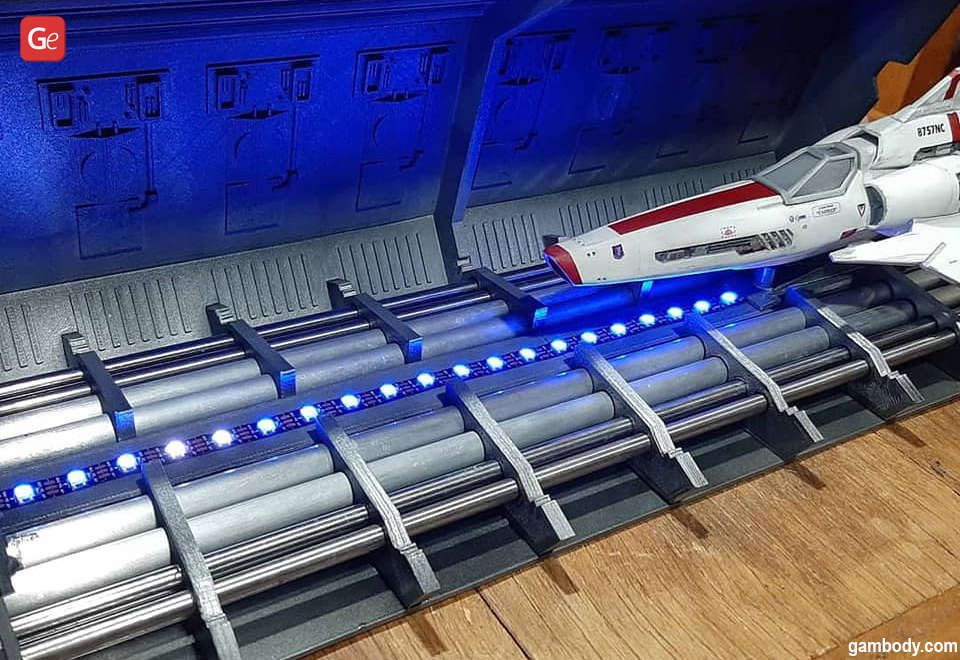
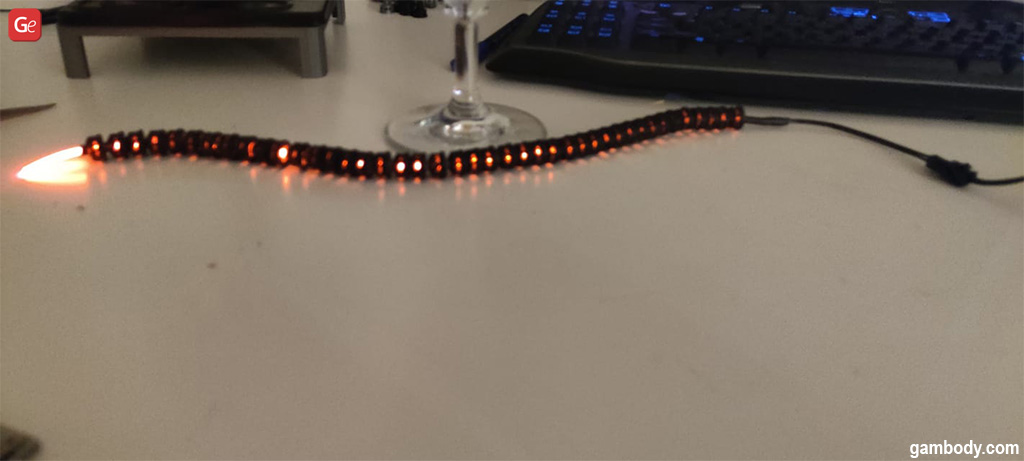
A combination of a “neopixel” LED stripe with Arduino Nano is superb if you can adjust the sketch code for the color and effects like 3D printing enthusiast Welder Cabrera:
Tiny Diodes
If you use your 3D printer to create miniatures and small 3D prints, try using tiny diodes instead of installing LED strip lights. Diodes are way smaller and can fit into many figures and models.
Diodes are very cheap and can be found in numerous colors. They don’t require much power, so 3.3V button cell batteries are enough. Amazon and eBay have an excellent choice of these bulbs, so you can quickly master LED installation.
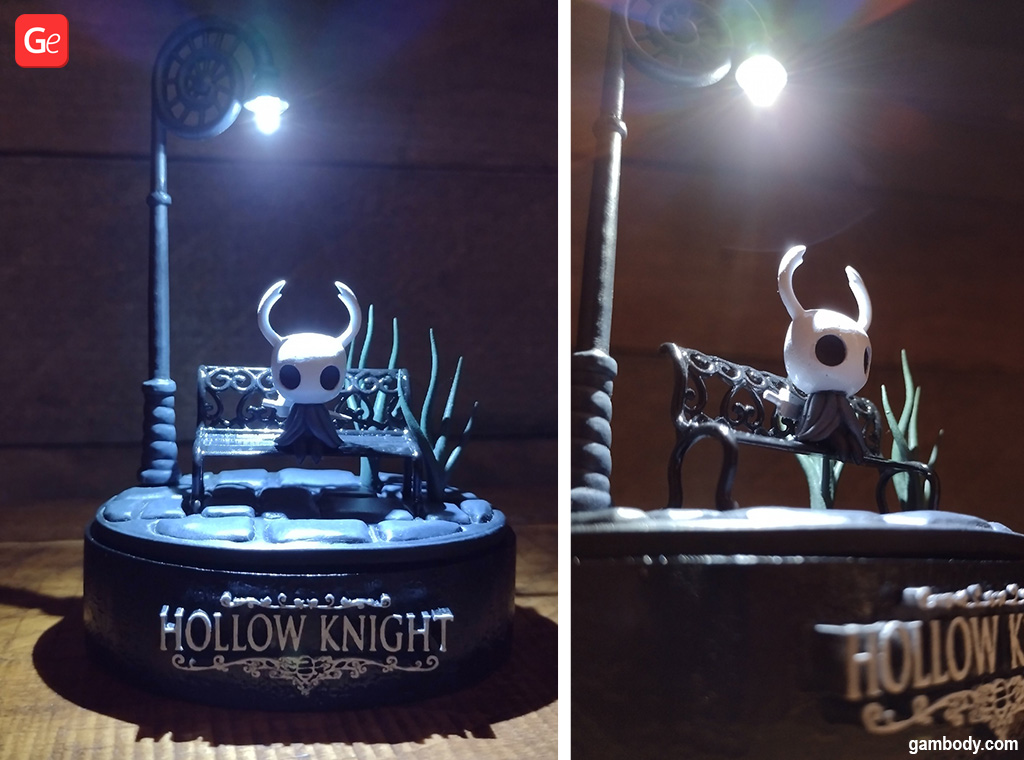
Hobbyist Matouš Kraus used Edison bulb LED diodes made for 3V and able to run from a cr-1 battery. Such LEDs can be flexible and not flexible, and they are fragile, but after LED light installation you will fall in love with your 3D printed masterpiece:
Lightbulbs or Large Diodes
Life-size and big 3D printed models better connect to bigger LED lights such as strips or lightbulbs. Such lightbulbs require sockets and a cord, which you can install into the 3D print.
Hobbyists who are well-advanced in LED installation and work with lightbulbs know which socket diameter they need. Some of the most popular LED lights for installation sockets are E12, E13, E17, E26, and E27 (diameters of 12 mm, 14 mm, 17 mm, 26 mm, and 27 mm, respectively).
Still, before getting a lightbulb, you should consider their drawbacks. Although bulbs produce a warm and pleasant light, their high operating temperature and large size make them inconvenient for illuminating fine details and channels in 3D printed models.
Large diodes or high-power LEDs have high brightness and offer a variety of beautiful color effects you can create. Still, they can heat up while operating and cause adverse effects on the plastic. Elevated temperatures can deform or melt the 3D print damaging your model, especially if you use an FDM 3D printer’s low-melting plastics similar to PLA that can melt below 200 °C (392 °F).
High light temperatures also hurt the SLA 3D prints, causing the parts to dry and partly ruin them. In addition, large diodes can be bulky and difficult to fit into small channels or model details, creating problems with lighting integration. Gambody advises you to abandon lighting 3D models from gambody.com with large diodes or lightbulbs.
Read also: Your Best Cheap 3D Printer to Get in 2023
How to Install LED Strip Lights
Learning how to set up LED lights in a 3D print is not complicated. You should follow the several steps and test connecting LED lights in different projects until you master the process and find LED installation to be an exciting process.
Preparing for LED Lighting Installation
Before you mount LED strip lights or other types of lighting, choosing the parts of your 3D printed model for LED installation is a must. Make sure the surface is painted (if necessary), dry, and clean.
An advice 3D printing enthusiasts will give to newbies learning how to put LED lights inside a 3D print is choosing a smooth surface and avoiding placing them on textured, bending, or rough parts.
P.S. You can easily damage your LEDs if you cut the strip in a non-designated section.
Installing LED Strip Lights
You’ll love lighting 3D model after printing it. If you choose LED strips, the first thing to do after you decide where to set up LED strip lights is to unroll the spool and measure the length for your project.
If you need, cut the strip at a designated section. After removing its adhesive backing, you can simply stick the lights to the chosen 3D printed surface and make sure it adheres well without air bubbles. You can gently press along the strip with your fingers for better results.
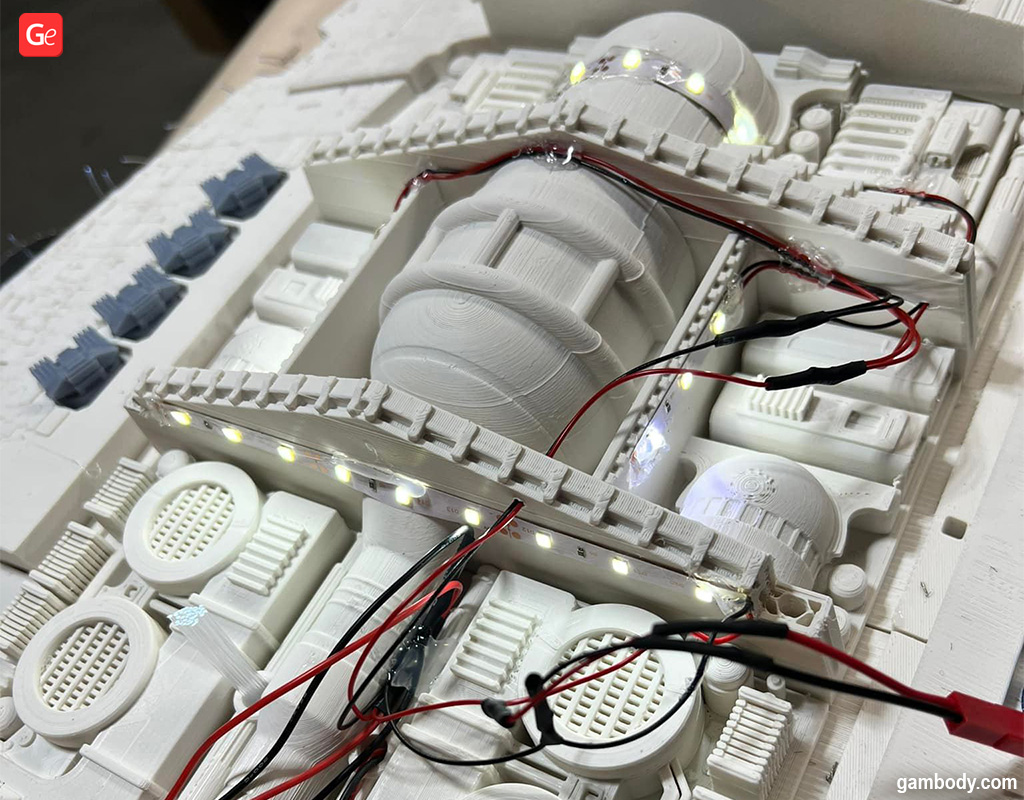
Users not sure if LED lighting installation is well secured by its adhesive can screw the strip to the plastic or apply additional adhesive clips with the non-sticky parts facing the strip lights (if the strip comes with such clips).
How to Connect LED Strip Lights
After installing LEDs you should plug in LED lights and make your 3D print amaze everyone. Connect the LED lights to the power adapter and controller. If needed, plug the adapter into the outlet or use the batteries to power your cool LED. Things are ready to change lighting colors once you use the remote control.
More Tips on How to Connect LED Lights Together and Lighting a 3D Printed Model
Every 3D printed model has exclusive features, so you keep learning how to install LED strip lights as you create more projects and finish more installations.
1. How to put up LED lights together if you have multiple strips?
Thanks to a connector clip, you can join as many strip lights as needed. You must lock each strip inside the clip by pushing its open end into it.
2. How to mount LED strip lights with turns and twists in the 3D print?
As you create a 3D printed spaceship or a complex model with many turns and twists inside, you need to learn to work with corners and surfaces that are rough or not flat. Find flexible connectors or clips to secure the LEDs to uneven surfaces or make the strip go around the corner. You might need many connector clips to achieve a cool result, but it’s well worth all the effort.
When the 3D print has too many rough areas, you can choose the mounting clips to secure the LED strip light installation.
3. Can I use fiber optic lighting kits instead of LEDs?
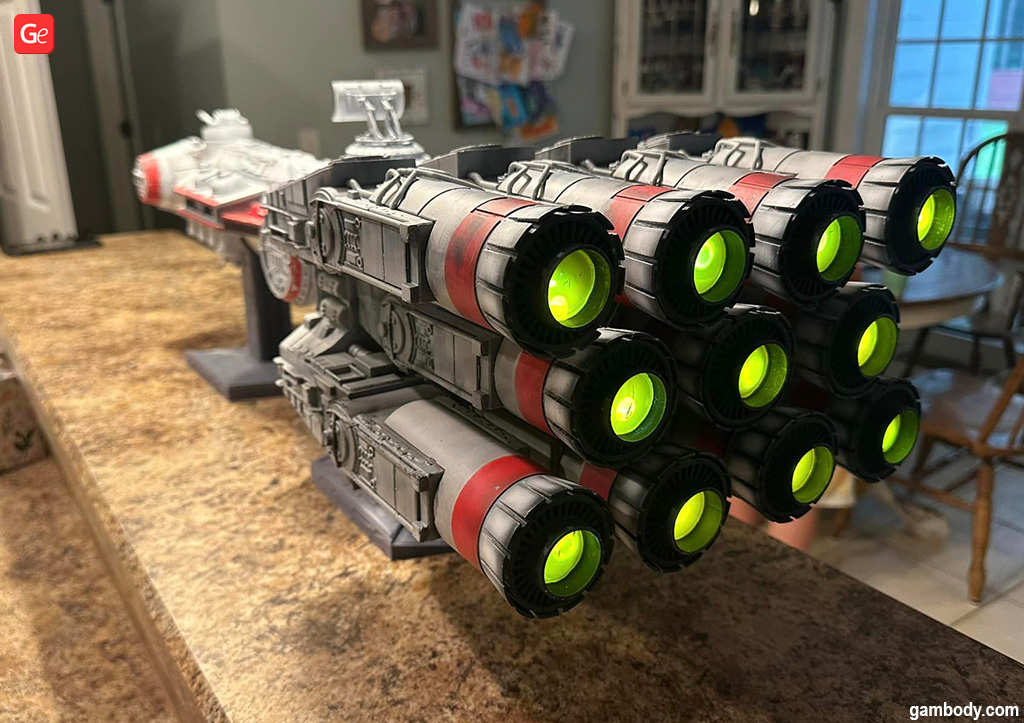
For big and life-size 3D prints, getting fiber optic lighting kits instead of LEDs can be a good idea. Fiberoptics are easy to apply, according to enthusiast Adrian Hawley. You can use one light source with a battery and a switch. It is best to paint the inside of the 3D printed model with a couple of coats of paint and shield the light source with something additional not to let it bleed through the model walls. Hawley suggests drilling the tiny holes, putting slightly more fiberoptics than you need, and trimming afterward.
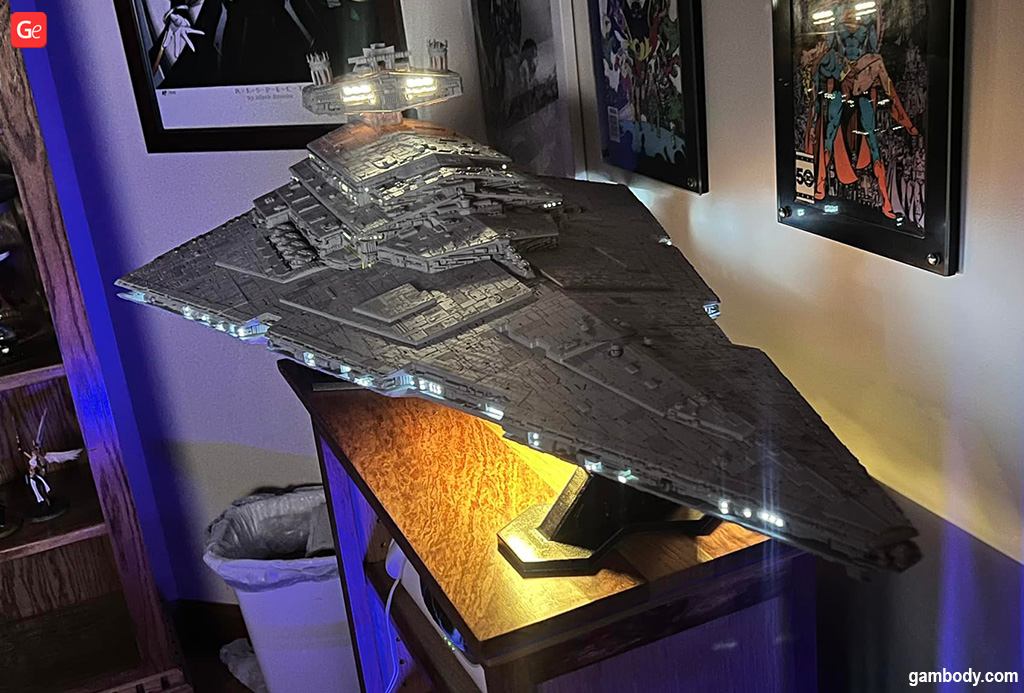
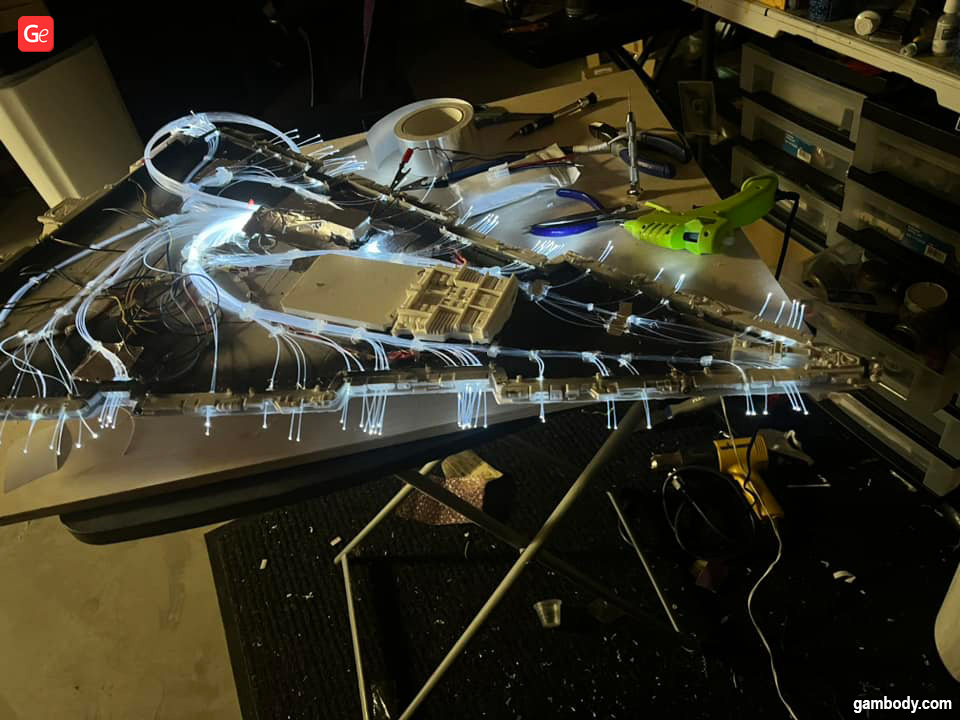
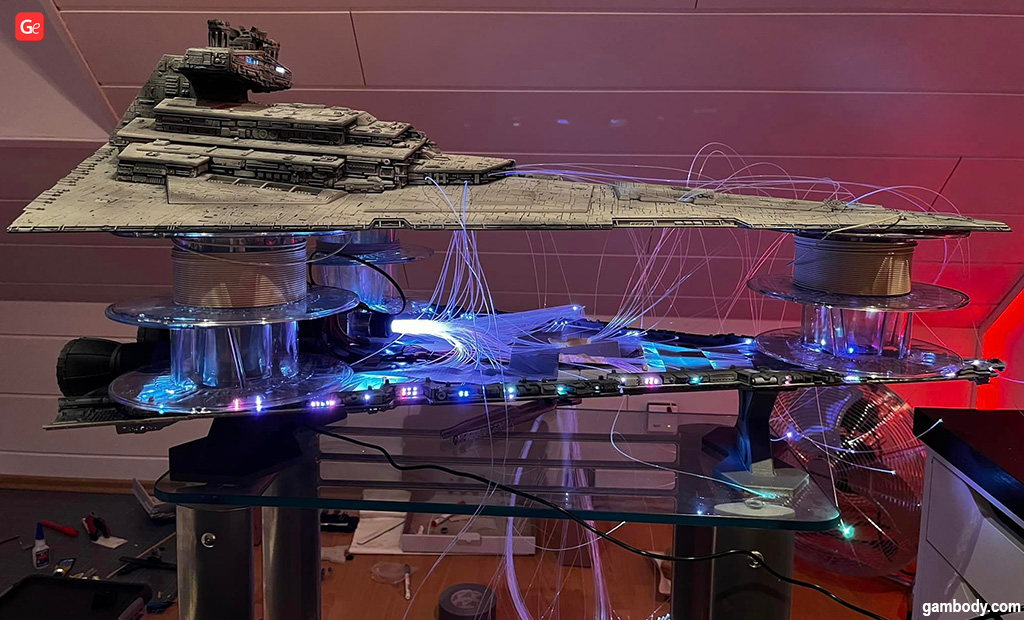
Enthusiast Gary Hendricks introduced fiber optic strings into a 3D printed spaceship. He built a small box inside the model and used a light source panel with several LEDs. Such a project also requires an effect board that controls the main engine lights from Tenacontrols.
With fiber optics, you have to think well about how to introduce and hide all the endless wires:
4. What can you use for light blocking when installing fiber optics into a 3D printed model?
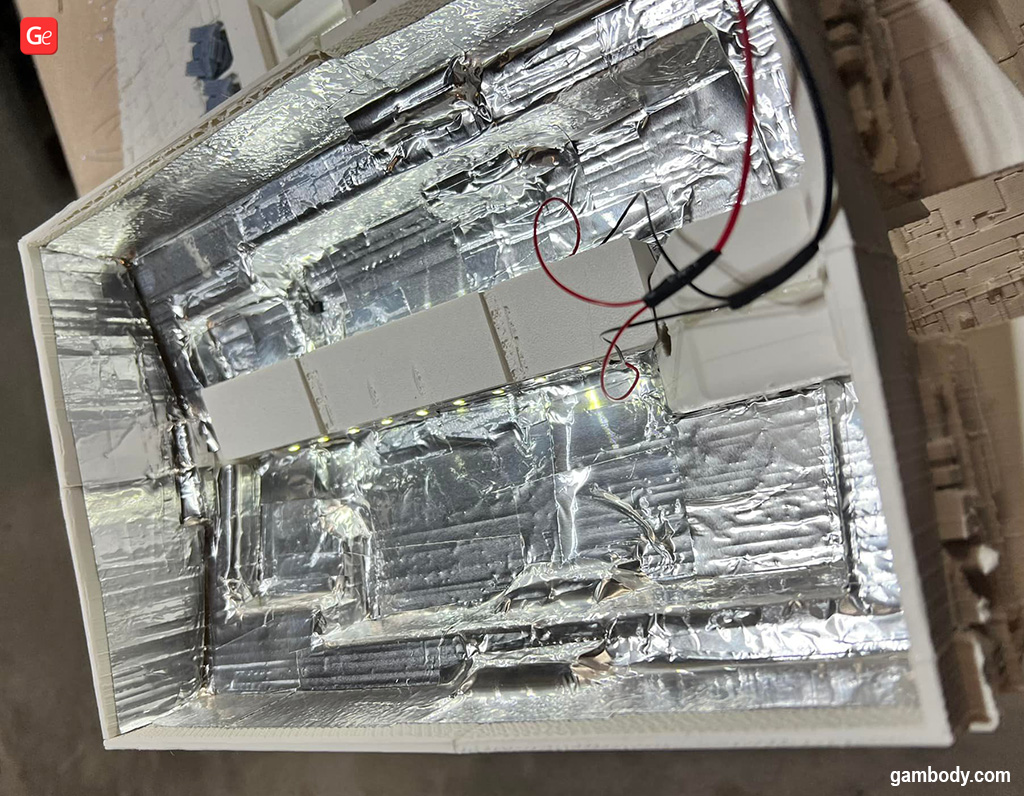
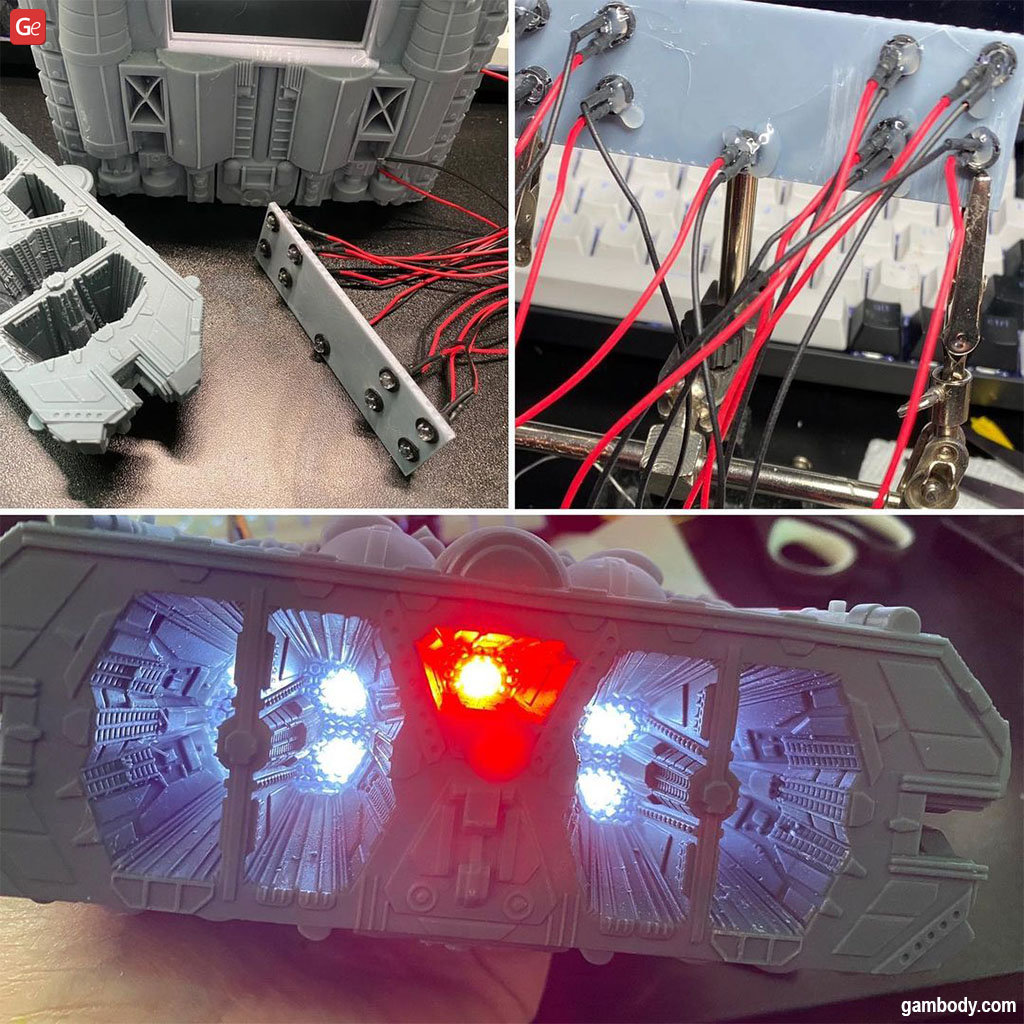
During lightning installation into a Star Destroyer 3D printed with Creality Ender 3 Pro, hobbyist Gary Hendricks had to block light with furnace tape (aluminum foil). You can use the same method if you discover a few light leaks when the lights are off in your room.
5. What is the best way to light 3D printed Sentinel tentacles?
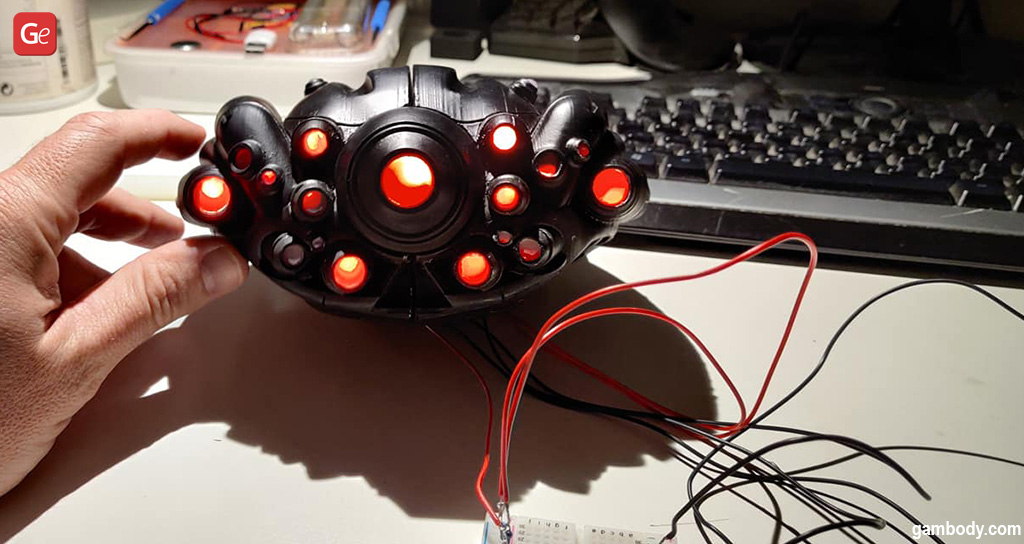
If you 3D print Matrix Sentinel with many “eye” and leg tentacles, you can do as hobbyist Roel Kroes. He put an EL wire (it illuminates along the entire length) through the legs, and the basic 5 mm red LED’s for the eyes.
Such models are perfect for hiding all the cables inside.
6. Where can I hide the electrics and wires if there is not enough space inside a 3D printed model?
Sometimes, you 3D print a great project and seem unsure how to put LED lights, fiber optics, or another lighting into your resin or filament object. Different hobbyists come up with various solutions to this problem.
Here is what you can do:
- Upscale the parts where you want to introduce LEDs and wires;
- Drill the holes that are best for your project;
- Use a wood burner to create spaces for optics, LEDs, and wires;
- Cut extra 3D printed walls out to make a perfect place for the battery box;
- Design your 3D parts that fit the lights and connections according to your ideas.
Explore numerous ways how to install LED strip lights in 3D prints. Test using individual LEDs, fiber optics, small diodes, and lightbulbs. Experiments will make you an advanced 3D printing hobbyist who can share your secrets of lighting introduction into models in Gambody – 3D Printing Community on Facebook.

