As the royal wedding is just half a month in the past, we thought to keep the fire burning and decided to dedicate our 3D printing and paint tutorial to another royal member, the Lich King miniature.
Of course, this is a fictional individual, who, nonetheless, holds a royal status in the video game realm of Warcraft. The crown prince of Lordareon had once promising potential as a paladin. However, he was lured by the evil, falling prey to the runeblade. But, the blade stole his soul and transformed him into the Lich King’s knight. This is how Arthas Menethil became one of the evilest beings in the history of Azeroth and the most prominent antagonist of the World of Warcraft video game, known as Lich King.
Most of you probably know that Gambody, premium STL files marketplace, has a great replica of this powerful prince. It was already featured a couple of times in our end-of-the-month roundup. We’ve teamed up with Sascha Wesler, an avid miniature craftsman and video game player, to offer first-hand material about the printing and painting of the Lich King figurine.
So, if you are curious what material you need, what paint to mix to get the right hue, and what it feels to be part of the creation process keep on reading.
Sascha Wesler: Hey, guys. So, I wanted to share with you some tips and tricks about my way of printing miniatures and since Lich King statue is a pretty big deal now, I will do it on its example.
Lich King Miniature 3D Printing Info
Of course, everything starts with the very beginning. To be able to paint a miniature, you actually need to have one. So, I made sure I had.
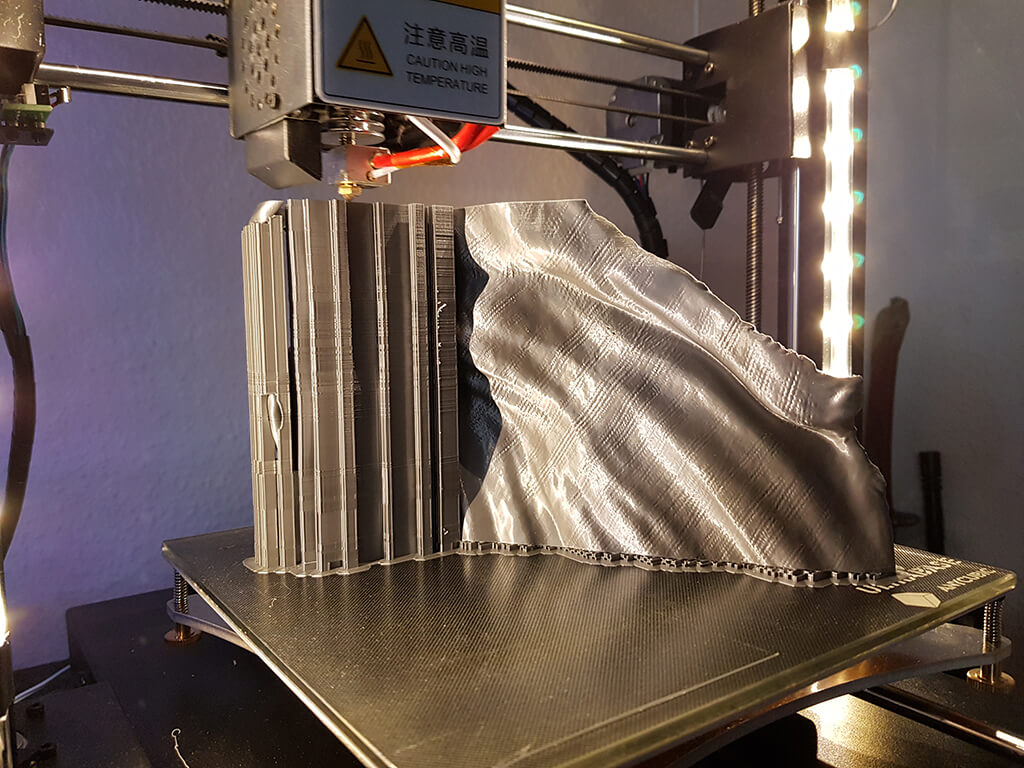
Here is the print information:
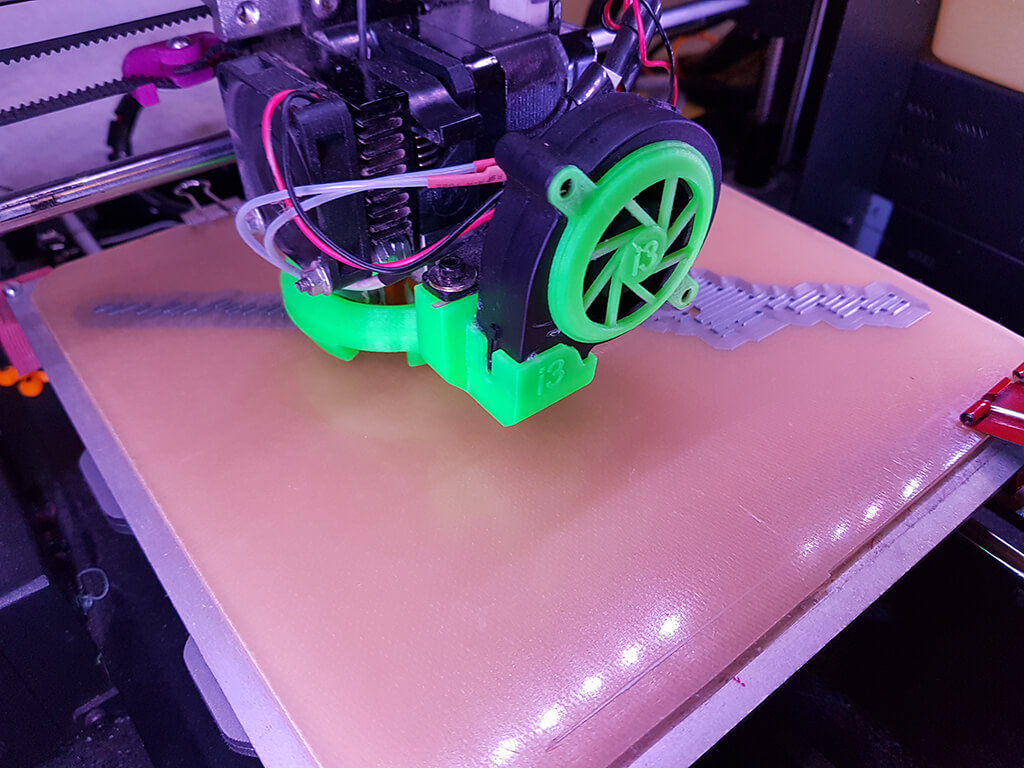
- Anycubic Mega i3
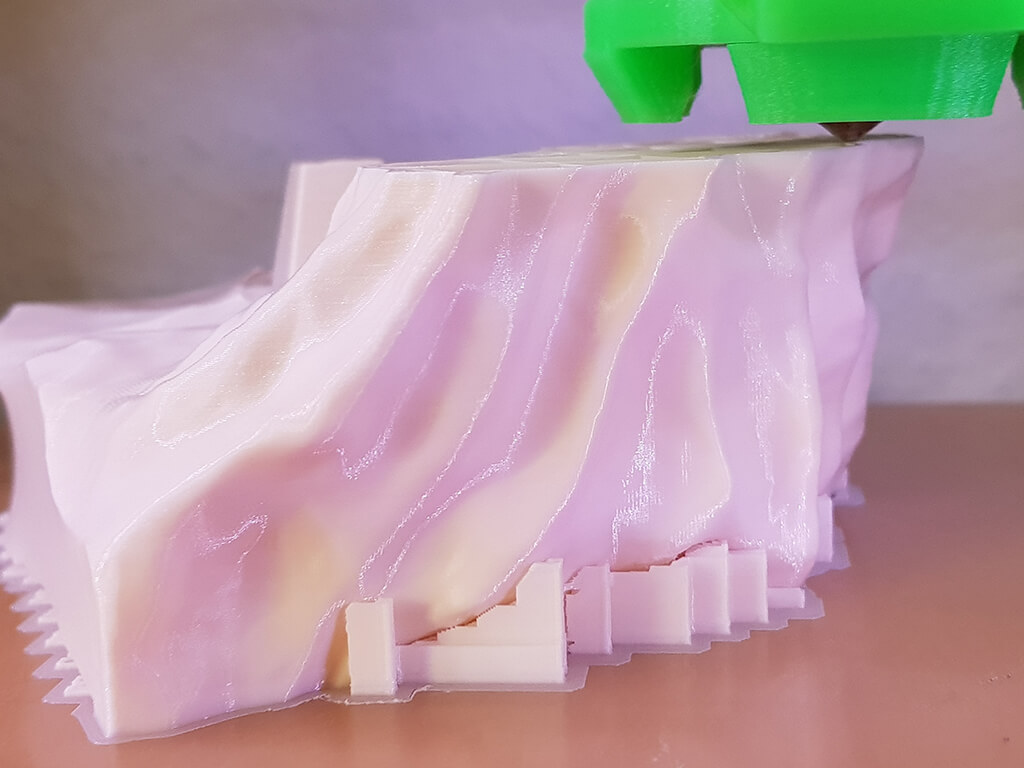
- Filament: Schmelzbar Silver and Beige
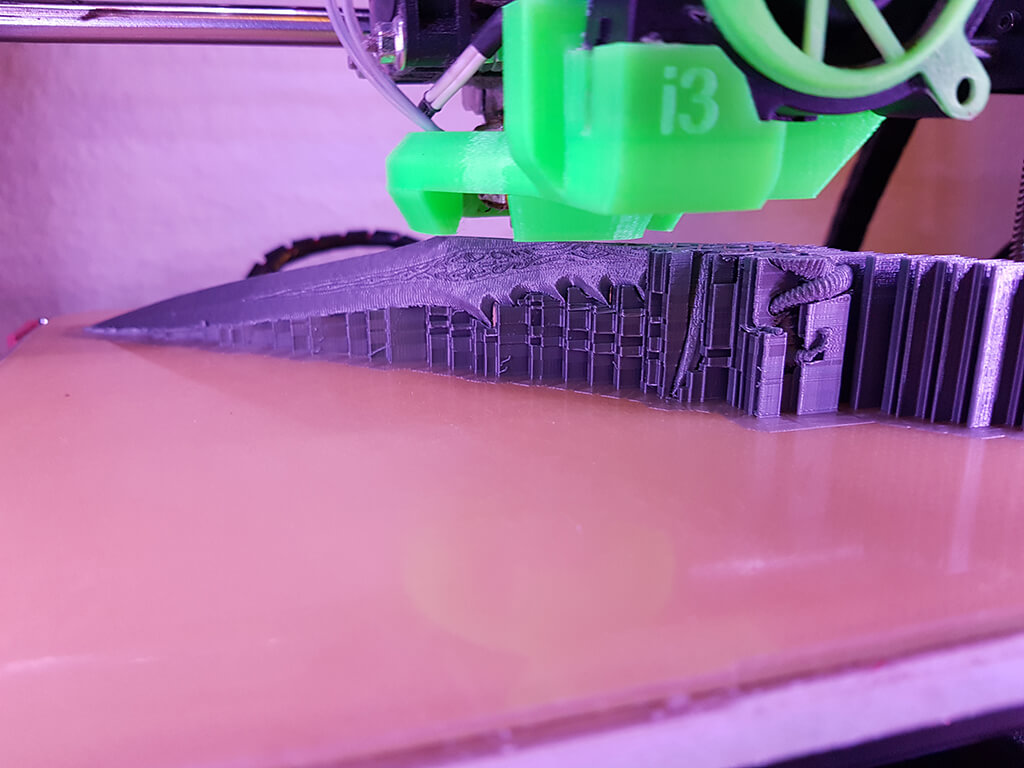
- Layer Model 0.1 and Base 0.2/0.16
- Slicer: Simplify3D
- Speed: 50 inner Line/ 40 out Line
- Infill: 20% on the Model and 15% on the Base
- 8 Top layers / 3 Bottom layers
The actual printing of the model is really straightforward. Gambody made sure that all the required printer settings and recommendations are included in a well-structured Printing Details tab that is available on the model’s page. I find this really helpful, especially for those who make their first steps into 3D printing.
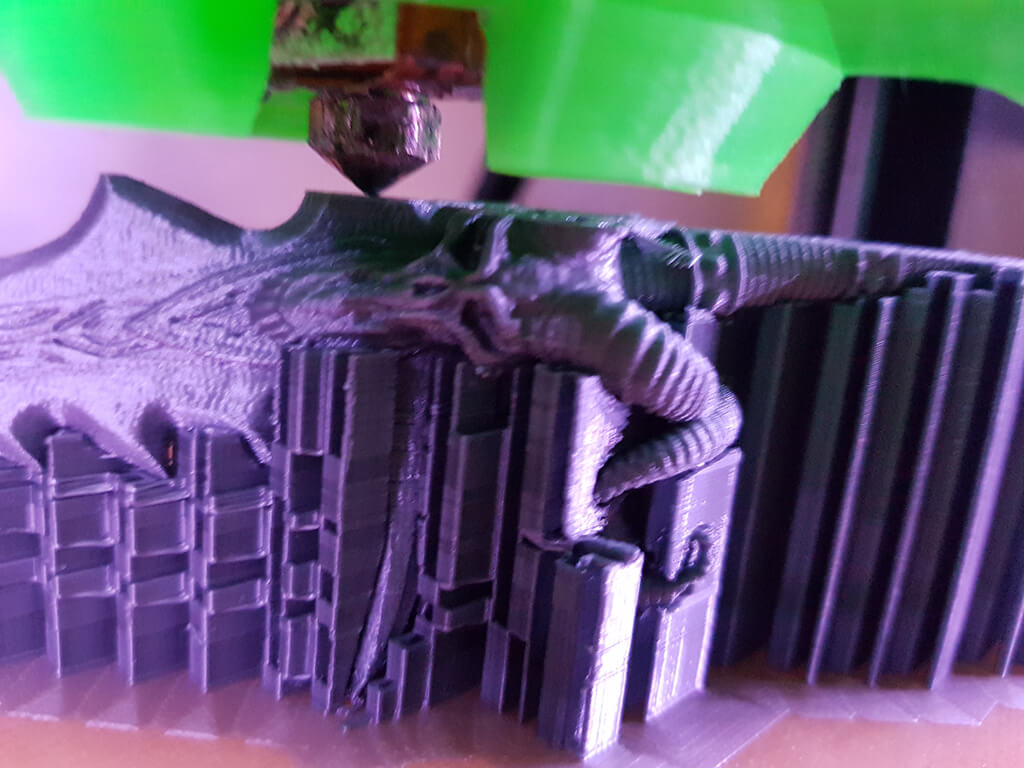
Lich King figurine for 3D printing consists of 25 parts (Note: FDM version consists of 25 parts, DLP/SLA version – of 6 parts, and the SLS version – of 1 part only). You can align several of them on the print bed to save printing time. Of course, there are supports that need to be removed after completion, but it is nothing to worry or dread about.
Lich King Miniature Painting Tutorial
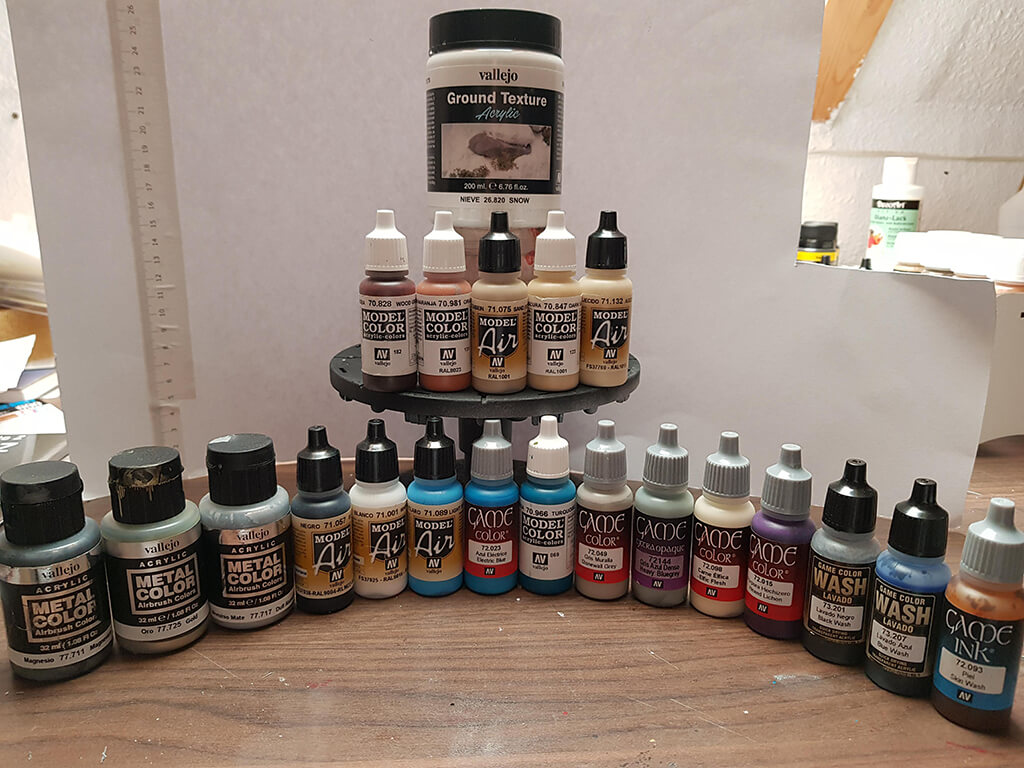
All Paint Colors that I use are from Vallejo. You can find them on Amazon or eBay.
This is the entire colour palette that I have used to paint Lich King 3D print from Gambody.
Now, you might think that I have some special techniques or moves to paint a miniature. Let me tell you a secret. I don’t! It all comes to picking and mixing the right colours to get the right hues. Even so, there are some secrets that I want to share with you and these are based on the painting experience of Lich King.
First, I don’t use any primer and the reason is that the print is so clean that I don’t need to use additional smoothing.
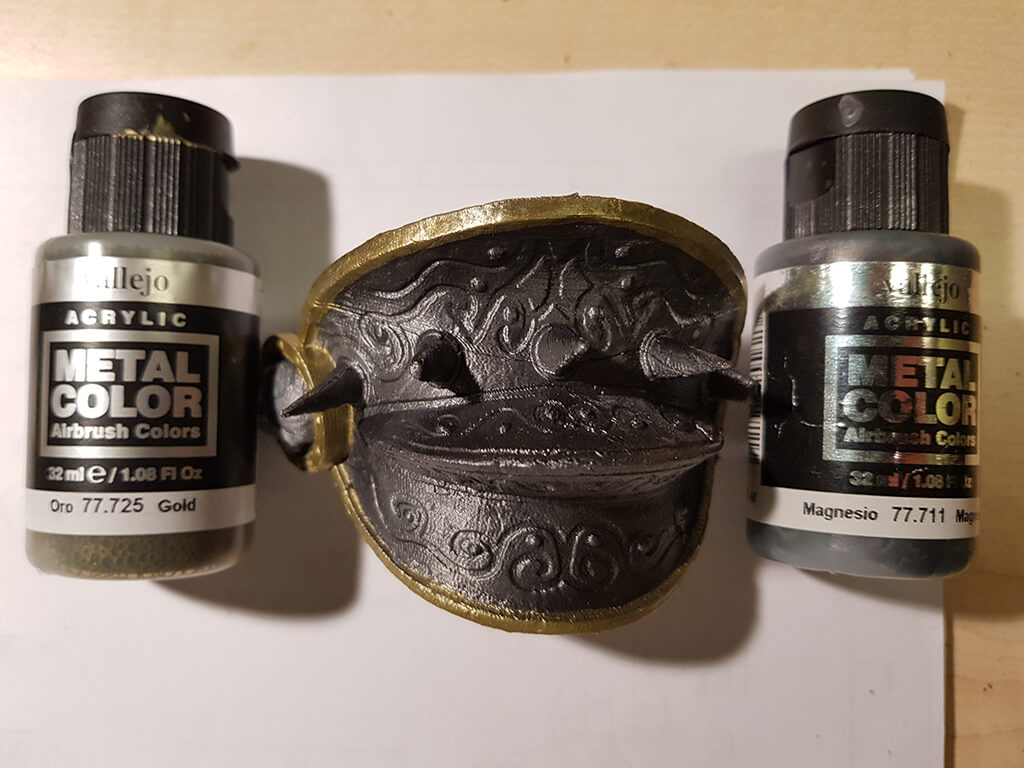
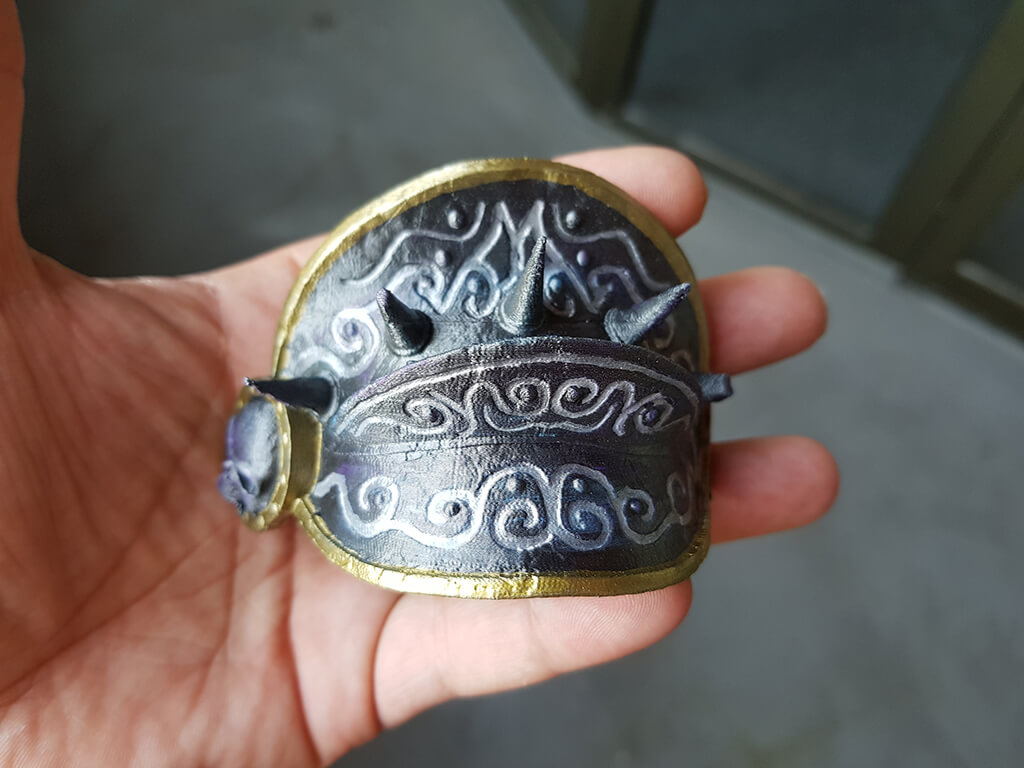
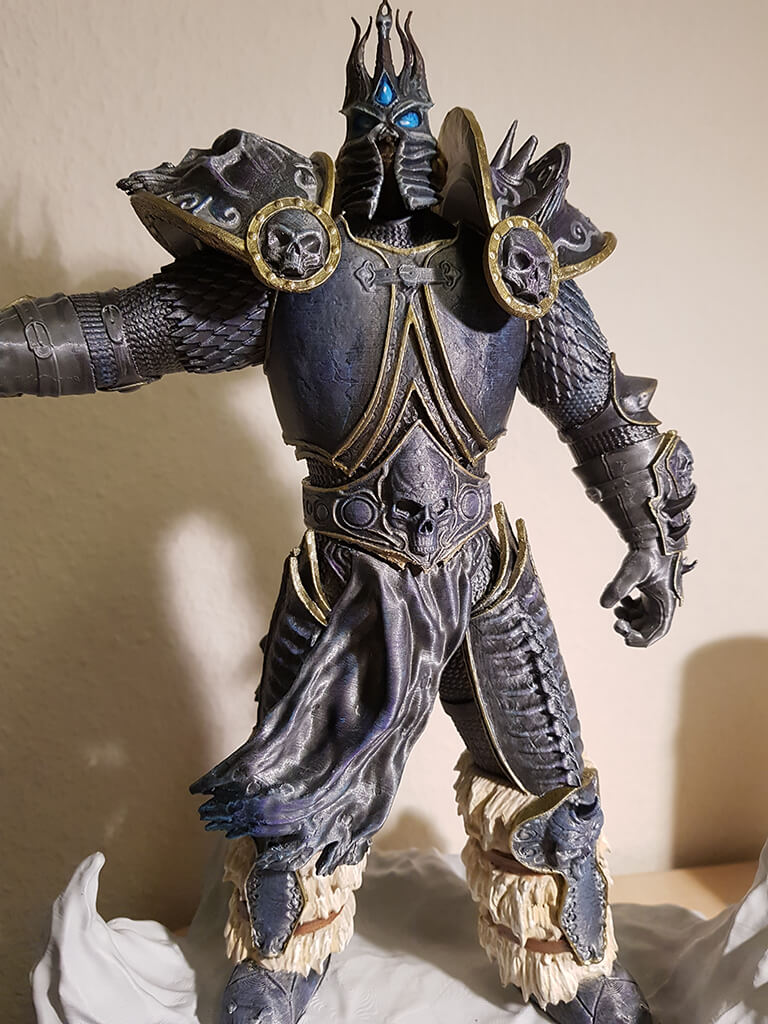
I give the model the first coat of paint with Vallejo Magnesium #77.711. I paint the outline of some of the parts of the model with Gold paint #77.725
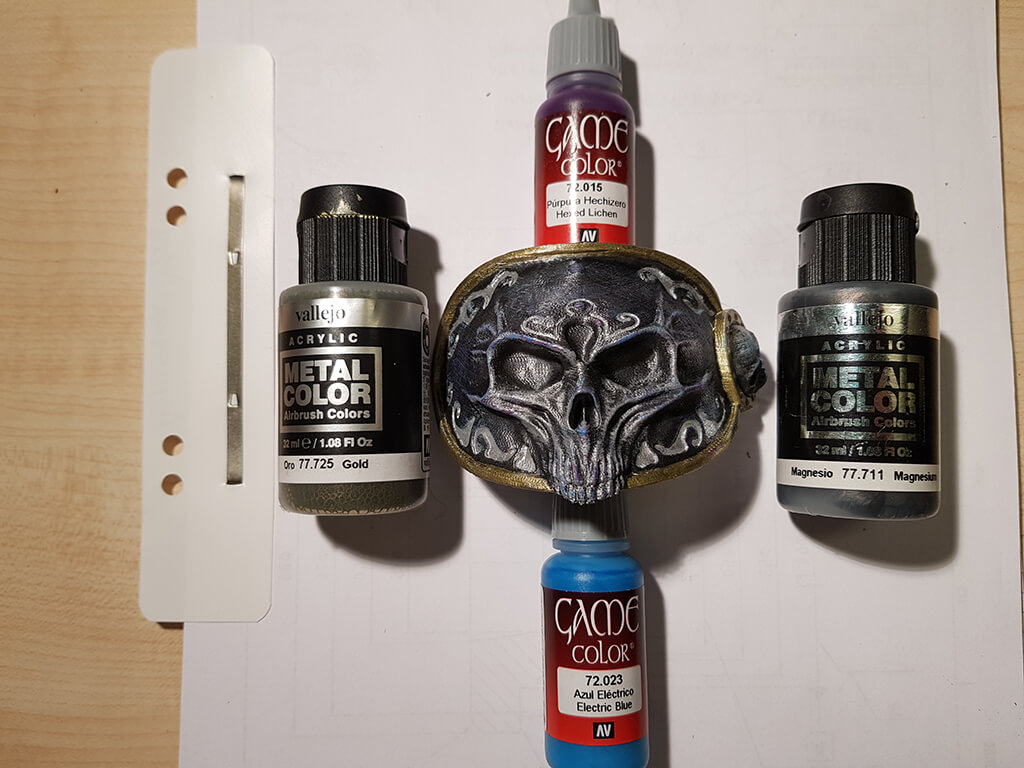
For the highlights, I use a dry brush, I deep it just a little in blue paint and pass the brush over the protruding areas of the parts.
I use Deep Aluminium 77.717 to paint the deep line patterns on the Lich King armour.
I apply the same technique to the entire model.
Painting Leather
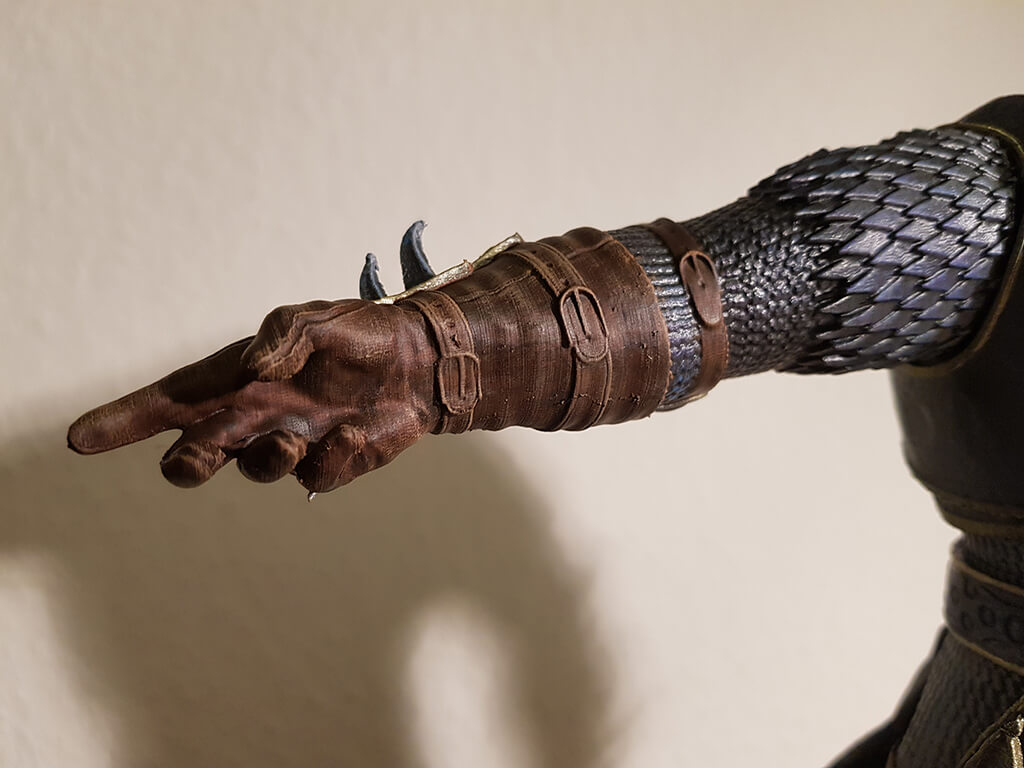
To mimic leather on the Lich King miniature, I use a combination of Chocolate and Orange Brown paints. First, I coat the entire part I want to mimic leather on with Chocolate colour and after leaving it dry for a couple of hours, I use a dry brush for the highlights that I apply in Orange Brown paint.
I always start with the darkest colour and make my way to the lightest one. For highlights and special material or other effects, I use a dry brush with very little paint on it and wipe it over the areas of the model that I want to highlights to be on.
Of course, telling you each paint name and number will not help you a lot, since you might be using different paint brands. That’s why my advice to you is to look for paints that are of high quality with high coverage.
Painting the Helmet of the Lich King Miniature
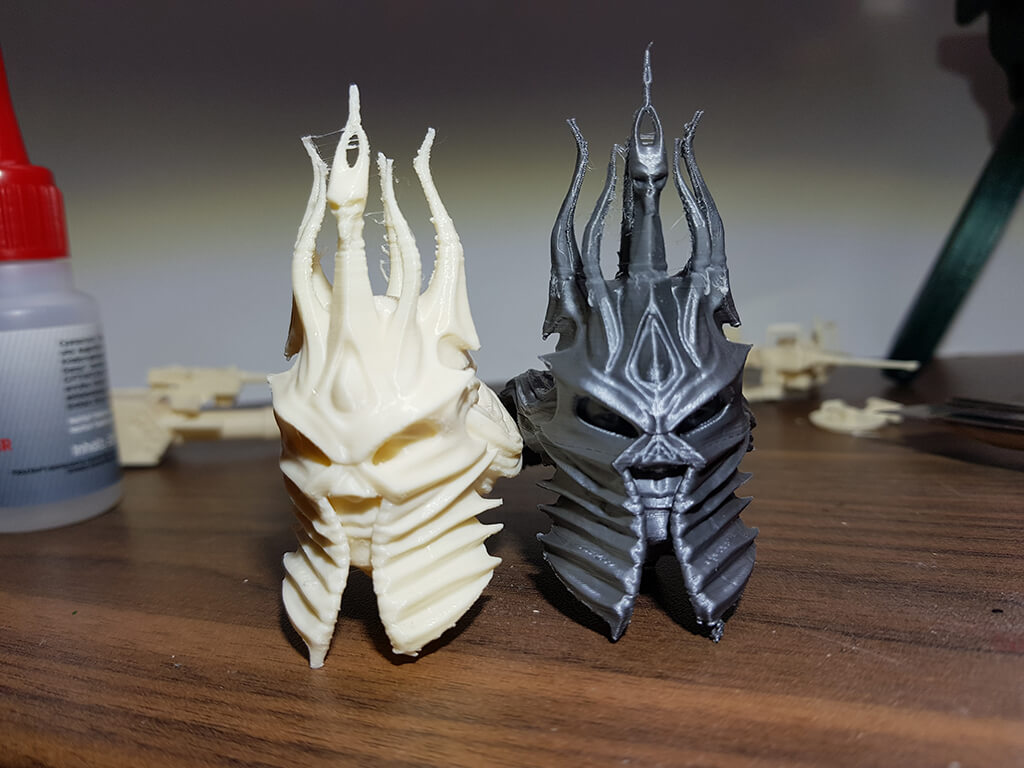
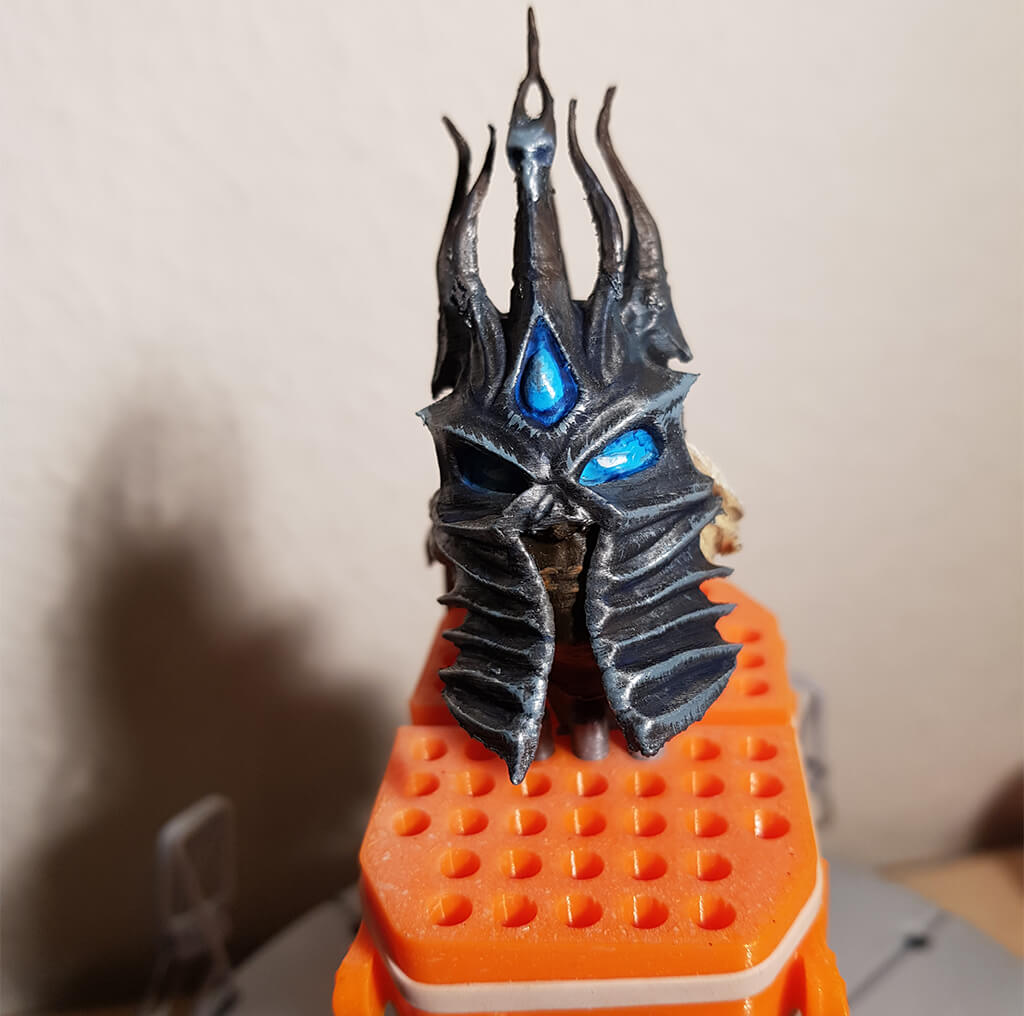
I printed two helmets because I was in the phase of testing: one in white and the other in silver printing material. I decided to go with the silver one because I thought it would be easier to paint due to already being the colour of metal.
I use Electric Blue paint for the eyes and the stone on the helmet. Other colours that I use on the helmet are Metal, Dull Aluminium and a wash of Umber. If you pay closer attention to the tips of the helmet, you can see that they have an amber hue.
The Cape
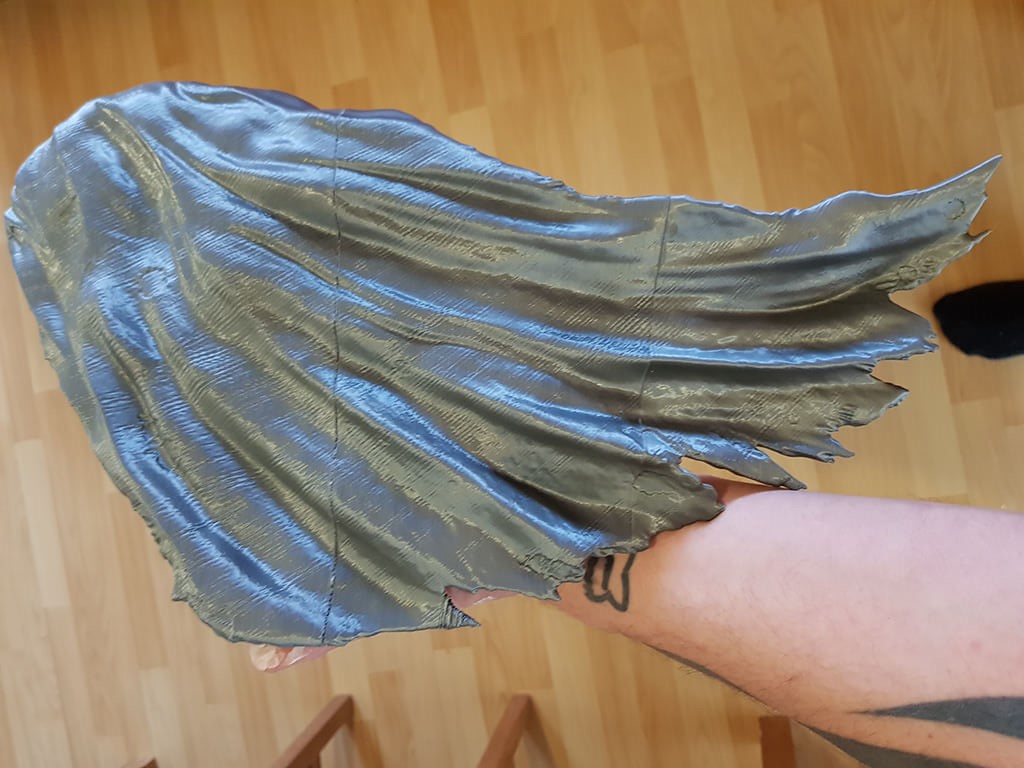
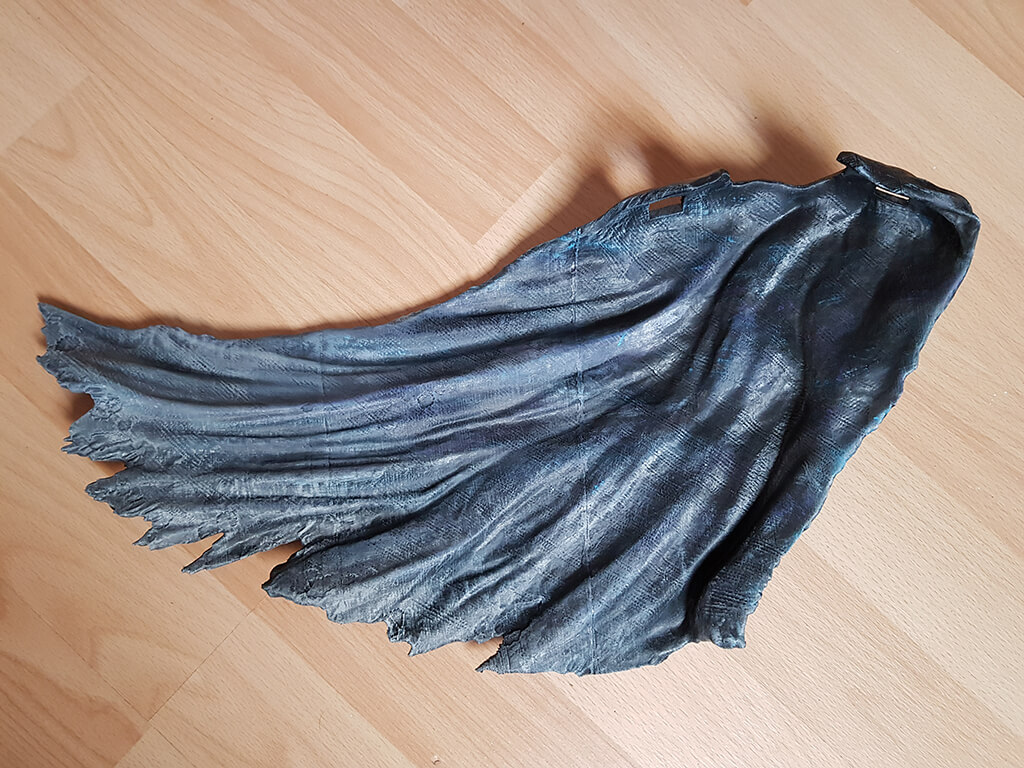
The cape prints in several separate parts and I had to glue them together. I use plastic putty from Vallejo to mask away the glue stitches. I use the same metal paint colour for the cape as well.
The Base
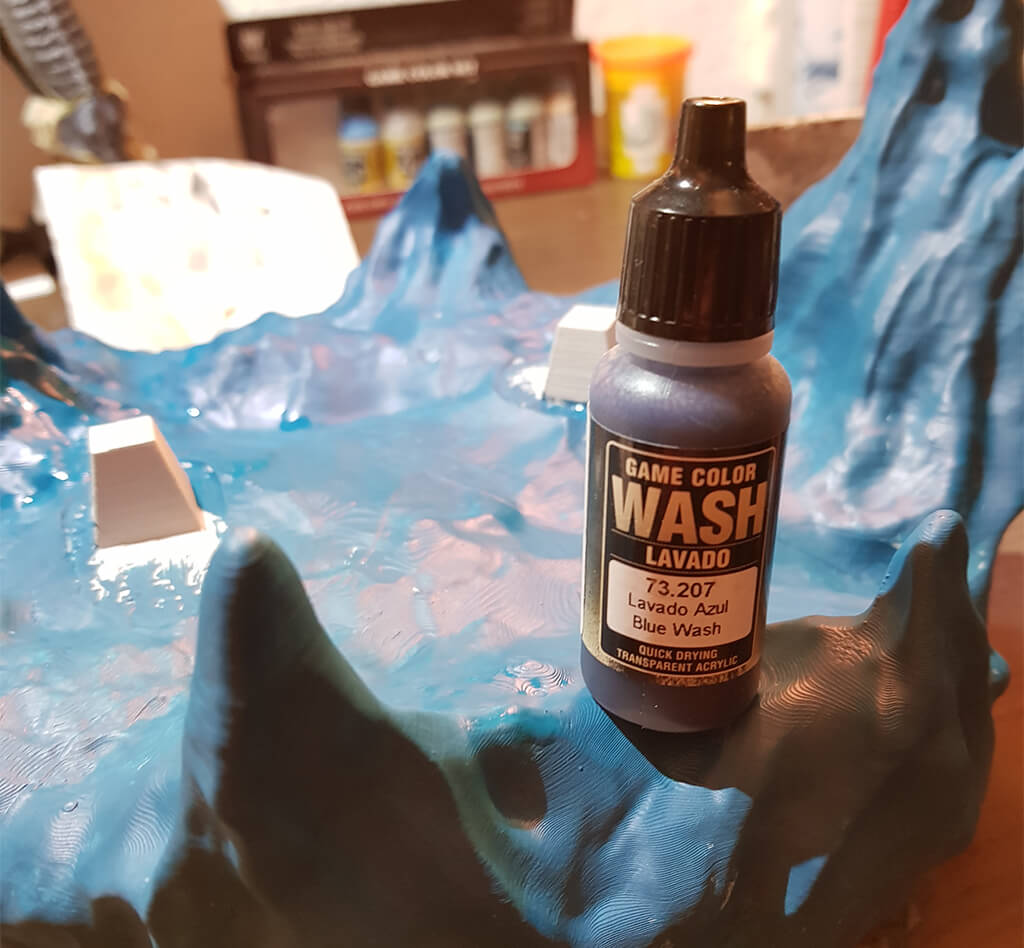
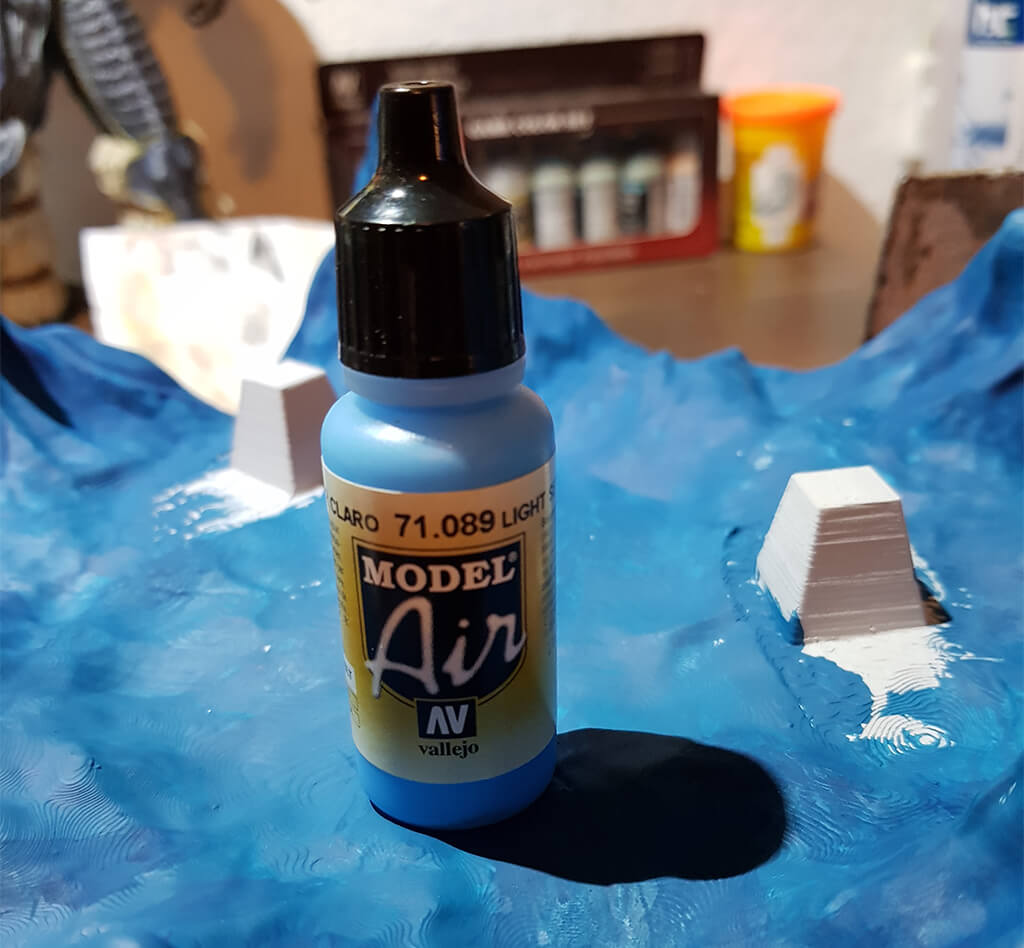
I use stonewall grey to paint the lower part of the base and metal for the skulls. The top part of the base I paint in Turquoise Blue. I leave the base to dry overnight
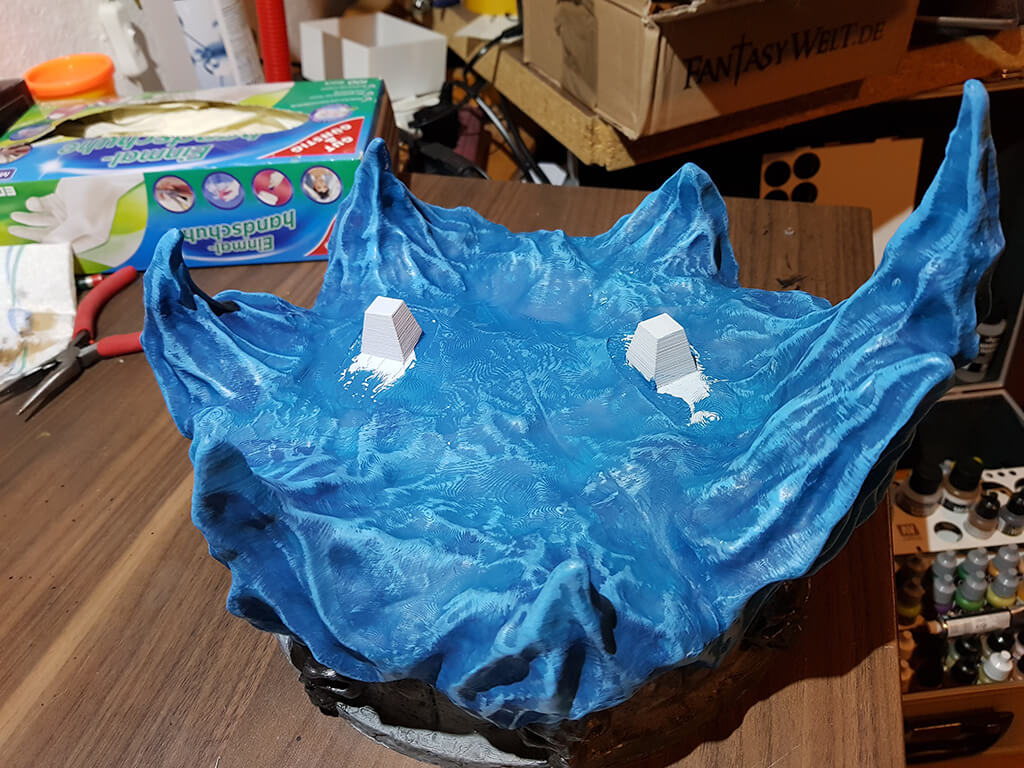
To make the highlights on the base, I apply more pressure on the brush.
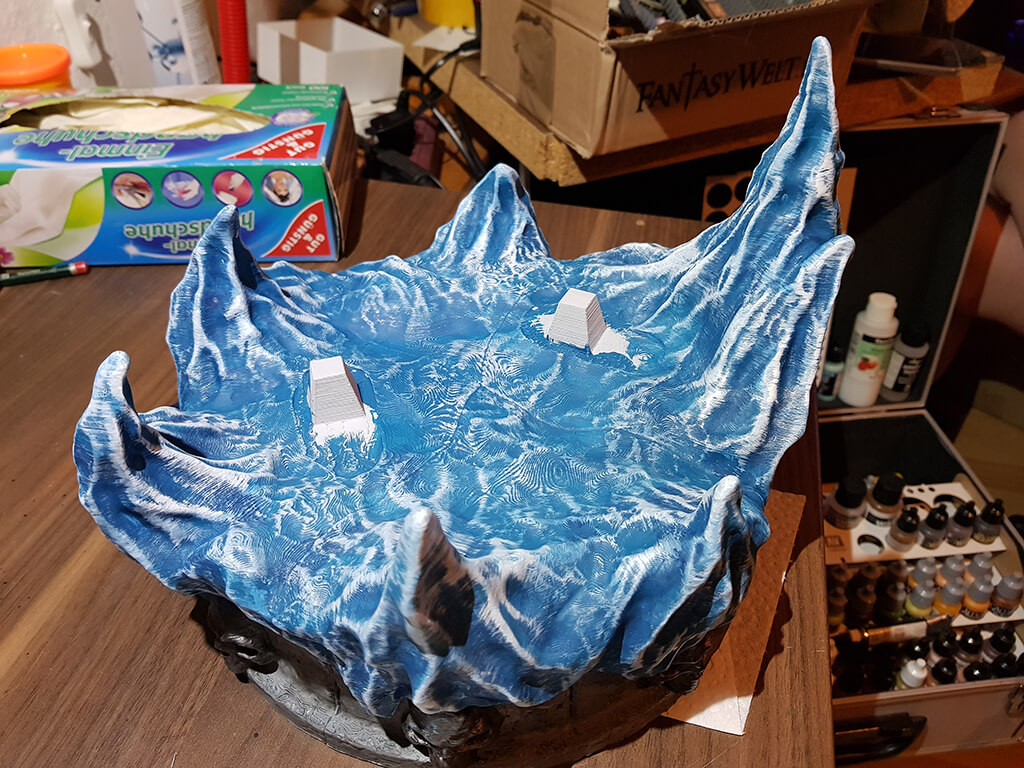
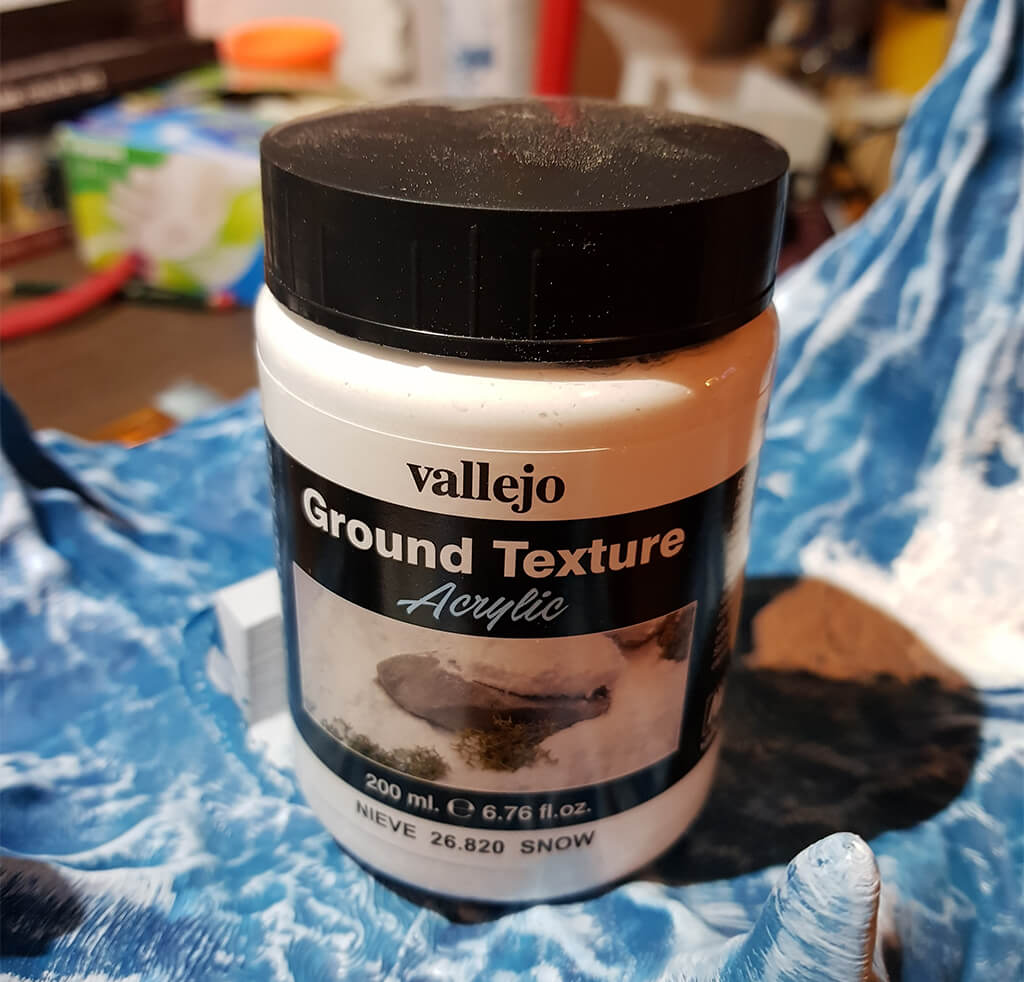
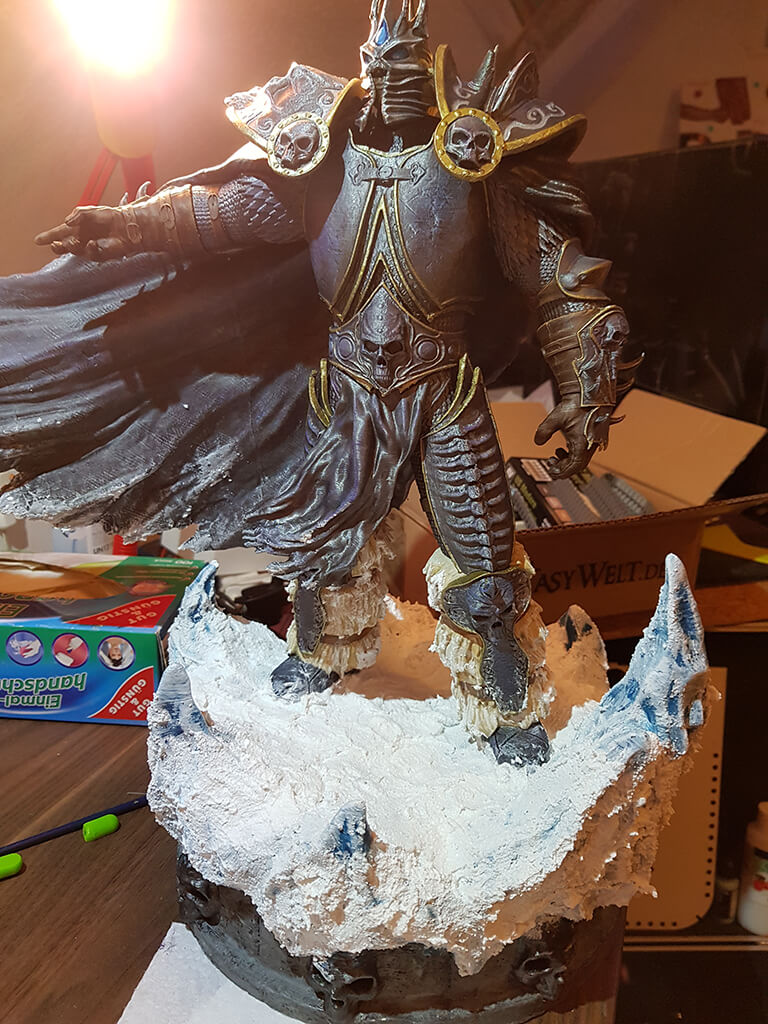
To make the base look more natural, I use Ground Texture Snow from Vallejo and apply generously on the base. Fit the Lich King miniature in the slots on the base and brush some of this texture snow on the boots of the miniature and the hem of the cape.
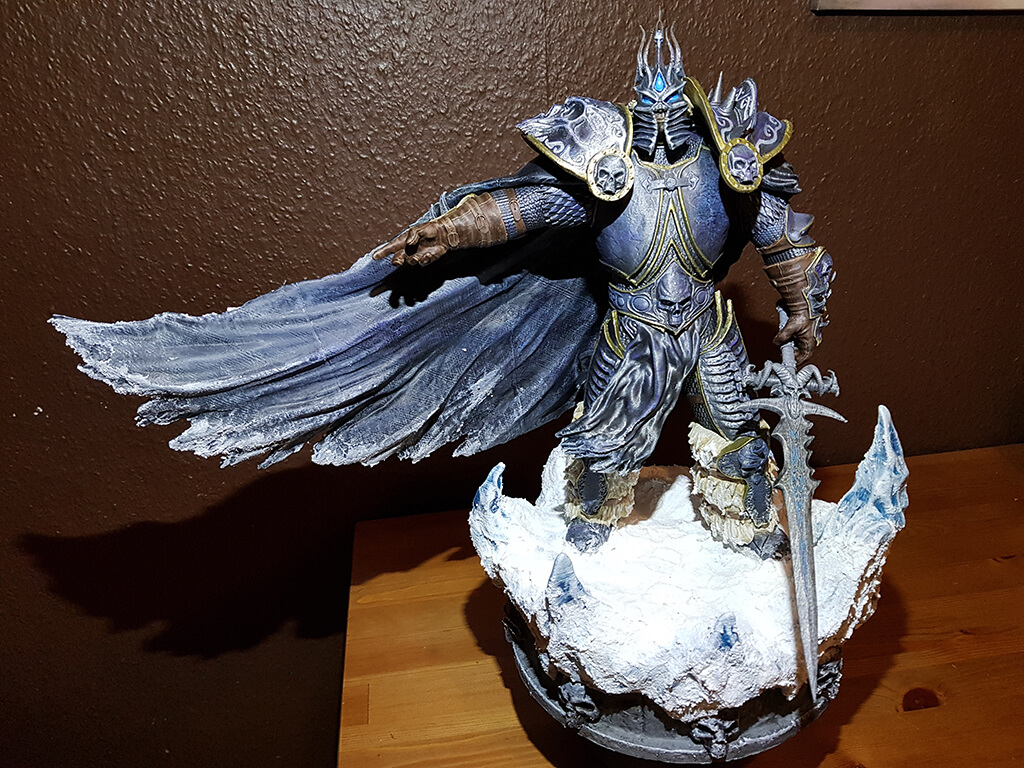
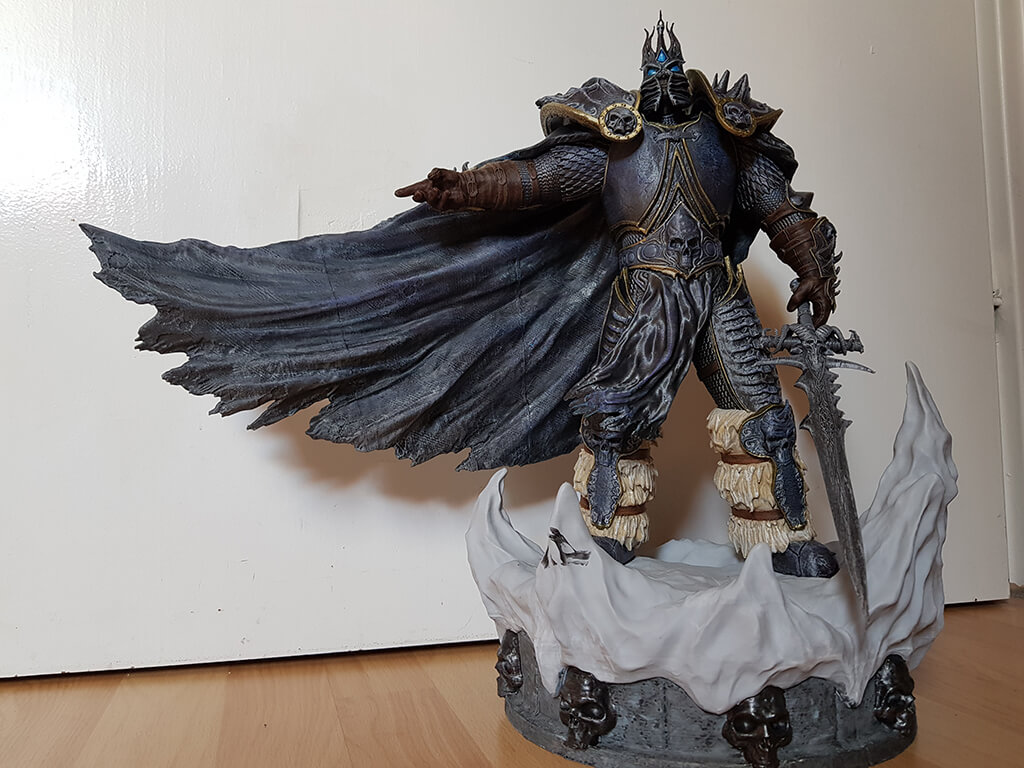
Ta Daaaaa! I am done! I congratulate myself for the patience and the amazing result on the Lich King miniature and go have a proper sleep, happy with myself and that I discovered that I really have some painting skills that must be put to work more often.
Guys, one advice! Don’t be afraid to try to paint by yourself. Of course, there are people who make a living from miniatures painting but you can do it too, even though the first attempts might not be quite as extraordinary.
I hope this was useful and promise to come back with something new soon!
————
We also hope that you enjoyed reading Sasha’s short masterclass for beginners and that you found some useful information for your future projects. Lich King miniature’s painting tutorial is the beginning of a beautiful series of painting-related blog posts at Gambody for which we will team up and collaborate directly with you, our customers.

