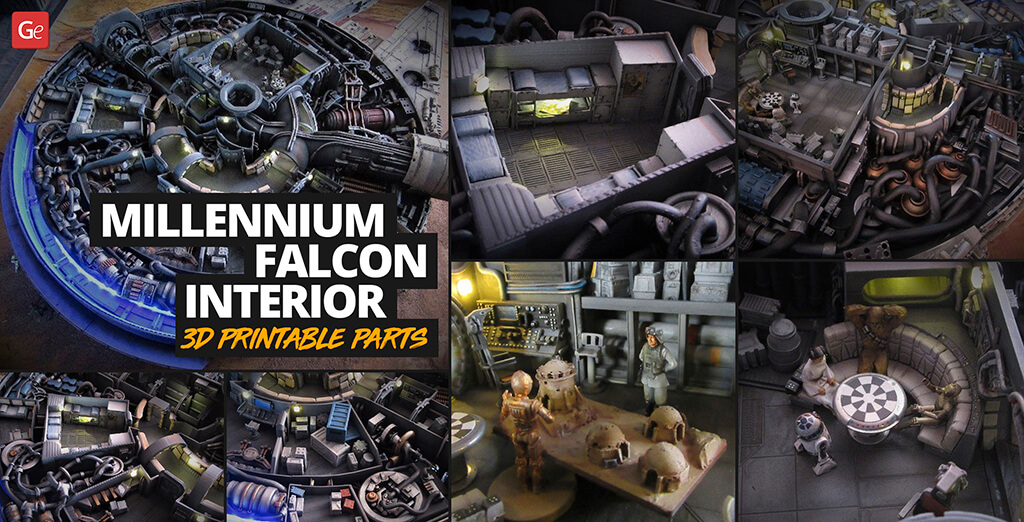
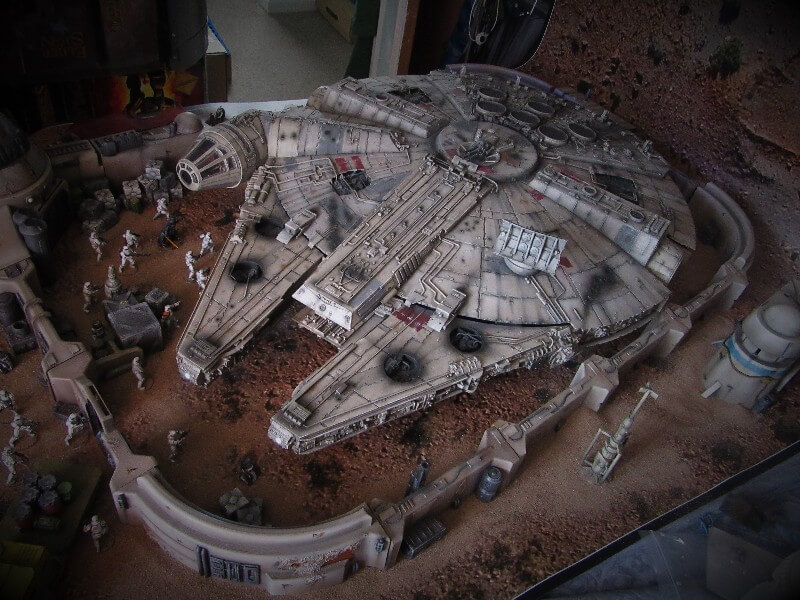
Making an impressive DeAgostini Millennium Falcon build becomes a real adventure when you choose to enrich this Star Wars ship interior with some fantastic details. You can select third-party interior 3D printable parts, customize them by scaling, 3D print at home and create a unique collector’s edition diorama.
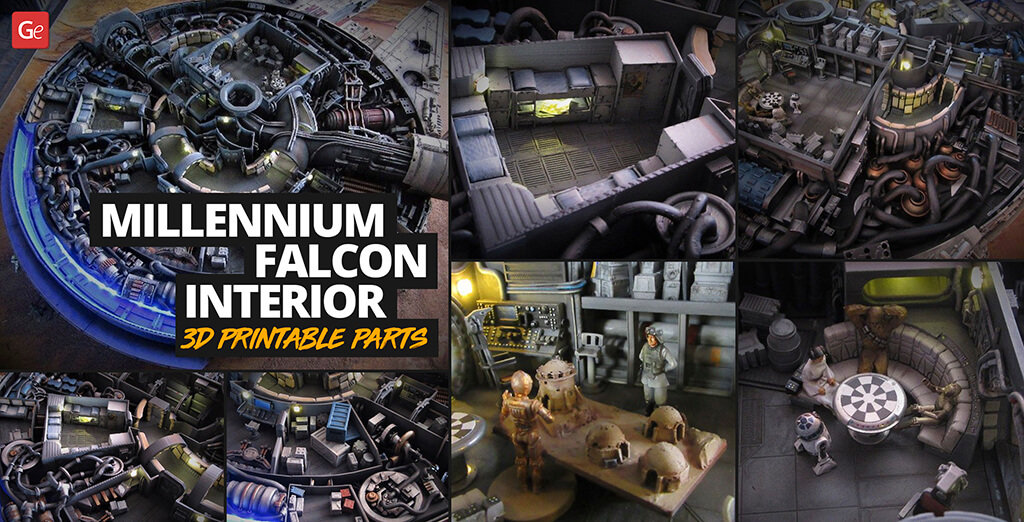
The iconic DeAgostini Star Wars spacecraft built by Tanks & Trolls enthusiast is filled up with Millennium Falcon interior 3D printable parts offered at Gambody – Premium 3D Printing Marketplace. This includes such particulars as engines, cockpit internals, hyperdrive, engineering bay, crew quarters, main hold details and others. The final result looks fantastic. We believe that the process of creating such a masterpiece with an extraordinary level of realism is a must-see.
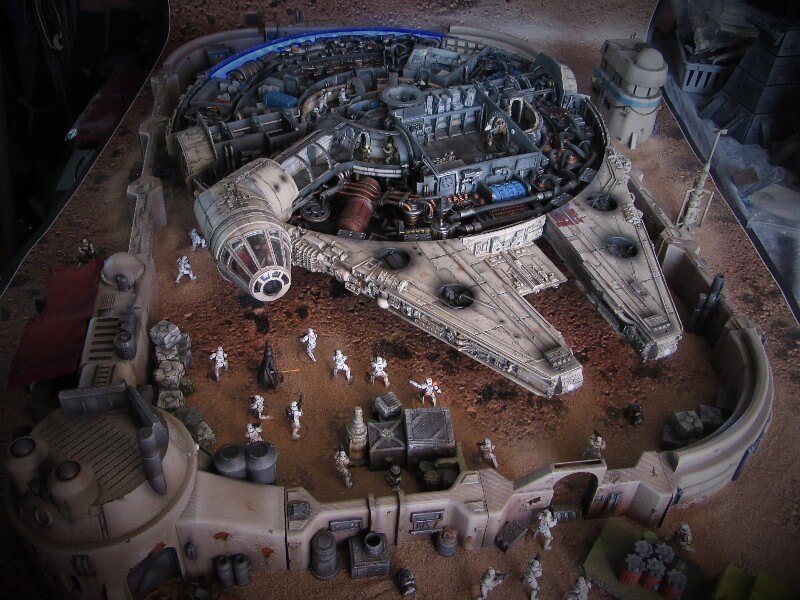
Millennium Falcon Collector’s Edition
As noted by DeAgostini, their Millennium Falcon kit is 1:1 scale replica of the Star Wars film prop (The Empire Strikes Back), and the actual size of this original model made of resin and metal is 80.8 cm x 59.6 cm x 19.2 cm. It weighs about 11 kg, and it comes with removable panels that give you a look inside, working electronics and various hull parts. During the assembly process, your fantasy can easily carry you away as it happened to one enthusiast.
Looking at the original DeAgostini Millennium Falcon starship, the maker from Tanks & Trolls thought that this popular model was limited in detail. Its cockpit and living quarters could enjoy some customization. This was when the interior parts 3D printing files at Gambody came into view. And the real building adventure began.
Millennium Falcon Build Diary
The creation of a fully assembled and furnished starship was a fascinating, time-consuming and thought-provoking process. Still, for a real fan of Star Wars, it was something incredible and delightful.
Stage 1. Exterior Assembly
It was first required to complete the DeAgostini Millennium Falcon build using an assembly guide. This process takes time because there are removable panels, working electronics (meaning you have to add wiring and an internal battery or another power source), additional interior details, etc.
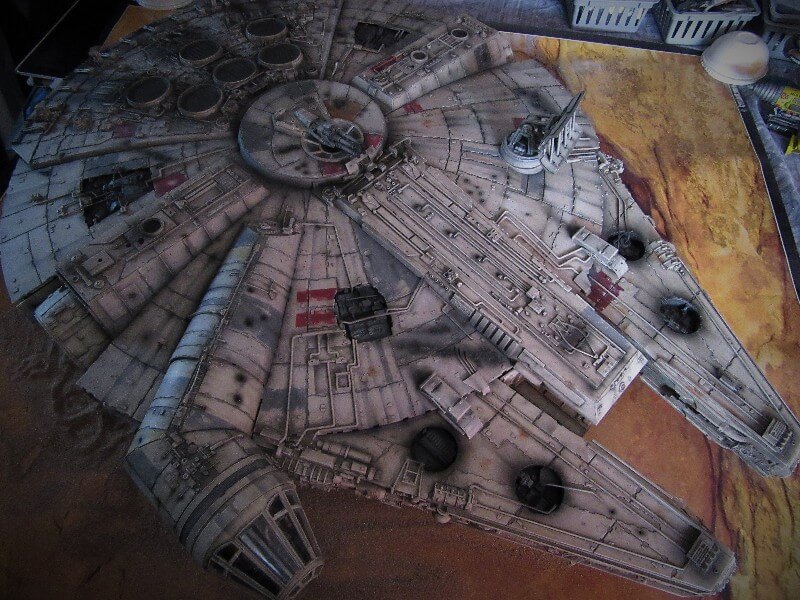
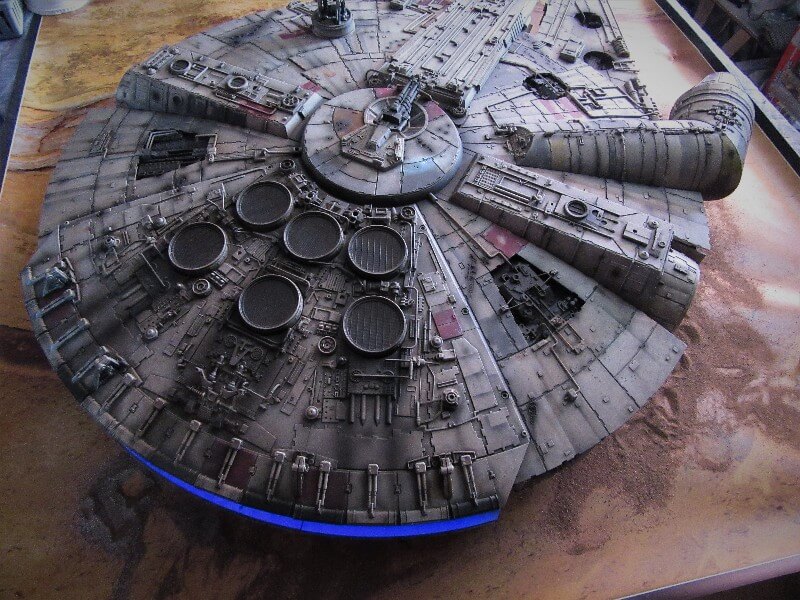
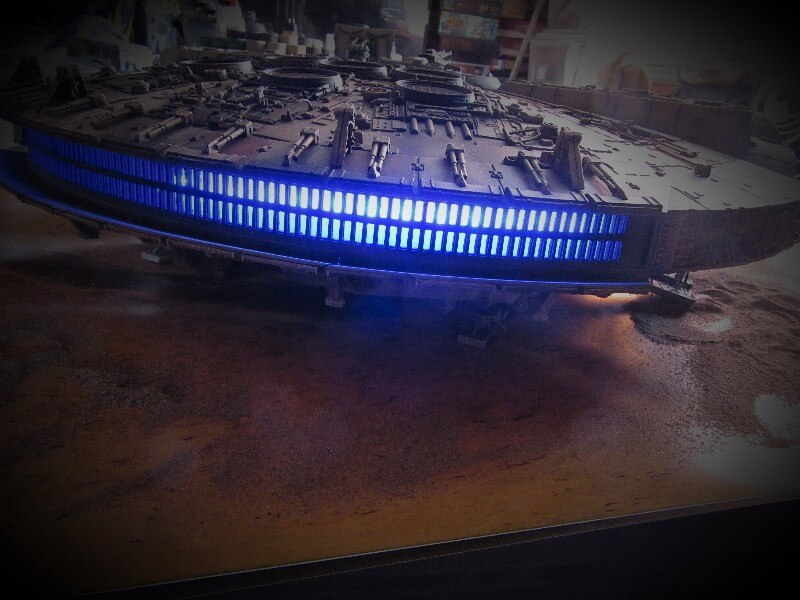
The original kit has many parts, and once they all are screwed, the reality becomes your own fantasy movie or a computer game. You turn on the LEDs and enjoy a captivating view of your Millennium Falcon exterior that is perfect at the top and bottom.
Here are some breathtaking photos of what Tanks & Trolls enthusiast assembled:
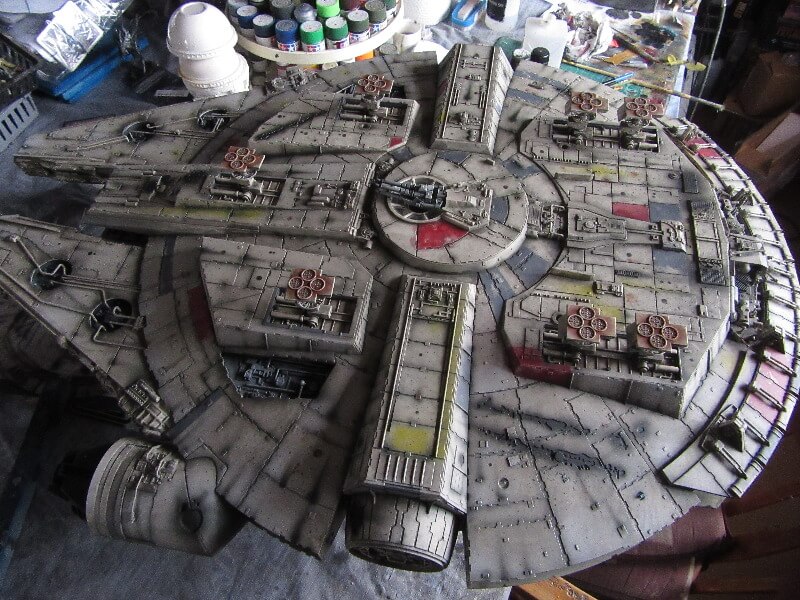
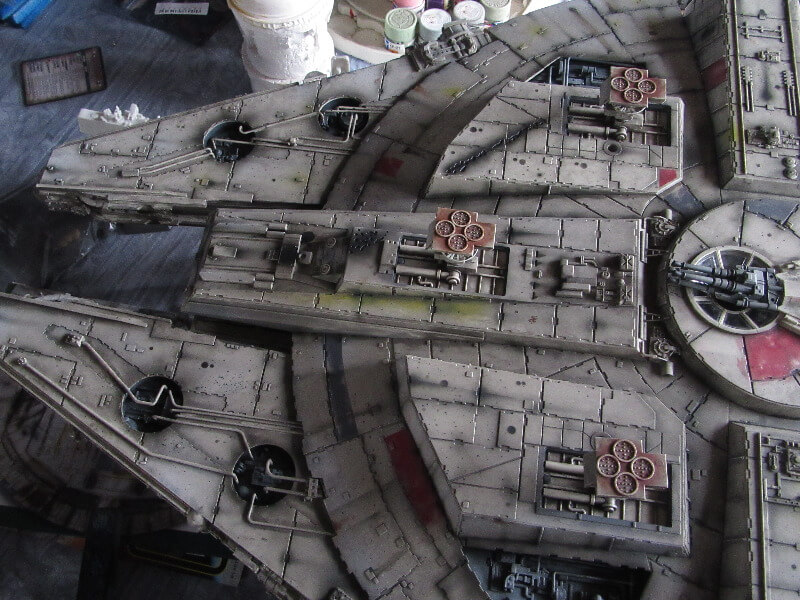
What do you think about all these excellent details?
Meanwhile, the story goes on with the impressive custom-like interior upgrade made by the Gambody enthusiast.
Stage 2. Millennium Falcon Interior
After downloading STLs with Millennium Falcon Interior 3D printable parts at Gambody – Premium 3D Printing Marketplace, the Falcon model maker had to do the hard work with re-scaling the 3D printing files and adjusting the size of the parts to fit inside the hull.
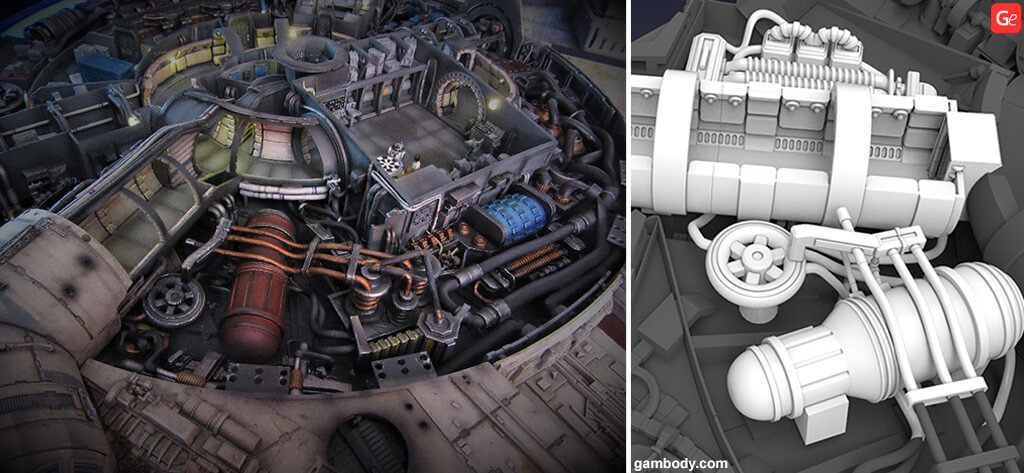
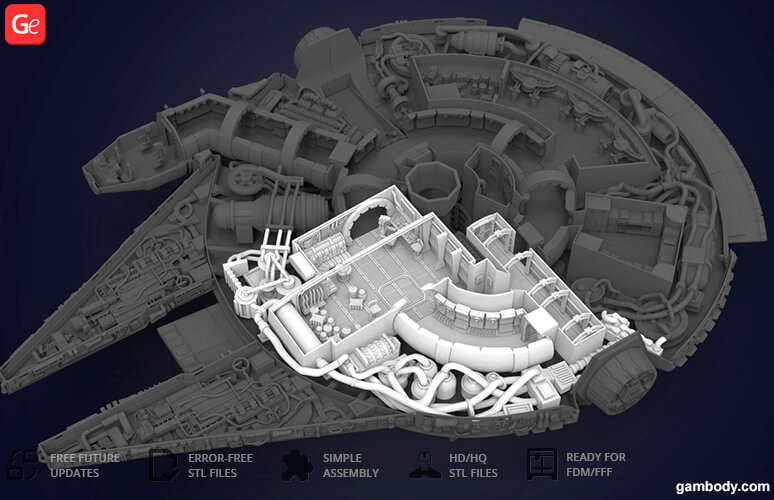
The models from Kit 1 (you can download STL files with all 26 interior parts from Kit 1 to 3D print for yourself on FDM/FFF or SLS/SLA 3D printer) were adjusted for building a comfortable crew quarter, adding an engine and improving the cockpit access tube.
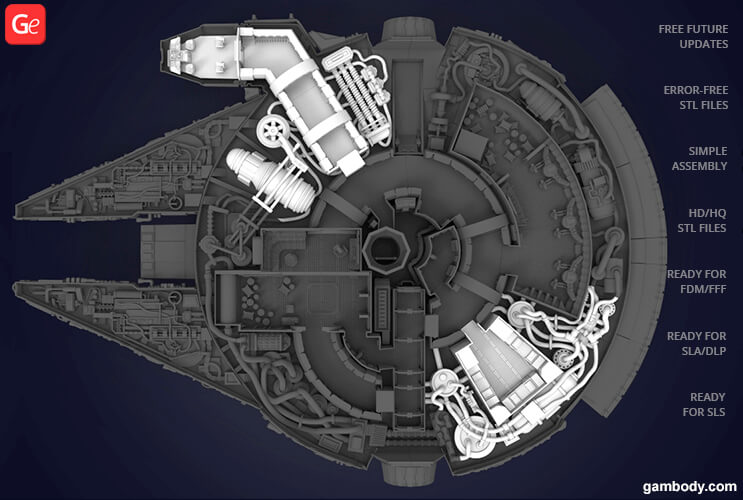
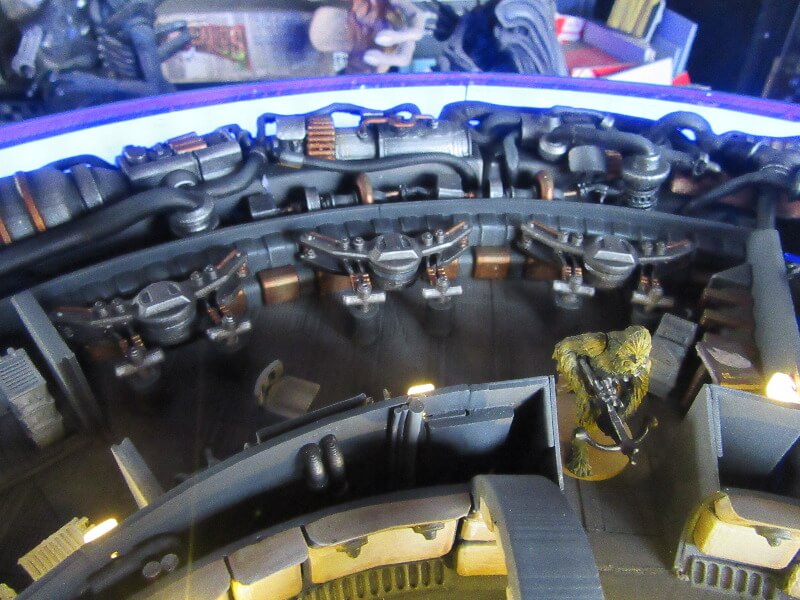
The engine looks very life-like:
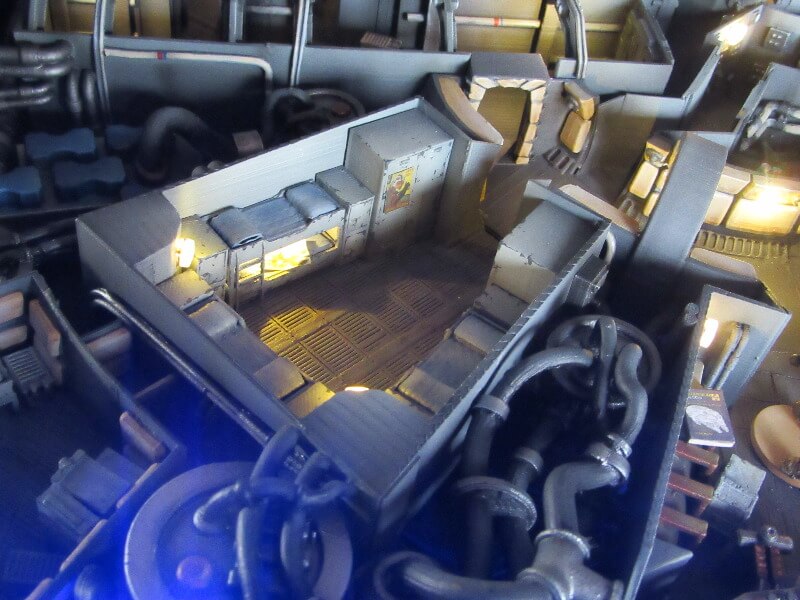
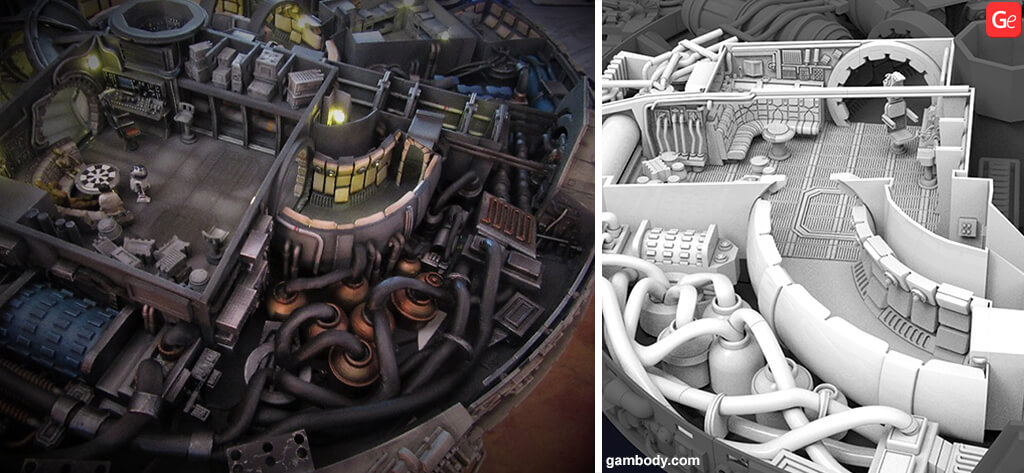
The crew quarter has been improved further by adding an extra living area, which is ‘hidden’ from strangers with a security shielded door:
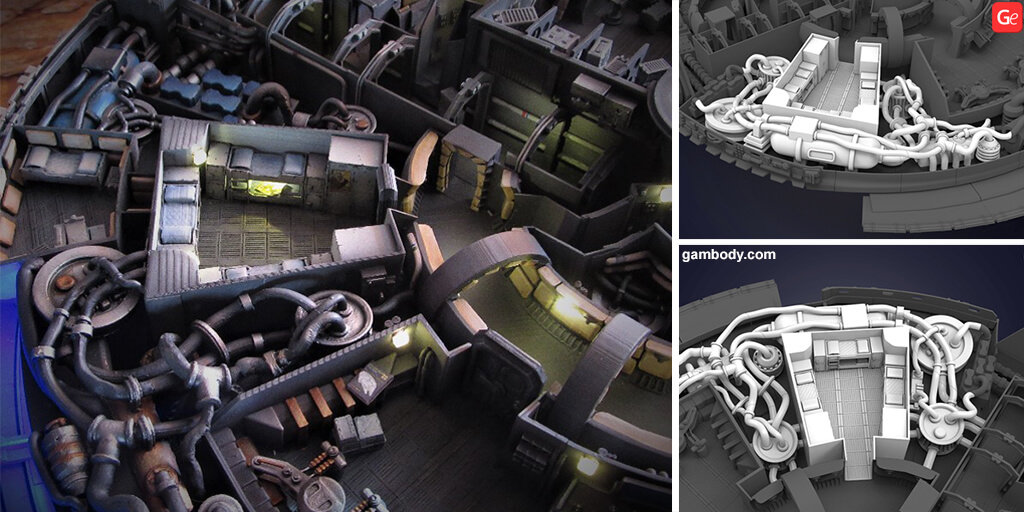
With additional lights on, the crew quarter looks inhabited and ‘live’:
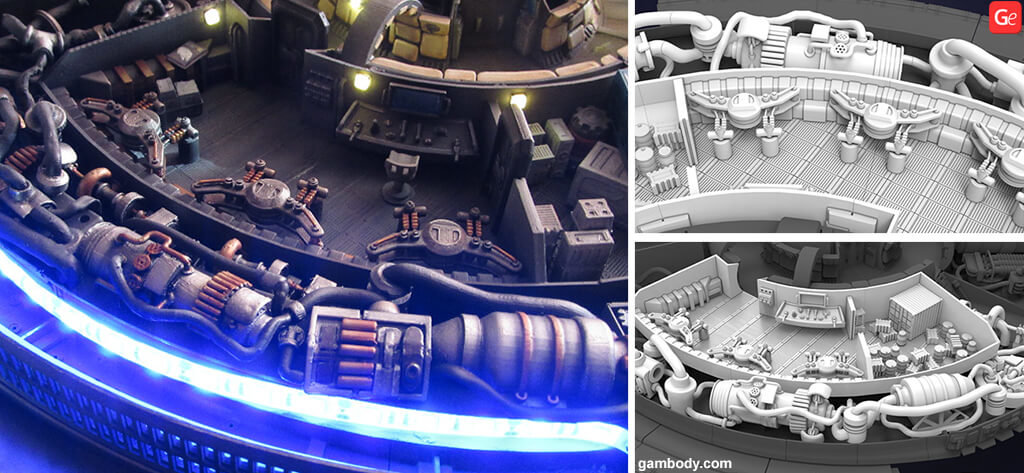
The models from Kit 2 (it is easy to download STL files with 18 Millennium Falcon interior parts to build on your SLS/SLA or FDM/FFF 3D printer) were used for reproducing more engine parts, hyperdrive, engineering bay and other details.
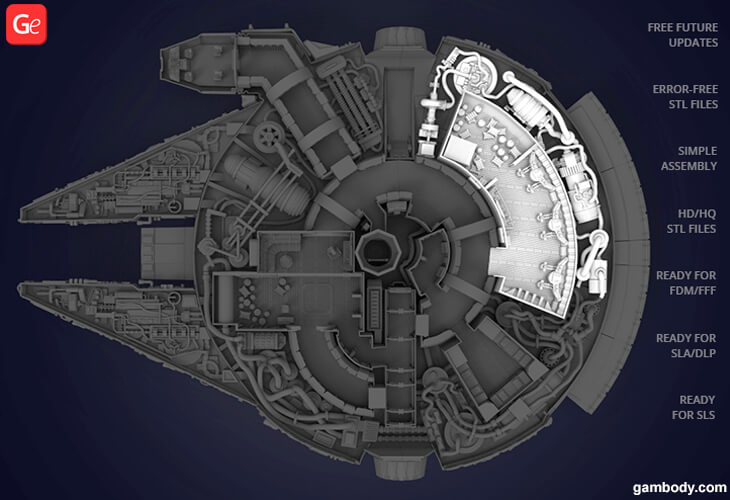
The hyperdrive, engine parts, as well as an additional secret room with cargo added by the maker, look very impressive:
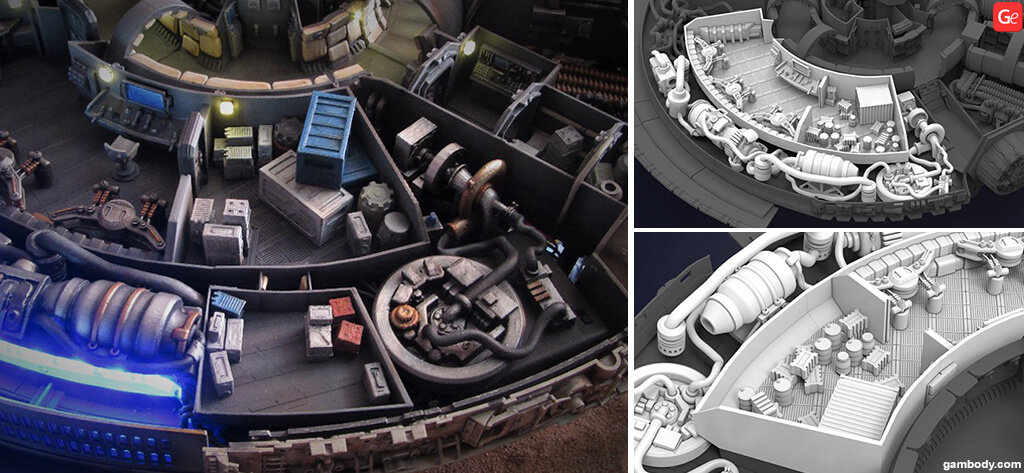
The engineering bay looks in-style with the starship’s computer system and a storage bay with load:
The models from Kit 3 (you can download STL files with 27 interior parts for Falcon 3D model to 3D print on your own) were re-scaled to build such details as engine, main hold, technical station, etc.
Here is how the engine looks after all the painting work was done:
This is the full corridor:
This is how the technical station looks:
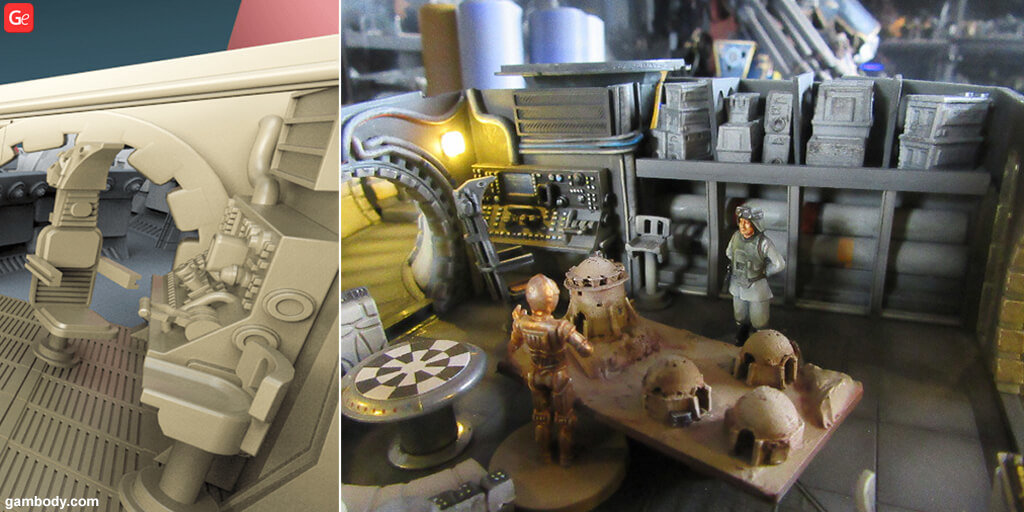
The models from Gambody Kit 4 (it is easy to download STL files with additional interior elements for your starship 3D model to 3D print them) also found their place in the original DeAgostini Millennium Falcon hull.
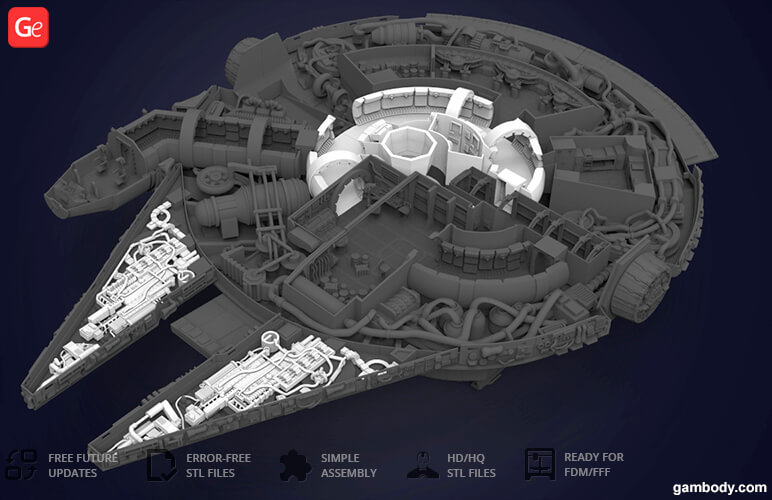
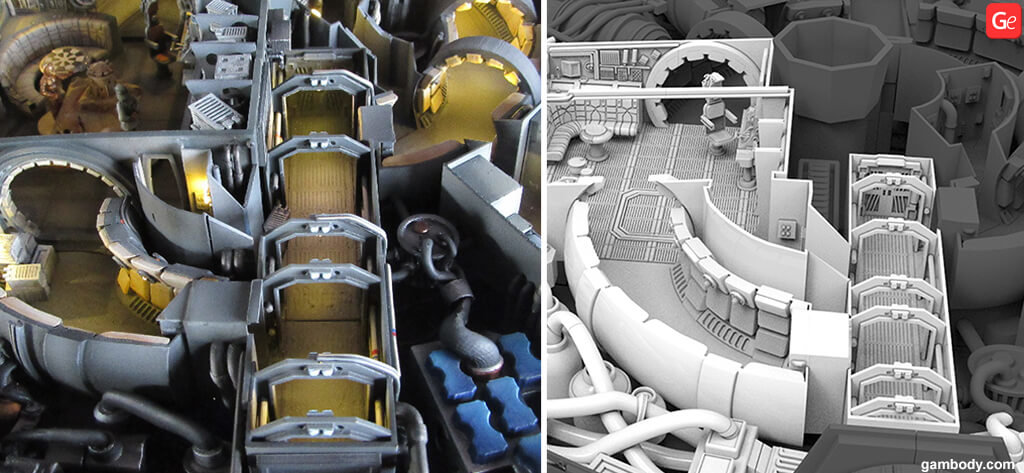
The detailed starship corridors look incredible with communication devices and extra wall details:
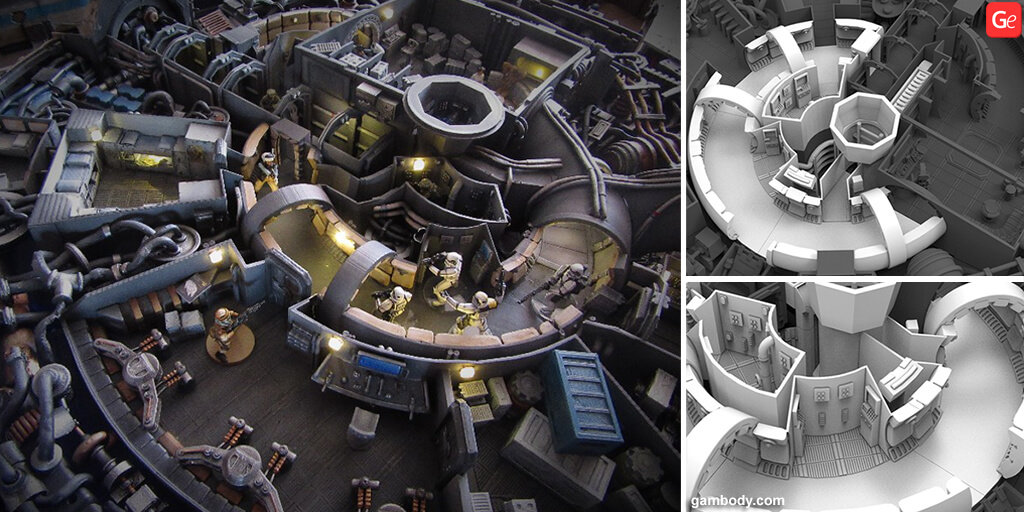
Stage 3. Extras
Some of the features were built from scratch. For example, the Tanks & Trolls enthusiast chose to add over 30 LEDs to bring some light to the starship quarters and corridors.
It was also decided to upgrade the cockpit with fibre optics and create an astonishing blinking effect; as well as ‘voice’ the thermal detonator using the soundbox and powering the ramp with a motor to make the RPG games even more fun.
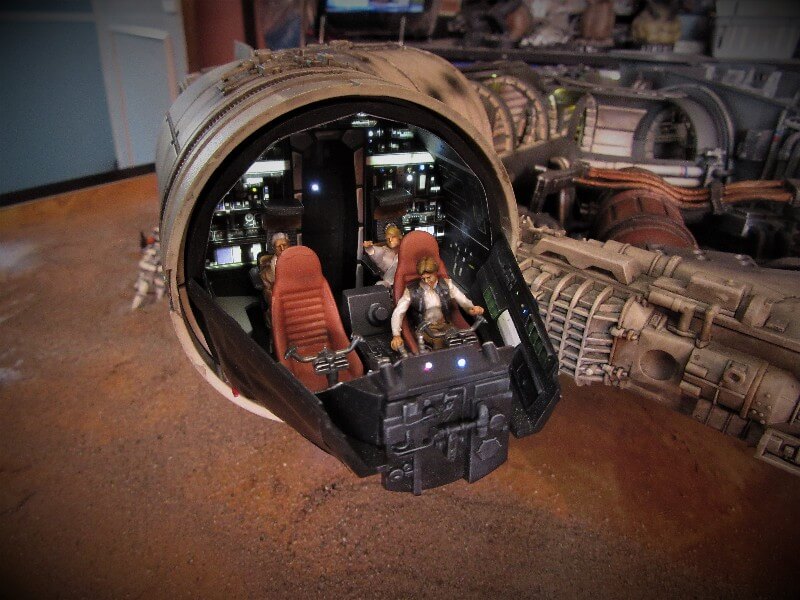
Millennium Falcon Diorama
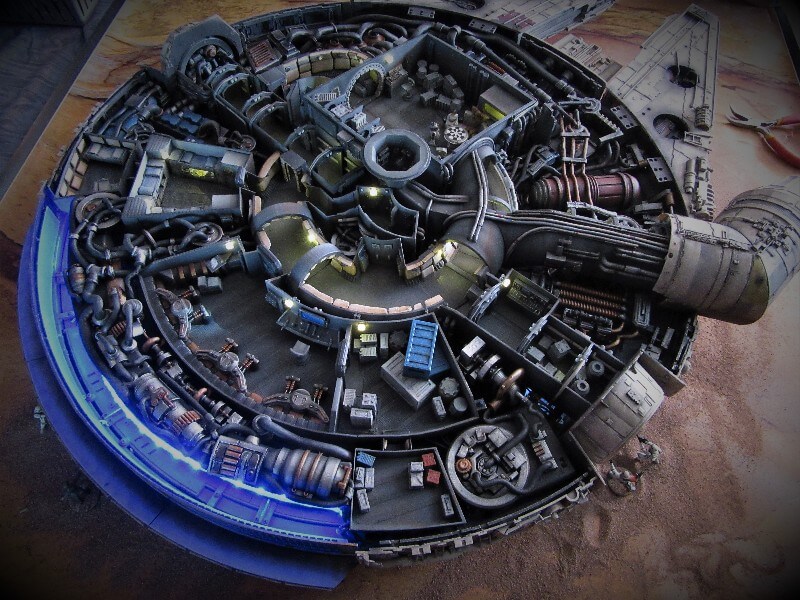
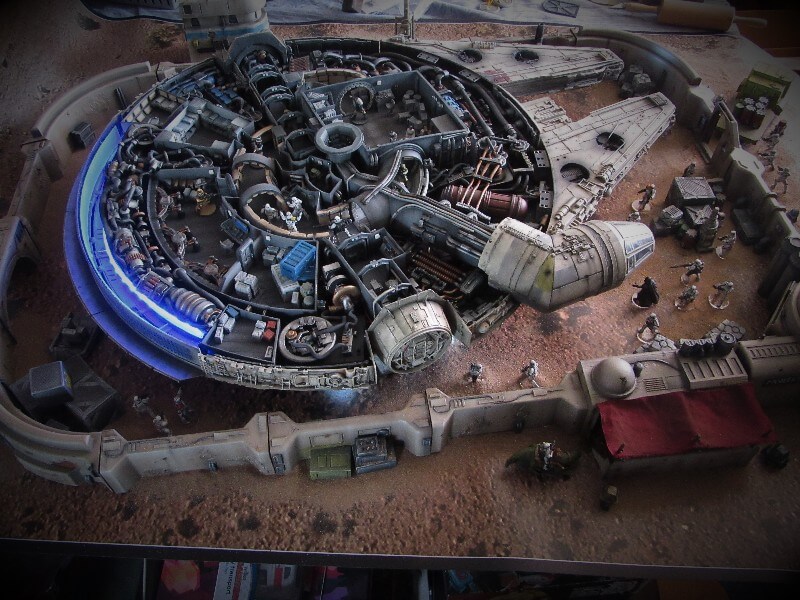
The final model looks like an exclusive Millennium Falcon collector’s edition. All the Gambody’s 3D printing files with miniatures and elements used to decorate the starship’s interior add a realistic effect and make the overall look fanciful and imaginary.
According to the maker, his starship is not even ‘the Falcon, but the converted YT-1300 freighter’ since there are many of them flying in the fantastic Star Wars galaxy. The model has also got its unique name of the ‘Grumpy Tyke,’ making it a perfect model to build dioramas for RPG games.
How do you find this custom Millennium Falcon build? Share your thoughts and 3D prints you are proud of in Gambody Facebook Group and explore what other enthusiasts have created.
