Hi,
We already know about Model Positioning and paid much attention to Skirt and Brim , the only parameter is left is “Pattern”.
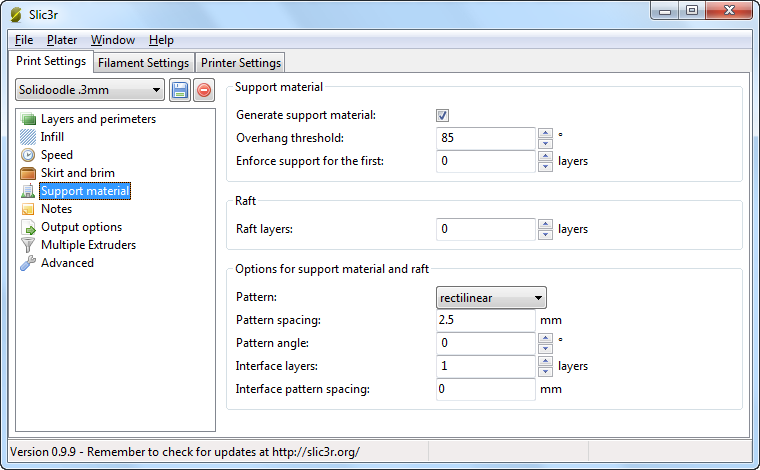
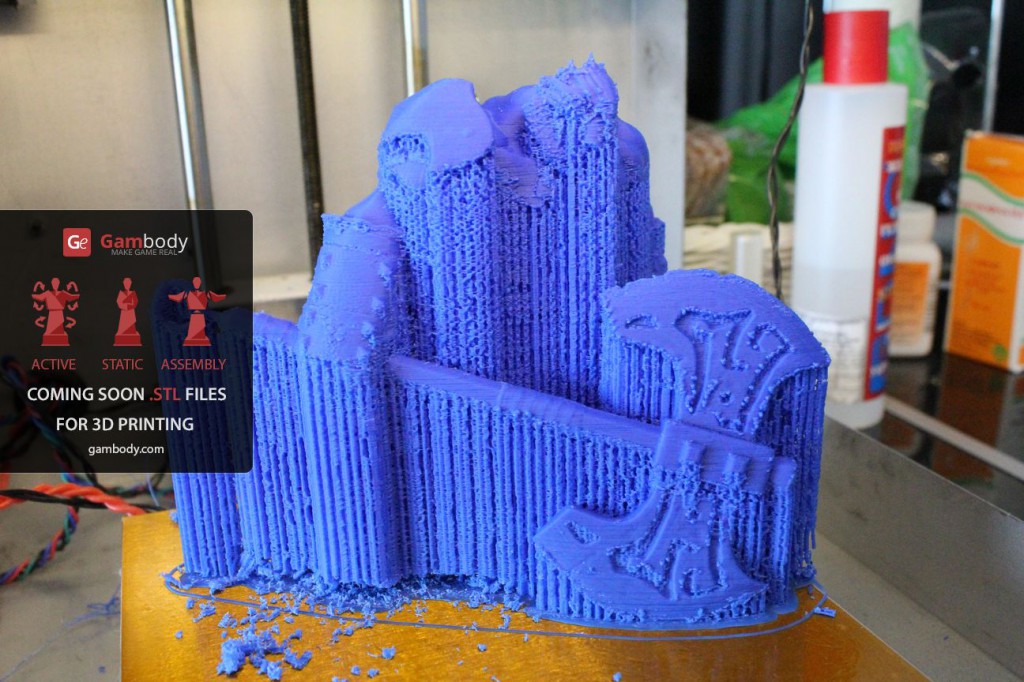
“Pattern” is the parameter I would recommend you to pay your attention to, which is used to print out support structures and a raft. I advise you to use “rectilinear” -straight lines. It is enough for support structures and easy to remove from a printed model.
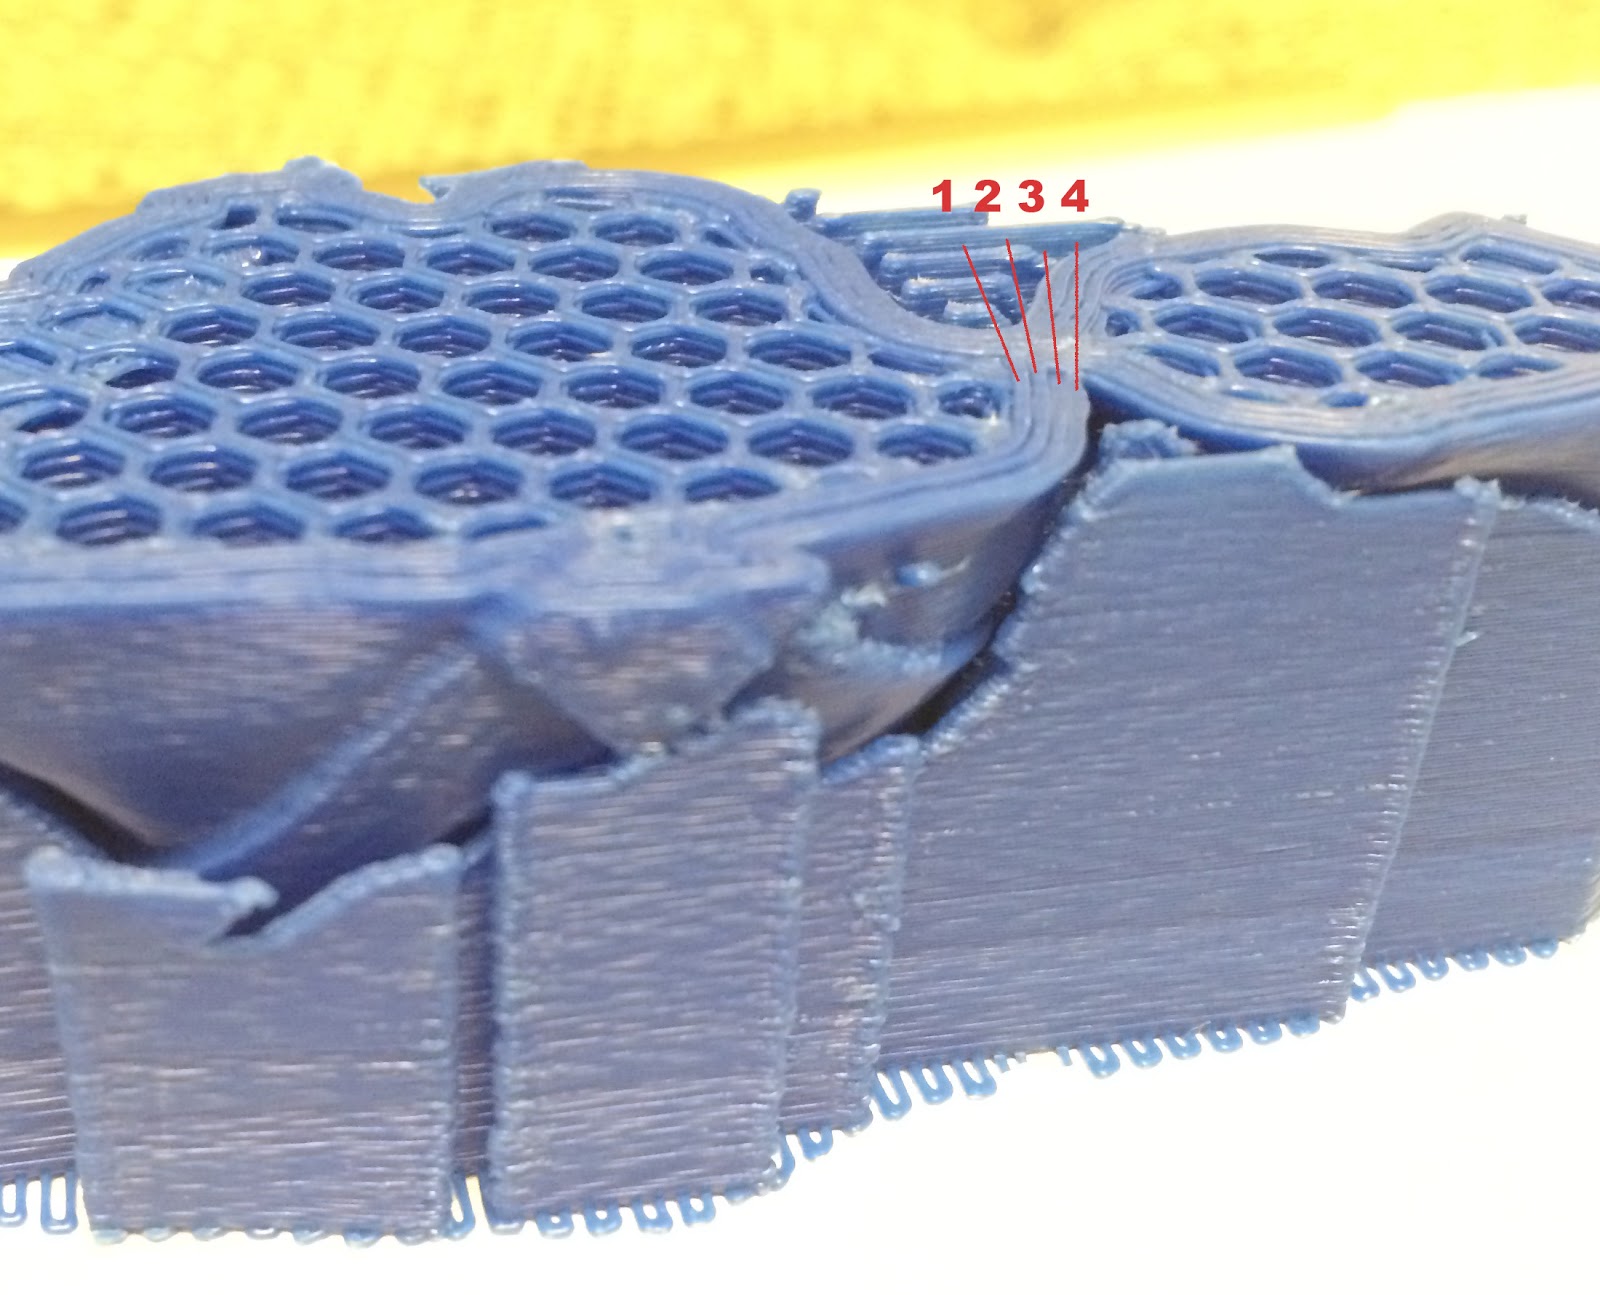
Parameter Interface layers – the amount of missed layers between the object and support structures’ material, this parameter is very important to fix all our support configurations.
The increase of this parameter is used to ease the support structures removal. Too high value of this parameter can lead to supported elements’ deformation. If no value at all may lead to impossibility to remove the support structure from an element and even if you succeed to remove it the appearance of the model will leave a lot to be desired!
I strongly recommend you to use 1 missed layer.
Finally we are ready with all the settings in “Print Settings” section. As for all the other settings in this section, we remain the same as they were pre-filled in Solidudle profile – Solidudle .3mm
If speaking about two other sections – one is for material and another is for 3d printer you are using.
Let me say just a few words:
1. do not forget to put the correct temperature of your printer’s extruder and print bed. These settings can be found in the “Filament Settings” section.
2. do not forget to put the correct size and the center point of your print bed. These settings can be found in the ” Printer Settings ” section.
As soon as we are ready with Slicer’s settings, we close the window and move back to Repetier-Host Gambody software
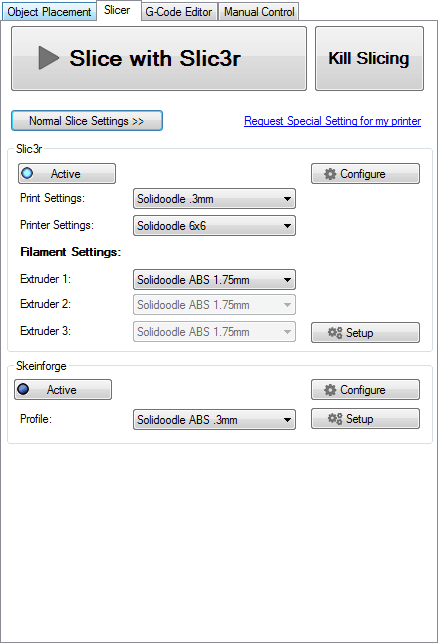
Make sure that each field contains the correct profile, the profile we have just made the changes to.
In my case it looked like this:
If everything is correct press the big “Slice with Slic3r” button.
The process may take from 2 minutes up to an hour or even more. It all depends on the size of a model and settings that you have specified for the Slicers (layer height, support structures, infill), and of course the technical abilities of your PC – hardware. It took me 2 minutes, with all the settings described, with the size set up at 50% from the original one. My hardware is: ssd, RAM -8 GB and not very powerful processor Intel Core i3 2.13 GHz.
Once you have finished the slicing of your model and have a g-code, feel free to start printing the hero! (you can learn more here )
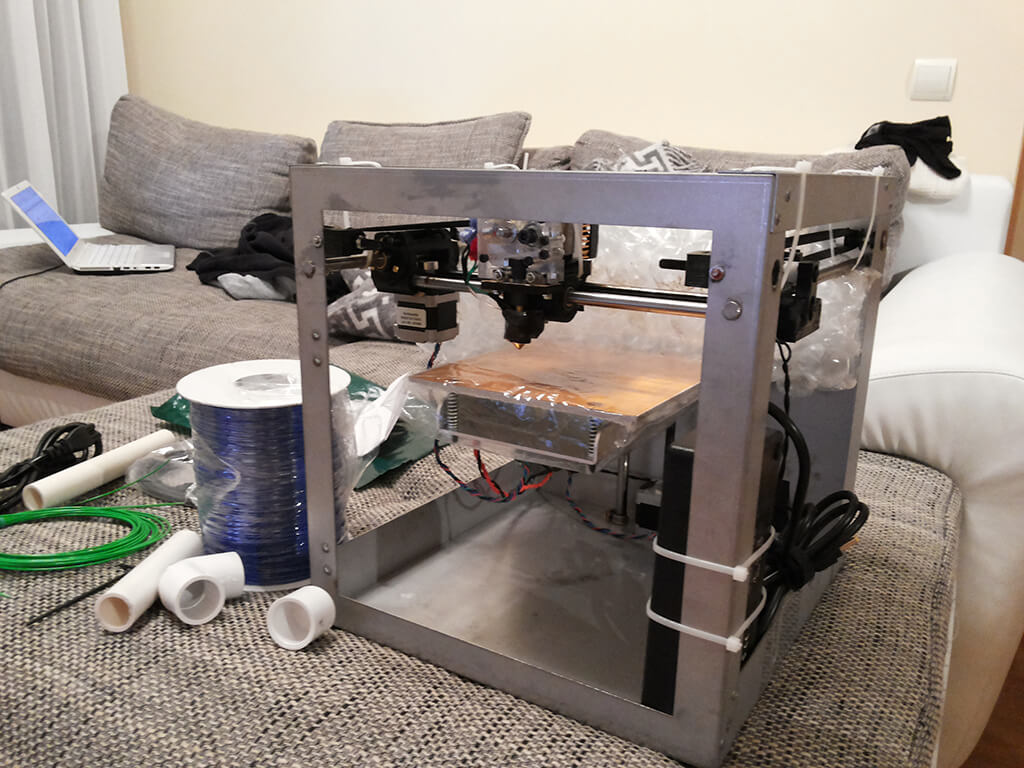
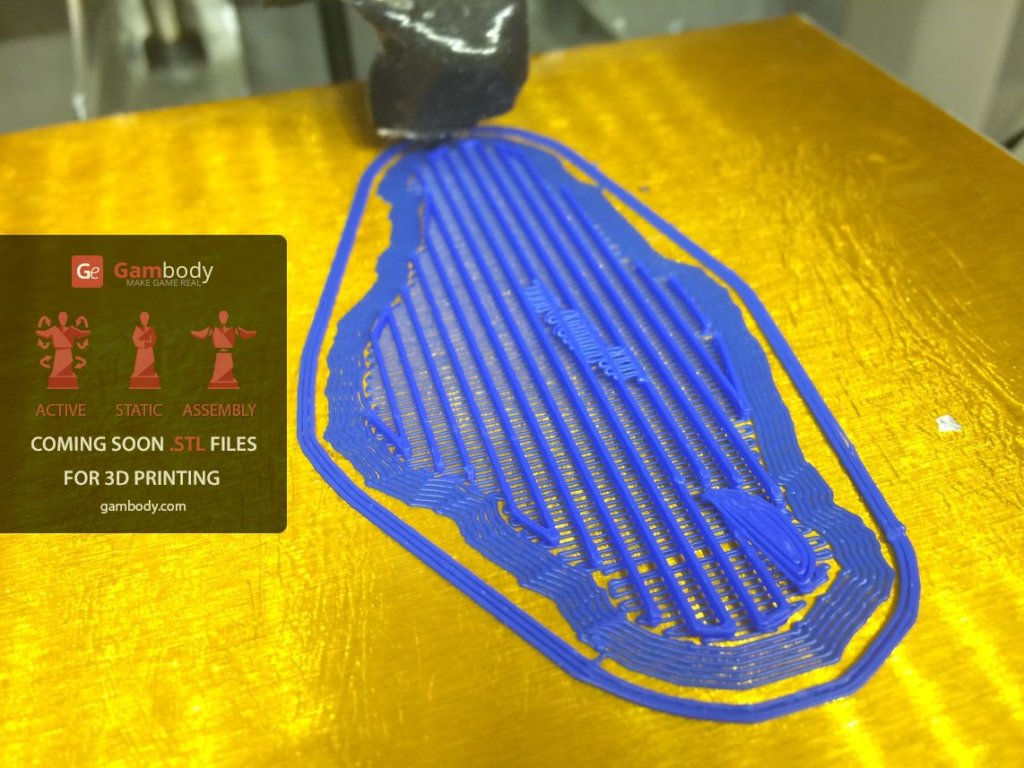
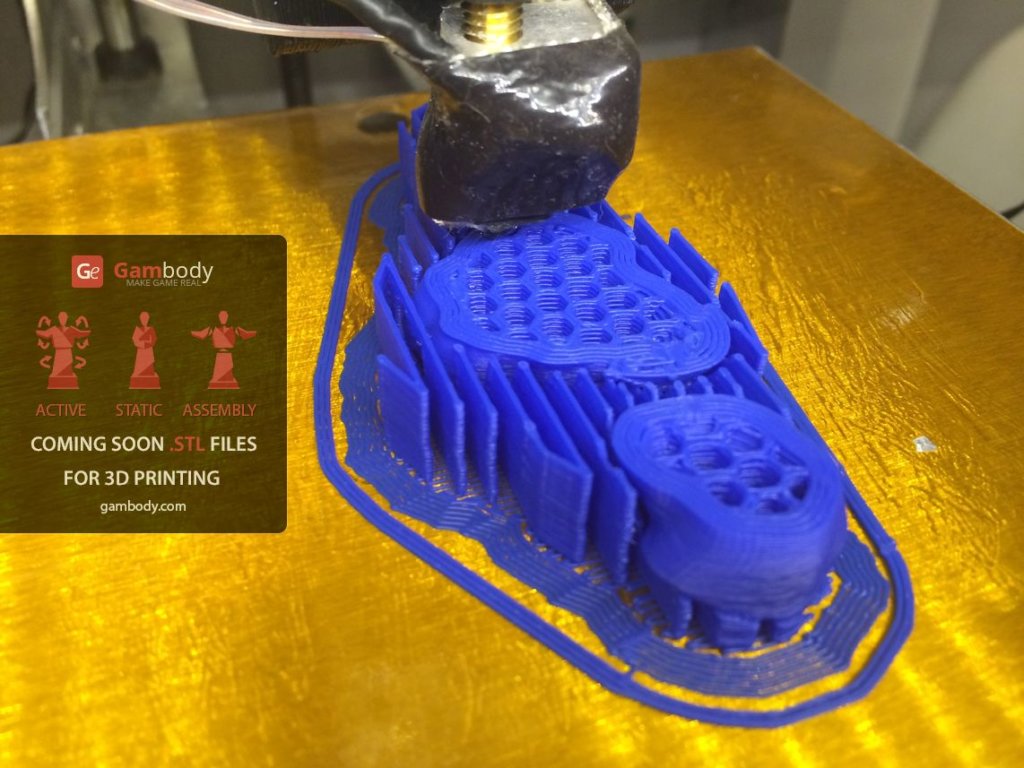
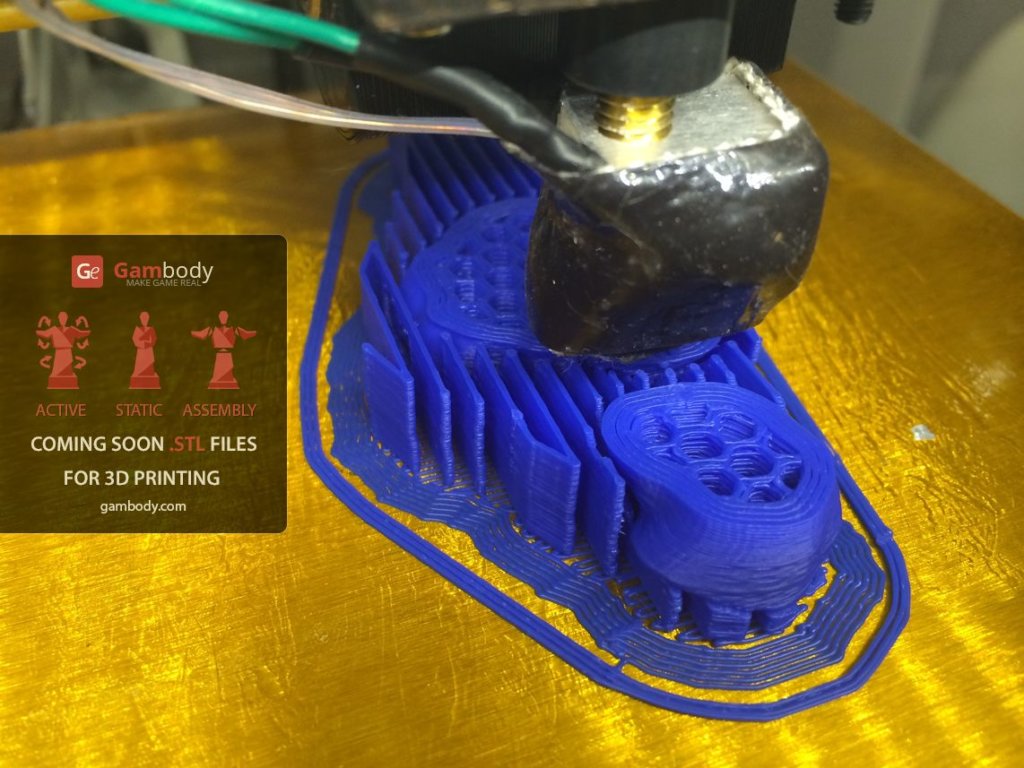
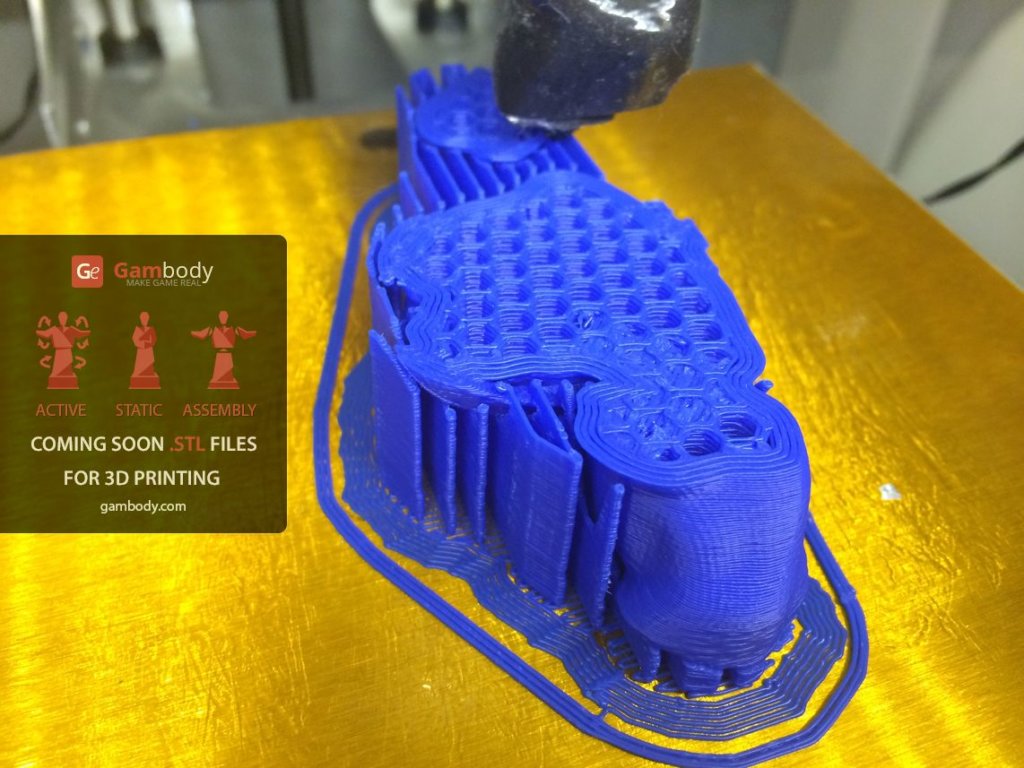
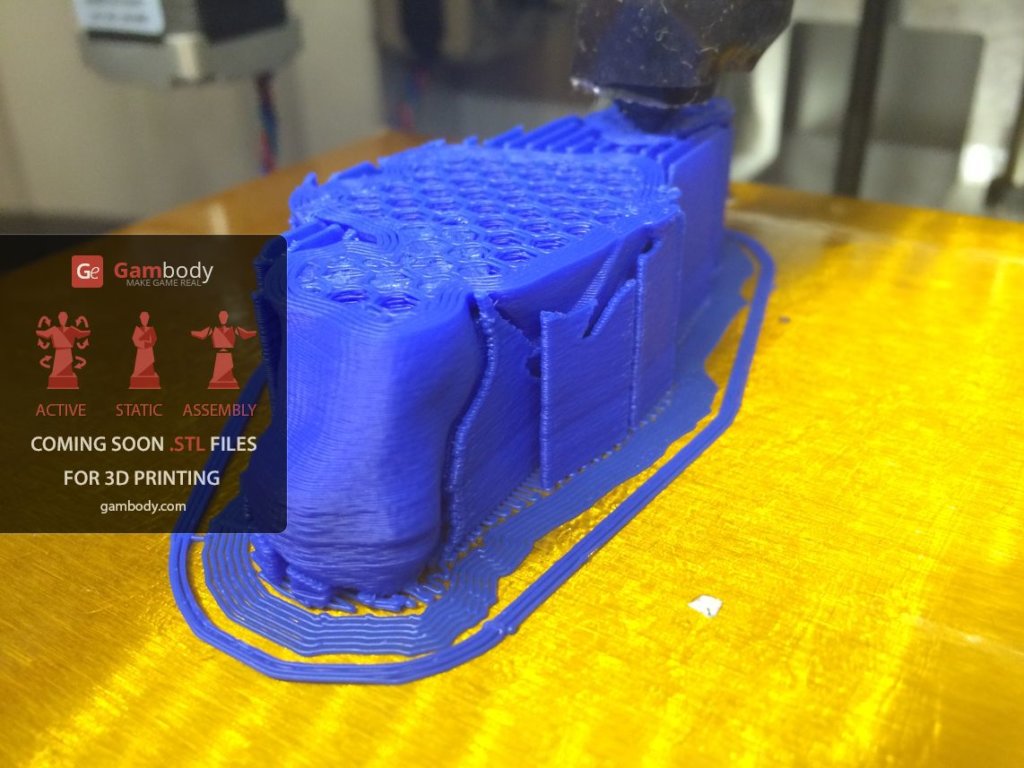
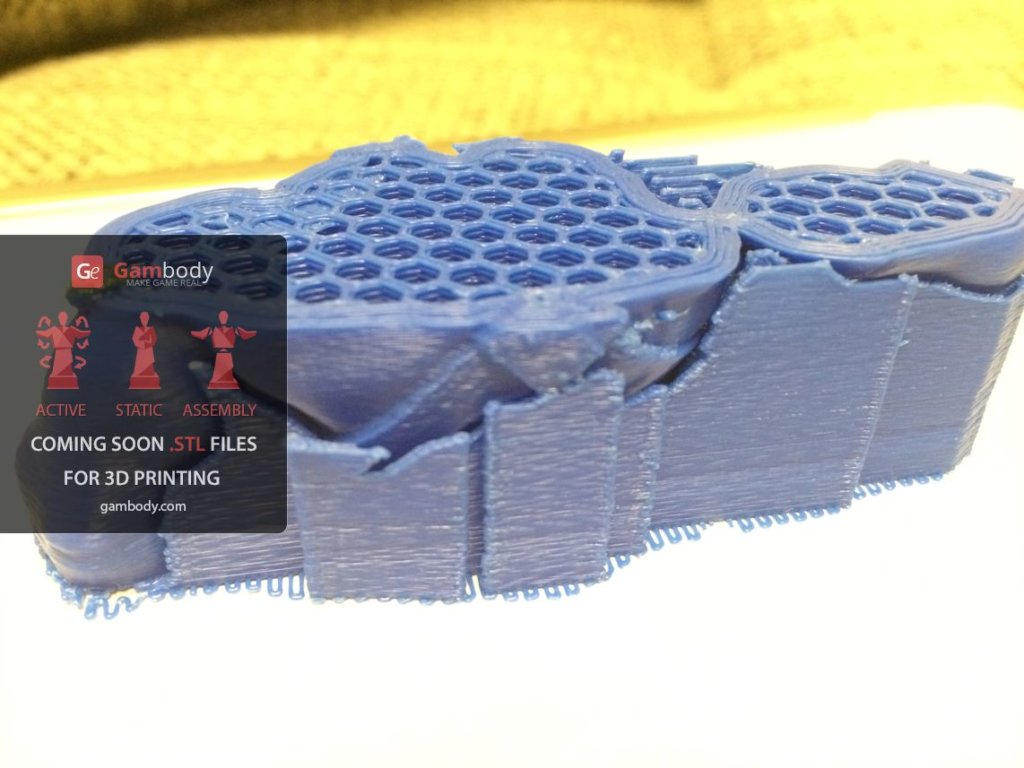
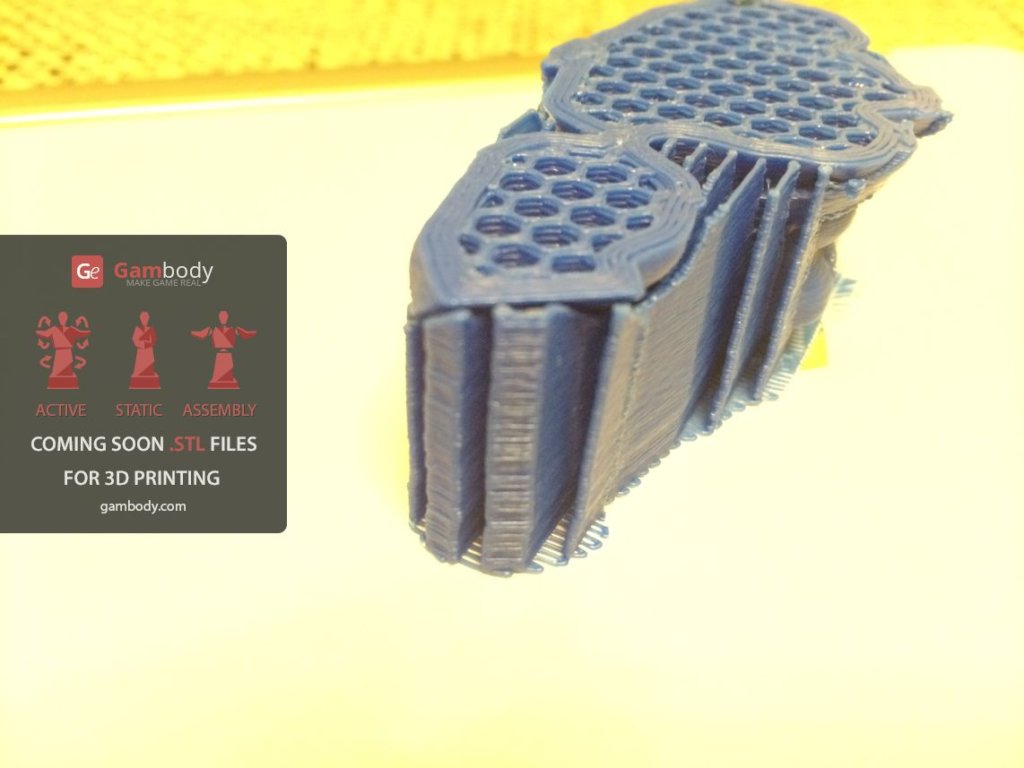
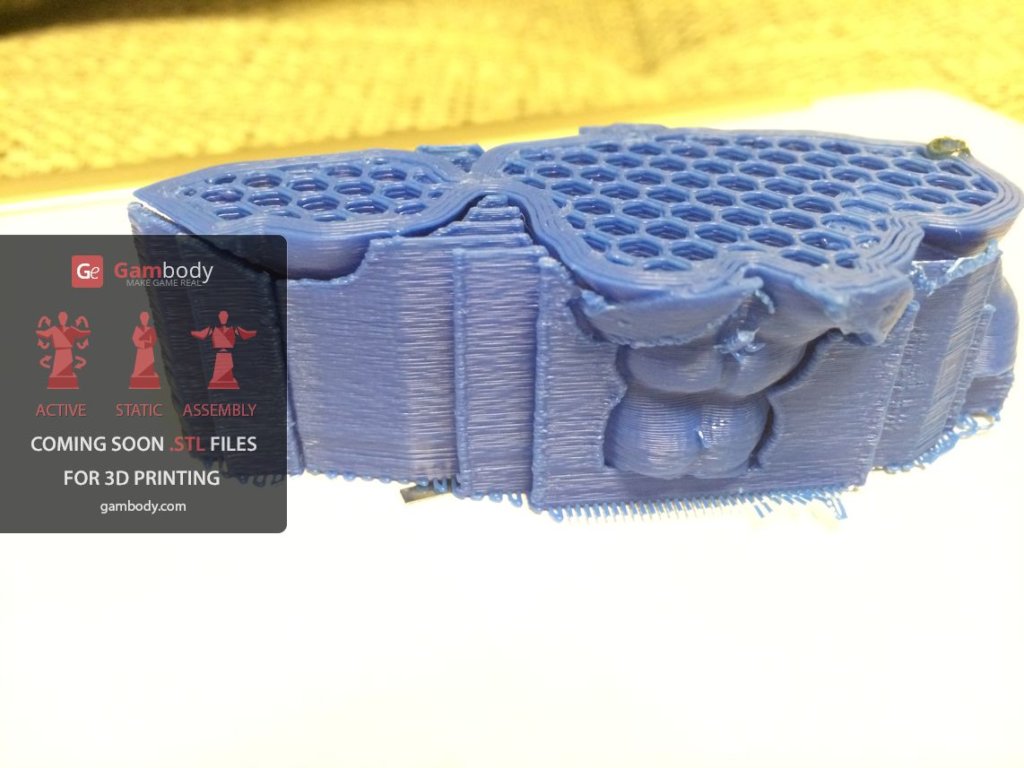
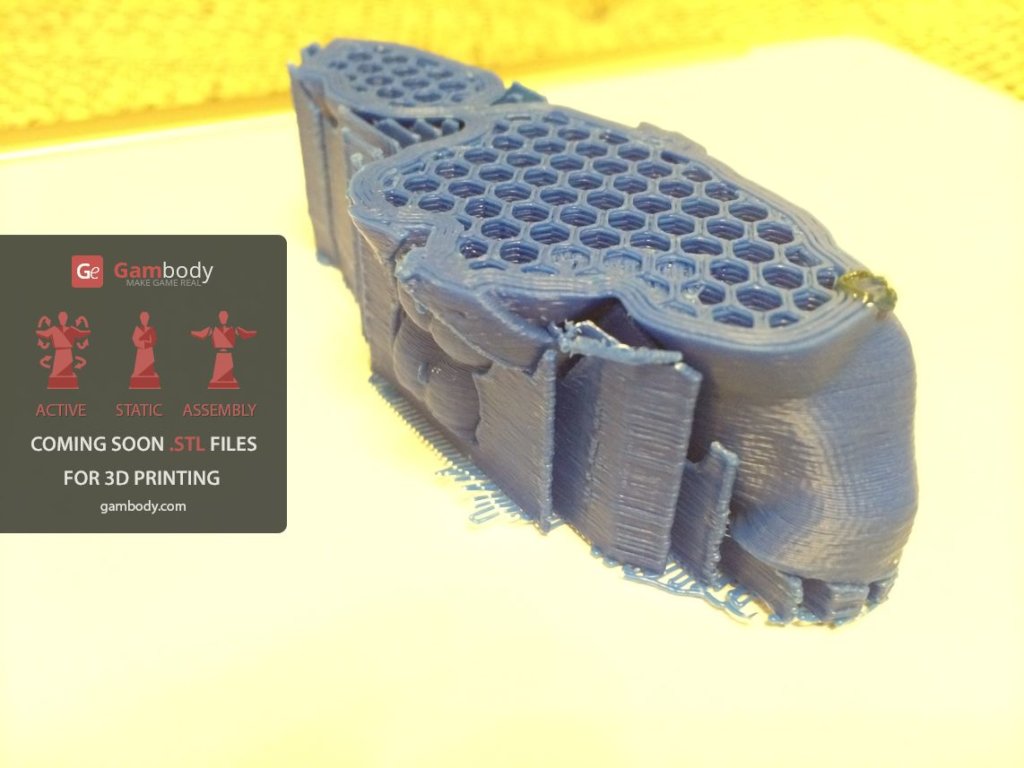
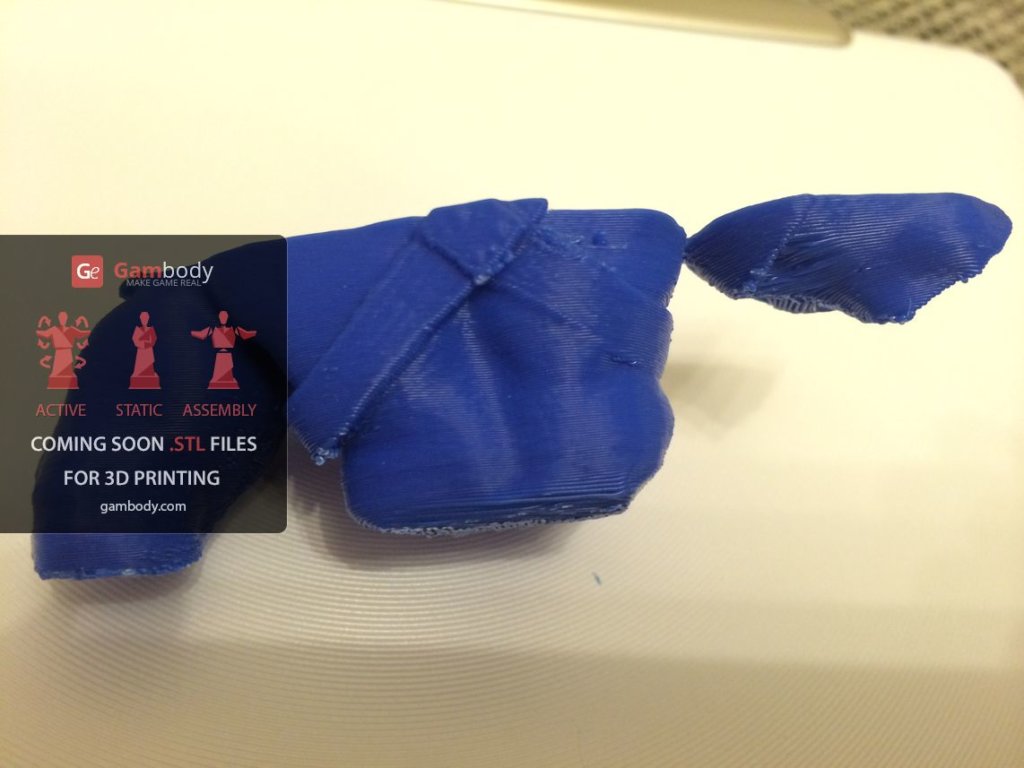
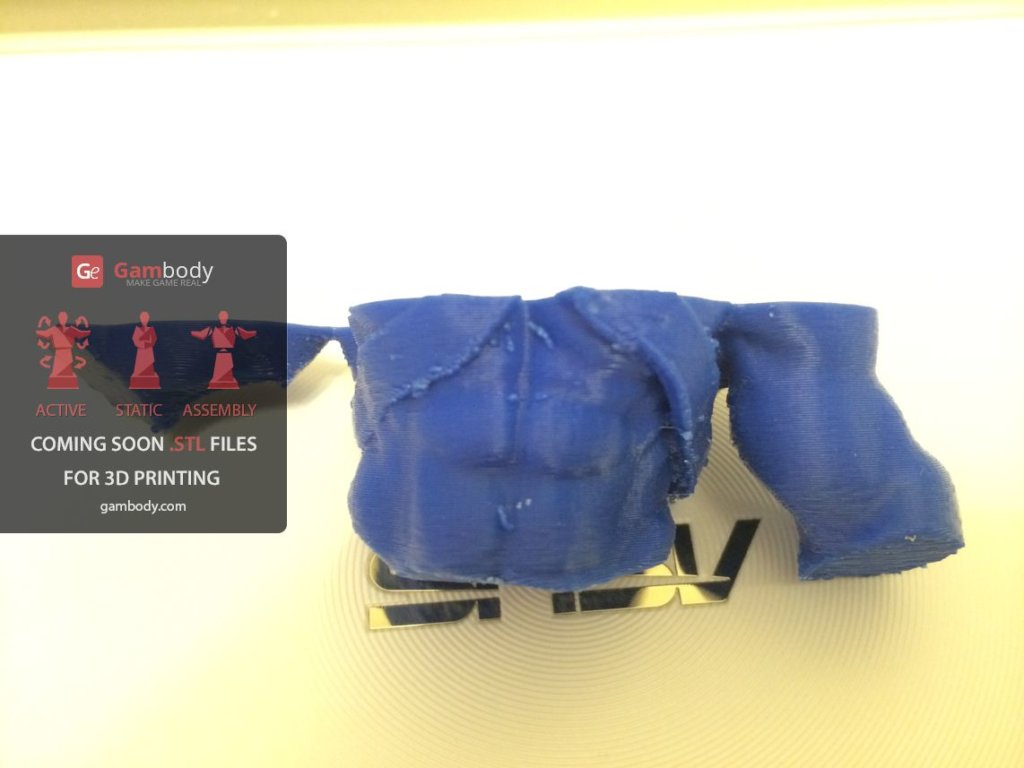
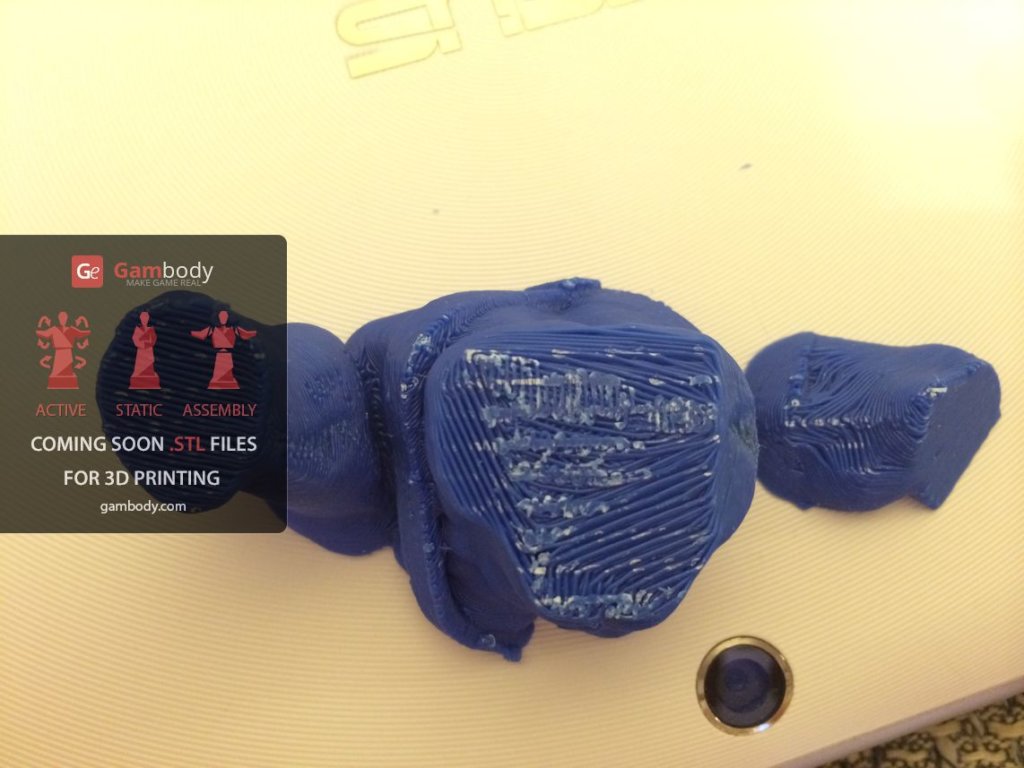
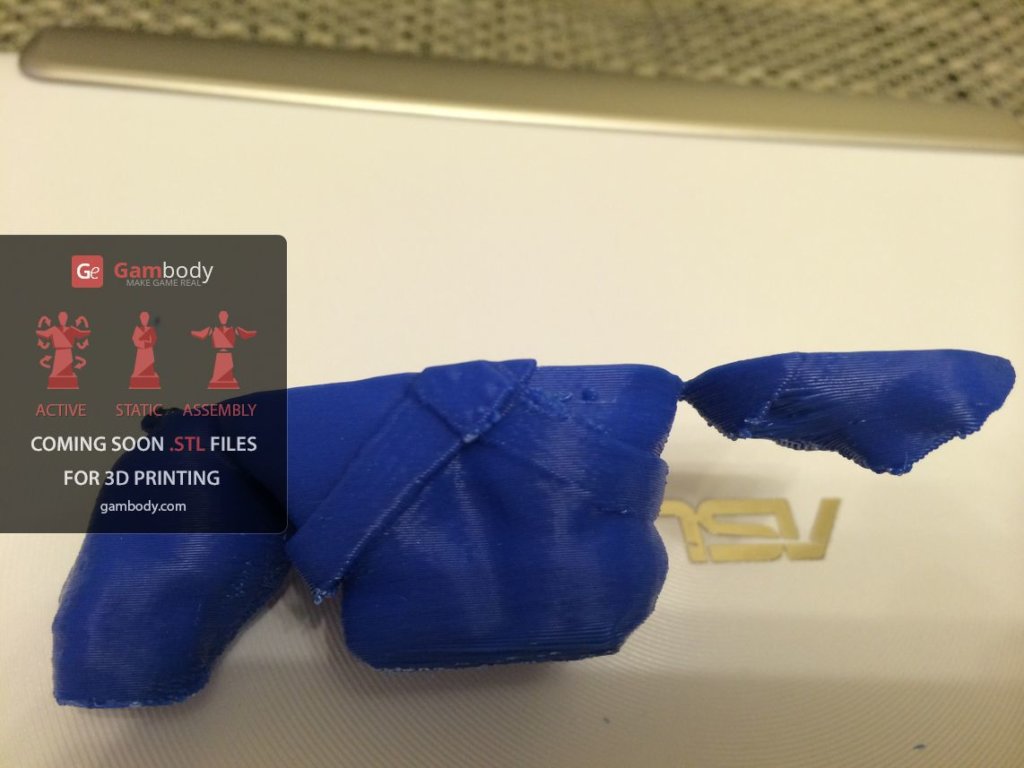
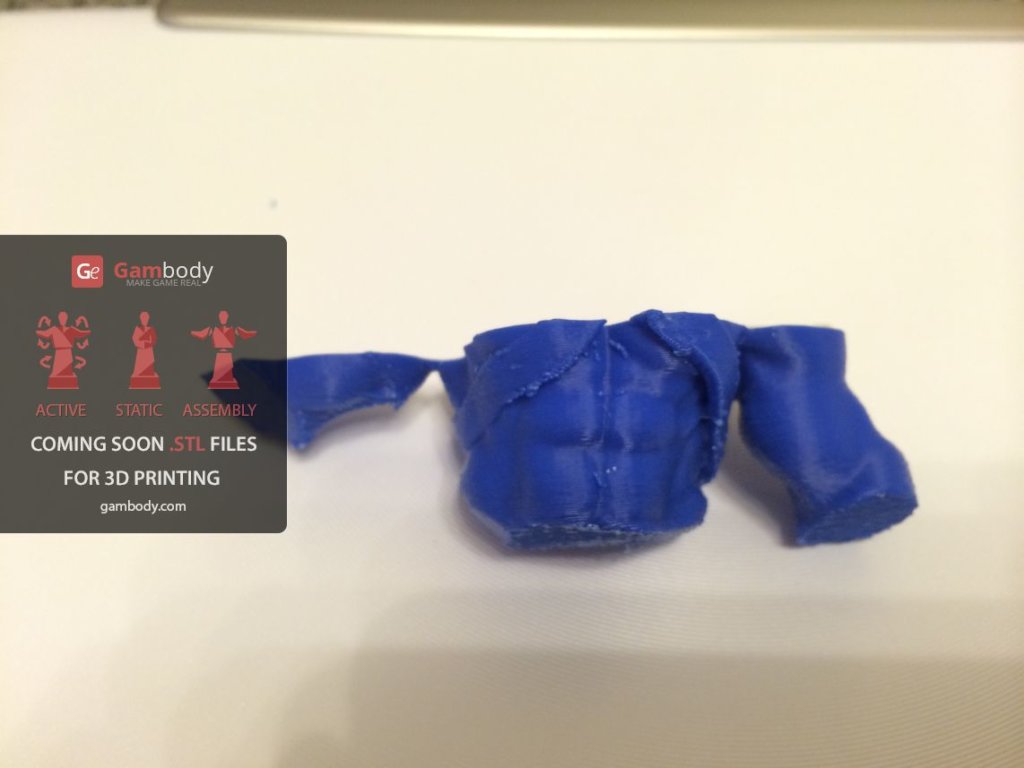
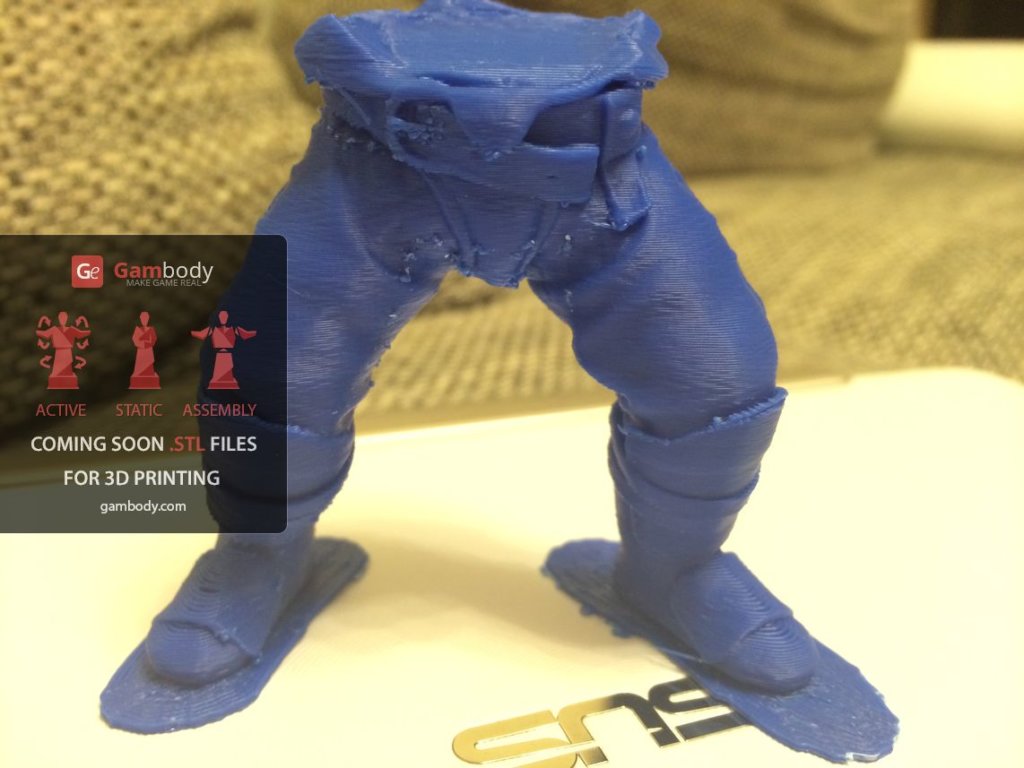
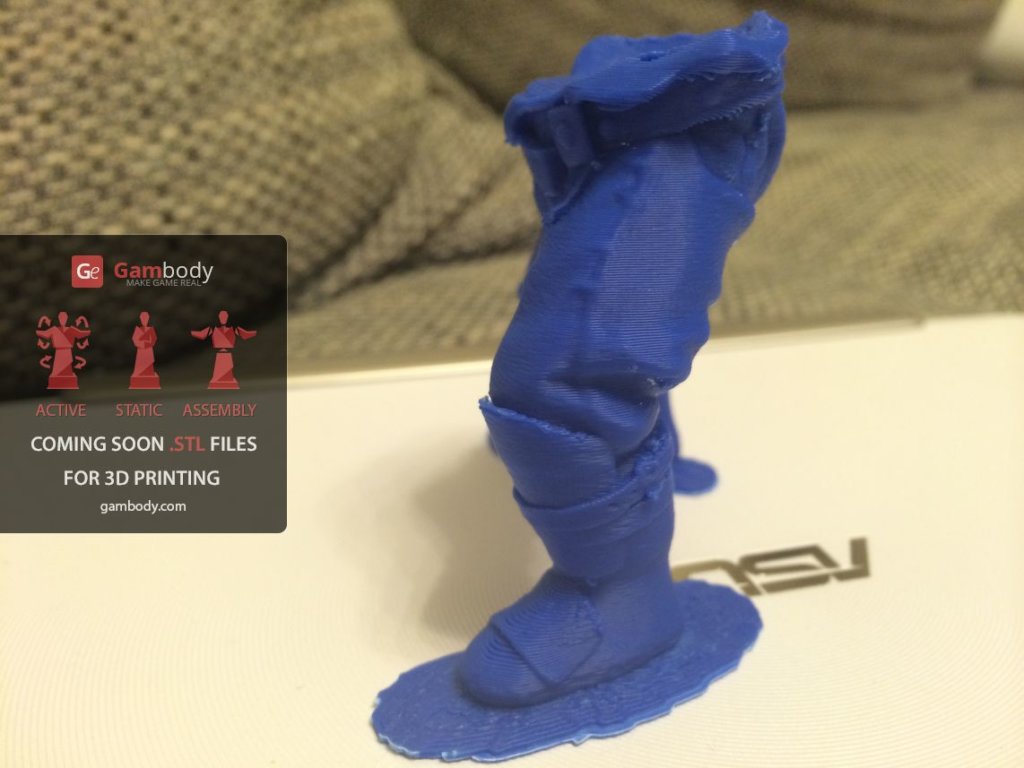
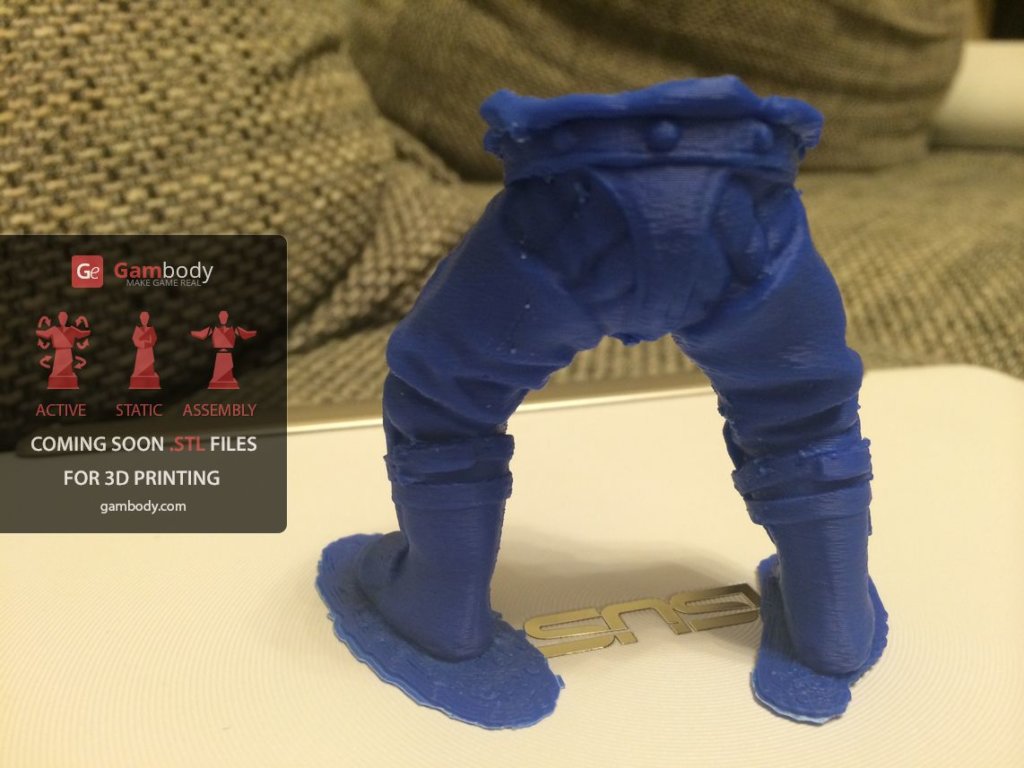
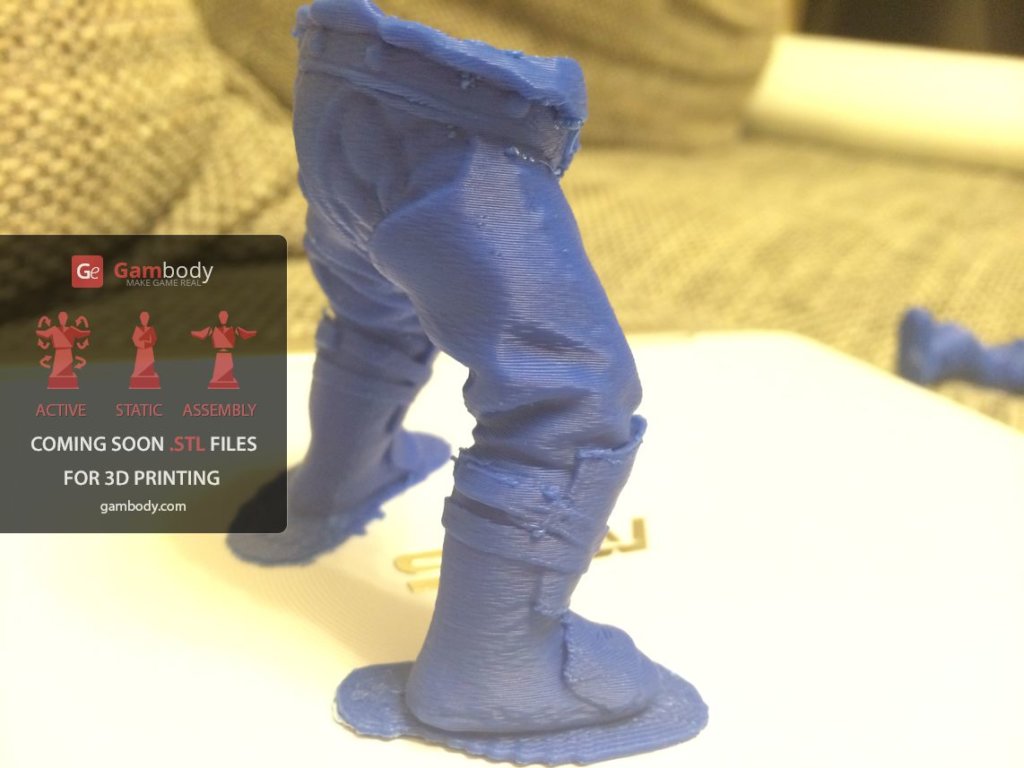
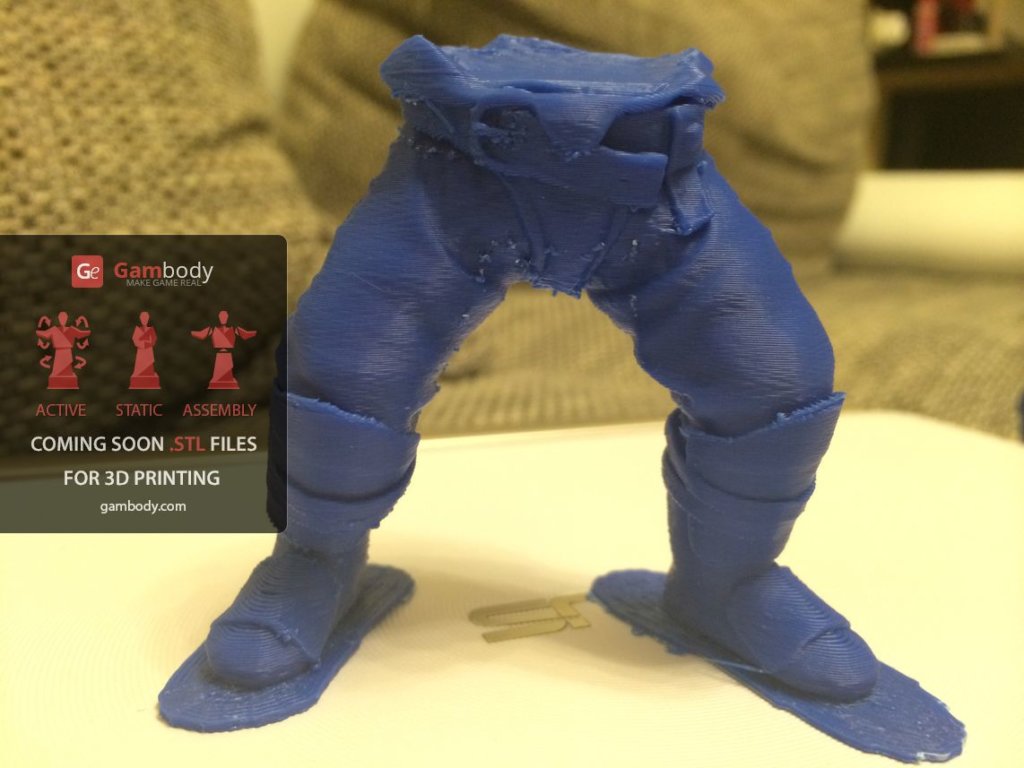
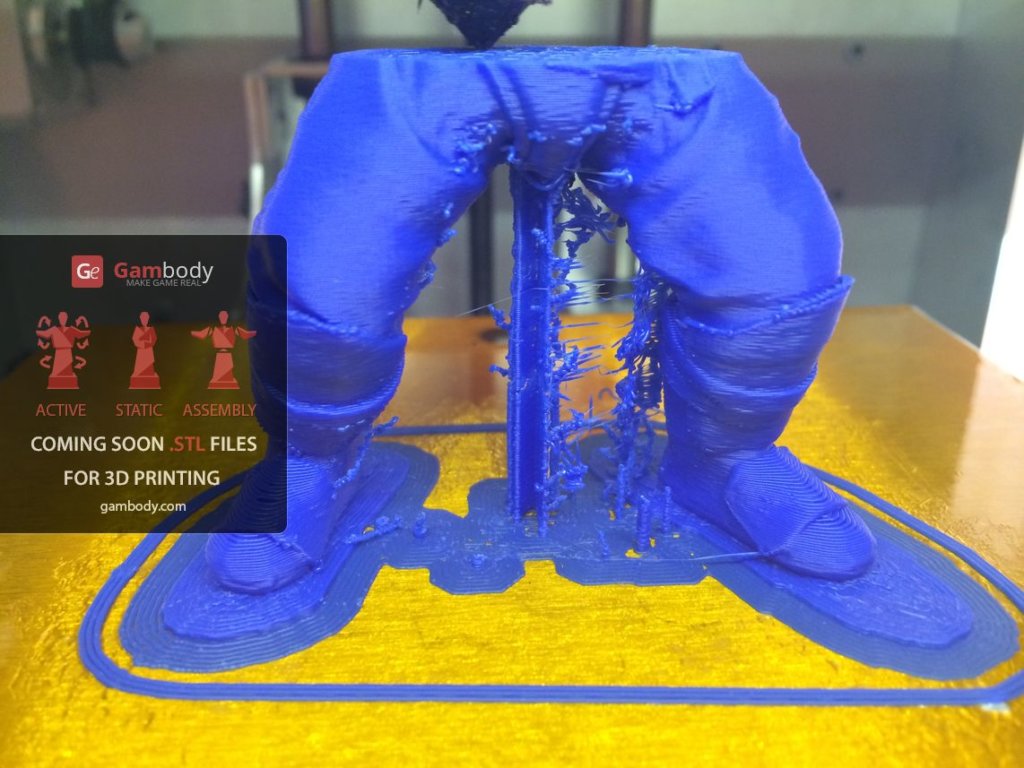
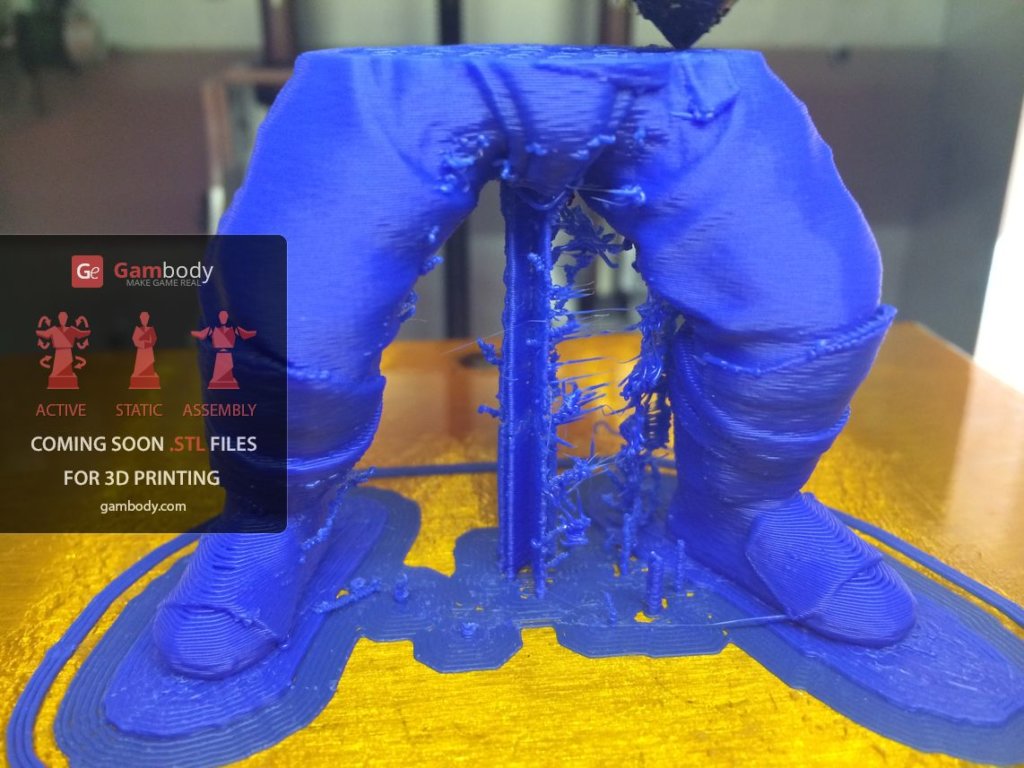
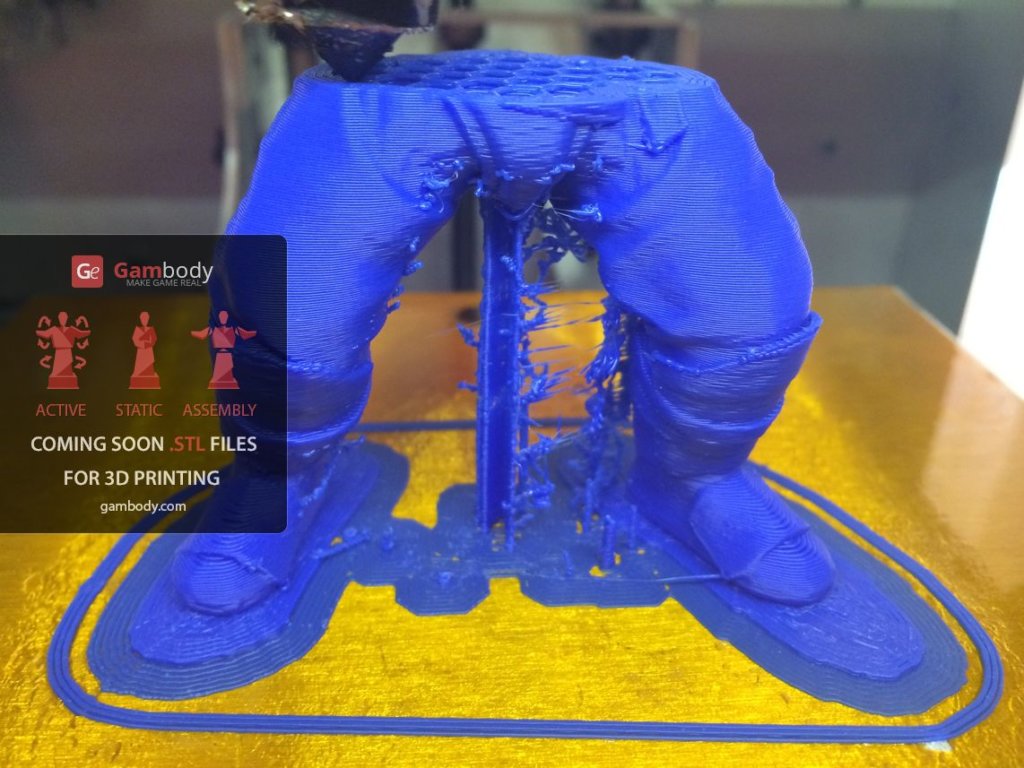
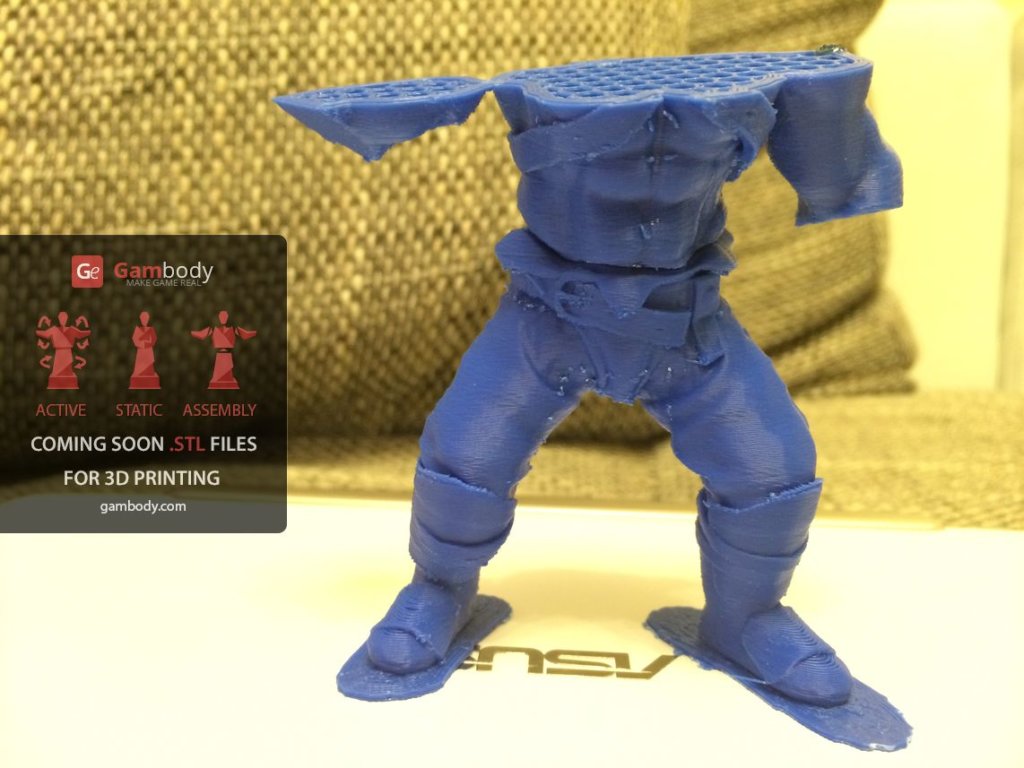
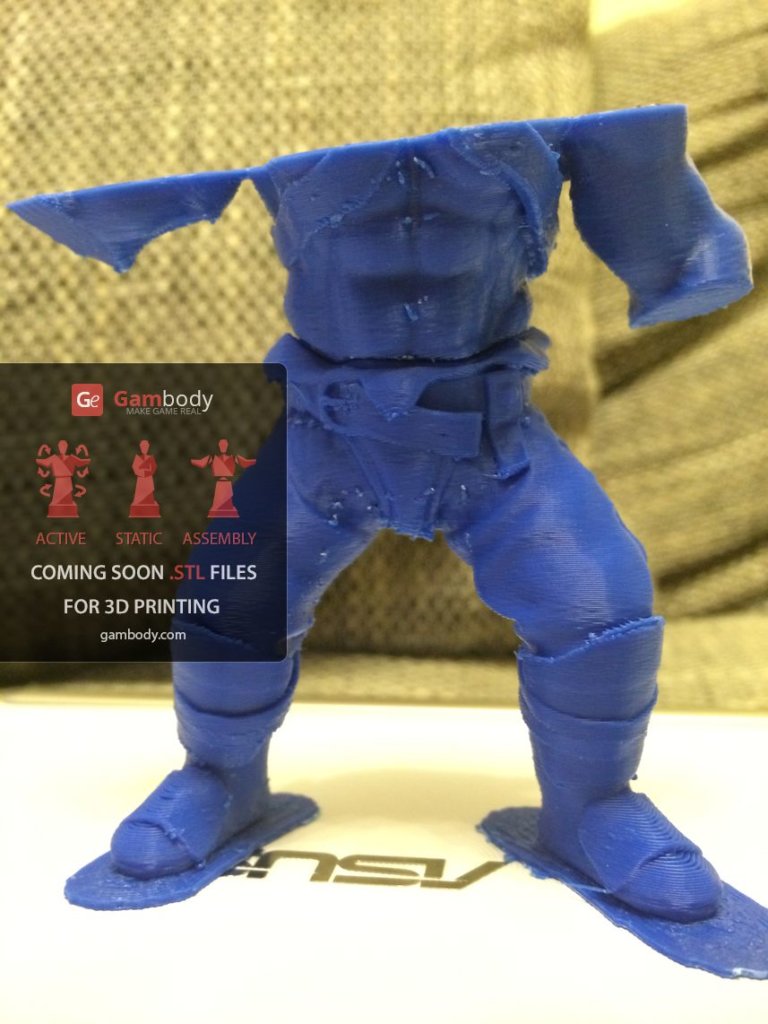
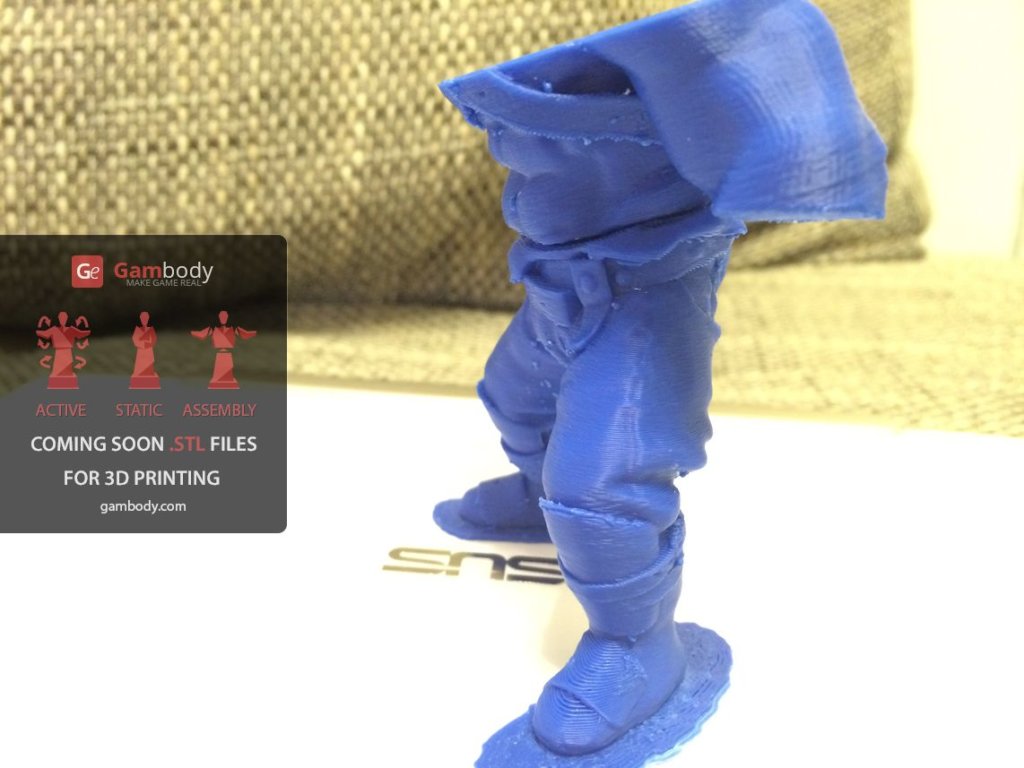
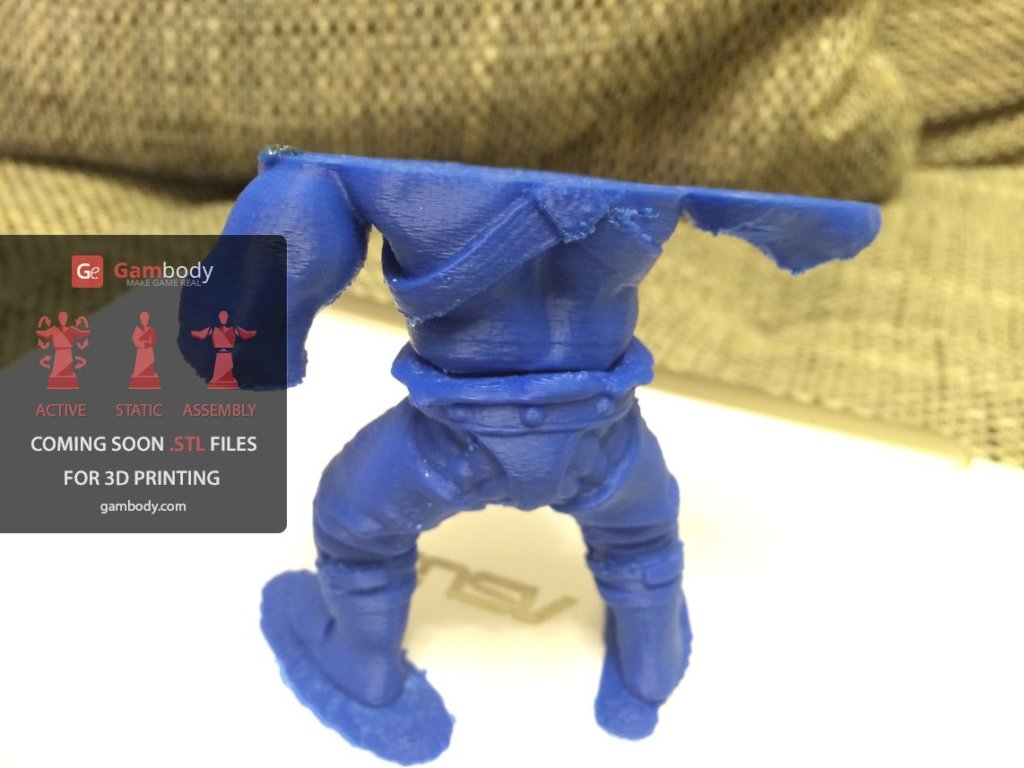
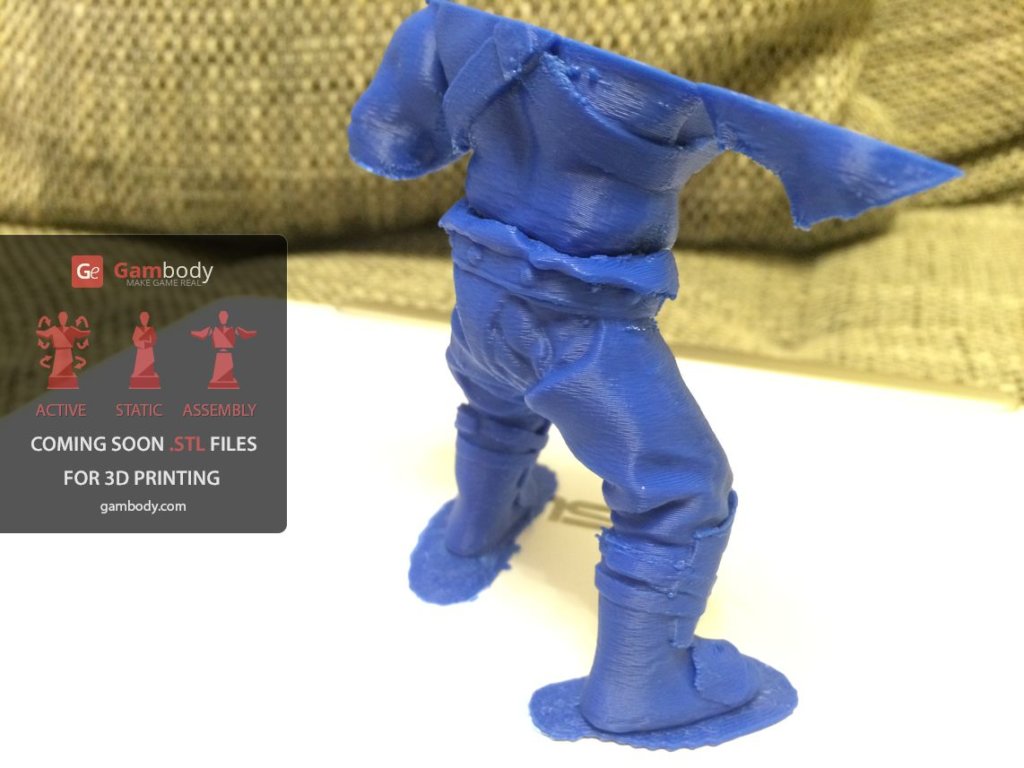
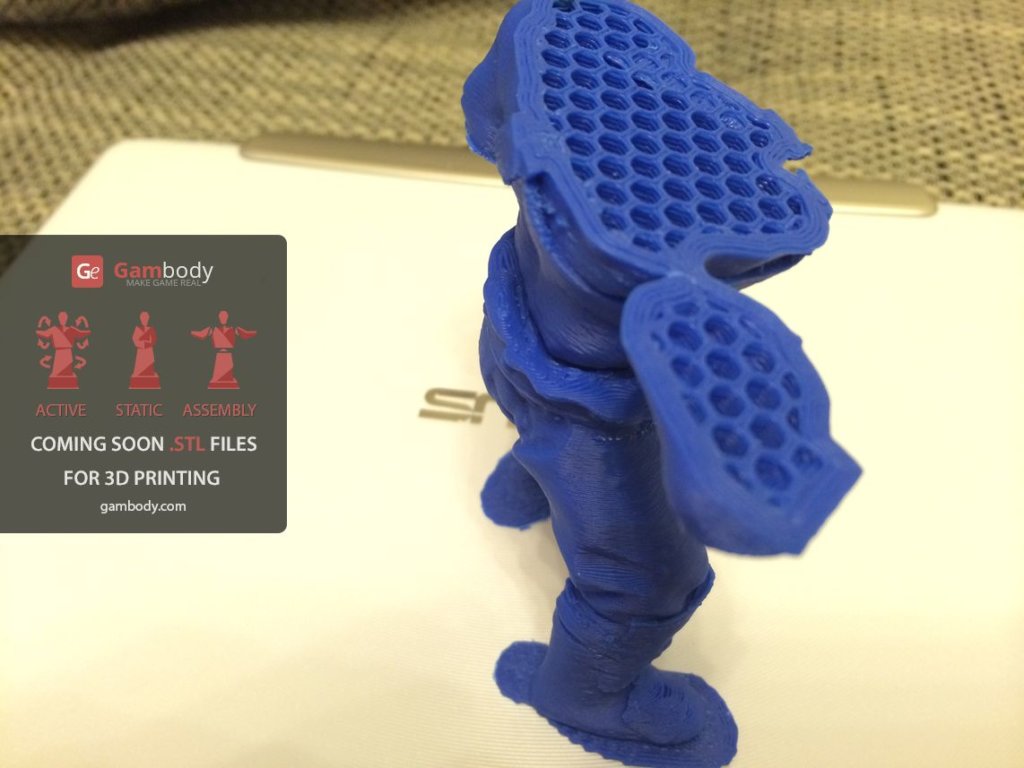
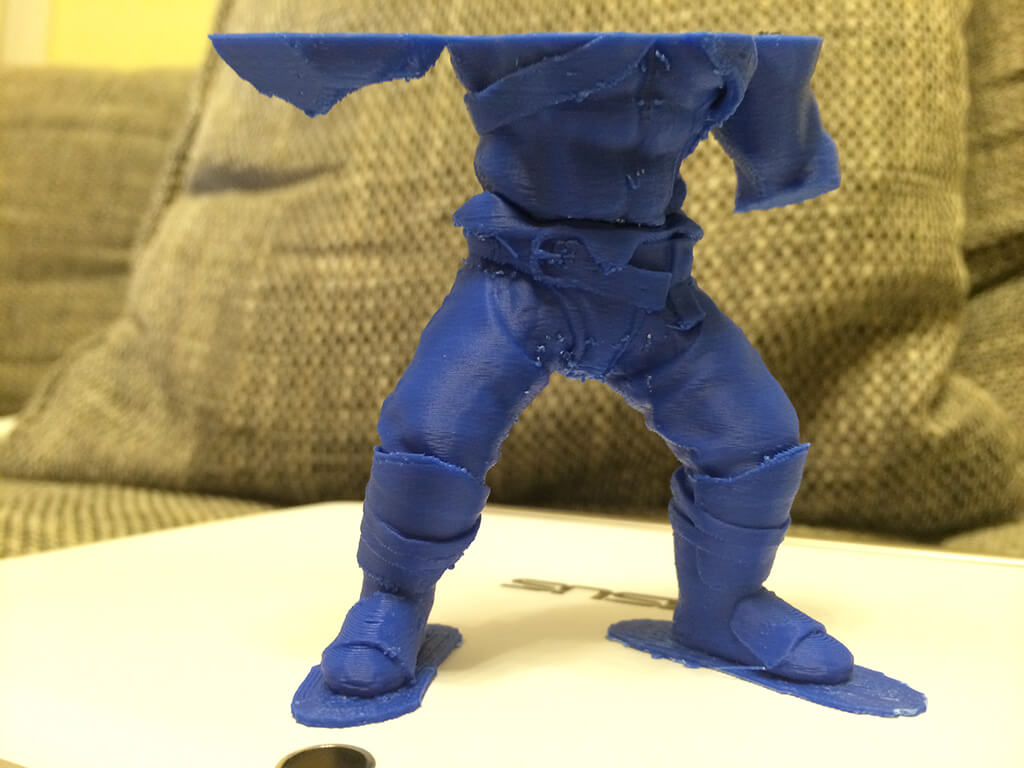
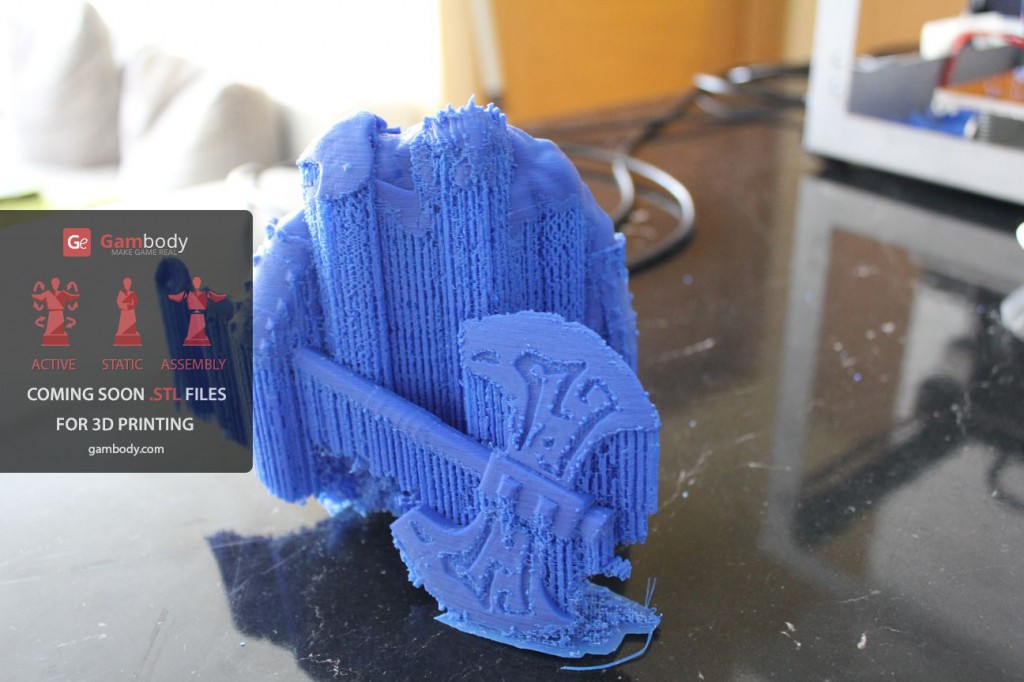
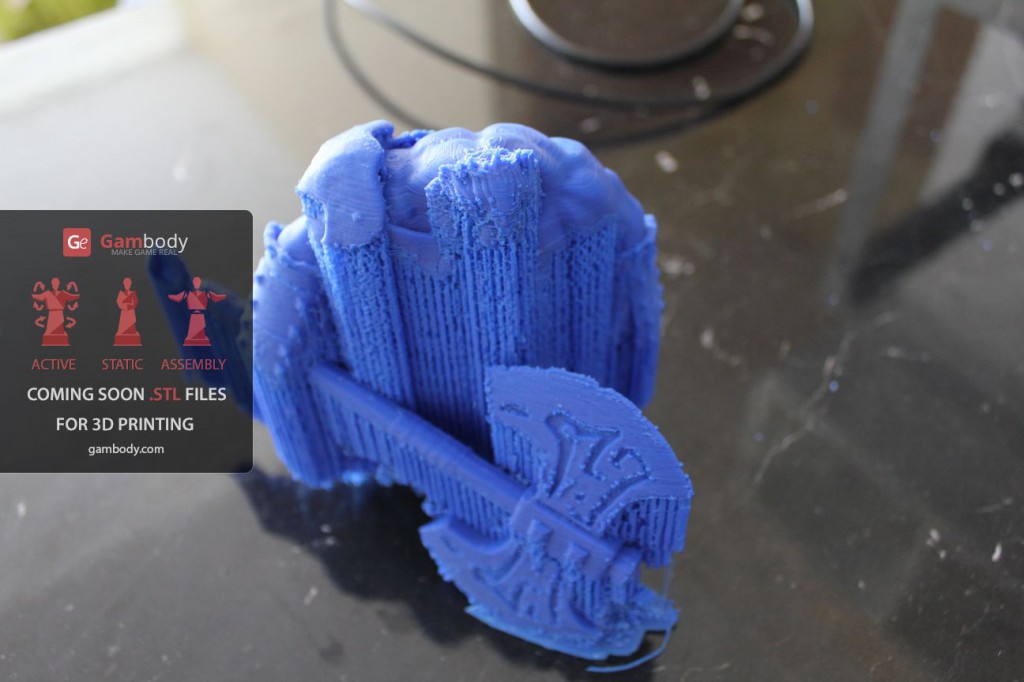
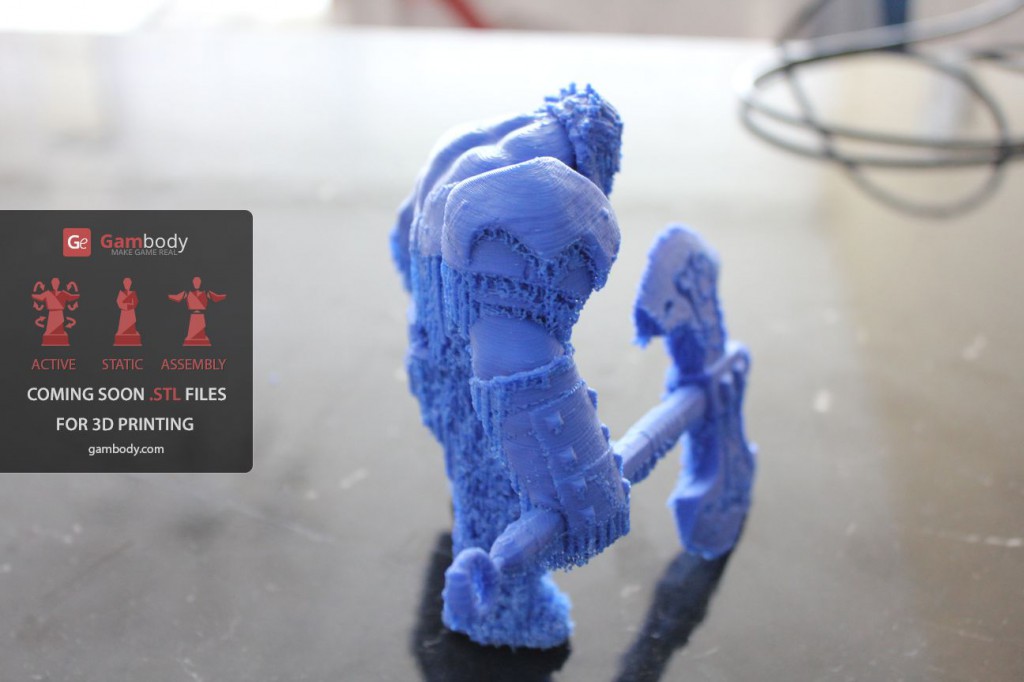
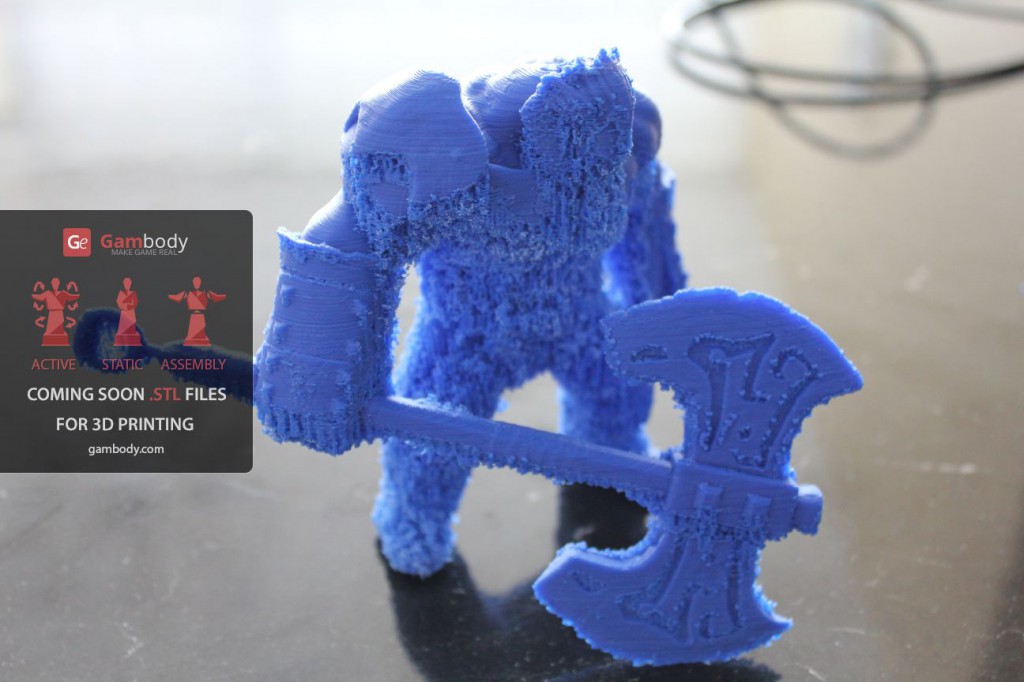
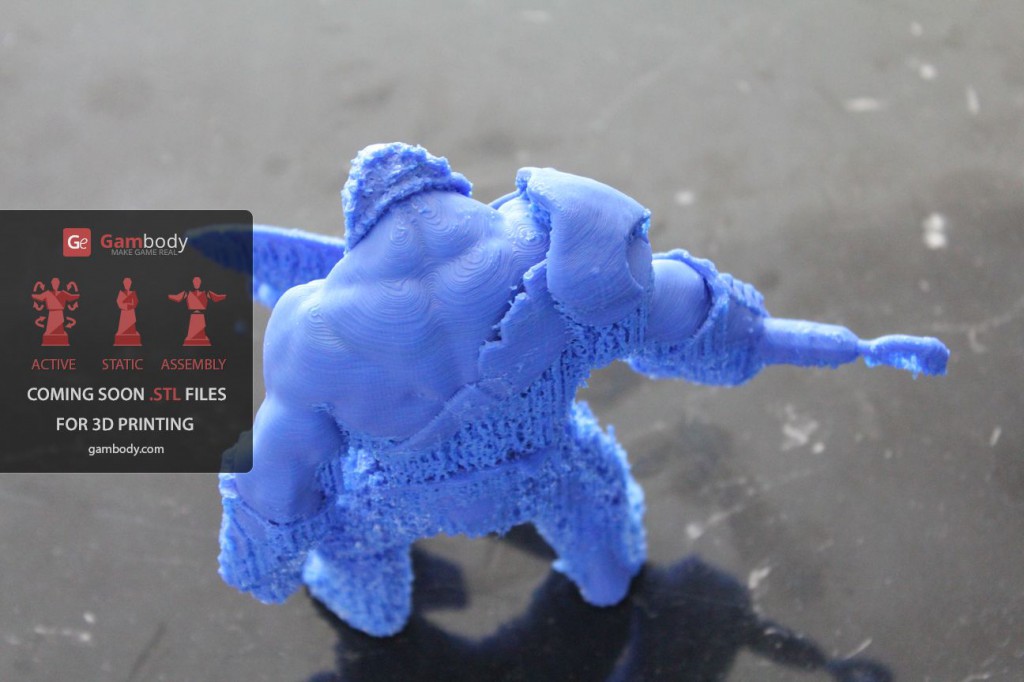
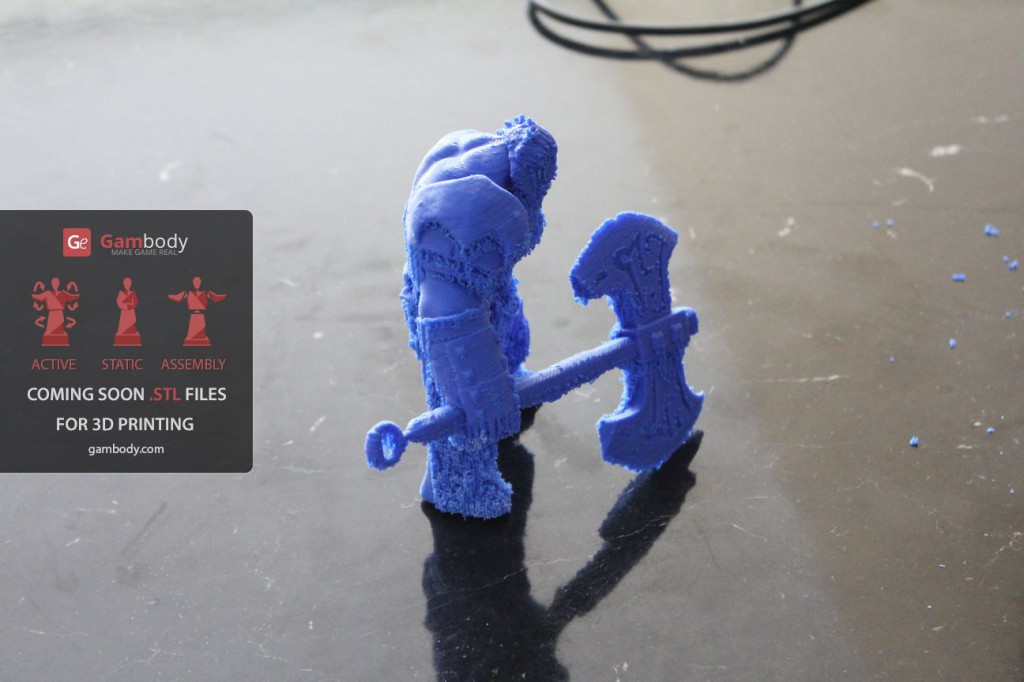
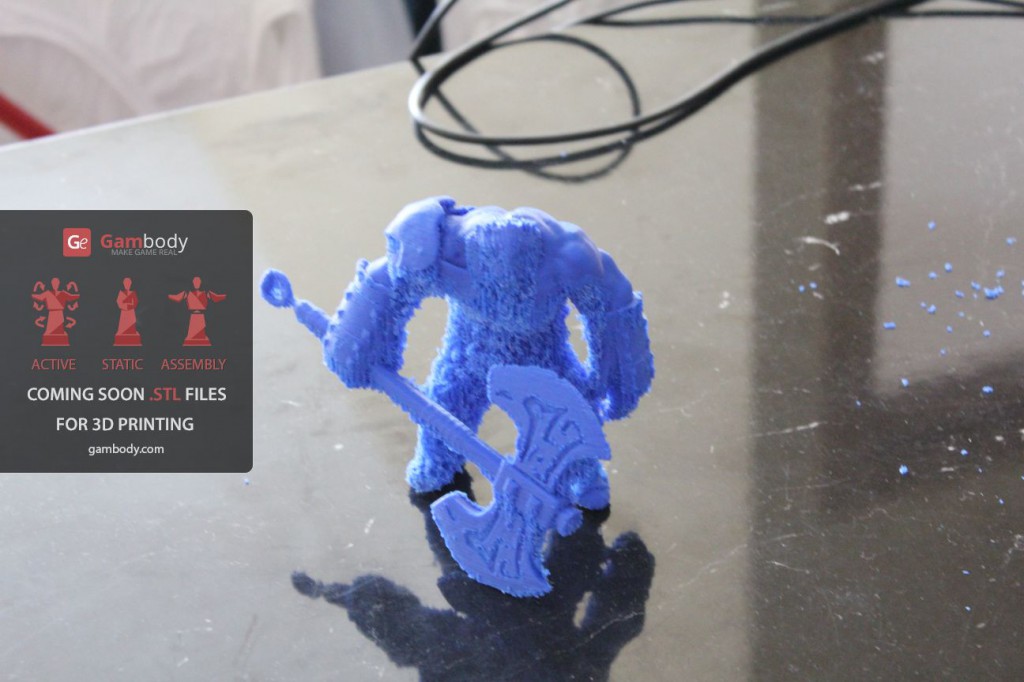
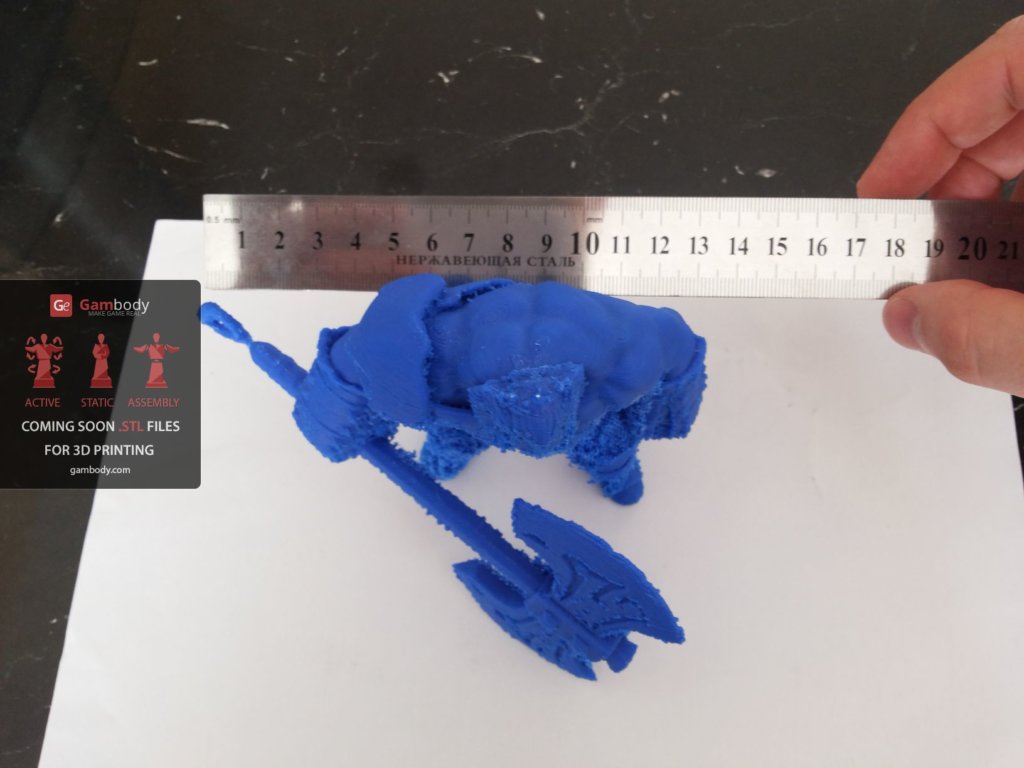
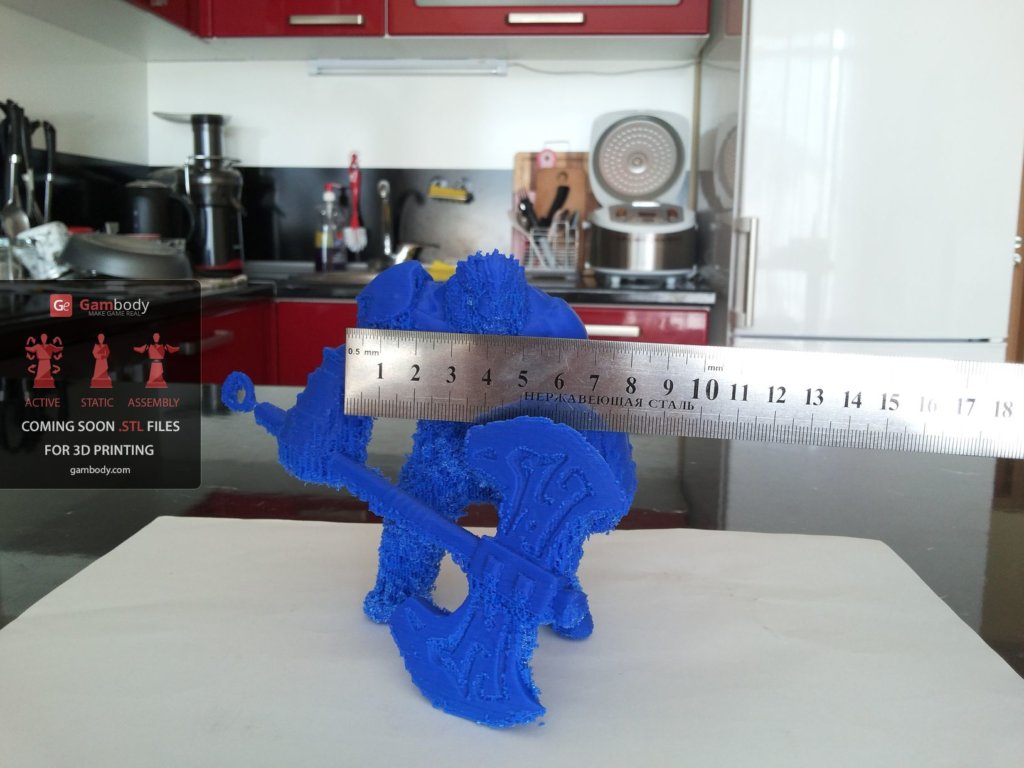
You can find my photo report below 😉
