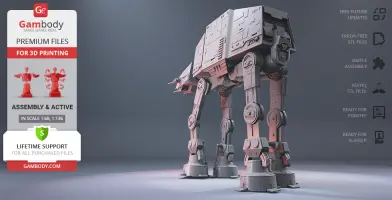
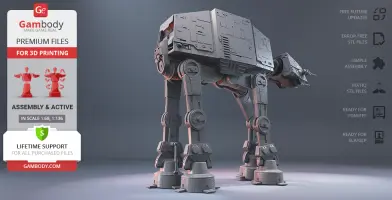
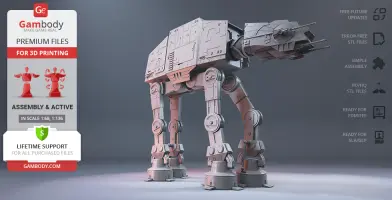
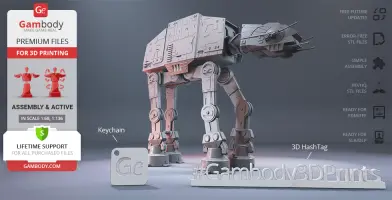
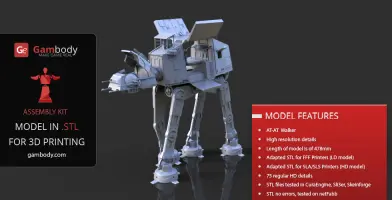
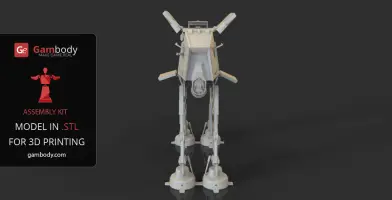
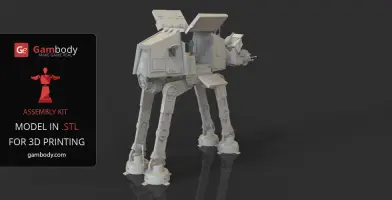
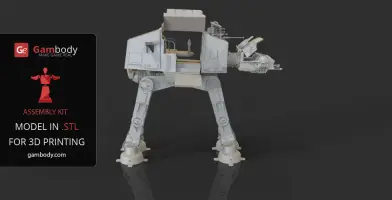
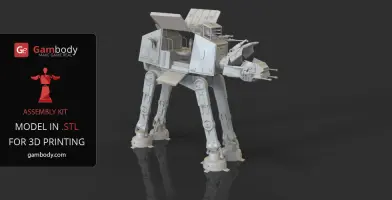
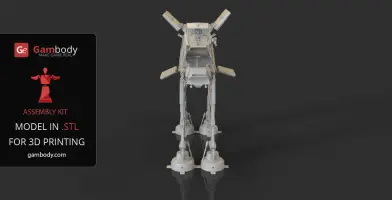
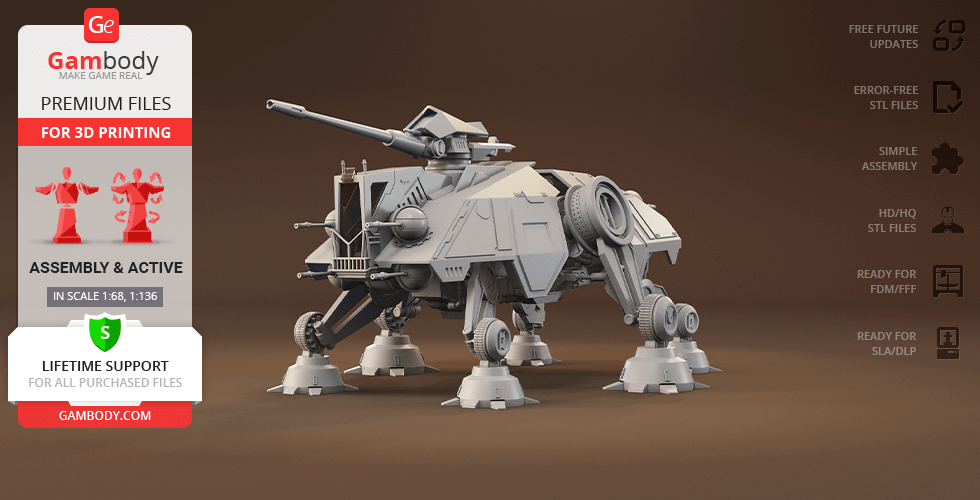
This 3D printing design of AT-AT Walker from Star Wars consists of files in StereoLithography (.Stl) format that is optimized for 3D printing.
Before printing the files, we strongly recommend reading the PRINTING DETAILS section.
WHAT WILL YOU GET AFTER PURCHASE?
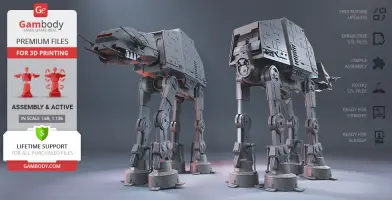
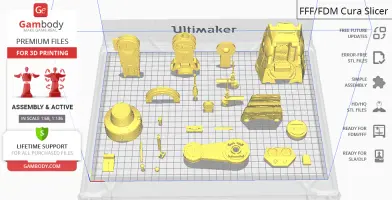
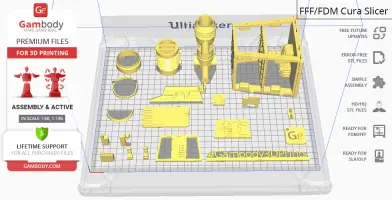
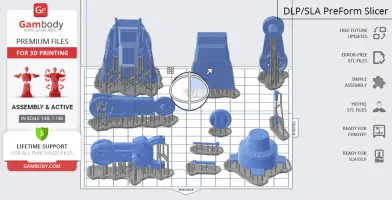
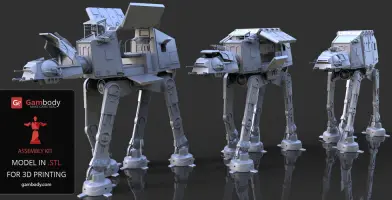
- 3 versions of AT-AT Walker STL files for FFF/FDM, DLP/SLA/SLS — files for all versions are available for download after the purchase;
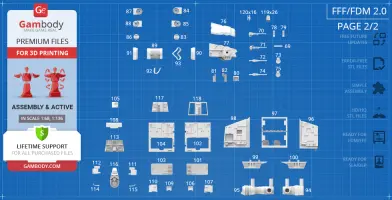
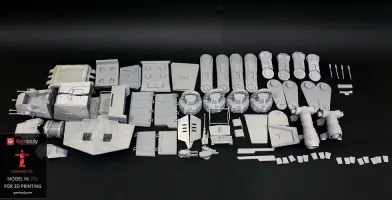
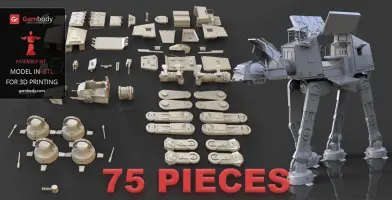
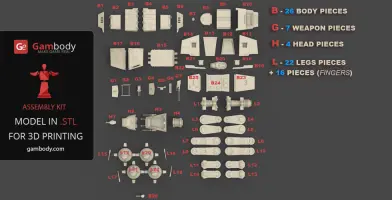
- STL files of high-poly AT-AT Walker model for 3D printing consist of 182 files;
- Sizes for:
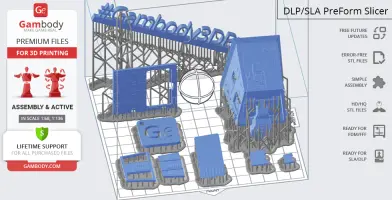
- FFF/FDM: 322 mm tall, 140 mm wide, 396 mm deep;
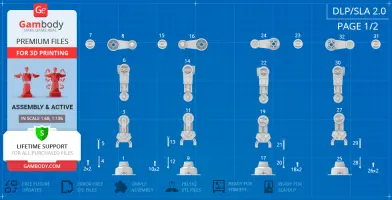
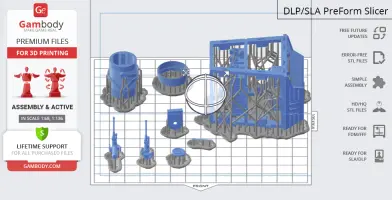
- DLP/SLA/SLS: 161 mm tall, 70 mm wide, 198 mm deep;
- Assembly Manual for FFF/FDM 2.0 and DLP/SLA 1.0 versions in PDF and video formats;
- Detailed settings that we provide as a recommendation for Cura, Bambu Studio, Simplify3D, Slic3r and PrusaSlicer for the best print;
- Full technical support from the Gambody Support Team.
Detailed information about these 3D printer STL files is available in the DESCRIPTION section.
ABOUT THIS 3D MODEL
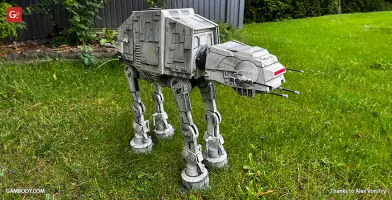
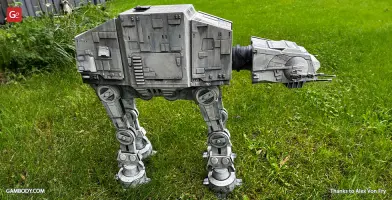
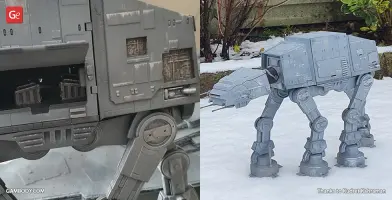
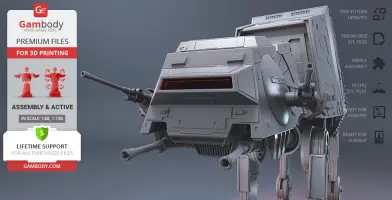
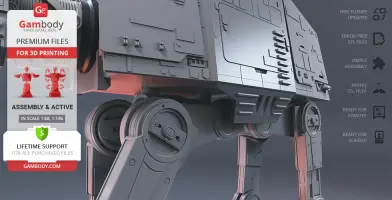
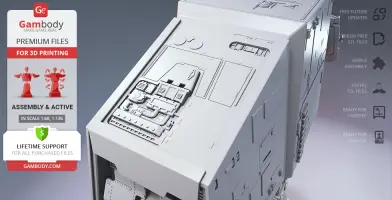
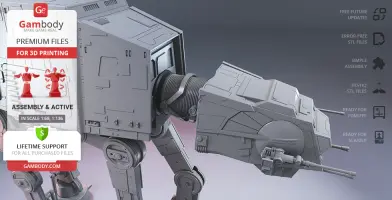
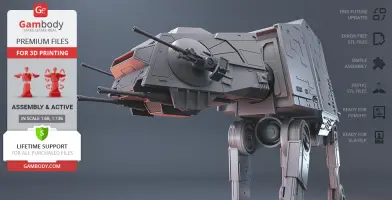
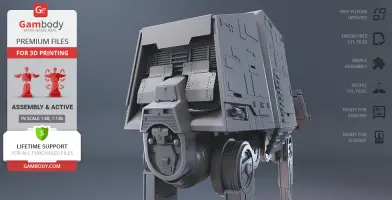
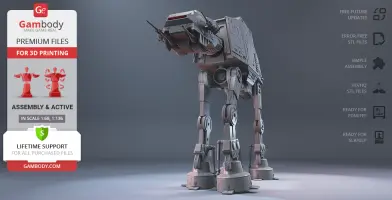
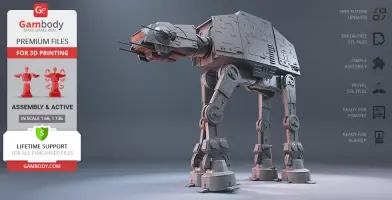
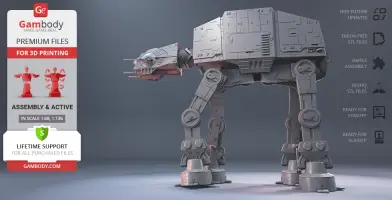
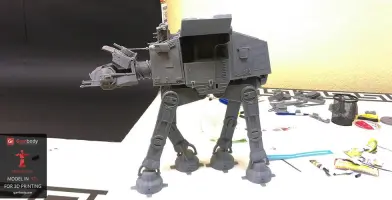
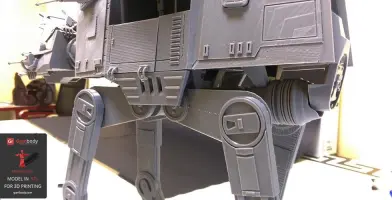
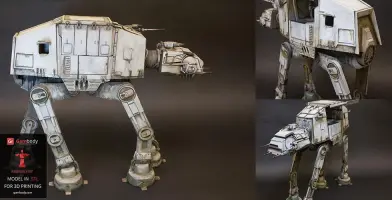
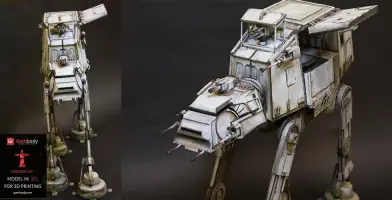
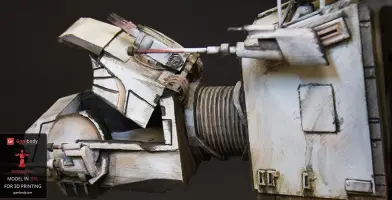
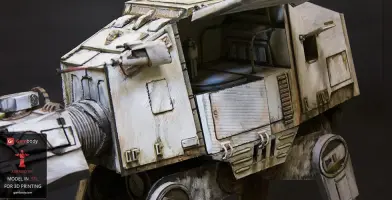
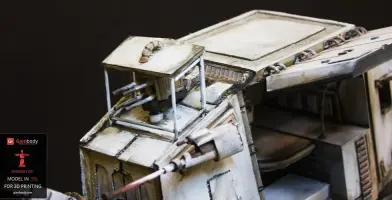
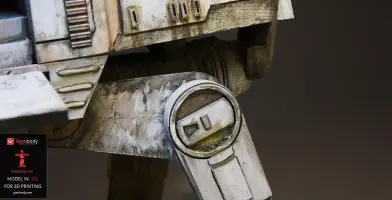
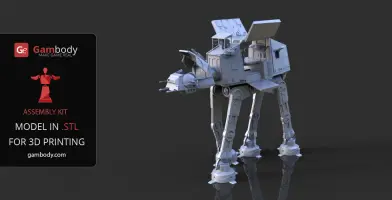
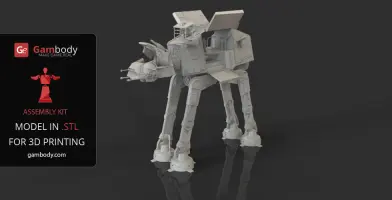
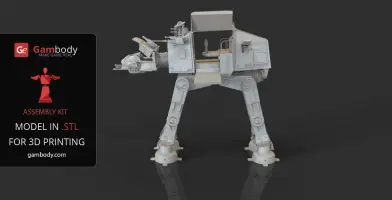
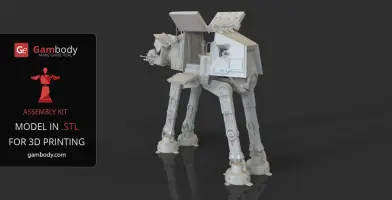
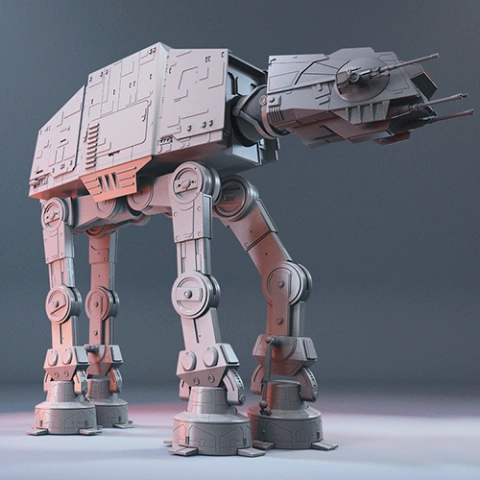
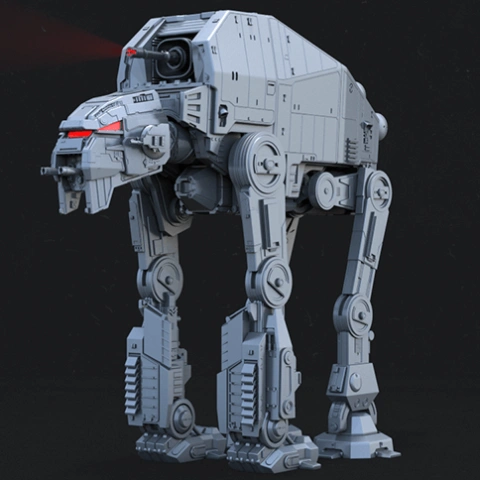
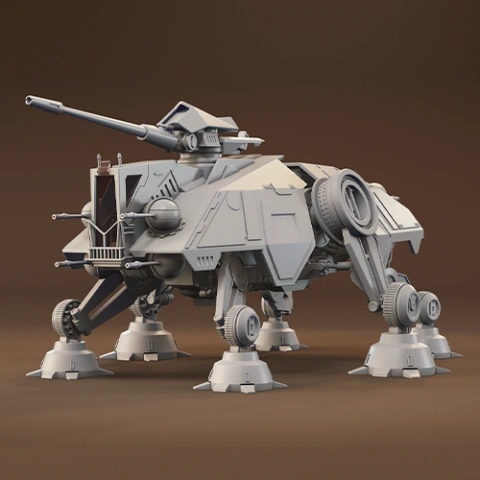
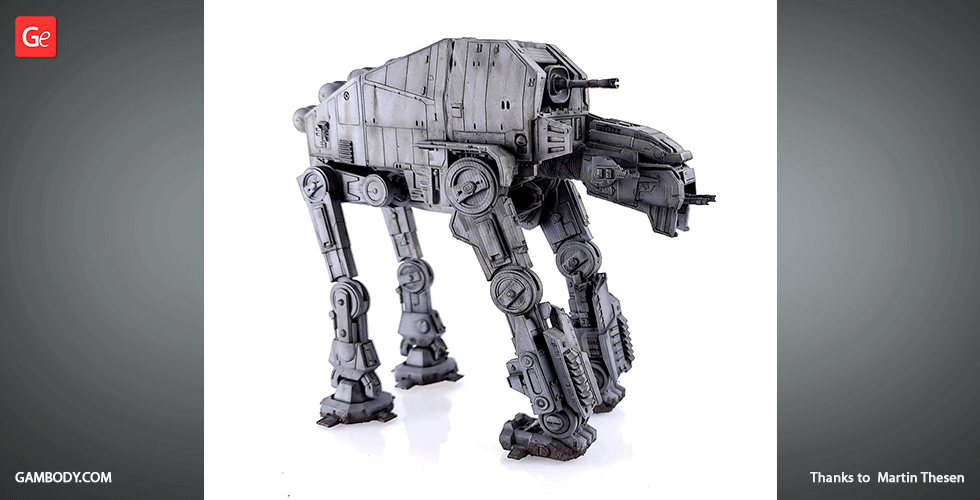
The ferocious All Terrain Armored Transport (AT-AT) is a quadrupedal combat Walker, the Imperial Army’s most famous and menacing ground weapon and an incontestable star of George Lucas' franchise. AT-ATs achieved their legendary status after the iconic battle on the ice plains of Hoth that resulted in a successful attack on Echo Base that protected the Rebel headquarters. Despite Walker’s many flaws and vulnerabilities, it has proved to be an excellent psychological weapon enough to make the enemy yield. With its terrifying main guns, massive size, tremendous design, and surprising pace, the AT-AT Walker can terrify the enemies with its mere appearance. The author of the imposing AT-AT model definitely wanted his Walker selection to boast one of the most recognizable symbols of the Empire's military strength. Massive and powerful, AT-AT model is heavily armed, carrying the twin chin-mounted Class II heavy laser cannons, and a pair of medium blaster cannons on its cheeks. Shielded with heavy armour cladding, the Walker 3D print model distinguishes by its spectacular level of detail of both the exterior and interior elements. The 3D artist made sure to carefully outfit the two-pilot cockpit and the two-story cabin that is known to carry up to 40 troopers to their deployment site. Various hatches and lids all over the body of this destructive weapon conceal the highly-detailed mechanical elements that would allow you to present the 3D printed AT-AT in a variety of scenarios or conditions. While the slow and vulnerable AT-AT might fail reality test, it is simply impossible to deny the fact that this Walker is a truly legendary beast of the Star Wars franchise. Get yourself your very own behemoth of a war machine by 3D printing the astonishing AT-AT Walker model!
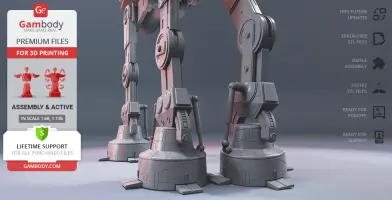
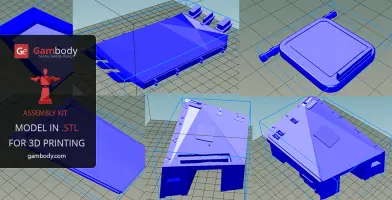
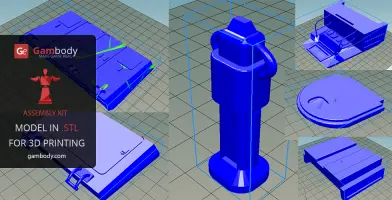
ADAPTATION FOR 3D PRINTING
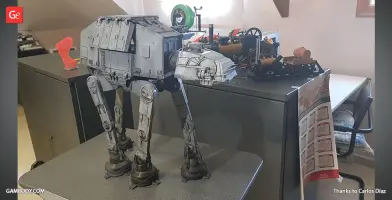
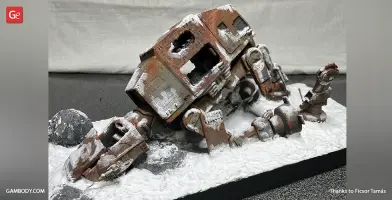
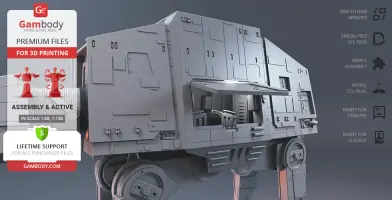
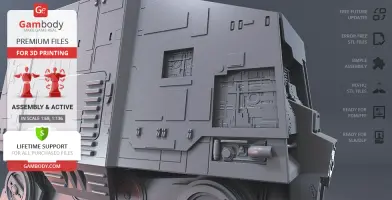
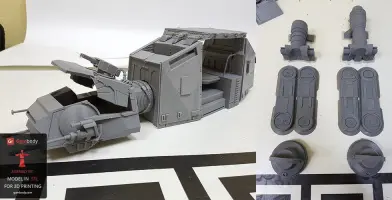
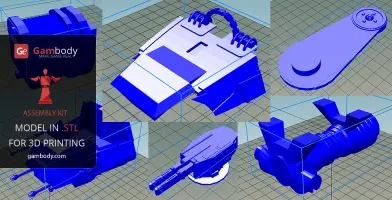
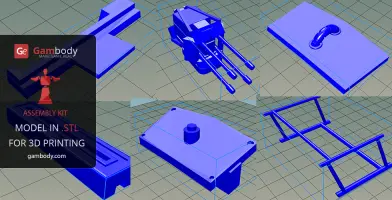
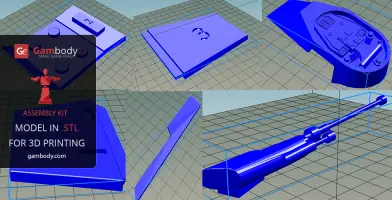
AT-AT Walker 3D printing design is an active assembly model and its updating and adaptation for different types of 3D printers took Gambody team 75 hours in total. Due to the fact that this model was first released on Gambody back in 2015, for all the Star Wars fans to print the best Walker possible, the model was upgraded from the ground up, cut into assembly parts anew, equipped with the latest developed articulated connecting elements and adapted for different types of 3D printers taking into account the present-day technology advancements. What is more, when preparing the model's update its level of detail and accuracy were significantly enhanced. Thus, for you to receive the cleanest 3D printing result possible and to minimize the amount of filament needed for generated support the Walker model was divided into many assembly parts, e.g. its blaster cannons, footpads, various hatches, viewport, heavy laser cannons, toe flaps, etc. are provided as separate STL files. The model’s head and body in both FFF/FDM 2.0 and DLP/SLA/SLS 1.0 versions are made hollow and equipped with the highly detailed interior of the cockpit and the cabin. For the quadrupedal Walker to be displayed in a variety of dioramas and scenarios, all of its joints were made articulated with the help of special mechanisms and the weapons mounted on the model’s body were made movable as well. All assembly parts are provided in STL files in recommended positions that were worked out in order to ensure the smoothness of the details’ surfaces after printing and that the 3D printing beginners won't face difficulties when placing the parts on a build plate. When downloading any model's file you will also receive "Assembly Manual" for FFF/FDM 2.0 and DLP/SLA/SLS 1.0 versions in PDF format.
The design is saved in STL files, a format supported by most 3D printers. All STL files for 3D printing have been checked in Netfabb and no errors were shown.
The model's scale was calculated from the actual length of the AT-AT that is 26000 mm. The 3D printing design's chosen scale is 1/68 for the FFF/FDM version and 1/136 for the DLP/SLA/SLS version.
VERSION SPECIFICATIONS
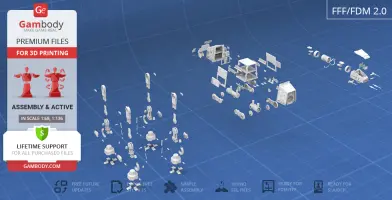
2.0 FFF/FDM version features:
- Contains 120 parts;
- A printed model is 322 mm tall, 140 mm wide, 396 mm deep;
- The updated version of the model with a significantly enhanced level of detail, completely reworked joints, and articulated elements;
- Assembly kit includes lock 120_Ge_lock_10H_x16 to attach Walker's parts securely without glue;
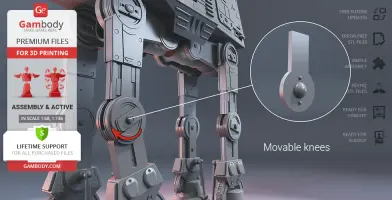
- Made with several sets of special joints to ensure the model's articulation (ankle, knee, hip and neck joints are movable);
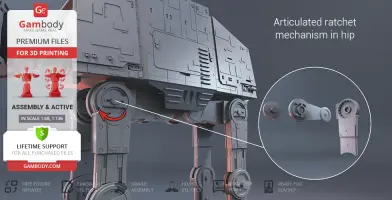
- For the highly articulated Walker to stand firmly in any position you may choose there was a ratchet mechanism introduced into the model’s main joints (knee, hip, and neck);
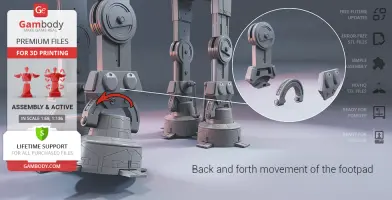
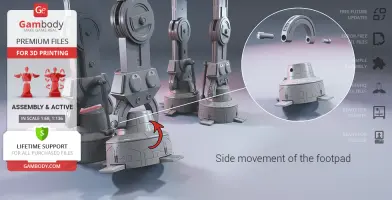
- The assembly of the model's footpad and ankle allows the multidirectional articulation of the element;
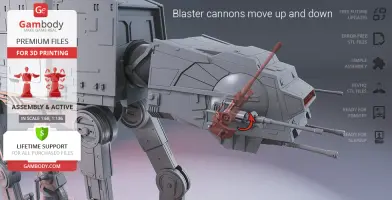
- The Walker's chin-mounted medium blaster cannons move up and down;
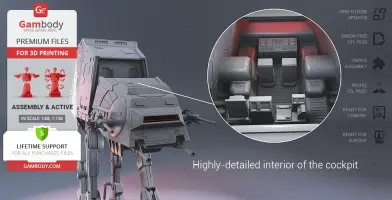
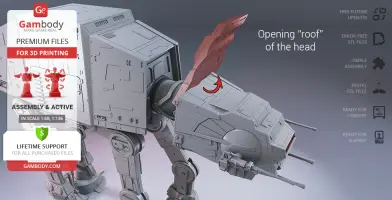
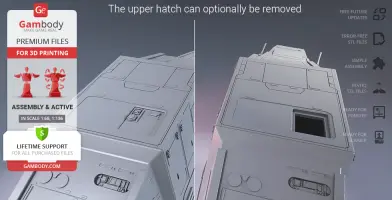
- The “roof” of the head opens to access the highly-detailed interior of the cockpit;
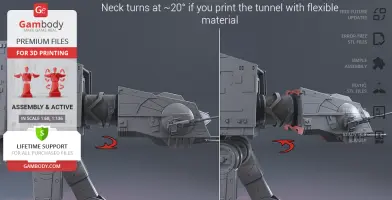
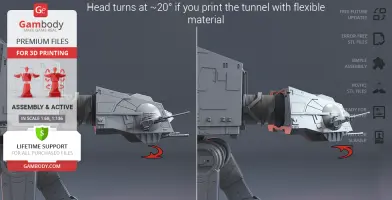
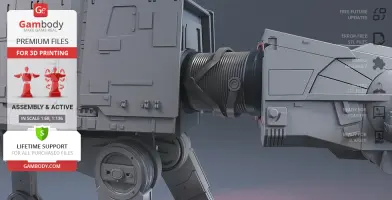
- The Walker's head and neck turn at ~20° if you print the tunnel (crimped neck) with flexible material;
- The pilot's viewport comes separately in order to be printed with transparent filament;
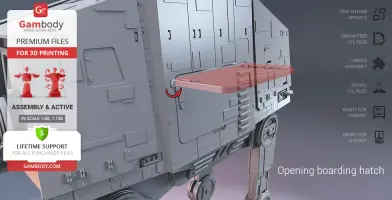
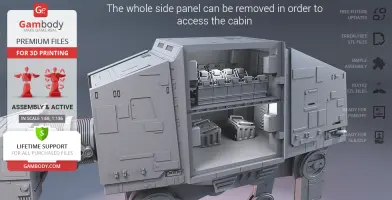
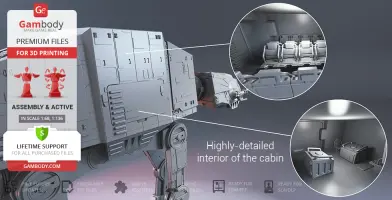
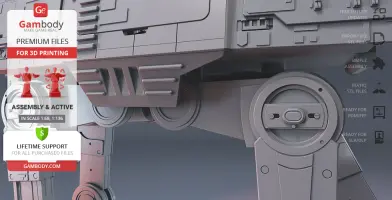
- The boarding hatch on the side of the Walker opens, and one side panel can be removed completely in order to access the highly-detailed interior of the cabin;
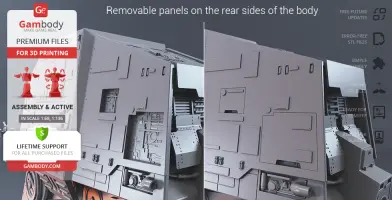
- There are various panels and hatches all over Walker's body that can be optionally removed;
- You may introduce LED wiring and light up the cockpit and the cabin;
- It is highly recommended that you watch "Assembly video" in the photo preview section and read "Assembly Manual" in PDF before assembling the Walker;
- All parts are divided in such a way that you will print them with the smallest number of support structures.
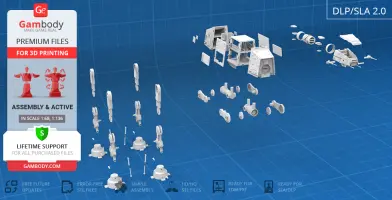
1.0 DLP/SLA/SLS version features:
- Contains 62 parts;
- A printed model is 161 mm tall, 70 mm wide, 198 mm deep;
- Made with several sets of special joints to ensure the model's articulation (ankle, knee, hip and neck joints are movable);
- For the highly articulated Walker to stand firmly in any position you may choose there was a ratchet mechanism introduced into the model’s main joints (knee, hip, and neck);
- The assembly of the model's footpad and ankle allows the multidirectional articulation of the element;
- The Walker's chin-mounted medium blaster cannons move up and down;
- The “roof” of the head opens to access the highly-detailed interior of the cockpit;
- The Walker's head and neck turn at ~20° if you print the tunnel (crimped neck) with flexible material;
- The pilot's viewport comes separately in order to be printed with transparent filament;
- The boarding hatch on the side of the Walker opens, and one side panel can be removed completely in order to access the highly-detailed interior of the cabin;
- There are various panels and hatches all over Walker's body that can be optionally removed;
- You may introduce LED wiring and light up the cockpit and the cabin;
- All parts are divided in such a way to fit the build plates and to ensure that support structures are generated where needed.
FFF/FDM 1.0 version features:
- Contains 75 parts;
- A printed model is 413 mm tall, 478 mm wide, 118 mm deep;
- The initial version of the AT-AT 3D printing model released in 2015;
- The scale of the model is indeterminate.
You can get the STL files of AT-AT Walker model immediately after the purchase! Just click the green Buy button in the top-right corner of the model’s page. You can pay with PayPal or your credit card.
Watch the tutorial on how to assemble the 3D Printed AT-AT Walker model from the provided 3D Print Files at Gambody YouTube channel.
Also, you may like other All-terrain vehicles 3D Print Models, as well as other Movie 3D Printing Designs.
_______
FAQ:
Generic
Below you can find printing recommendations for Cura, Bambu Studio, Simplify3D, Slic3r and PrusaSlicer software.
Disclaimer: The following printing settings are a recommendation, not an obligation. The parameters can vary depending on the peculiarities of your 3D printer, the material you use, and especially the particular assembly part you are working with. Each part that any model comprises often needs preliminary review, and you are free to tweak the settings the way you find suitable.
Note:
You can scale up the model (downscaling for FFF/FDM 3D printers is not recommended!);
All connectors should be printed at 100% Infill.
Bambu Lab printing recommendations:
These basic 3D printing settings recommendations for beginners were tested in Bambu Studio 1.9.1. Test models were printed on the Bambu Lab A1, Bambu Lab A1 Mini, Creality Ender 3 S1, Anycubic Kobra 2, and Anycubic Vyper using PLA and PETG filaments.
To avoid printing problems, we recommend the following settings: download
Cura printing recommendations:
These are averaged settings which were tested in the Cura 5.2.1 slicer. Test models were printed on Anycubic Vyper, Creality Ender 3 Pro with PLA filament.
To avoid printing problems, we recommend the following settings: download
Simplify3D printing recommendations:
These are averaged settings which were tested in the Simplify3D 5.0.0 slicer. Test models were printed on Anycubic Vyper, FLSUN v400, Ender3 S1 with PLA filament.
To avoid printing problems, we recommend the following settings: download
Slic3r printing recommendations:
These basic 3D printing settings recommendations for beginners were tested in Slic3r 1.3.0 software. Test models were printed on Ultimaker 2, Creality Ender 3, Creality Cr-10S pro v2, Anycubic I3 Mega, Anycubic I3 MegaS, Anycubic Vyper with PLA and PetG filaments.
To avoid printing problems, we recommend the following settings: download
PrusaSlicer printing recommendations:
These basic 3D printing settings recommendations for beginners were tested in PrusaSlicer 2.3.1. Test models were printed on Ultimaker 2, Creality Ender 3, Creality Cr-10S pro v2, Anycubic I3 Mega, Anycubic I3 MegaS, Anycubic Vyper with PLA and PETG filaments.
To avoid printing problems, we recommend the following settings: download


Comments