We are the Borg. You will be assimilated. Resistance is futile.
The Borg’s technology was way more advanced than the technology of the Starfleet: the main priority of the Borg Collective was efficiency and the race managed to reach a maximum in everything they needed for their global objectives. The Borg Cube from the Star Trek TNG is a starship manned by the Borg drones, that is characterized by an extreme size, multifunctional performance, and a capability of transwarp speed. The cube-shaped alien vessel possessed a decentralized design that stood out for its simplicity and uniformity. The first contact between the Federation and a Borg Cube happened when Enterprise D came into contact with the Borg spaceship in System J-25 in 2365, with the Borg Cube being destroyed by the Federation vessel.
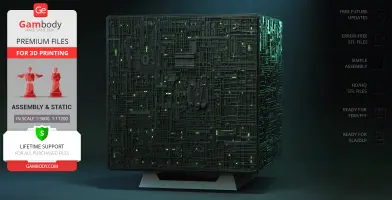
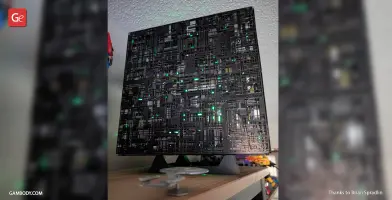
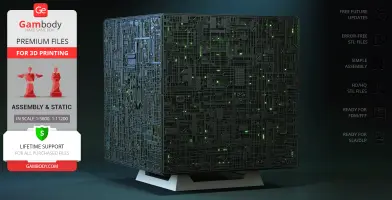
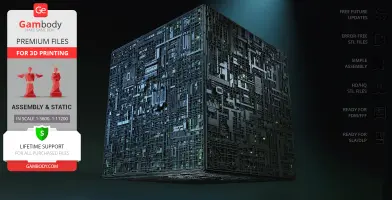
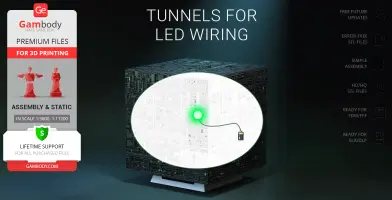
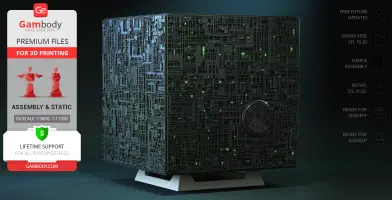
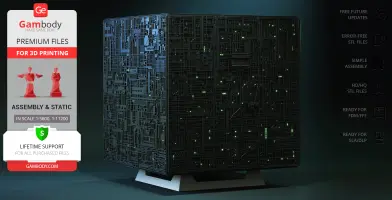
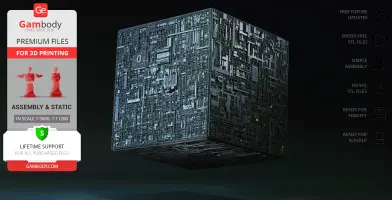
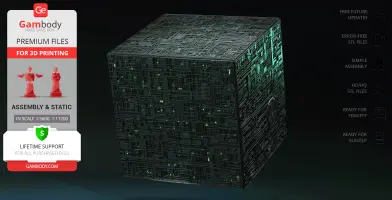
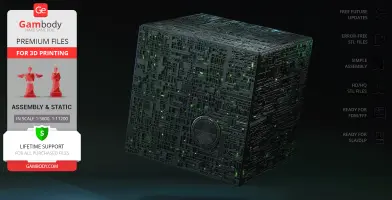
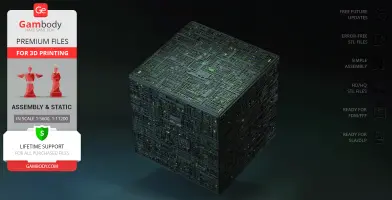
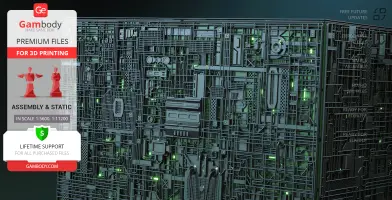
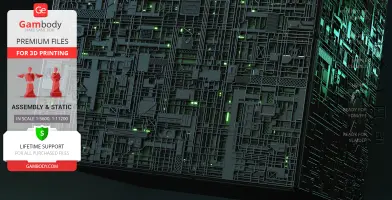
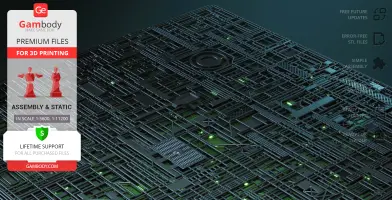
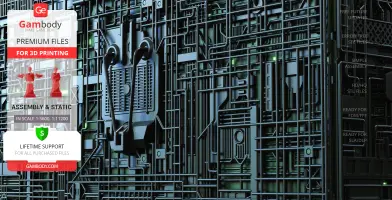
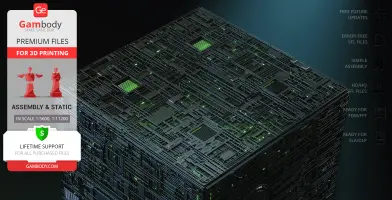
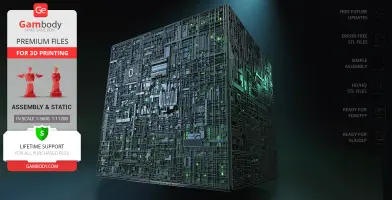
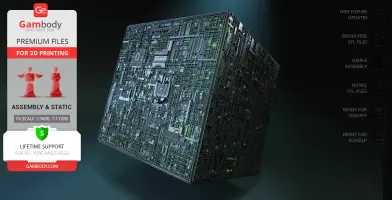
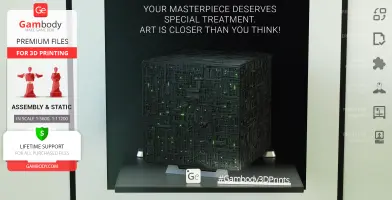
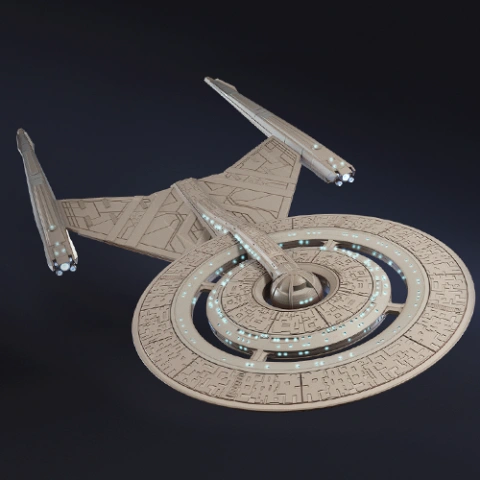
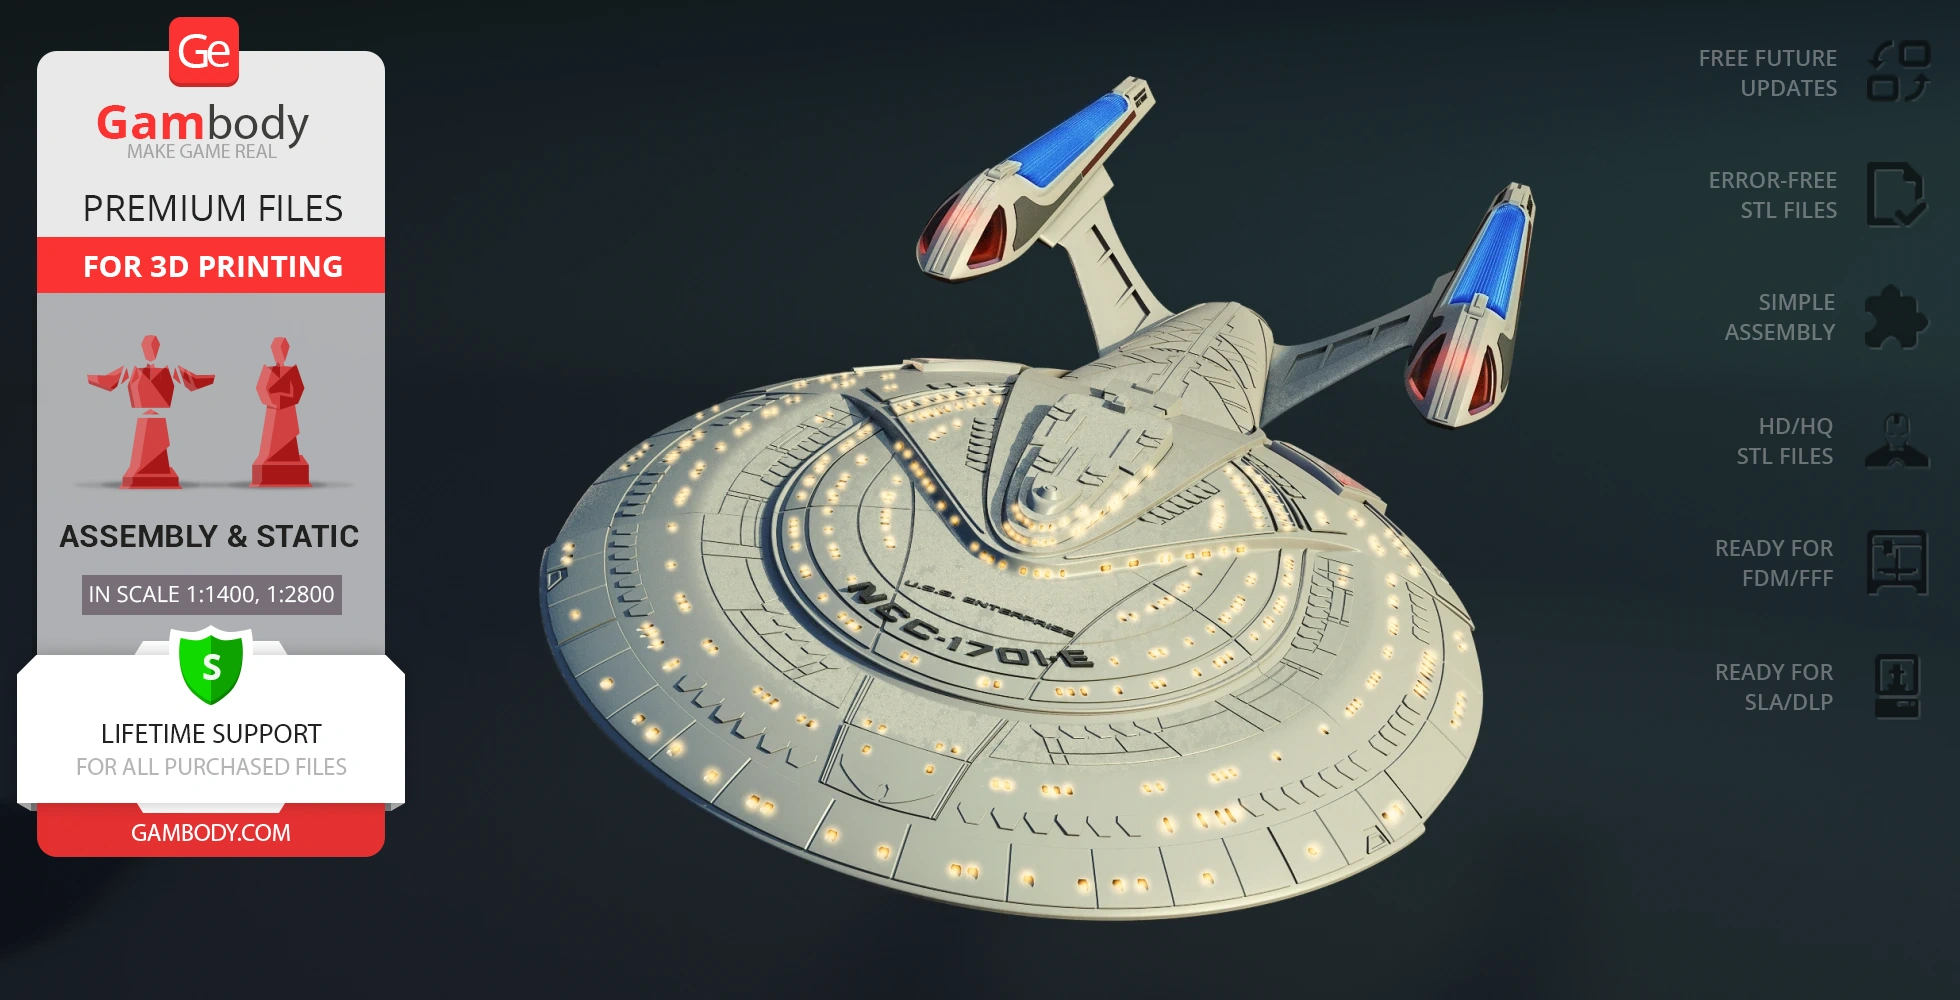
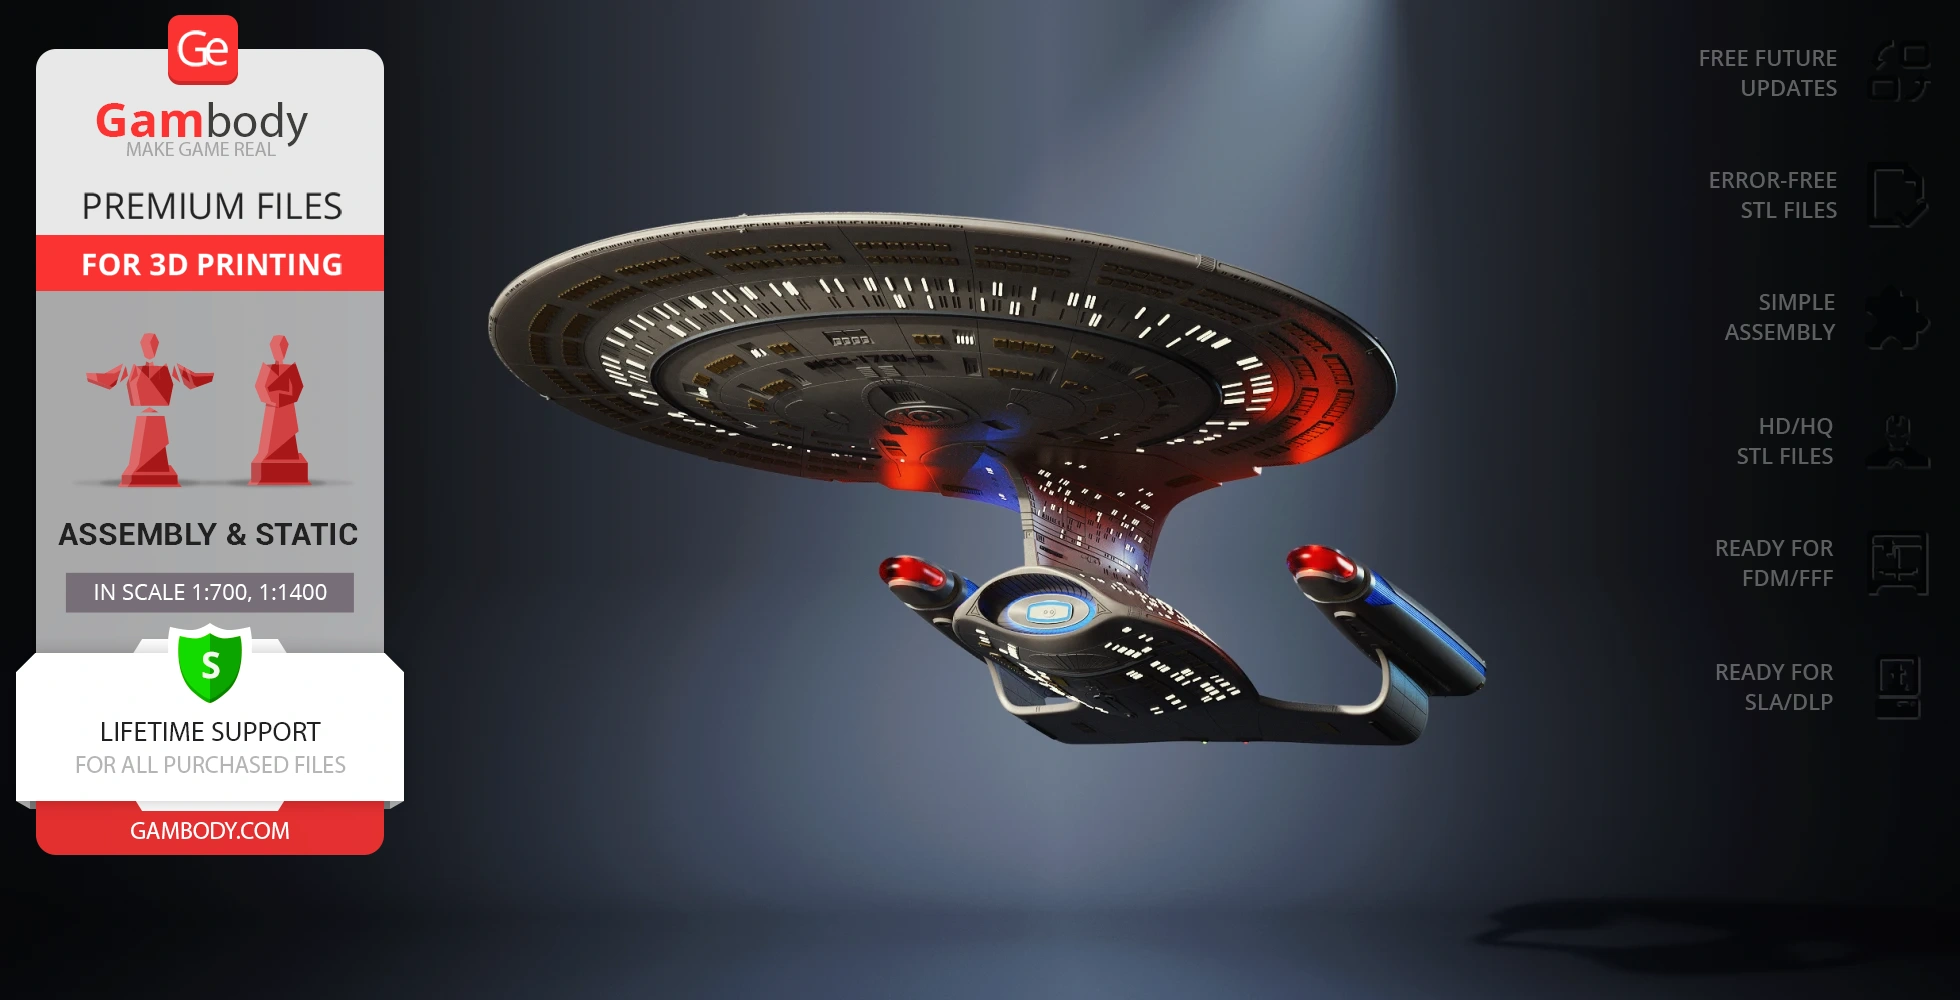
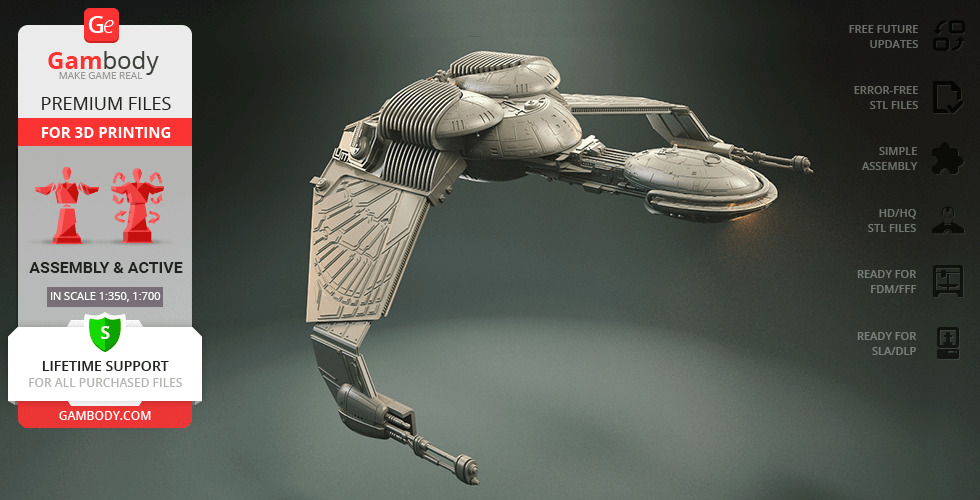
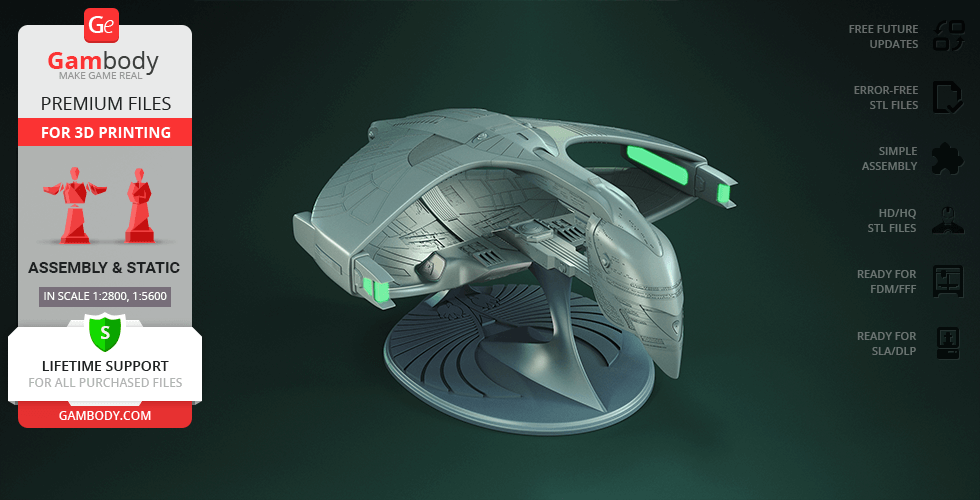
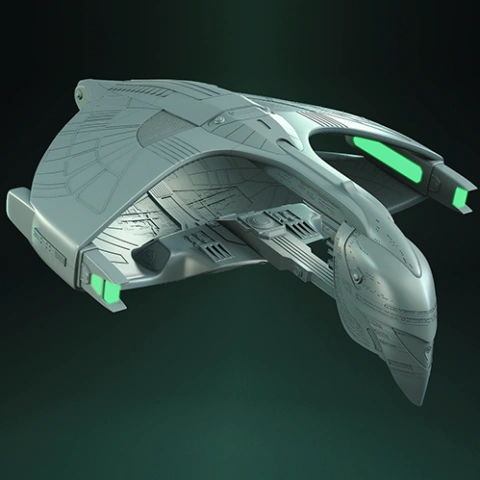
Inspired by the look of the destructive Borg weapon, our contributing 3d artist created a Borg Cube model for 3D printing that repeats the design of the Star Trek spaceship as closely as possible. The 3D printing design impresses with its scale and level of detail where the surface of the starship features countless geometric structures, and mechanisms and has outputs to light the cube to recreate its hallmark green light emanating from within as shown in the TV series. Let yourself experience the 3D printing of the model of your dreams with premium STLs from Gambody!
ADAPTATION FOR 3D PRINTING
Borg Cube 3D printing design is a static assembly model and its moderation and adaptation for different types of 3D printers took the Gambody team 95 hours in total.
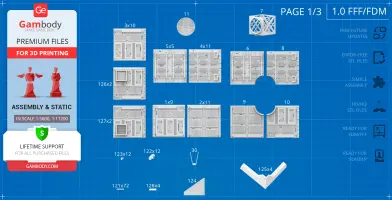
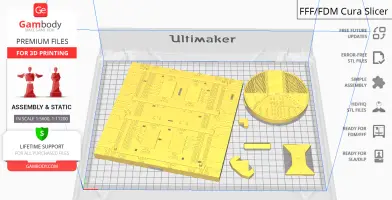
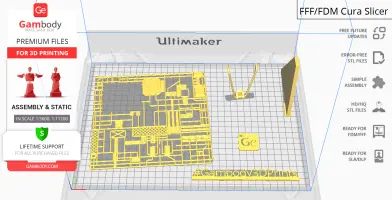
For you to receive the cleanest 3D printing result possible, minimize the amount of filament needed for generated support, and make use of the active elements designed by Gambody Engineers, the Borg Cube model was divided into convenient assembly parts.
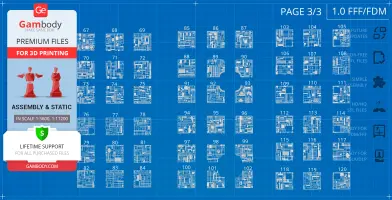
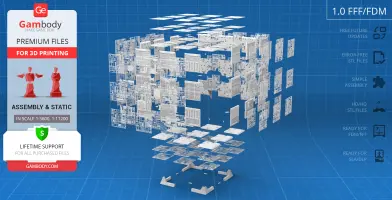
All assembly parts in the 1.0 FFF/FDM version are provided in STL files in recommended positions that were worked out in order to ensure the smoothness of the details’ surfaces after printing and that the 3D printing beginners won’t face difficulties when placing the parts on a build plate. When downloading any model’s file you will also receive “Assembly Manual” for 1.0 FFF/FDM and 1.0 DLP/SLA versions in PDF and video formats. We highly recommend that you get acquainted with the “Assembly Video” and “Assembly Manual” before getting down to the Star Trek Borg Cube for 3D printing.
The design is saved in STL files, a format supported by most 3D printers. All STL files for 3D printing have been checked in Netfabb and no errors were shown.
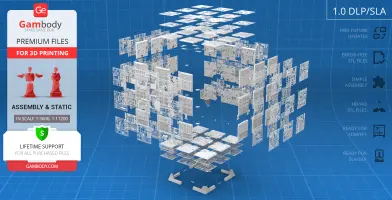
The 3D model’s scale was calculated from the length of the Borg Cube edge. The 3D printer design’s chosen scales are 1:5600 for the FFF/FDM version, and 1:11200 for the DLP/SLA version.
VERSIONS’ SPECIFICATIONS
FFF/FDM 1.0 version features:
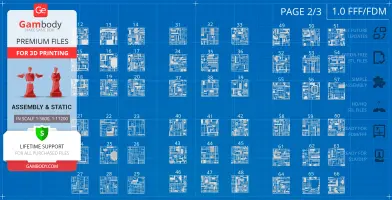
Contains 128 parts;
A printed 3D model is 551 mm tall, 551 mm wide, 559 mm deep;
A printed 3D model on a stand is 617 mm tall, 551 mm wide, 559 mm deep;
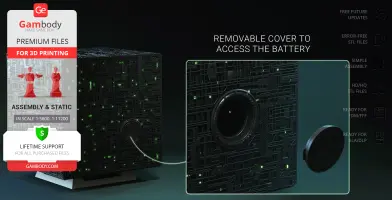
Removable cover to access the battery;
There are entrances for LEDs, the battery should be installed inside the cube;
There is a platform to display the cube on it;
All parts are divided in such a way that you will print them with the smallest number of support structures.
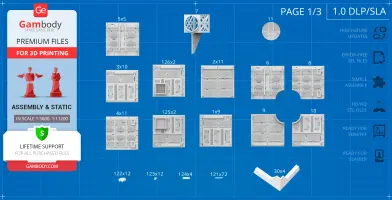
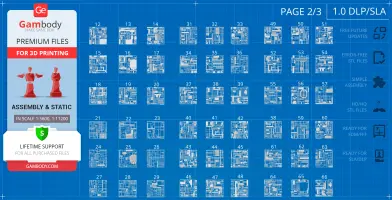
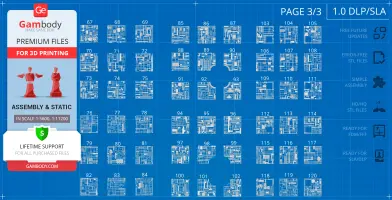
DLP/SLA 1.0 version features:
Contains 126 parts;
A printed 3D model is 275 mm tall, 275 mm wide, 280 mm deep;
A printed 3D model on a stand is 309 mm tall, 275 mm wide, 280 mm deep;
Removable cover to access the battery;
There are entrances for LEDs, the battery should be installed inside the cube;
There is a platform to display the cube on it;
All parts are divided in such a way to fit the build plates and to ensure that support structures are generated where needed.
You can get the STL files of Borg Cube for 3D printing immediately after the purchase! Just click the green Buy button in the top-right corner of the model’s page. You can pay with PayPal or your credit card.
Watch the tutorial on how to assemble the 3D printed Borg Cube from the provided 3D print files onGambody YouTube channel.
Below you can find printing recommendations for Cura, Bambu Lab, Simplify3D, Slic3r and PrusaSlicer software.
Disclaimer: The following printing settings are a recommendation, not an obligation. The parameters can vary depending on the peculiarities of your 3D printer, the material you use, and especially the particular assembly part you are working with. Each part that any model comprises often needs preliminary review, and you are free to tweak the settings the way you find suitable.
Note:
You can scale up the model (downscaling for FFF/FDM 3D printers is not recommended!);
All connectors should be printed at 100% Infill.
Bambu Lab printing recommendations:
These basic 3D printing settings recommendations for beginners were tested in Bambu Studio 1.9.5. Test models were printed on the Bambu Lab A1, Bambu Lab A1 Mini, Creality Ender 3 S1, Anycubic Kobra 2, and Anycubic Vyper using PLA and PETG filaments.
To avoid printing problems, we recommend the following settings:download
Cura printing recommendations:
These are averaged settings which were tested in the Cura 5.8.1 slicer. Test models were printed on Anycubic Vyper, Creality Ender 3 Pro with PLA filament.
To avoid printing problems, we recommend the following settings:download
Simplify3D printing recommendations:
These are averaged settings which were tested in the Simplify3D 5.0.0 slicer. Test models were printed on Anycubic Vyper, FLSUN v400, Ender3 S1 with PLA filament.
To avoid printing problems, we recommend the following settings:download
Slic3r printing recommendations:
These basic 3D printing settings recommendations for beginners were tested in Slic3r 1.3.0 software. Test models were printed on Ultimaker 2, Creality Ender 3, Creality Cr-10S pro v2, Anycubic I3 Mega, Anycubic I3 MegaS, Anycubic Vyper with PLA and PetG filaments.
To avoid printing problems, we recommend the following settings:download
PrusaSlicer printing recommendations:
These basic 3D printing settings recommendations for beginners were tested in PrusaSlicer 2.3.1. Test models were printed on Ultimaker 2, Creality Ender 3, Creality Cr-10S pro v2, Anycubic I3 Mega, Anycubic I3 MegaS, Anycubic Vyper with PLA and PETG filaments.
To avoid printing problems, we recommend the following settings:download
You are about to report Borg Cube 3D Printer Files | Assembly for violating our
Terms and Conditions.
Please take a few moments to fill in the following information.
Welcome!
We're glad you're here! Before you continue, let's set a few preferences to improve your experience on our marketplace. By clicking "Sure, go ahead", you agree to our use of cookies to make your visit more enjoyable and personalized. This helps us offer you tailored product recommendations and relevant marketing content. Enjoy your time with Gambody, and thank you for choosing us!


Comments