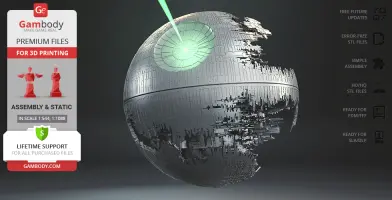
This 3D Model of Death Star MK. 2 consists of files in StereoLithography (.Stl) format that is optimized for 3D printing.
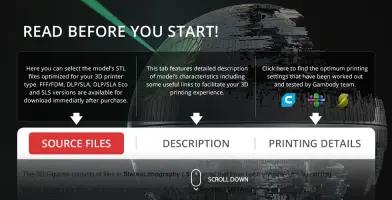
Before printing the files, we strongly recommend reading the PRINTING DETAILS section.
WHAT WILL YOU GET AFTER PURCHASE?
- 2 versions of second Death Star STL files for FFF/FDM and DLP/SLA/SLS - files for both versions are available for download after the purchase
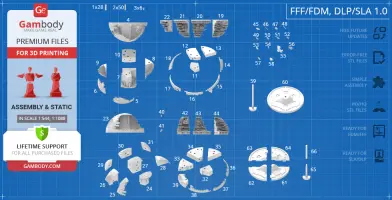
- STL files of high-poly Death Star II 3D Model for 3D printing consist of 132 parts
- Sizes:
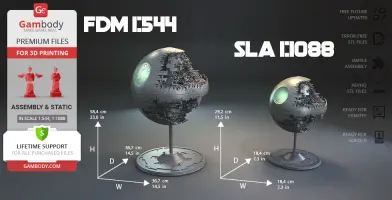
FFF/FDM: 584 mm tall, 367 mm wide, 367 mm deep
DLP/SLA/SLS: 292 mm tall, 184 mm wide, 184 mm deep
- Assembly Manual for FFF/FDM 1.0 and DLP/SLA/SLS 1.0 versions in PDF format
- Detailed settings that we provide as a recommendation for Cura, Simplify3D and Slic3r for the best print
- Full technical support from the Gambody Support Team
Detailed information about this 3D printing model is available in the DESCRIPTION section.
ABOUT THIS 3D MODEL
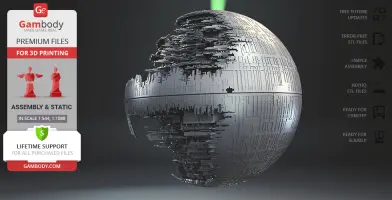
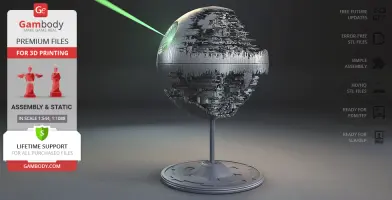
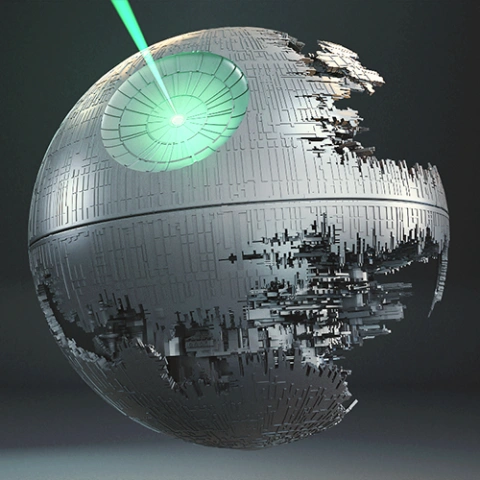
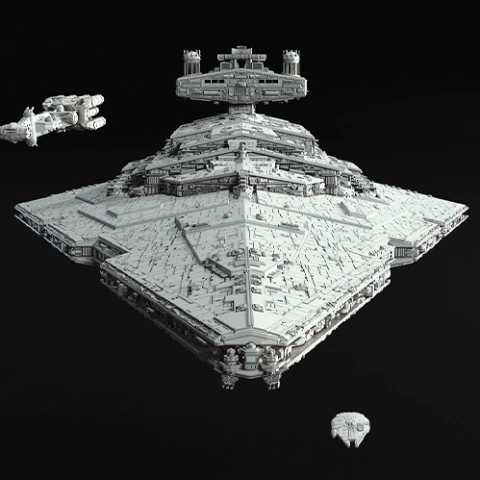
Death Star is a monumentally dangerous and seemingly unrealisable project that was constructed by Imperial engineers not once but two times in a row! The iconic moon-sized Battlestations embodied the limitless power of the Galactic Empire and served as the ultimate symbol of Dark Side’s oppression. Too bad both Death Stars were exploded by the restless Rebel Alliance!
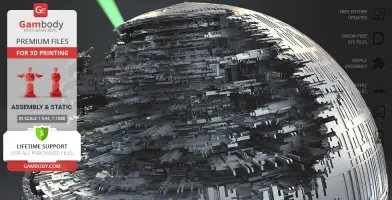
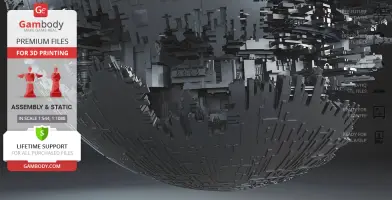
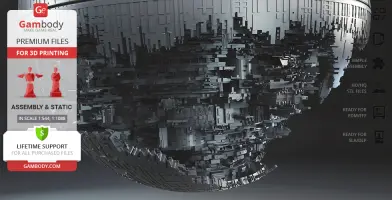
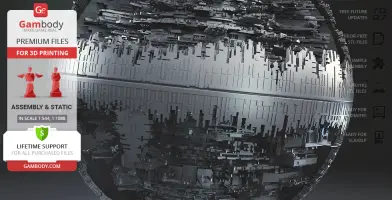
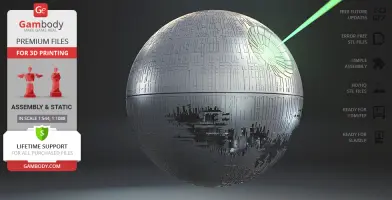
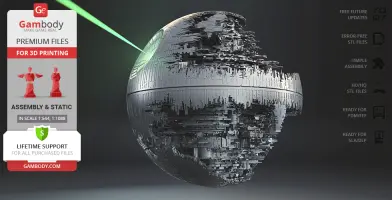
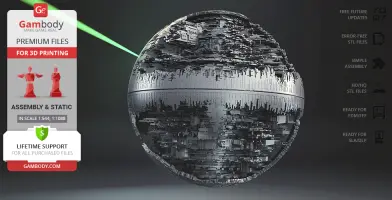
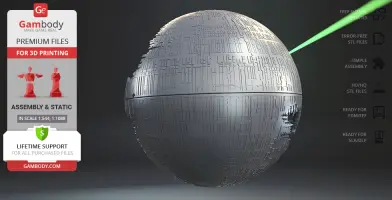
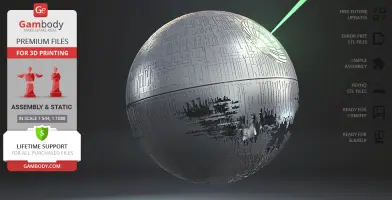
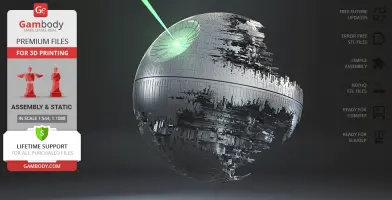
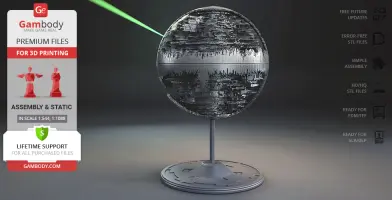
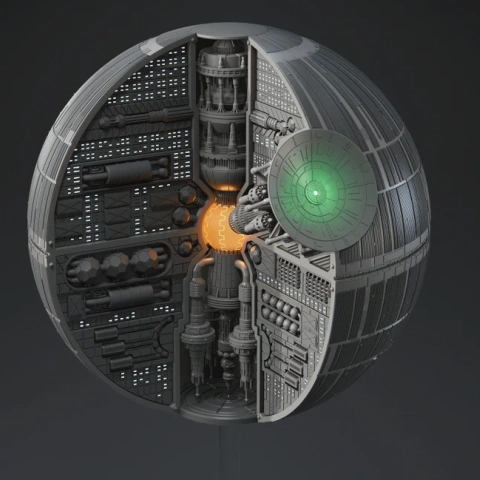
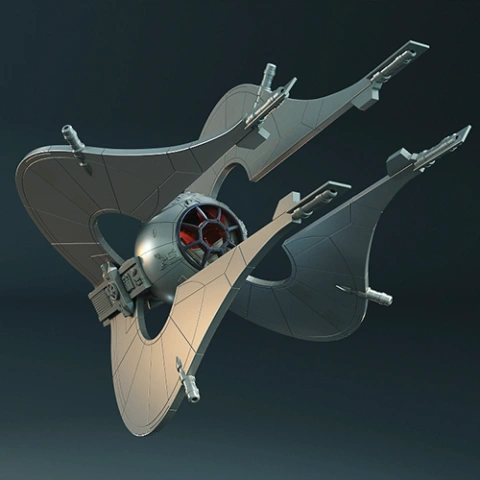
Gambody’s contributing 3D artist picked up an idea to recreate the second Death Star that is still under construction as seen in the film. DS-2 Mobile Battle Station for 3D printing displays intricate surface panels and highly detailed exposed superstructure. As the lore suggests, the second Death Star is powered by giant Kyber Crystals, the ones that fuel the lightsabers. Knowing that it comes as no surprise that superlaser focus lens of the 3D printing Death Star II seems to be ready to recharge for another shot in mere seconds. Hurry up to acquire your own 3D printed space station!
ADAPTATION FOR 3D PRINTING
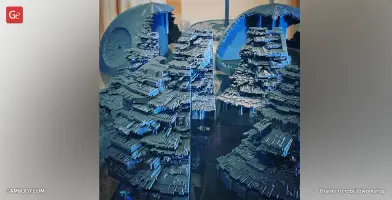
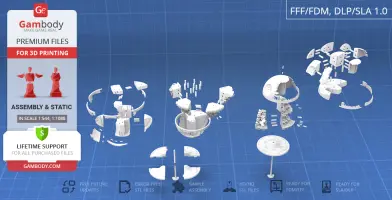
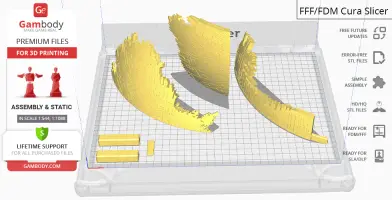
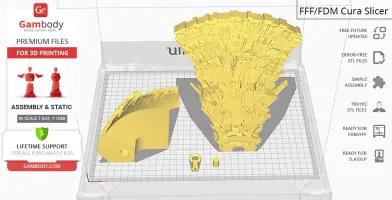
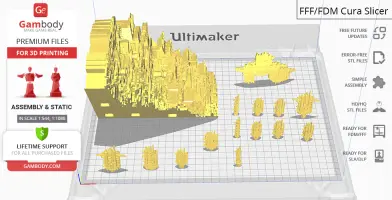
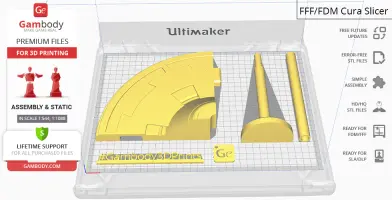
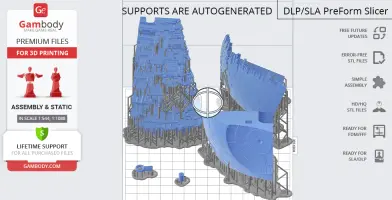
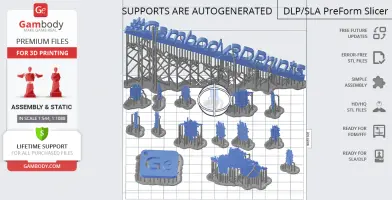
Death Star II for 3D printing is a static assembly model and its moderation and adaptation for different types of 3D printers took Gambody team 47 hours in total. For you to receive the cleanest 3D printing result possible and to minimize the amount of filament needed for generated support the intricately detailed battlestation model was divided into many assembly parts.
All assembly parts are provided in STL files of the FFF/FDM version in recommended positions that were worked out to ensure the smoothness of the details’ surfaces after printing and that the 3D printing beginners won't face difficulties when placing the parts on a build plate. When downloading any model's file you will also receive "Assembly Manual" for FFF/FDM 1.0 and DLP/SLA/SLS 1.0 versions in PDF format. We highly recommend that you get acquainted with the “Assembly video” and "Assembly Manual" before getting down to the Death Star II model.
The model is saved in STL files, a format supported by most 3D printers. All STL files for 3D printing have been checked in Netfabb and no errors were shown.
The model's scale was calculated from the diameter of the Death Star II which is 200 000 m. The 3D printing model's chosen scale is 1:544 for the FFF/FDM version and 1:1088 for the DLP/SLA/SLS version.
VERSIONS' SPECIFICATIONS
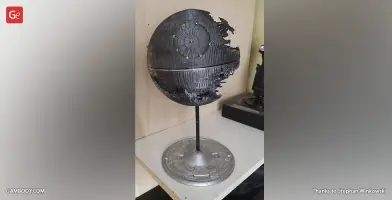
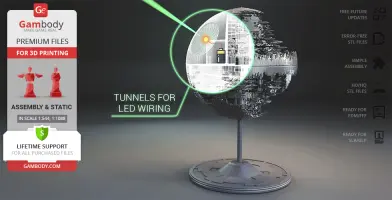
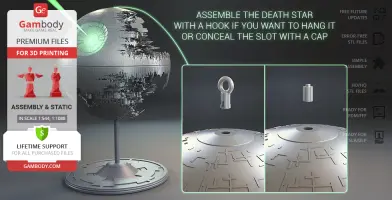
FFF/FDM 1.0 version features:- Contains 66 parts;- A printed ship is 584 mm tall, 367 mm wide, 367 mm deep;- Highly-detailed exterior of the second Death Star;- Assemble the Death Star with a hook if you want to hang it or conceal the slot with a cap;- Model is made hollow for you to introduce LED wiring and light up the Superlaser Focus Lens; a spot to hide the battery is provided inside the body;- All parts are divided in such a way that you will print them with the smallest number of support structures.
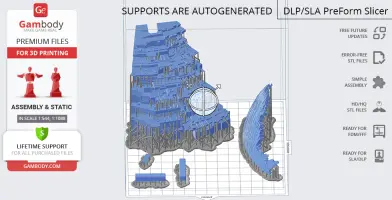
DLP/SLA 1.0 version features:- Contains 66 parts;- A printed ship is 292 mm tall, 184 mm wide, 184 mm deep;- Highly-detailed exterior of the second Death Star;- Assemble the Death Star with a hook if you want to hang it or conceal the slot with a cap;- Model is made hollow for you to introduce LED wiring and light up the Superlaser Focus Lens; a spot to hide the battery is provided inside the body;- All parts are divided in such a way to fit the build plates and to ensure that support structures are generated where needed.
You can get the model of Death Star II for 3D Printing immediately after the purchase! Just click the green Buy button in the top-right corner of the model’s page. You can pay with PayPal or your credit card.
Watch the tutorial on how to assemble Death Star II 3D Printing Model at Gambody YouTube channel.
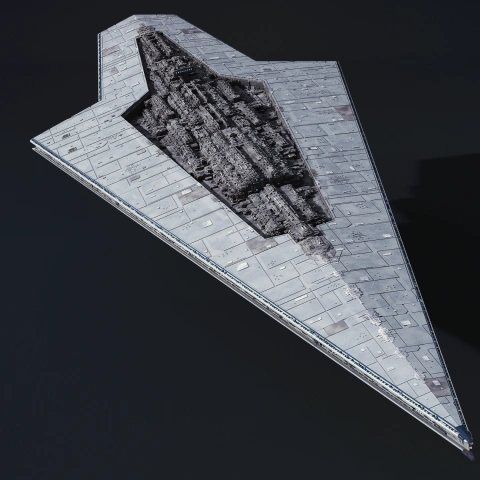
Also, you may like other Star Wars 3D Printing Models, as well as more Space Ships 3D Printing Models.
_______FAQ: Where can I print a model if I have no printer?How to get started with 3D printing?How to set up my 3D printer?How to choose right 3D model print bed positioning? How to paint printed figurine?
Generic
Below you can find printing recommendations for Cura, Bambu Lab, Simplify3D, Slic3r and PrusaSlicer software.
Disclaimer: The following printing settings are a recommendation, not an obligation. The parameters can vary depending on the peculiarities of your 3D printer, the material you use, and especially the particular assembly part you are working with. Each part that any model comprises often needs preliminary review, and you are free to tweak the settings the way you find suitable.
Note:
You can scale up the model (downscaling for FFF/FDM 3D printers is not recommended!);
All connectors should be printed at 100% Infill.
Bambu Lab printing recommendations:
These basic 3D printing settings recommendations for beginners were tested in Bambu Studio 1.9.5. Test models were printed on the Bambu Lab A1, Bambu Lab A1 Mini, Creality Ender 3 S1, Anycubic Kobra 2, and Anycubic Vyper using PLA and PETG filaments.
To avoid printing problems, we recommend the following settings: download
Cura printing recommendations:
These are averaged settings which were tested in the Cura 5.8.1 slicer. Test models were printed on Anycubic Vyper, Creality Ender 3 Pro with PLA filament.
To avoid printing problems, we recommend the following settings: download
Simplify3D printing recommendations:
These are averaged settings which were tested in the Simplify3D 5.0.0 slicer. Test models were printed on Anycubic Vyper, FLSUN v400, Ender3 S1 with PLA filament.
To avoid printing problems, we recommend the following settings: download
Slic3r printing recommendations:
These basic 3D printing settings recommendations for beginners were tested in Slic3r 1.3.0 software. Test models were printed on Ultimaker 2, Creality Ender 3, Creality Cr-10S pro v2, Anycubic I3 Mega, Anycubic I3 MegaS, Anycubic Vyper with PLA and PetG filaments.
To avoid printing problems, we recommend the following settings: download
PrusaSlicer printing recommendations:
These basic 3D printing settings recommendations for beginners were tested in PrusaSlicer 2.3.1. Test models were printed on Ultimaker 2, Creality Ender 3, Creality Cr-10S pro v2, Anycubic I3 Mega, Anycubic I3 MegaS, Anycubic Vyper with PLA and PETG filaments.
To avoid printing problems, we recommend the following settings: download


Comments