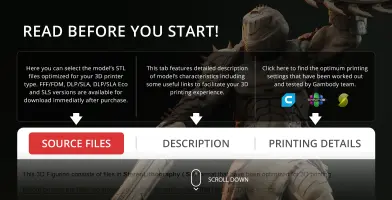
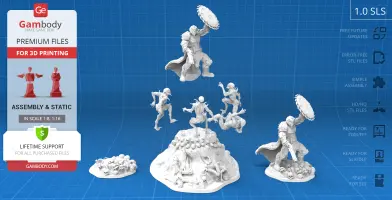
This 3D printing design of Doom Slayer vs Imps diorama consists of files in StereoLithography (.Stl) format that is optimized for 3D printing.
Before printing the files, we strongly recommend reading the PRINTING DETAILS section.
WHAT WILL YOU GET AFTER PURCHASE?
- 4 versions of Doom Slayer vs Imps diorama STL files for FFF/FDM, DLP/SLA, DLP/SLA Eco, and SLS — files for all versions are available for download after the purchase;
- STL files of high-poly Doom Slayer vs Imps diorama model for 3D printing consist of 176 files;
- Sizes for:
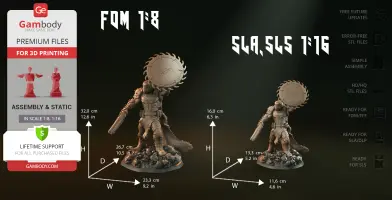
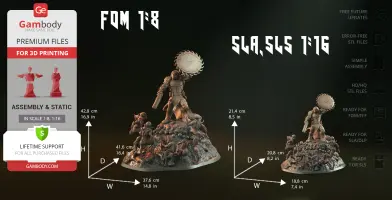
- FFF/FDM: 428 mm tall, 376 mm wide, 416 mm deep;
- FFF/FDM small platform: 320 mm tall, 233 mm wide, 267 mm deep;
- DLP/SLA/SLS: 214 mm tall, 188 mm wide, 208 mm deep;
- DLP/SLA/SLS small platform: 160 mm tall, 116 mm wide, 133 mm deep;
- Assembly Manual for FFF/FDM 1.0 and DLP/SLA 1.0 versions in PDF and video formats;
- Detailed settings that we provide as a recommendation for Cura, Bambu Studio, Simplify3D, Slic3r and PrusaSlicer for the best print;
- Full technical support from the Gambody Support Team.
Detailed information about these 3D printer STL files is available in the DESCRIPTION section.
ABOUT THIS 3D MODEL
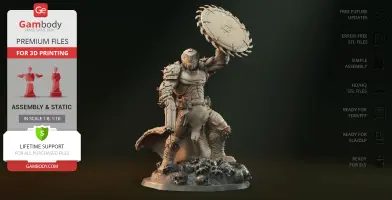
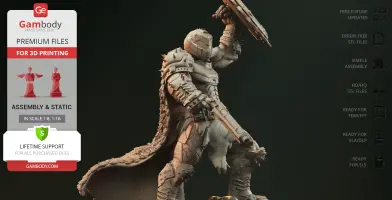
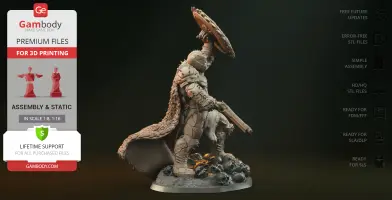
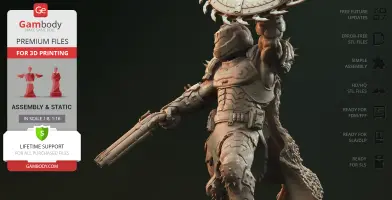
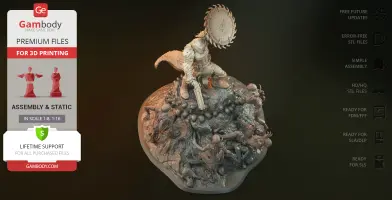
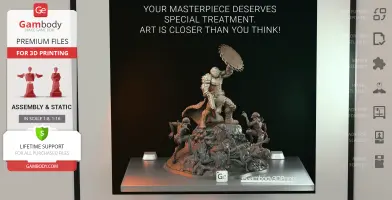
Doom Slayer, the protagonist of the Doom franchise, is an expert in all types of weapons, the former marine wields exceptional strength and is the best killer in the Multiverse. During his missions, Doomguy opposes numerous enemies who are unstoppable in their desire to kill, and the look of which raises the deepest fears.
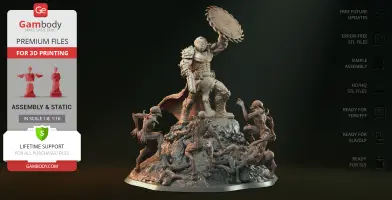
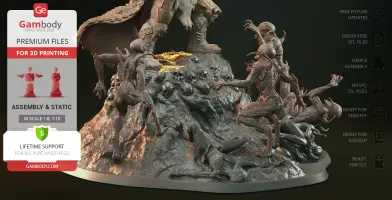
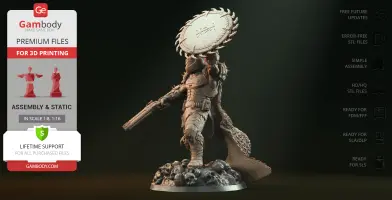
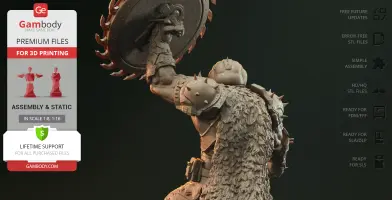
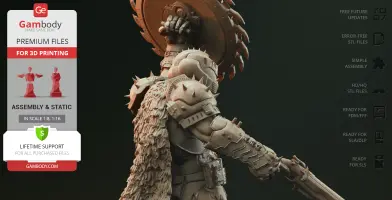
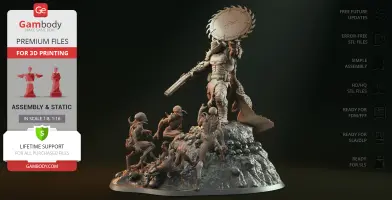
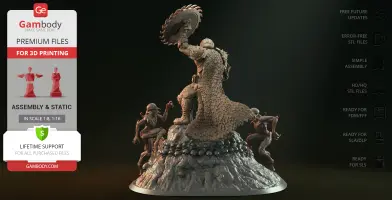
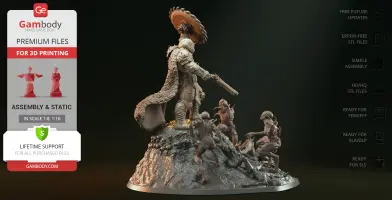
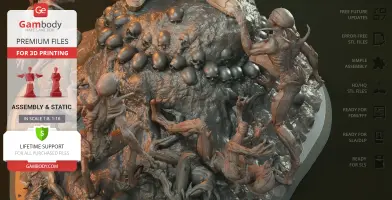
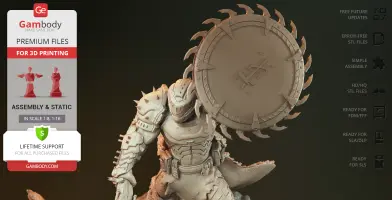
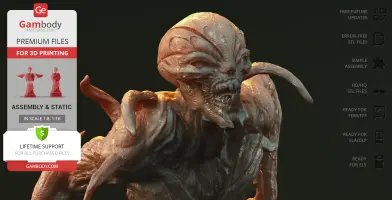
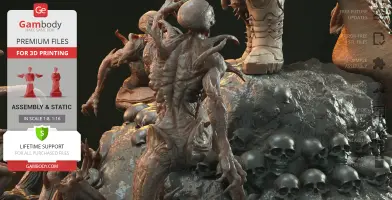
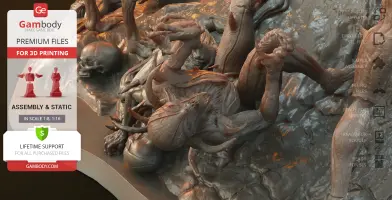
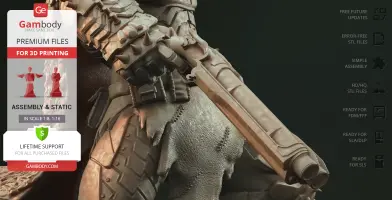
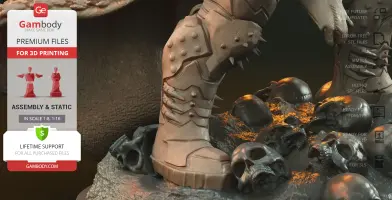
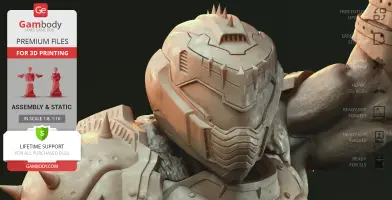
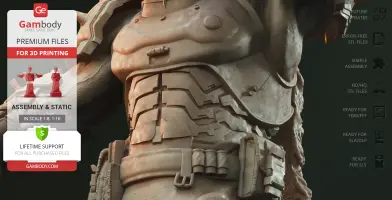
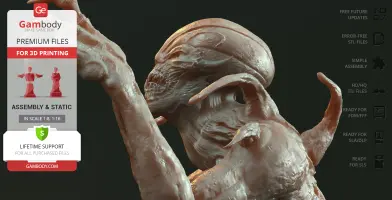
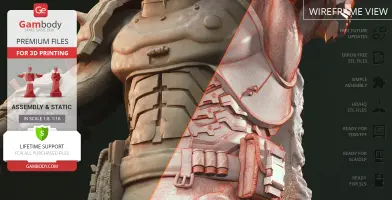
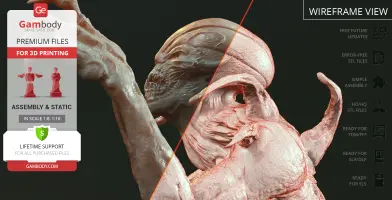
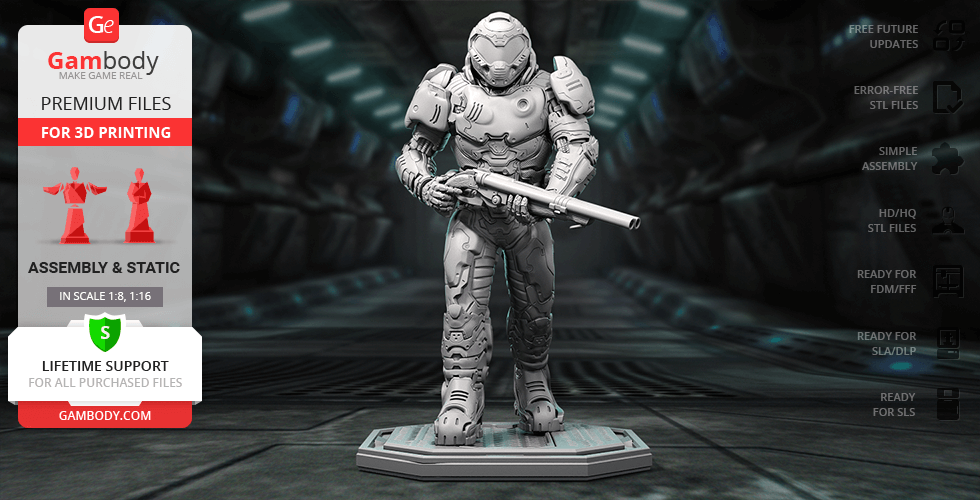
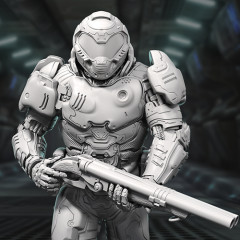
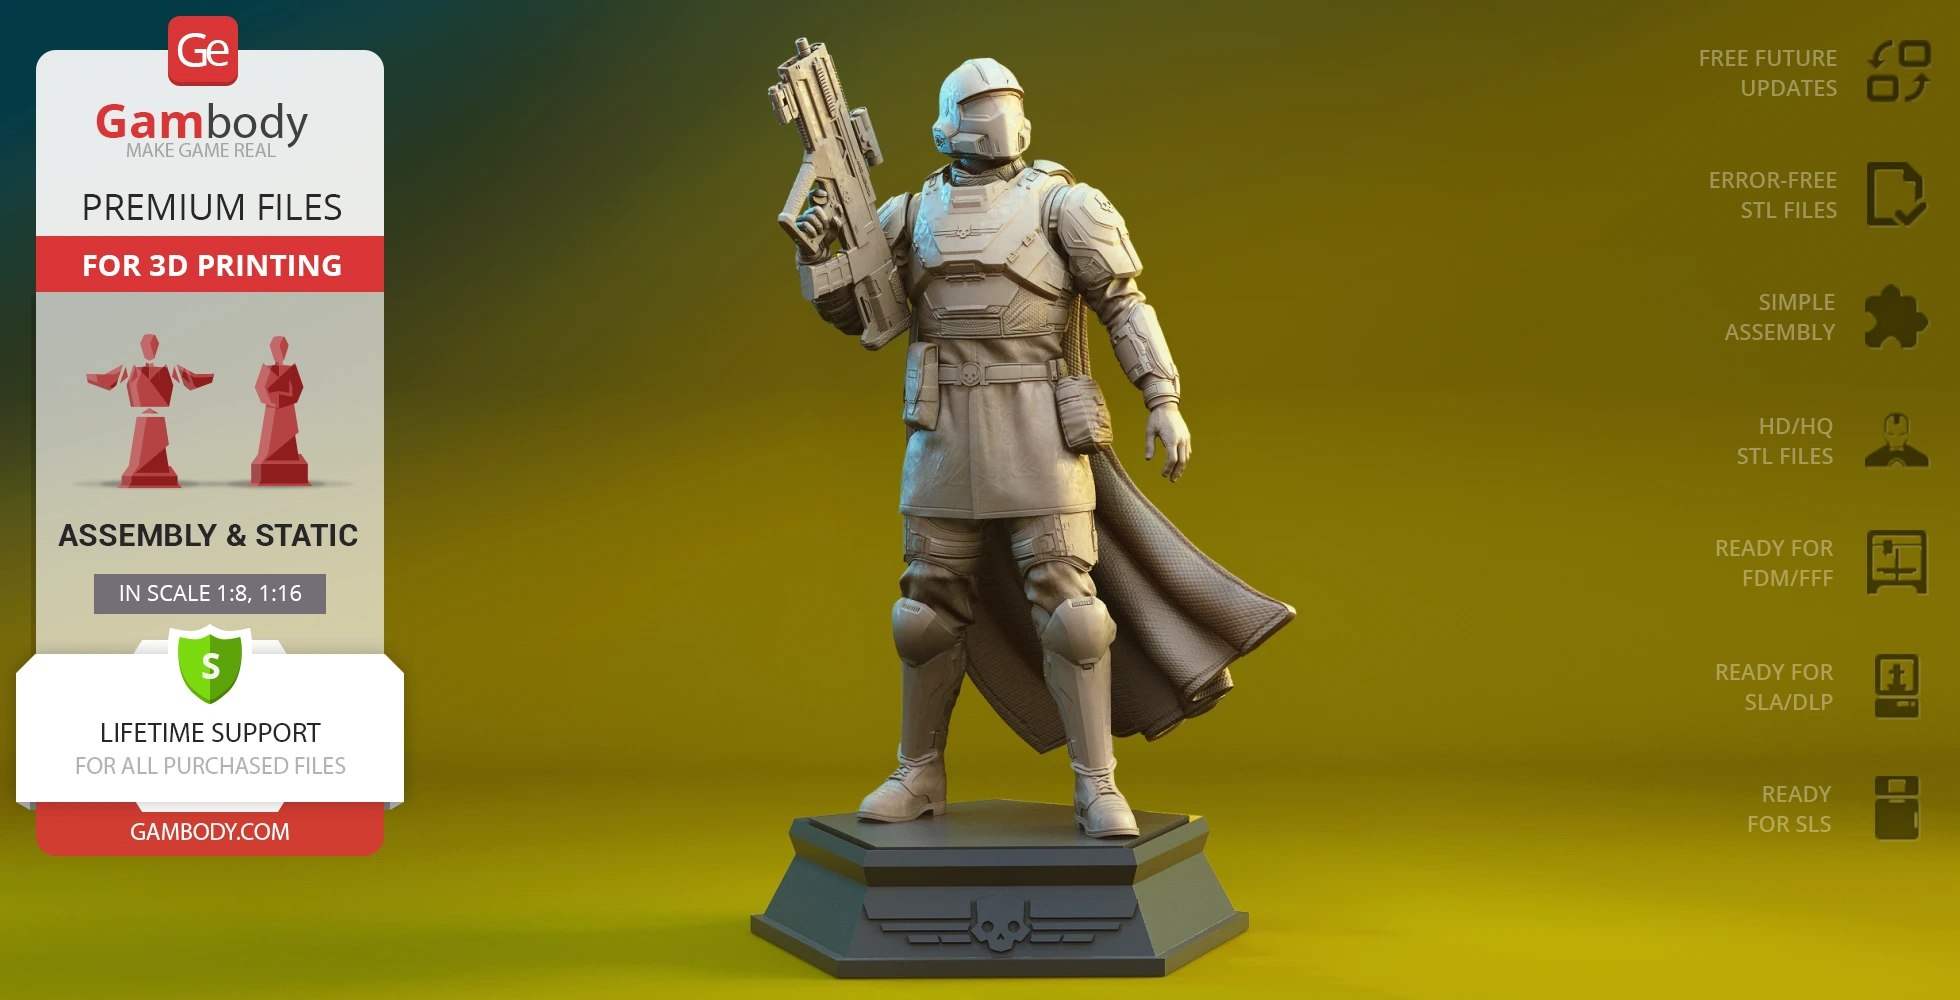
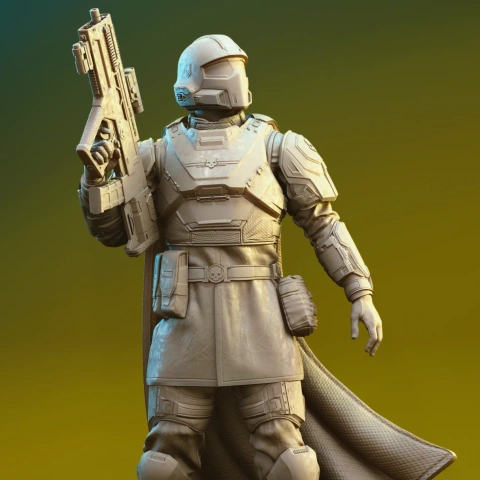
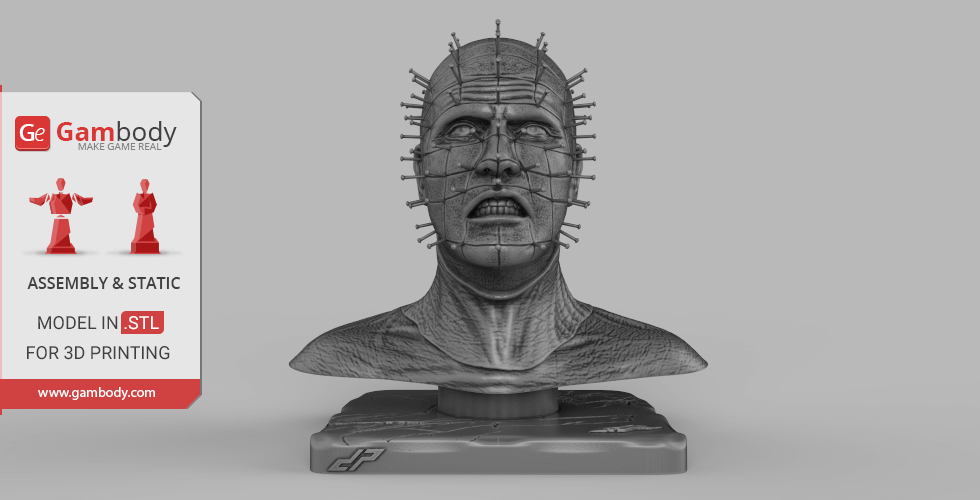
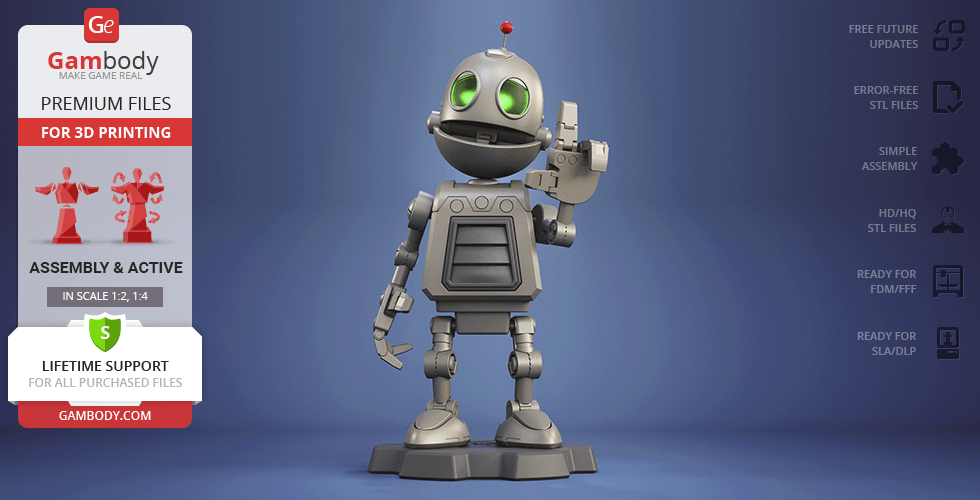
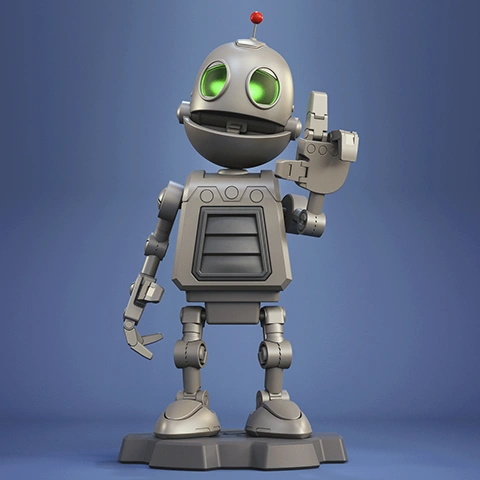
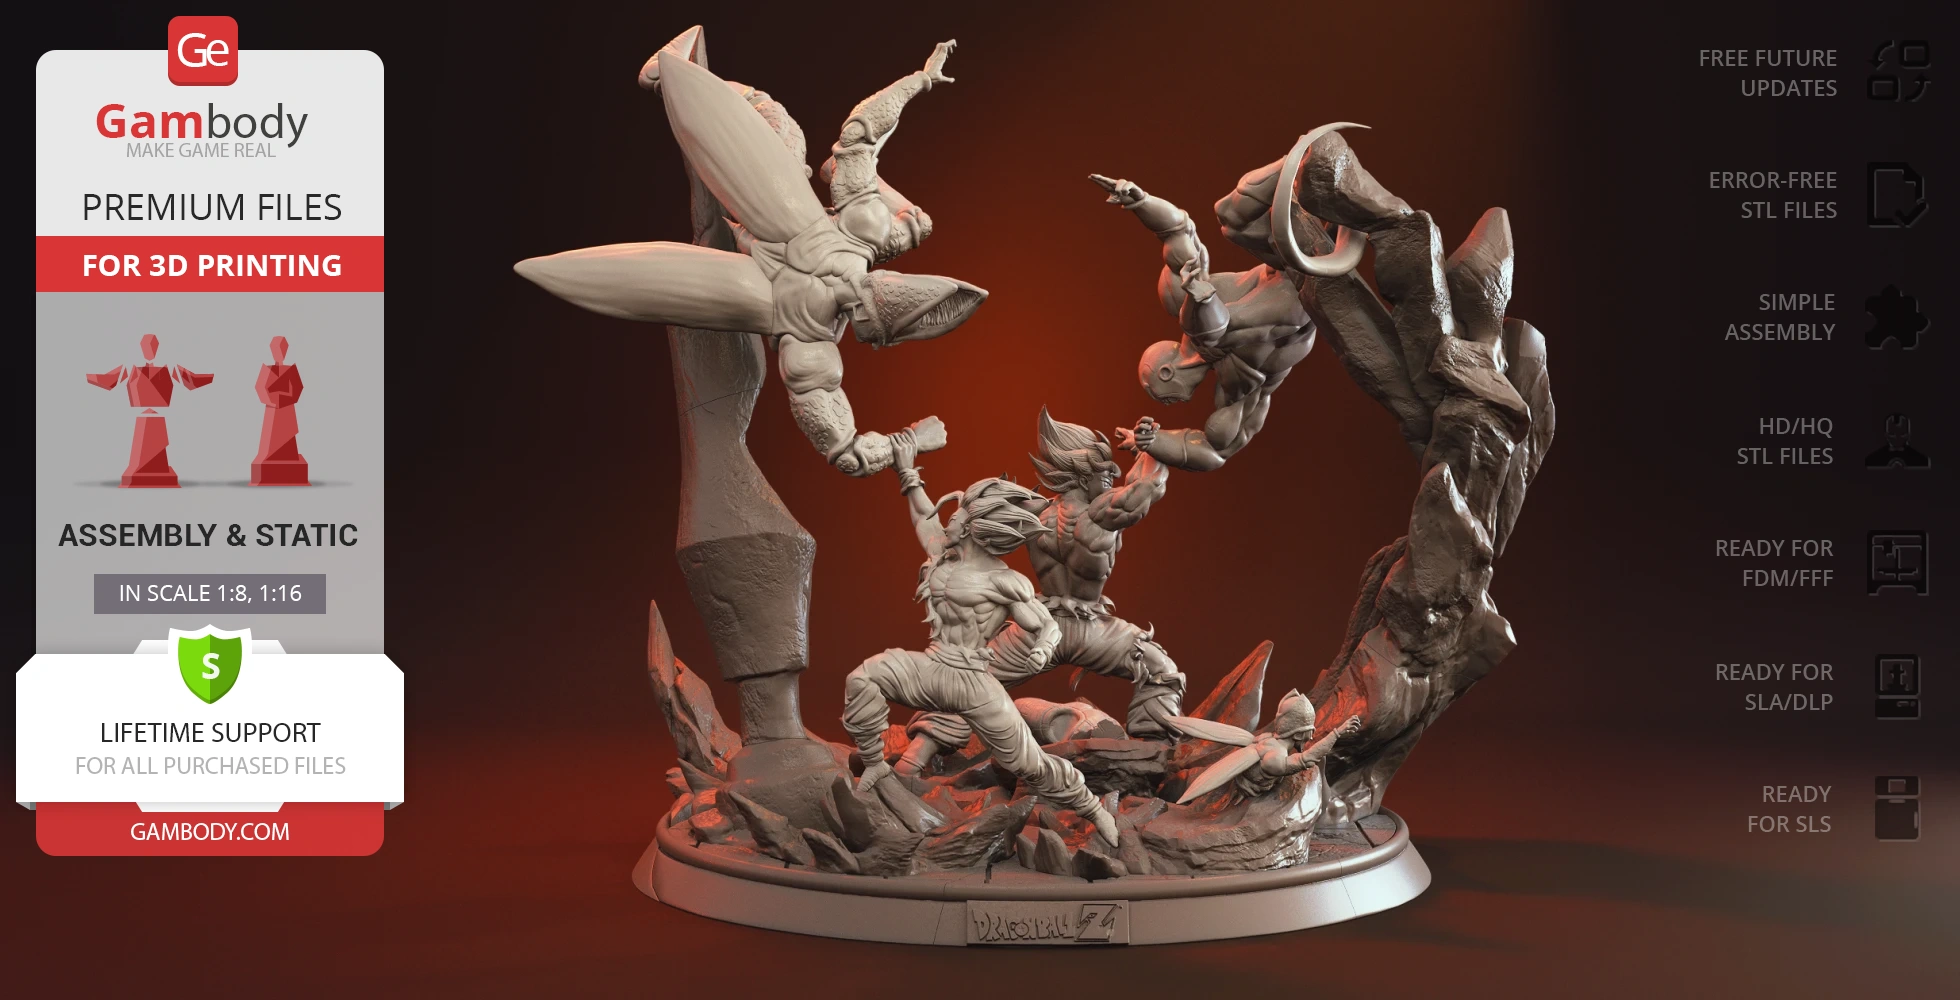
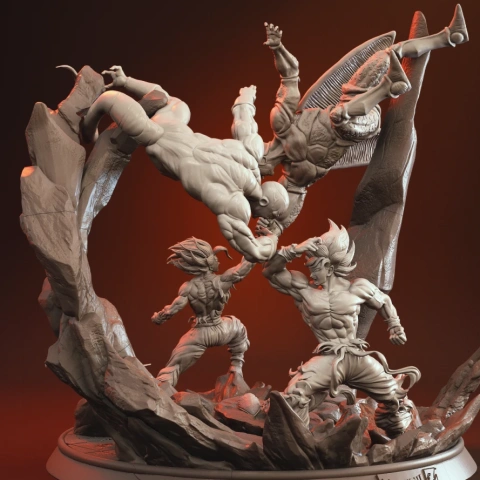
Our contributing 3D artist was particularly inspired by the franchise protagonist and its enemies and created not just a model, but a diorama with the Doom Slayer and Imps. The appearance of the former marine is spectacular: Doomguy is depicted in full armament wearing his Praetor Suit and armed with a double-barreled super shotgun and dangerous shield saw. The level of detail of the player equipment is commendable: the author recreated the tiniest details introducing such elements as spikes, rivets, belts, and seams, combined various textures, refined to perfection the geometry of the suit, and worked on the posture. The appearance of Imps humanoids perfectly conveys their predacity and lust for blood giving the scene a horrific atmosphere. 3D printing these STLs will turn into a great adventure, go for it!
ADAPTATION FOR 3D PRINTING
Doom Slayer vs Imps 3D printing diorama is a static assembly model and its moderation and adaptation for different types of 3D printers took the Gambody team 68 hours in total. The models' anatomy and proportions were thoroughly reviewed during the moderation process for the characters to be depicted harmoniously in the intended pose.
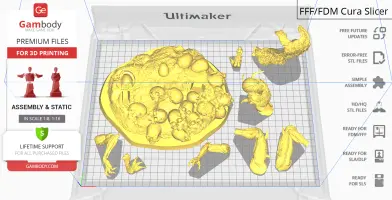
The models' cutting was chosen by our team to minimise the amount of generated support and some of the parts were hollowed out for you to save resin in the Eco version. In order to conceal the places where the assembly parts of the models are connected, Doom Slayer and Imps were divided into convenient assembly parts.
All assembly parts in the FFF/FDM 1.0 version are provided in STL files in recommended positions that were worked out in order to ensure the smoothness of the details’ surfaces after printing and that the 3D printing beginners won't face difficulties when placing the parts on a build plate. When downloading any model's file you will also receive "Assembly Manual" for FFF/FDM 1.0 and DLP/SLA 1.0 versions in PDF format. We highly recommend that you get acquainted with the “Assembly Video” and "Assembly Manual" before getting down to Doom Slayer vs Imps diorama.
The design is saved in STL files, a format supported by most 3D printers. All STL files for 3D printing have been checked in Netfabb and no errors were shown.
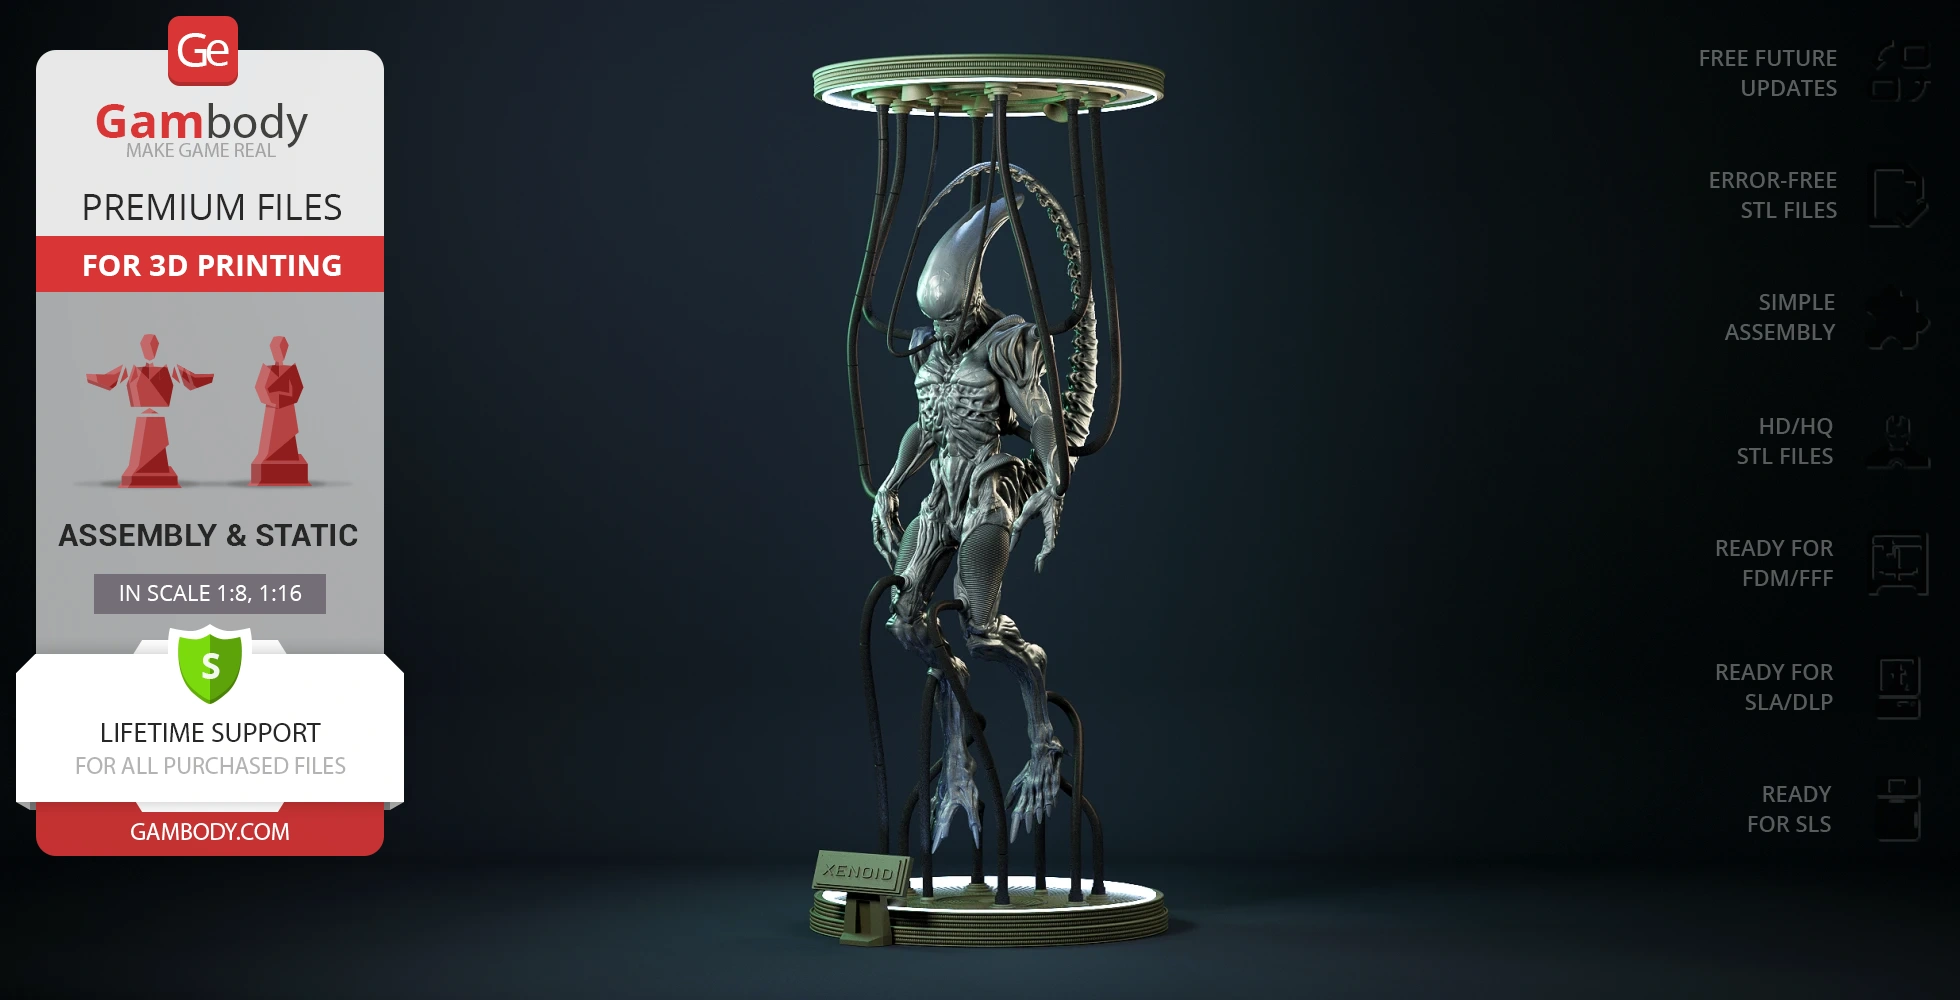
The model's scale was calculated from the height of Doom Slayer. The 3D printing design's chosen scales are 1:8 for the FFF/FDM version and 1:16 for the DLP/SLA/SLS versions.
VERSIONS’ SPECIFICATIONS
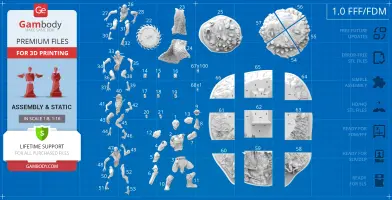
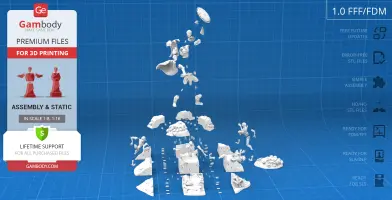
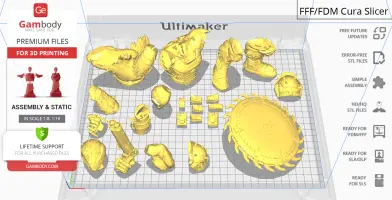
FFF/FDM 1.0 versions features:
- Contains 68 parts;
- A printed diorama is 428 mm tall, 376 mm wide, 416 mm deep;
- A printed model on a small platform is 320 mm tall, 233 mm wide, 267 mm deep;
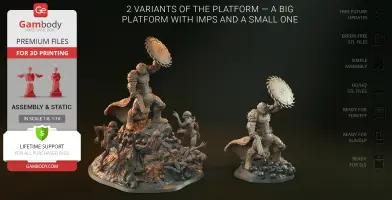
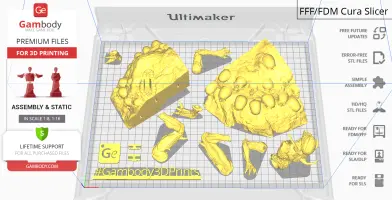
- 2 variants of the platform — a big platform with Imps and a small one;
- All parts are divided in such a way that you will print them with the smallest number of support structures.
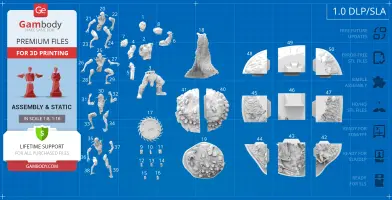
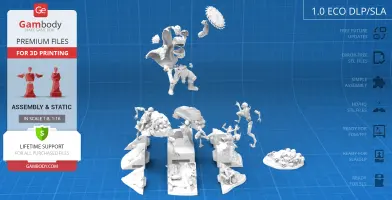
DLP/SLA 1.0 versions features:
- Contains 50 parts;
- A printed diorama is 214 mm tall, 188 mm wide, 208 mm deep;
- A printed model on a small platform is 160 mm tall, 116 mm wide, 133 mm deep;
- 2 variants of the platform — a big platform with Imps and a small one;
- All parts are divided in such a way to fit the build plates and to ensure that support structures are generated where needed.
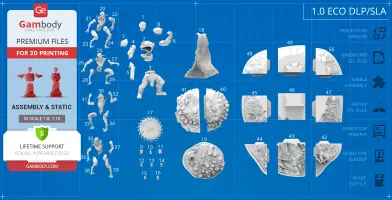
DLP/SLA Eco 1.0 versions features:
- Contains 50 parts;
- A printed diorama is 214 mm tall, 188 mm wide, 208 mm deep;
- A printed model on a small platform is 160 mm tall, 116 mm wide, 133 mm deep;
- 2 variants of the platform — a big platform with Imps and a small one;
- Some parts are manually hollowed out to save resin.
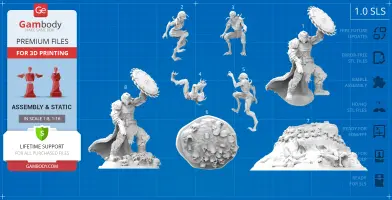
SLS 1.0 versions features:
- Contains 8 parts — choose between a solid model connected to a small platform, and a solid model and separate platforms.
You can get the STL Files of Doom Slayer vs Imps Diorama immediately after the purchase! Just click the green Buy button in the top-right corner of the model’s page. You can pay with PayPal or your credit card.
Watch the tutorial on how to assemble the 3D Printed Doom Slayer vs Imps 3D Printing Diorama from the provided 3D Print Files on Gambody YouTube channel.
Also, you may like other Video Games 3D Printing Designs.
_______
FAQ:
- Where can I print a model if I have no printer?
- How to get started with 3D printing?
- How to set up my 3D printer?
- How to choose right 3D model print bed positioning?
- How to paint printed model?
Generic
Below you can find printing recommendations for Cura, Bambu Studio, Simplify3D, Slic3r and PrusaSlicer software.
Disclaimer: The following printing settings are a recommendation, not an obligation. The parameters can vary depending on the peculiarities of your 3D printer, the material you use, and especially the particular assembly part you are working with. Each part that any model comprises often needs preliminary review, and you are free to tweak the settings the way you find suitable.
Note:
You can scale up the model (downscaling for FFF/FDM 3D printers is not recommended!);
All connectors should be printed at 100% Infill.
Bambu Lab printing recommendations:
These basic 3D printing settings recommendations for beginners were tested in Bambu Studio 1.9.1. Test models were printed on the Bambu Lab A1, Bambu Lab A1 Mini, Creality Ender 3 S1, Anycubic Kobra 2, and Anycubic Vyper using PLA and PETG filaments.
To avoid printing problems, we recommend the following settings: download
Cura printing recommendations:
These are averaged settings which were tested in the Cura 5.2.1 slicer. Test models were printed on Anycubic Vyper, Creality Ender 3 Pro with PLA filament.
To avoid printing problems, we recommend the following settings: download
Simplify3D printing recommendations:
These are averaged settings which were tested in the Simplify3D 5.0.0 slicer. Test models were printed on Anycubic Vyper, FLSUN v400, Ender3 S1 with PLA filament.
To avoid printing problems, we recommend the following settings: download
Slic3r printing recommendations:
These basic 3D printing settings recommendations for beginners were tested in Slic3r 1.3.0 software. Test models were printed on Ultimaker 2, Creality Ender 3, Creality Cr-10S pro v2, Anycubic I3 Mega, Anycubic I3 MegaS, Anycubic Vyper with PLA and PetG filaments.
To avoid printing problems, we recommend the following settings: download
PrusaSlicer printing recommendations:
These basic 3D printing settings recommendations for beginners were tested in PrusaSlicer 2.3.1. Test models were printed on Ultimaker 2, Creality Ender 3, Creality Cr-10S pro v2, Anycubic I3 Mega, Anycubic I3 MegaS, Anycubic Vyper with PLA and PETG filaments.
To avoid printing problems, we recommend the following settings: download


Comments