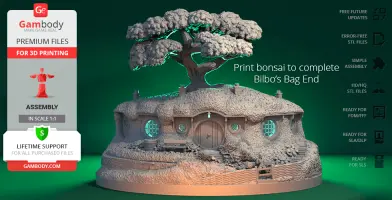
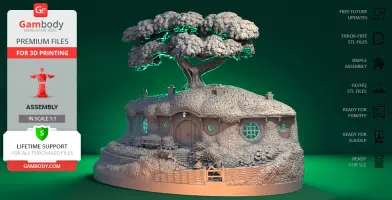
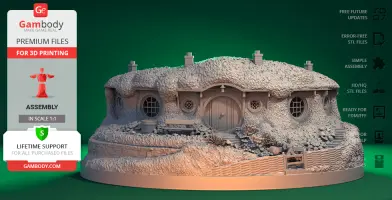
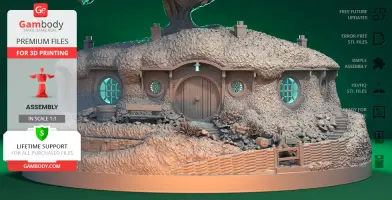
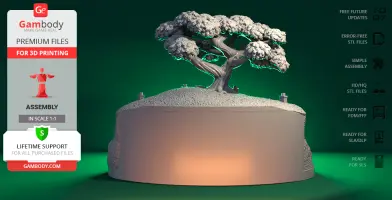
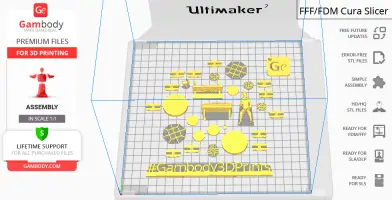
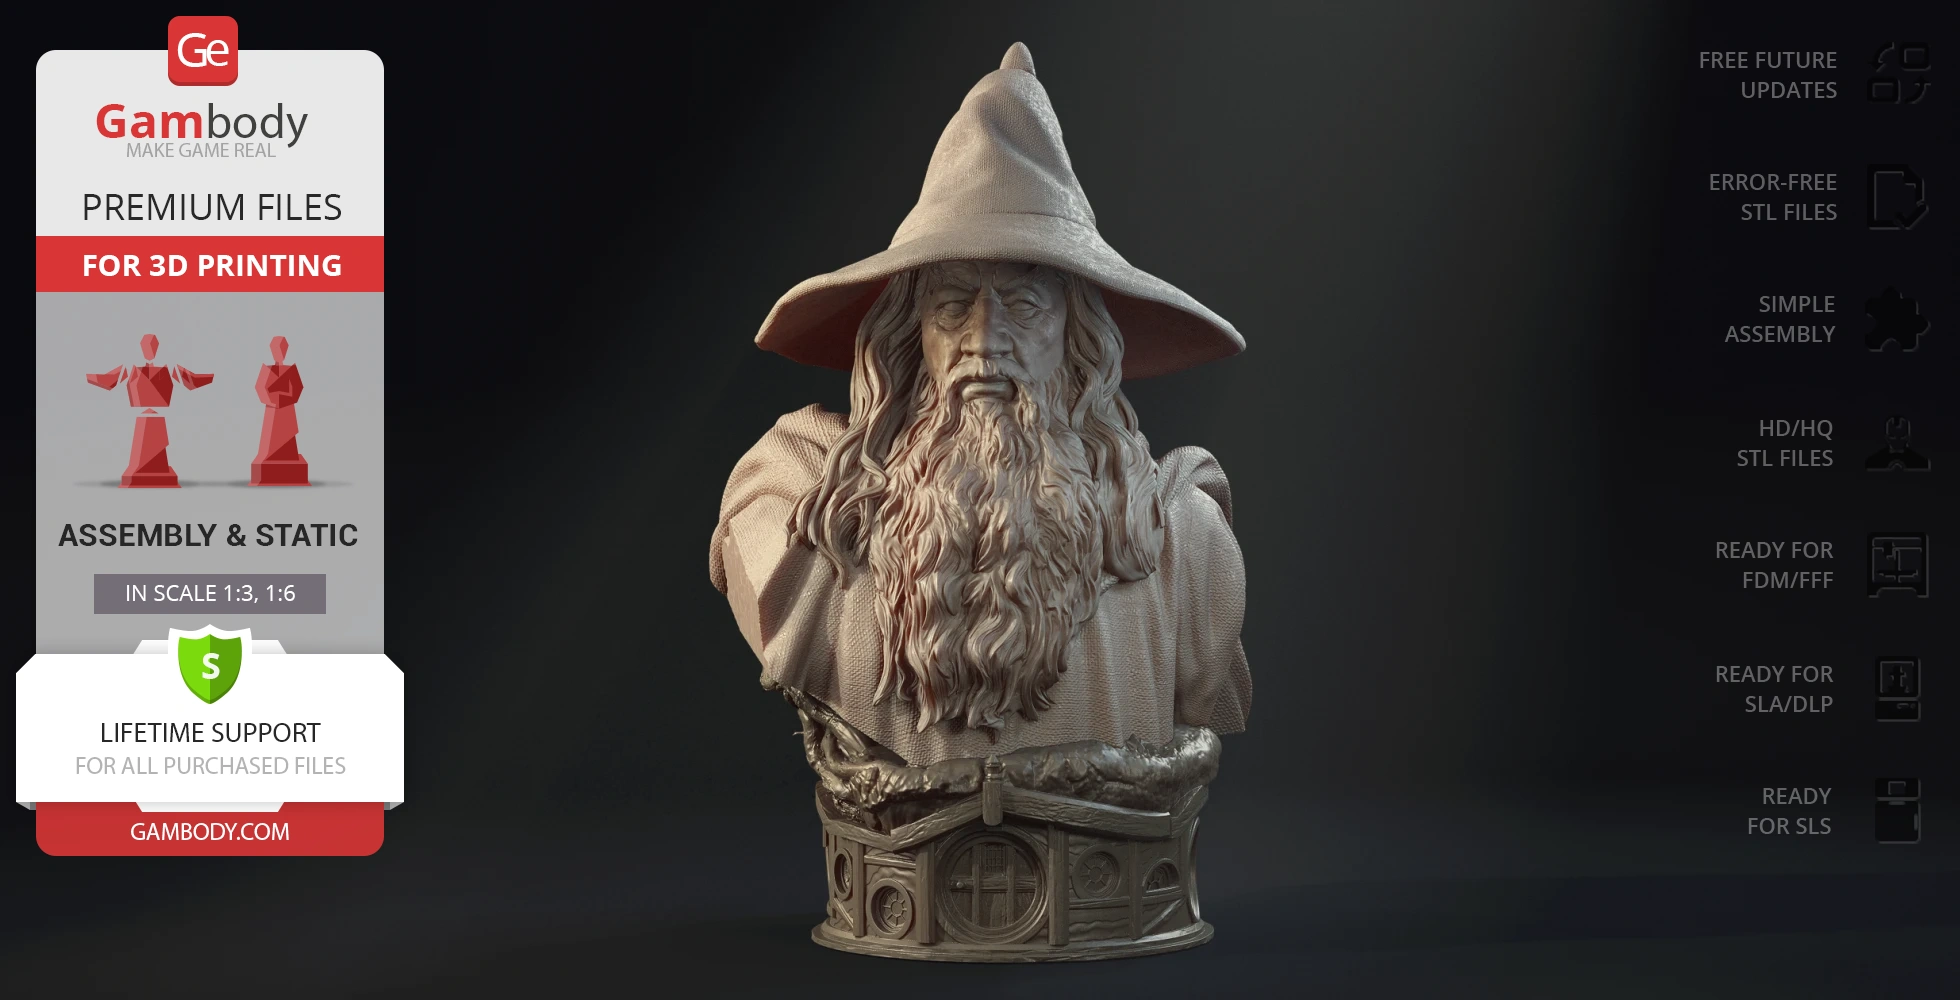
This 3D Printer Model of Hobbiton Bonsai Pot inspired by Lord of the Rings consists of files in StereoLithography (.Stl) format that is optimized for 3D printing.
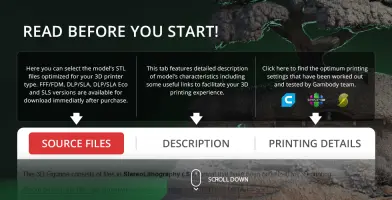
Before printing the files, we strongly recommend reading the PRINTING DETAILS section.
WHAT WILL YOU GET AFTER PURCHASE?
- 2 versions of Hobbiton Bonsai Pot STL files for FFF/FDM and SLS - files for each version are available for download after the purchase;
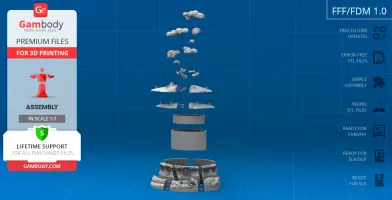
- STL files of high-poly Hobbiton Bonsai Pot 3D printer model consist of 49 parts;
- Sizes:
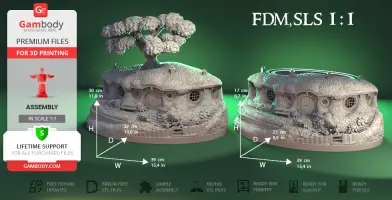
- FFF/FDM: 300 mm tall, 390 mm wide, 270 mm deep;
- SLS: 300 mm tall, 390 mm wide, 270 mm deep;
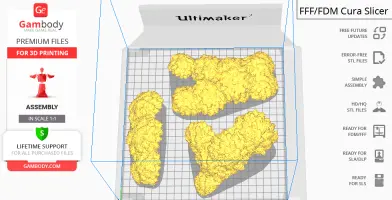
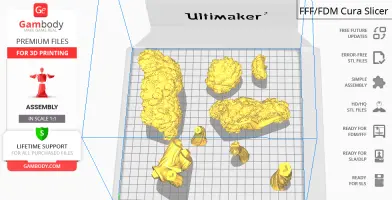
- Detailed settings that we provide as a recommendation for Cura, Bambu Studio, Simplify3D, Slic3r and PrusaSlicer for the best print;
- Full technical support from the Gambody Support Team.
Detailed information about these 3D printer files is available in the DESCRIPTION section.
ABOUT THIS 3D MODEL
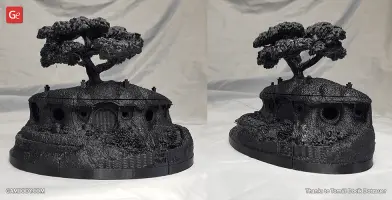
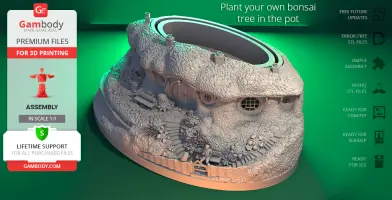
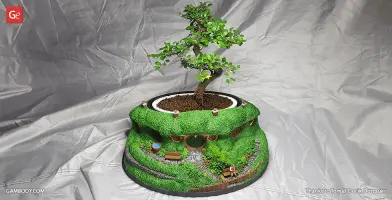
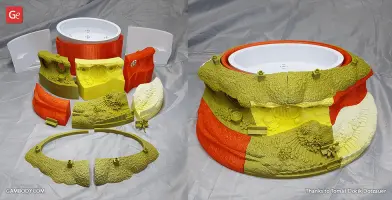
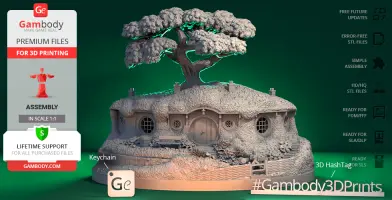
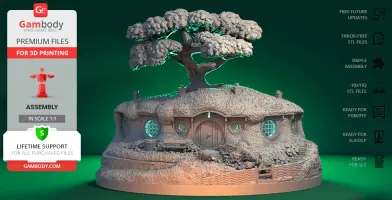
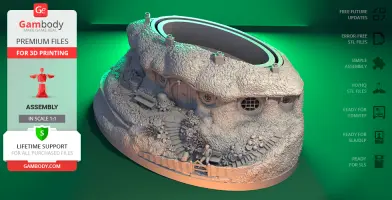
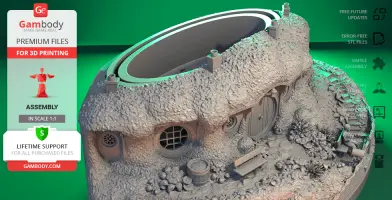
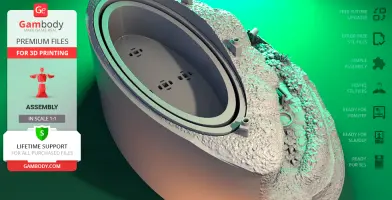
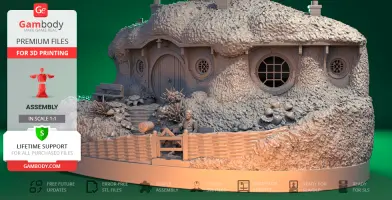
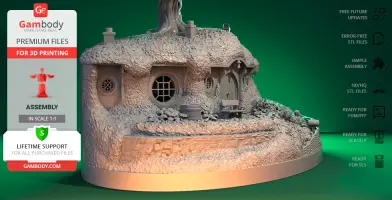
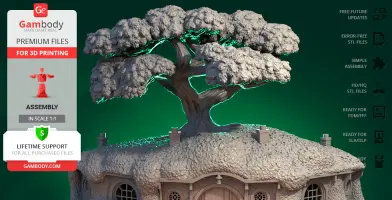
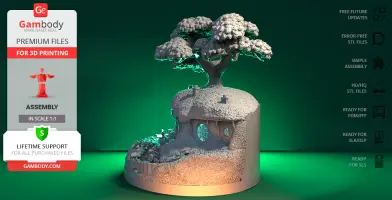
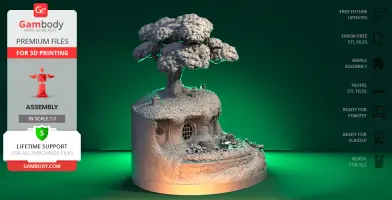
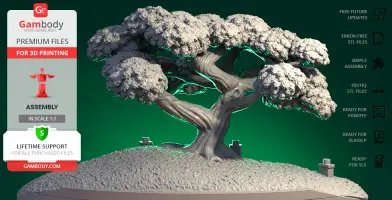
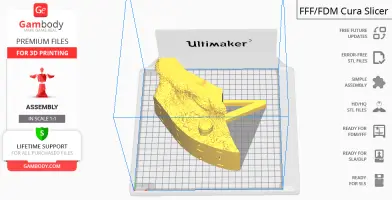
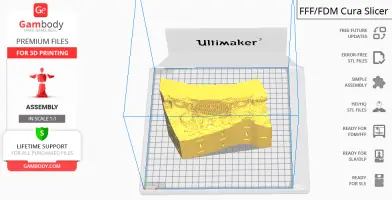
At the end of Bagshot Row in Hobbiton, a village in the centre of the Shire, there is a cosy smial with a perfectly round green door, a shiny brass knob in the exact middle and round windows that lead to countless rooms. Just above the Hobbit-hole, there is an old huge tree overlooking “the most luxurious hobbit-hole in the local area”. And if you happen to pay a visit on the owner’s birthday, you may be welcomed by the sign “no admittance, except on party business”. While many of Tolkien’s fans have already travelled all the way to New Zealand to visit a 12-acre movie set “Hobbiton”, the author of this 3D printer model gives any willing enthusiast a chance to create a very own replica of Bilbo Baggins’ home! The 3D artist spent 240 hours to design the Baggins’ Bag End that comes with a trick! You can either print the whole Bag End model including its roof with the tree mounted on top of it or you can choose the other variant without the roof to plant a real bonsai tree inside of the hobbit-hole! This 3D printer model comes with everything you need - there is an extra 3D STL files for printing the pot with holes to wire the bonsai to it. Once the bonsai is planted you can put it into the bowl that also can be 3D printed and filled with expanded clay to aggregate for drainage and aeration. Your bonsai project is ready to be fixed into the hobbit-hole! Both bowl and pot can be taken out any time you need to replant the tree or when you want to rotate the pot given that the bonsai grows in the direction of the light. We are sure any Lord of the Rings fans would be stunned to have such a unique flowerpot at home! By the way, have you noticed Bilbo Baggins sitting on the bench?
ADAPTATION FOR 3D PRINTING
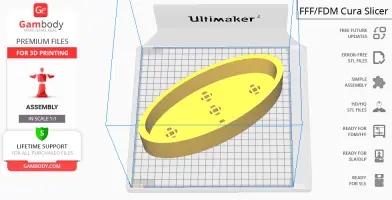
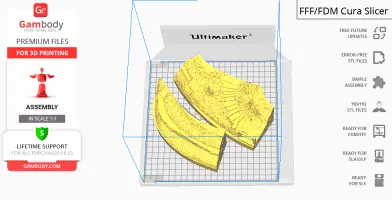
Hobbiton Bonsai Pot 3D printing design is an assembly model and its moderation and adaptation for different types of 3D printers took Gambody team 42 hours in total. The model’s cutting was chosen to ensure the cleanest 3D printed result, e.g. window-frames, benches, doorknob, lamp and even Bilbo Baggins’ 3D models are available as separate assembly parts. Besides, the model’s windows are provided as separate files for you to be able to print them in transparent filament and add LEDs inside to light the Hobbit-hole up in the evenings. When choosing the tree for your 3D printed pot it is recommended that you take the following general rules into account: the pot’s depth should be equal to the diameter of the trunk just above soil level. For oval pots, the length of the pot should be 2/3 the height of the tree. The author of this 3D printer STL files wants to emphasise that it is important to buy bonsai first and then figure out what scale to print the Bag End at.
The author of the Bonsai Pot model prepared a set of video instructions on how to assemble and paint the model and even on how to plant the tree inside.
The 3D model is saved in STL files, a format supported by most 3D printers. All STL files for 3D printing have been checked in Netfabb and no errors were shown.
VERSIONS' SPECIFICATIONS
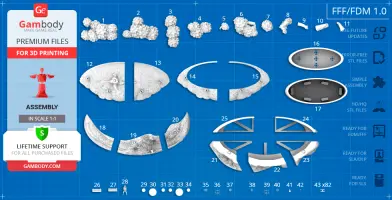
FFF/FDM 1.0 version features:
- Contains 43 parts;
- A printed model is 300 mm tall, 390 mm wide, 270 mm deep;
- Assembly kit includes lock 43_ge_lock_10H(x82) to connect parts securely without glue that needs to be printed 82 times;
- Comes with a bowl and a pot for you to plant your own bonsai tree;
- Windows are provided separately to print them in transparent filament:
- Can be assembled with the roof and a tree on it if you don't want to plant the bonsai;
- All parts are divided in such a way that you will print them with the smallest number of support structures.
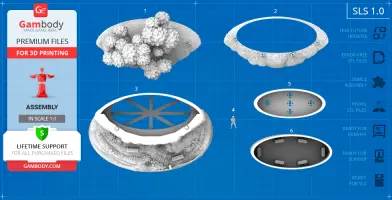
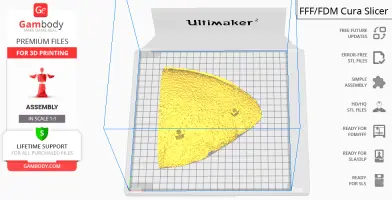
SLS 1.0 version features:
- Contains 6 parts for those who have 3D printers with large build plates to print with fewer assembly parts;
- A printed model is 300 mm tall, 390 mm wide, 270 mm deep;
- Comes with a bowl and a pot for you to plant your own bonsai tree;
- Can be assembled with the roof and a tree on it if you don't want to plant the bonsai;
- All parts are divided in such a way to fit the build plates and to ensure that support structures are generated where needed.
You can get the STL files of Hobbiton Bonsai Pot for 3D Printing immediately after the purchase! Just click the green Buy button in the top-right corner of the model’s page. You can pay with PayPal or your credit card.
Watch the tutorial on how to assemble Hobbiton Bonsai Pot 3D Printer Model at Gambody YouTube channel.
Also, you may like the other LOTR 3D Printing Designs.
_______
FAQ:
Generic
Below you can find printing recommendations for Cura, Bambu Studio, Simplify3D, Slic3r and PrusaSlicer software.
Disclaimer: The following printing settings are a recommendation, not an obligation. The parameters can vary depending on the peculiarities of your 3D printer, the material you use, and especially the particular assembly part you are working with. Each part that any model comprises often needs preliminary review, and you are free to tweak the settings the way you find suitable.
Note:
You can scale up the model (downscaling for FFF/FDM 3D printers is not recommended!);
All connectors should be printed at 100% Infill.
Bambu Lab printing recommendations:
These basic 3D printing settings recommendations for beginners were tested in Bambu Studio 1.9.5. Test models were printed on the Bambu Lab A1, Bambu Lab A1 Mini, Creality Ender 3 S1, Anycubic Kobra 2, and Anycubic Vyper using PLA and PETG filaments.
To avoid printing problems, we recommend the following settings: download
Cura printing recommendations:
These are averaged settings which were tested in the Cura 5.8.1 slicer. Test models were printed on Anycubic Vyper, Creality Ender 3 Pro with PLA filament.
To avoid printing problems, we recommend the following settings: download
Simplify3D printing recommendations:
These are averaged settings which were tested in the Simplify3D 5.0.0 slicer. Test models were printed on Anycubic Vyper, FLSUN v400, Ender3 S1 with PLA filament.
To avoid printing problems, we recommend the following settings: download
Slic3r printing recommendations:
These basic 3D printing settings recommendations for beginners were tested in Slic3r 1.3.0 software. Test models were printed on Ultimaker 2, Creality Ender 3, Creality Cr-10S pro v2, Anycubic I3 Mega, Anycubic I3 MegaS, Anycubic Vyper with PLA and PetG filaments.
To avoid printing problems, we recommend the following settings: download
PrusaSlicer printing recommendations:
These basic 3D printing settings recommendations for beginners were tested in PrusaSlicer 2.3.1. Test models were printed on Ultimaker 2, Creality Ender 3, Creality Cr-10S pro v2, Anycubic I3 Mega, Anycubic I3 MegaS, Anycubic Vyper with PLA and PETG filaments.
To avoid printing problems, we recommend the following settings: download


Comments