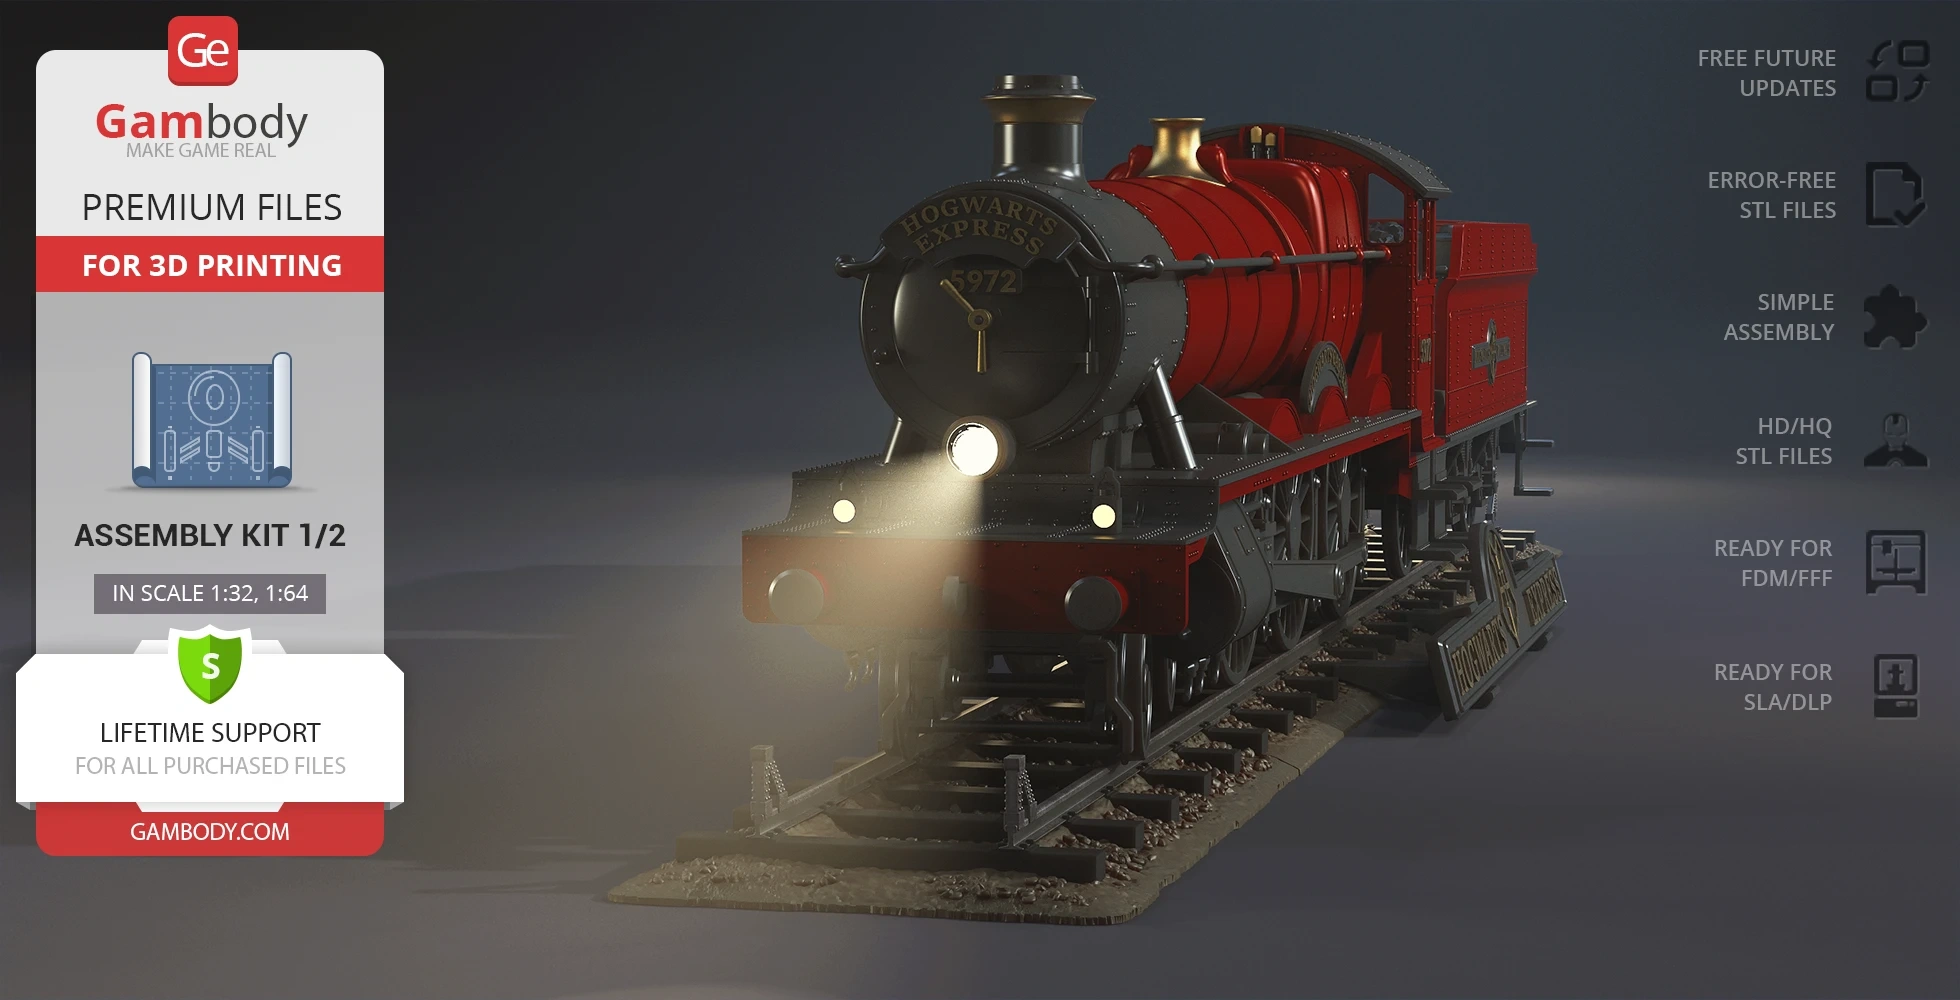
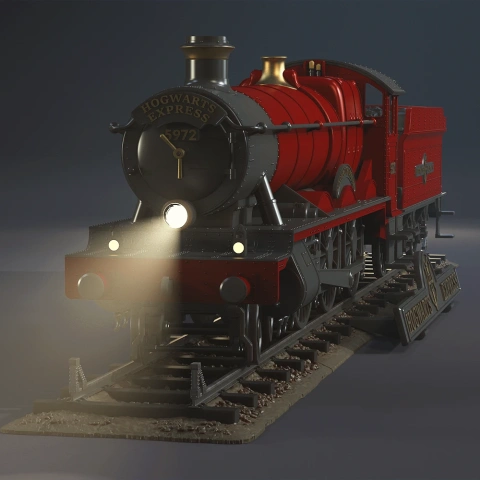
This 3D model of Hogwarts Express 3D Printing Model Assembly Kit 2 - Platform 9 3/4 consists of files in StereoLithography (.Stl) format that is optimized for 3D printing.
Before printing the files, we strongly recommend reading the PRINTING DETAILS section.
WHAT WILL YOU GET AFTER PURCHASE?
- 2 versions of Hogwarts Express Assembly Kit 2 STL files for FFF/FDM and DLP/SLA - files for all versions are available for download after the purchase;
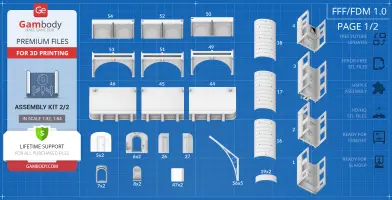
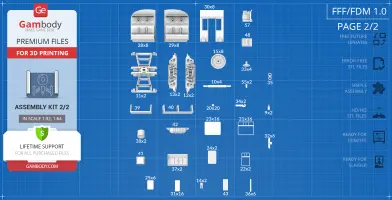
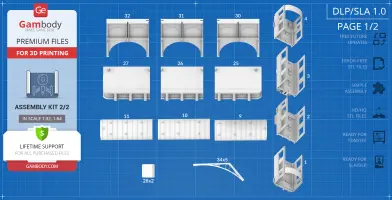
- STL files of high-poly Hogwarts Express Assembly Kit 2 Model for 3D printing consist of 92 files;
- Sizes for:
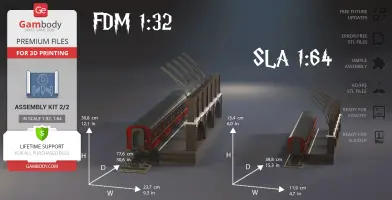
- FFF/FDM: 308 mm tall, 237 mm wide, 776 mm deep;
- DLP/SLA: 154 mm tall, 119 mm wide, 388 mm deep;
- Assembly Manual for FFF/FDM 1.0 and DLP/SLA 1.0 versions in PDF and video formats;
- Detailed settings that we provide as a recommendation for Cura, Simplify3D, Slic3r and PrusaSlicer for the best print;
- Full technical support from the Gambody Support Team.
Detailed information about this 3D printing model is available in the DESCRIPTION section.
ABOUT THIS 3D MODEL
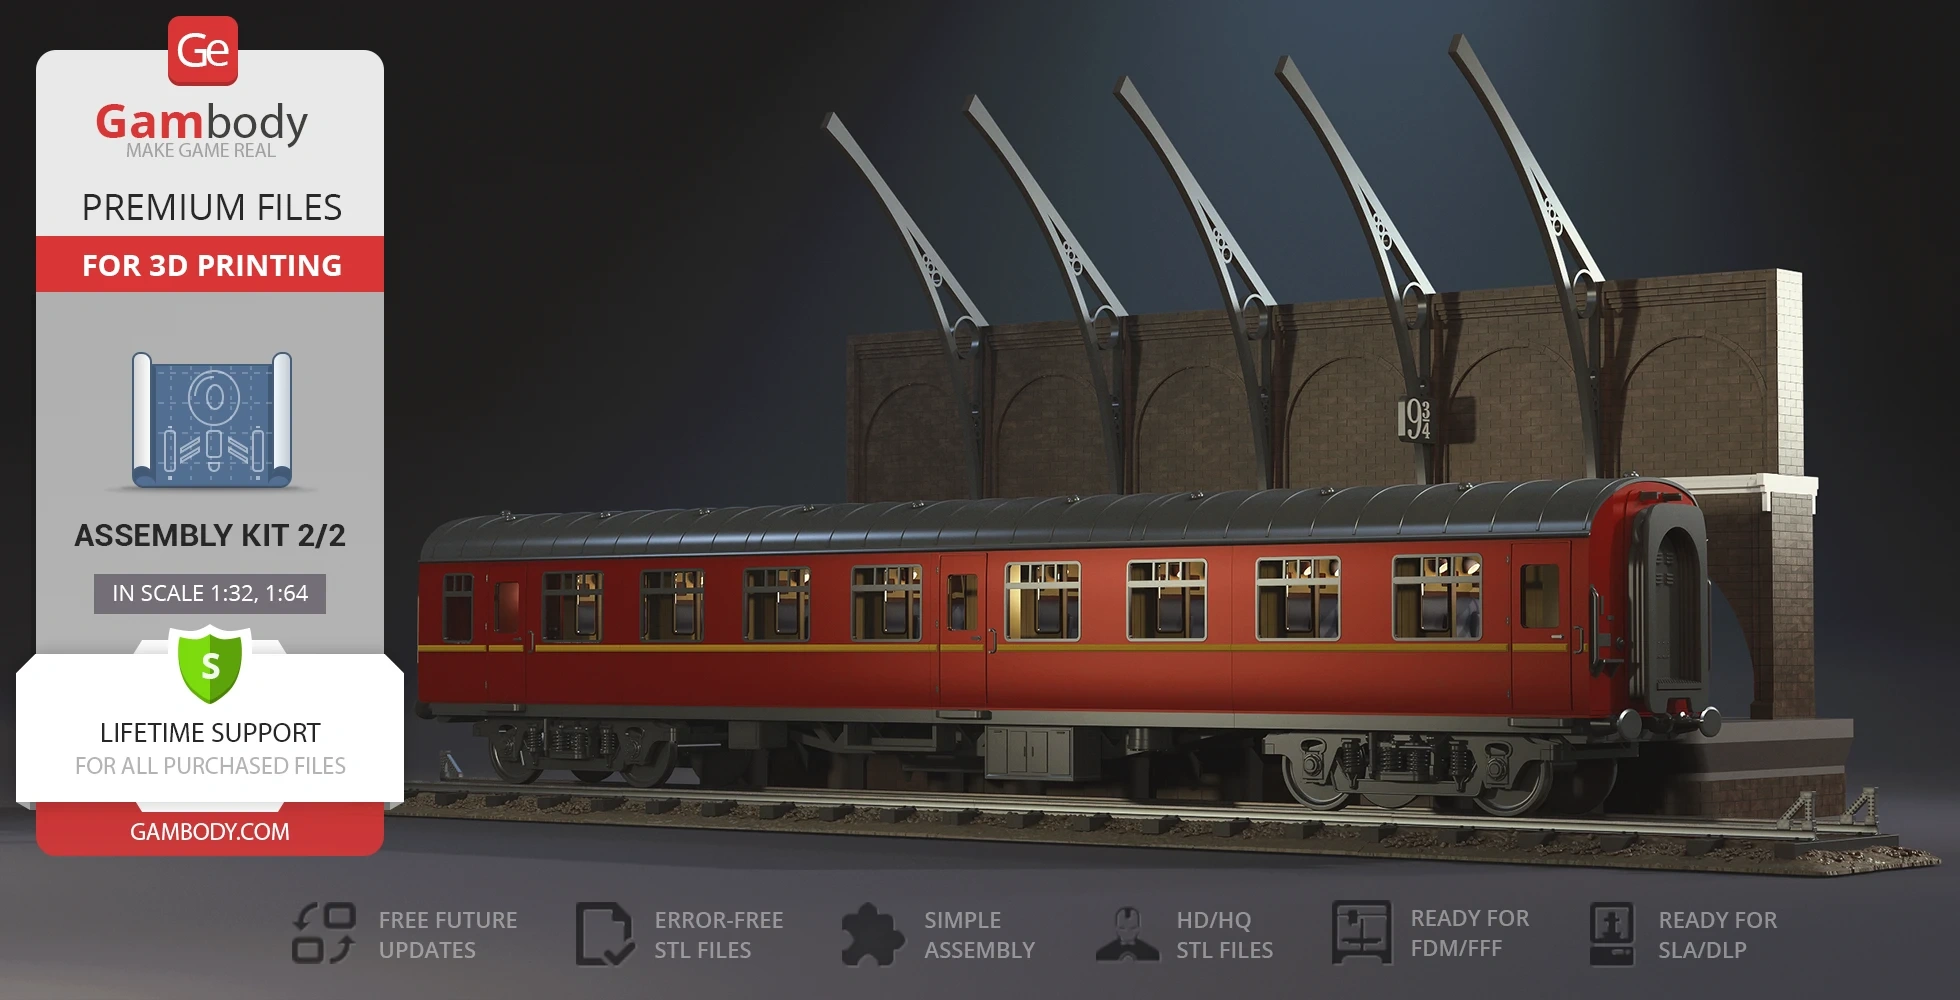
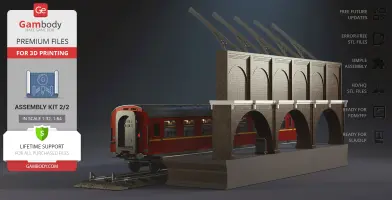
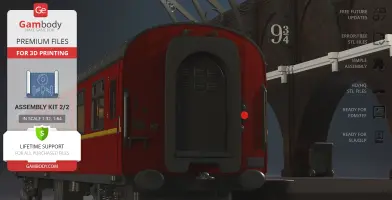
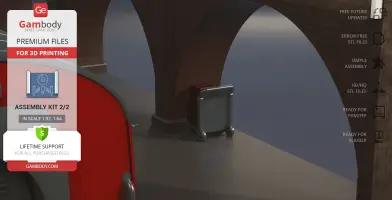
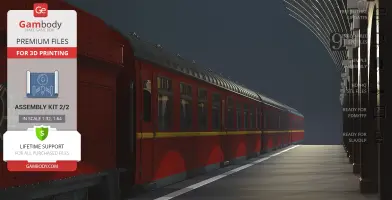
One of the most memorable scenes of Harry Potter and the Philosopher’s Stone is the scene where Harry and Ron meet at the London King’s Cross railway station to depart to the School of Witchcraft and Wizardry for their first year. Platform 9 ¾, invisible to the eyes of muggles, is located between platforms 9 and 10 and serves as a portal for the young wizards who travel to the school of magic on the famous Hogwarts Express. With a trolley full of luggage and a cage with Hedwig, Harry had to run through the brick wall to board the train that later brought him to the place he could call his true home, Hogwarts.
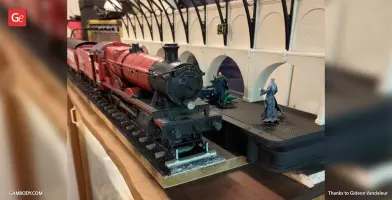
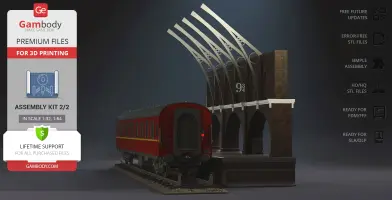
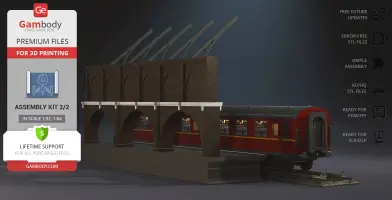
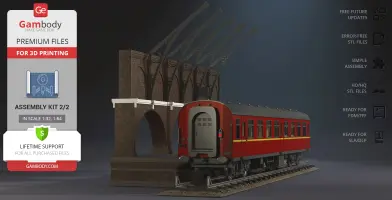
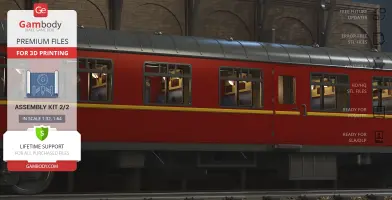
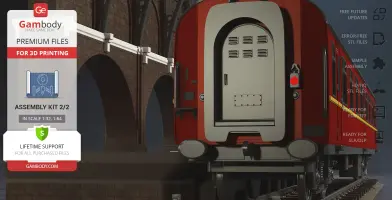
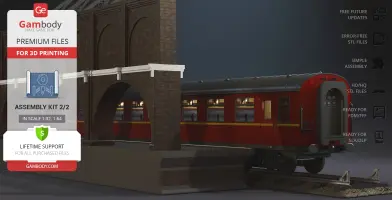
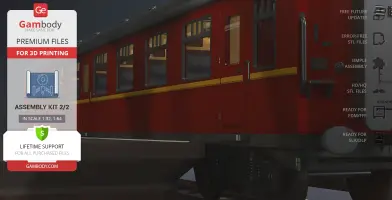
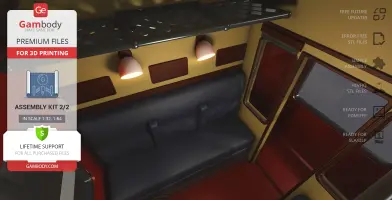
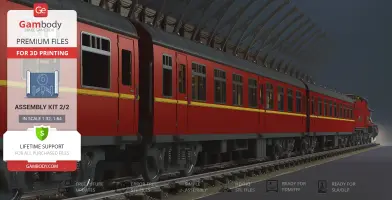
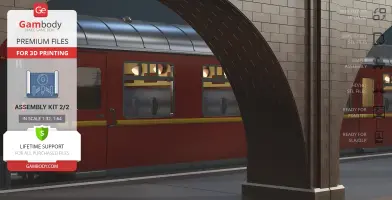
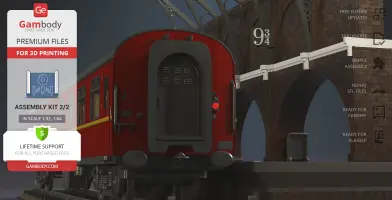
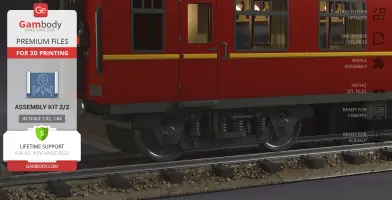
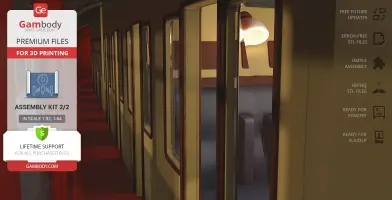
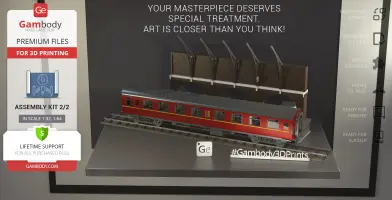
A big fan of the Harry Potter film series, our contributing 3D artist put a lot of effort into creating this outstanding model for 3D printing. Assembly Kit 2 consists of a passenger carriage and a platform and comprises a beautiful exhibit that will bring a special charm to your collection of printables. The beautiful interior design of the carriage can be accessed through the removable roof, and the active mechanisms in the wheels allow the movement of the train. Both steam locomotive and passenger carriage can be assembled as a complete locomotive with an opportunity to print multiple carriages that are identical. With its impressive design, high level of detail, and display possibilities, the Platform 9 3/4 is a model that definitely deserves your attention!
ADAPTATION FOR 3D PRINTING
The Hogwarts Express 3D Printing Model Assembly Kit 2 - Platform 9 3/4 model for 3D printing is an active assembly model and its moderation and adaptation for different types of 3D printers took the Gambody team 93 hours in total.
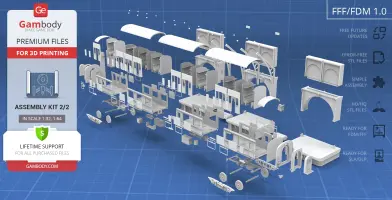
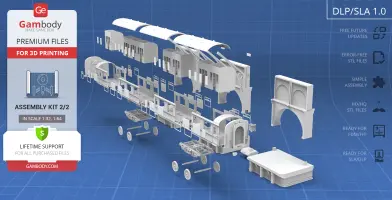
For you to receive the cleanest 3D printing result possible, minimize the amount of filament needed for generated support, and make use of the active elements designed by Gambody Engineers, the platform and the carriage were divided into convenient assembly parts.
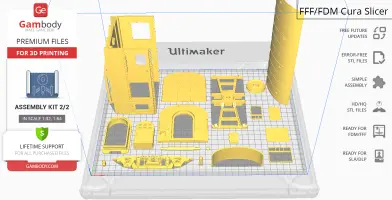
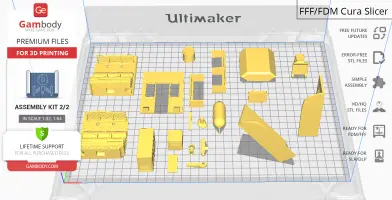
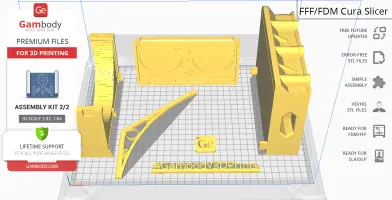
All assembly parts in the FFF/FDM 1.0 version are provided in STL files in recommended positions that were worked out in order to ensure the smoothness of the details’ surfaces after printing and that the 3D printing beginners won’t face difficulties when placing the parts on a build plate. When downloading any model’s file you will also receive “Assembly Manual” for FFF/FDM 1.0 and DLP/SLA 1.0 versions in PDF and video formats. We highly recommend that you get acquainted with the “Assembly Video” and “Assembly Manual” before getting down to the Hogwarts Express Assembly Kit 2 3D printing model.
The model is saved in STL files, a format supported by most 3D printers. All STL files for 3D printing have been checked in Netfabb and no errors were shown.
The model’s scale was calculated from the length of the Hogwarts Express. The 3D printing model’s chosen scales are 1:32 for the FFF/FDM version and 1:64 for the DLP/SLA version.
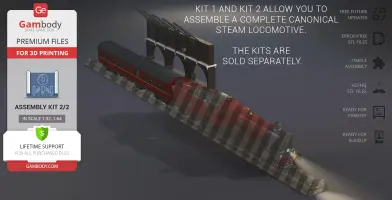
This is the description of the model's Assembly Kit 2 - Platform 9 3/4. Assembly Kit 1 - Steam Locomotive is sold as a separate item. Assembly Kit 1 and Assembly Kit 2 allow you to assemble a complete canonical steam locomotive.
VERSIONS’ SPECIFICATIONS
FFF/FDM 1.0 version features:
- Contains 57 parts;
- A printed model is 308 mm tall, 237 mm wide, 776 mm deep;
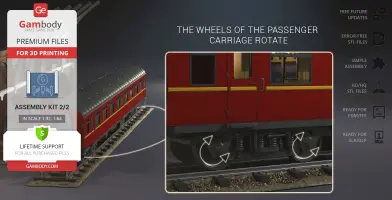
- The wheels of the passenger carriage rotate;
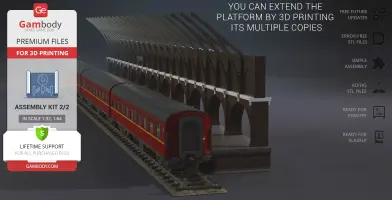
- You can extend the platform by 3D printing its multiple copies;
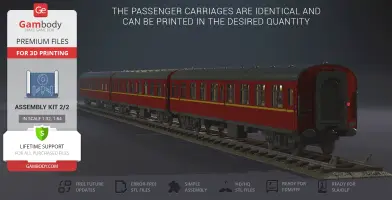
- The passenger carriages are identical and can be printed in the desired quantity;
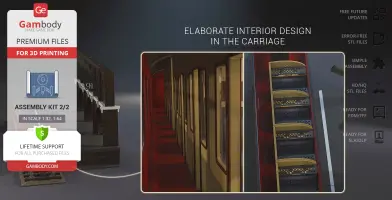
- Elaborate interior design in the carriage;
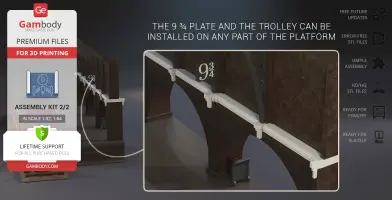
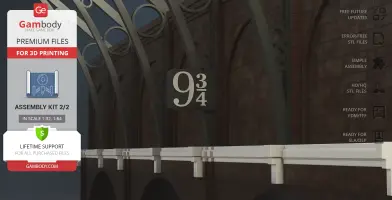
- The 9 ¾ plate and the trolley can be installed on any part of the platform;
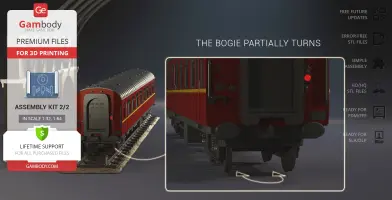
- The bogie partially turns;
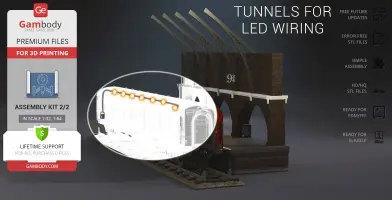
- Tunnels for LED wiring to light up the carriage;
- All parts are divided in such a way that you will print them with the smallest number of support structures.
DLP/SLA 1.0 version features:
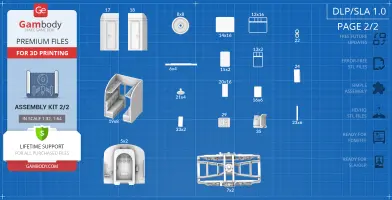
- Contains 35 parts;
- A printed model is 154 mm tall, 119 mm wide, 388 mm deep;
- The wheels of the passenger carriage rotate;
- You can extend the platform by 3D printing its multiple copies;
- The passenger carriages are identical and can be printed in the desired quantity;
- Elaborate interior design in the carriage;
- The 9 ¾ plate and the trolley can be installed on any part of the platform;
- The bogie partially turns;
- Tunnels for LED wiring to light up the carriage;
- All parts are divided in such a way to fit the build plates and to ensure that support structures are generated where needed.
You can get the Hogwarts Express 3D Printing Model Assembly Kit 2 - Platform 9 3/4 immediately after the purchase! Just click the green Buy button in the top-right corner of the model’s page. You can pay with PayPal or your credit card.
Watch the tutorial on how to assemble a Hogwarts Express 3D Printing Model Assembly Kit 2 - Platform 9 3/4 on Gambody YouTube channel.
Also, you may like Dementor 3D Printing Figurine and other Harry Potter 3D Printing Models.
________
FAQ:
Generic
Below you can find printing recommendations for Cura, Bambu Lab, Simplify3D, Slic3r and PrusaSlicer software.
Disclaimer: The following printing settings are a recommendation, not an obligation. The parameters can vary depending on the peculiarities of your 3D printer, the material you use, and especially the particular assembly part you are working with. Each part that any model comprises often needs preliminary review, and you are free to tweak the settings the way you find suitable.
Note:
You can scale up the model (downscaling for FFF/FDM 3D printers is not recommended!);
All connectors should be printed at 100% Infill.
Bambu Lab printing recommendations:
These basic 3D printing settings recommendations for beginners were tested in Bambu Studio 1.9.1. Test models were printed on the Bambu Lab A1, Bambu Lab A1 Mini, Creality Ender 3 S1, Anycubic Kobra 2, and Anycubic Vyper using PLA and PETG filaments.
To avoid printing problems, we recommend the following settings: download
Cura printing recommendations:
These are averaged settings which were tested in the Cura 5.2.1 slicer. Test models were printed on Anycubic Vyper, Creality Ender 3 Pro with PLA filament.
To avoid printing problems, we recommend the following settings: download
Simplify3D printing recommendations:
These are averaged settings which were tested in the Simplify3D 5.0.0 slicer. Test models were printed on Anycubic Vyper, FLSUN v400, Ender3 S1 with PLA filament.
To avoid printing problems, we recommend the following settings: download
Slic3r printing recommendations:
These basic 3D printing settings recommendations for beginners were tested in Slic3r 1.3.0 software. Test models were printed on Ultimaker 2, Creality Ender 3, Creality Cr-10S pro v2, Anycubic I3 Mega, Anycubic I3 MegaS, Anycubic Vyper with PLA and PetG filaments.
To avoid printing problems, we recommend the following settings: download
PrusaSlicer printing recommendations:
These basic 3D printing settings recommendations for beginners were tested in PrusaSlicer 2.3.1. Test models were printed on Ultimaker 2, Creality Ender 3, Creality Cr-10S pro v2, Anycubic I3 Mega, Anycubic I3 MegaS, Anycubic Vyper with PLA and PETG filaments.
To avoid printing problems, we recommend the following settings: download






Comments