This 3D model of Jupiter 2 Kit 2: Interior consists of files in StereoLithography (.Stl) format that is optimized for 3D printing.
Before printing the files, we strongly recommend reading the PRINTING DETAILS section.
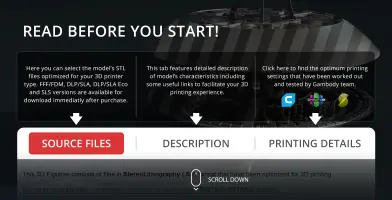
WHAT WILL YOU GET AFTER PURCHASE?
- 2 versions of Jupiter 2 Kit 2: Interior STL files for FFF/FDM and DLP/SLA 3D printers — files for all versions are available for download after the purchase;
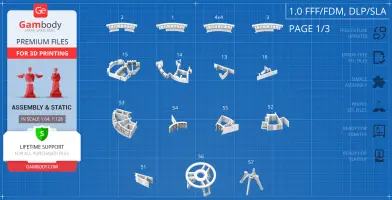
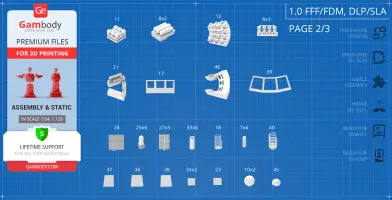
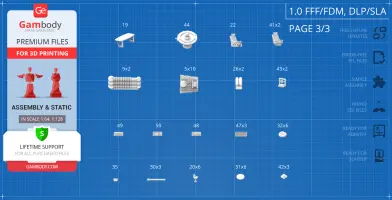
- STL files of high-poly Jupiter 2 Kit 2: Interior model for 3D printing consist of 114 files;
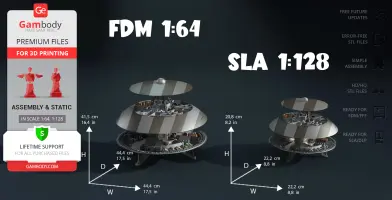
- Sizes for:
- FFF/FDM: 415 mm tall, 444 mm wide, 444 mm deep;
- DLP/SLA: 208 mm tall, 222 mm wide, 222 mm deep;
- Assembly Manual for 1.0 FFF/FDM and 1.0 DLP/SLA versions in PDF and video formats;
- Detailed settings that we provide as a recommendation for Cura, Bambu Studio, Simplify3D, Slic3r and PrusaSlicer for the best print;
- Full technical support from the Gambody Support Team.
Detailed information about these 3D printer files is available in the DESCRIPTION section.
ABOUT THIS 3D MODEL
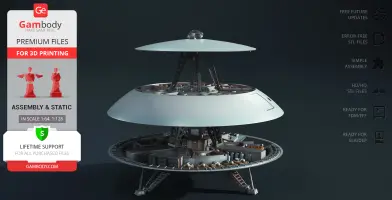
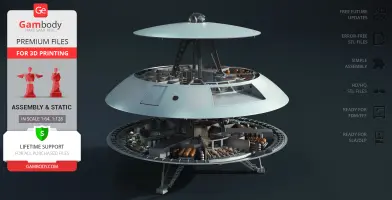
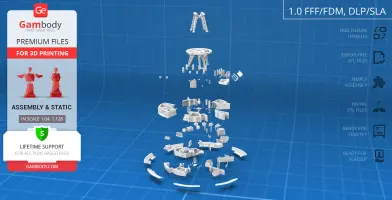
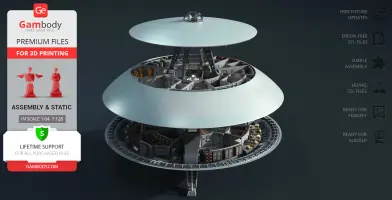
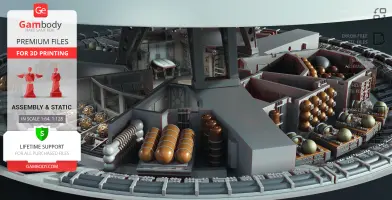
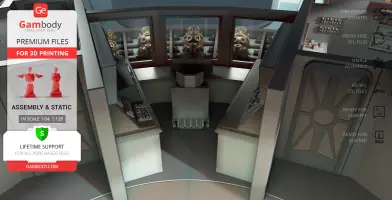
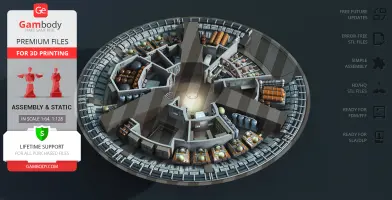
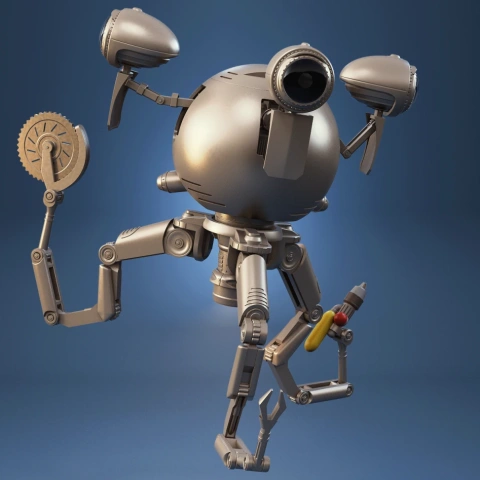
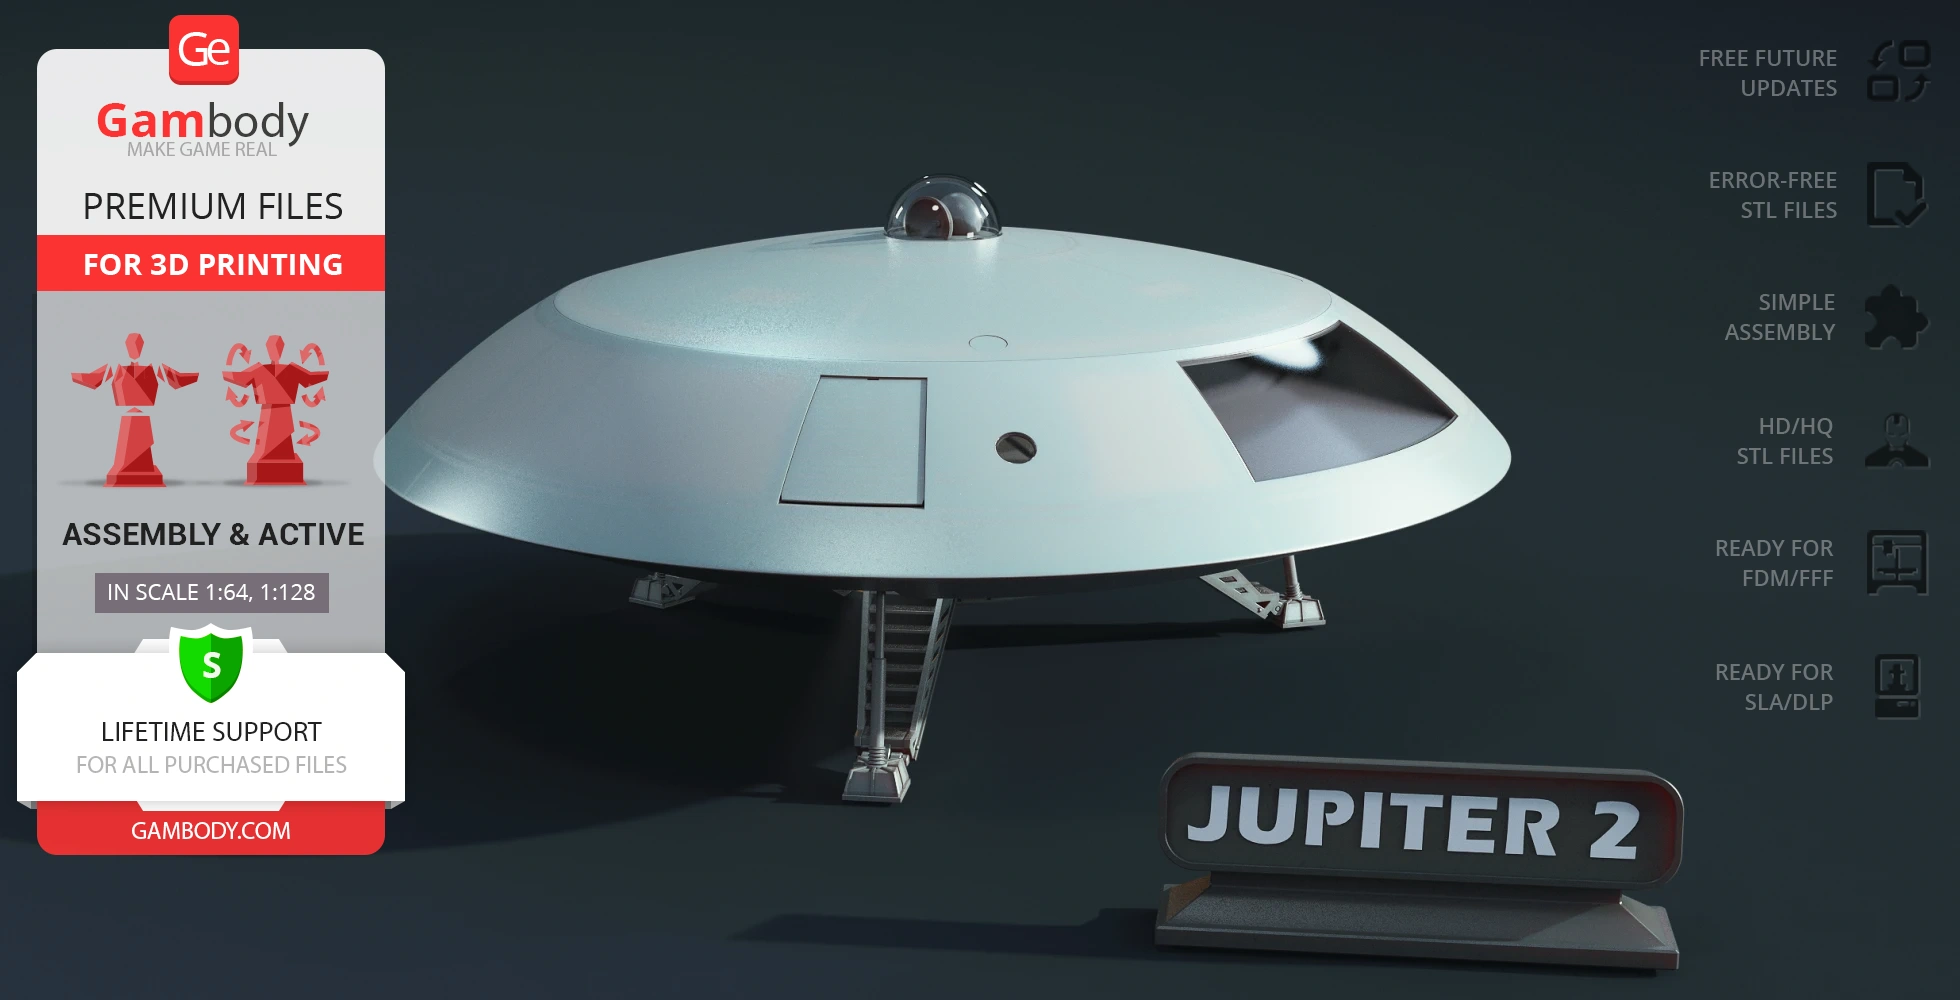
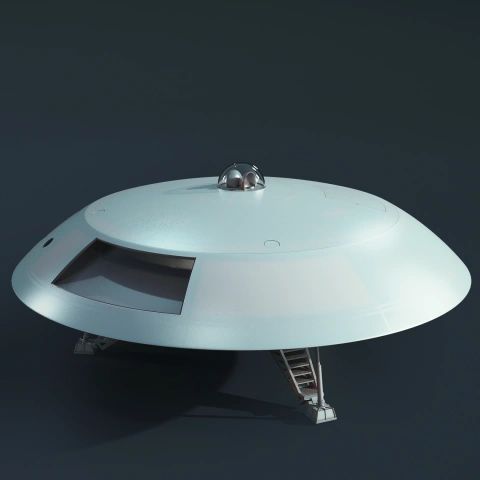
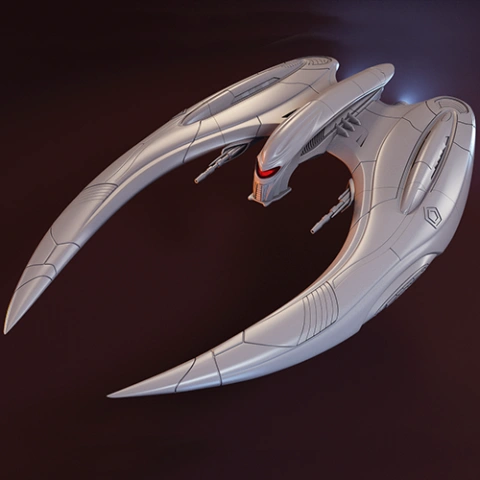
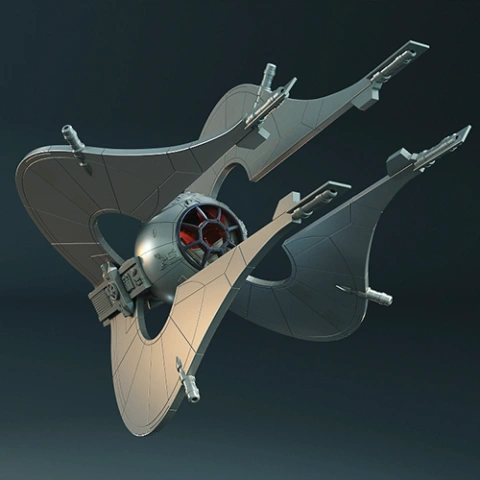
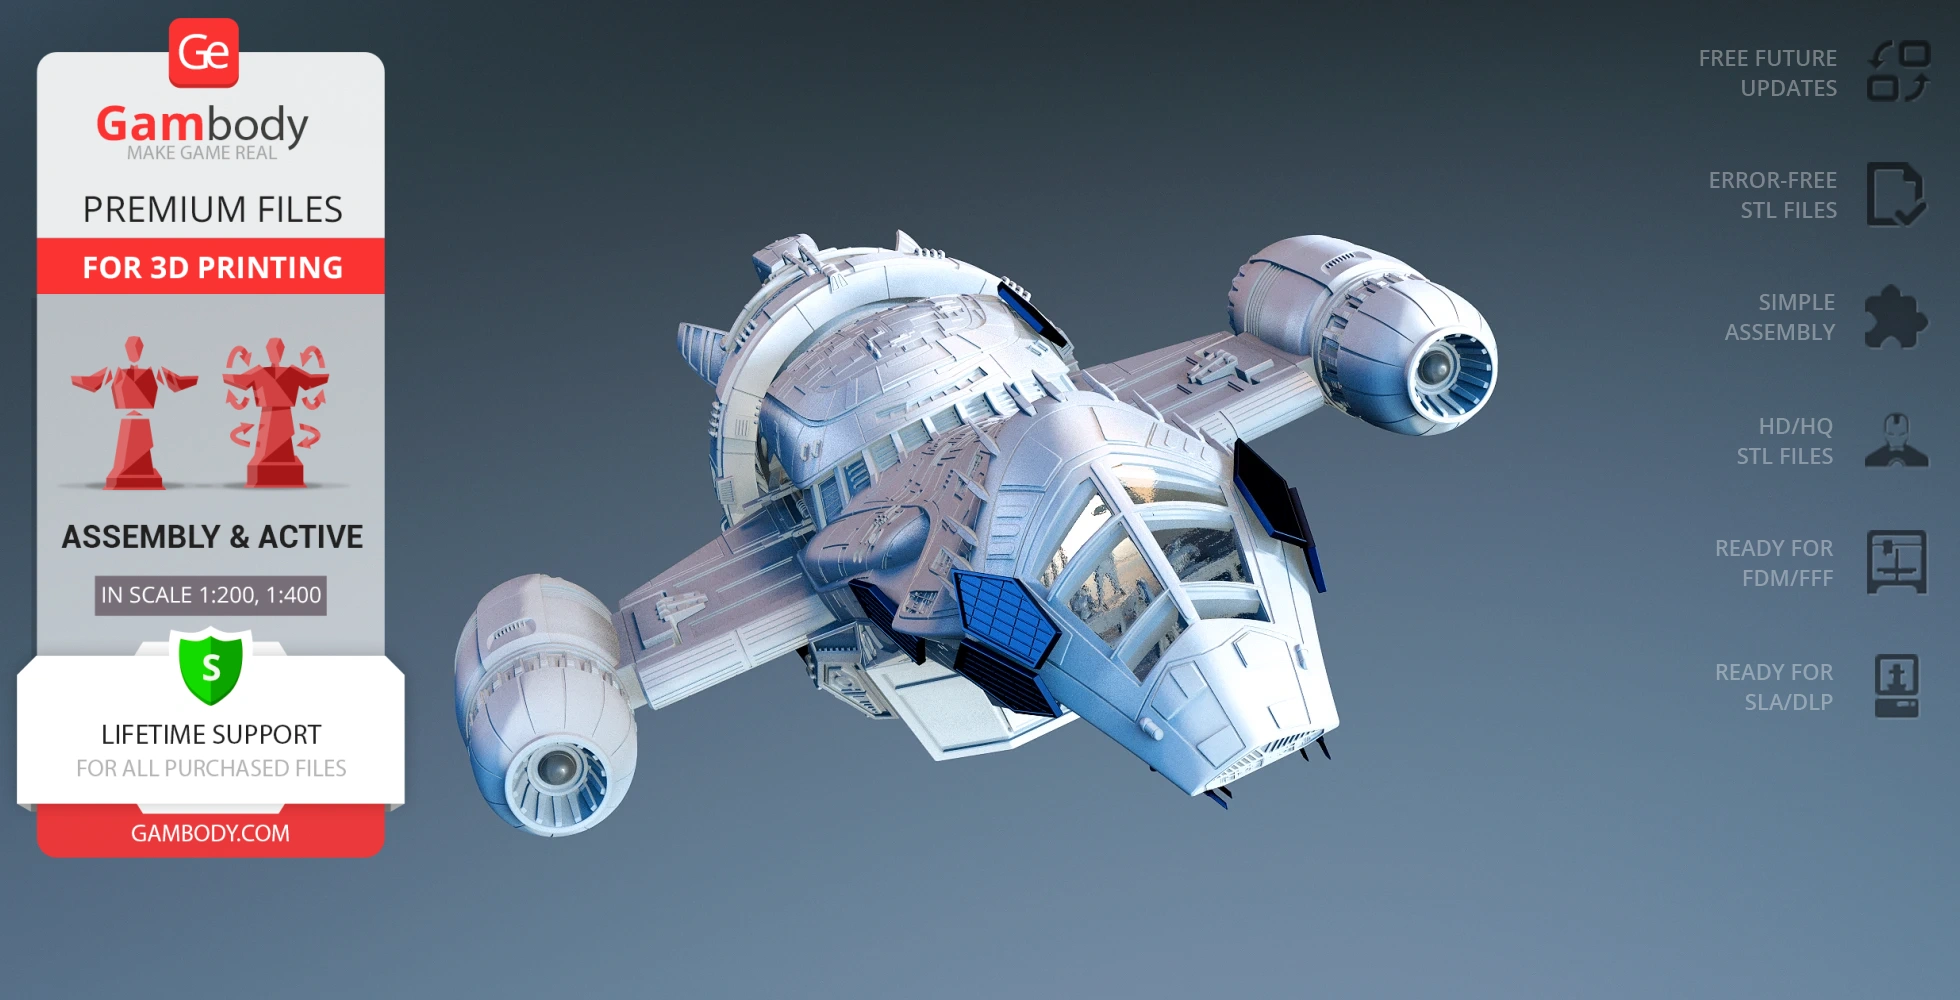
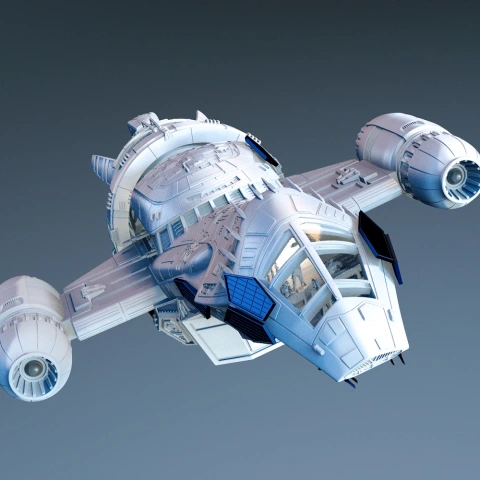
Jupiter 2 from Lost in Space is a unique spacecraft that became a symbol of hope, imagination, and human pursuit to overtake the bounds of the possible. This sci-fi transport ship with a distinctive disk shape served as a home for the Robinson family, Jupiter pilot Don West, and the Robot B-9 who together confronted countless dangers in far galaxies.
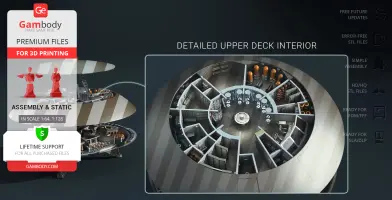
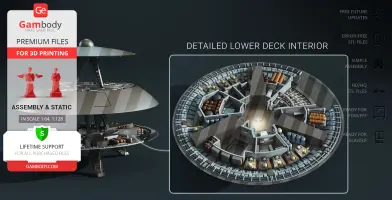
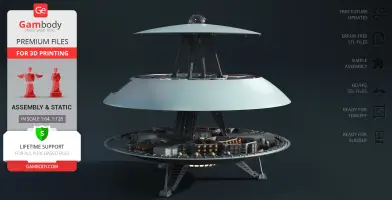
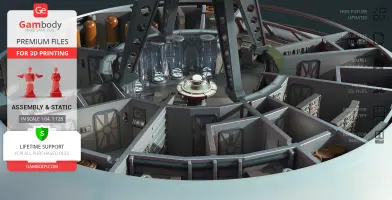
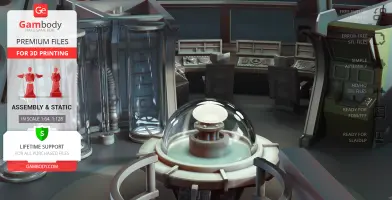
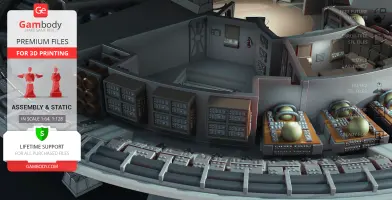
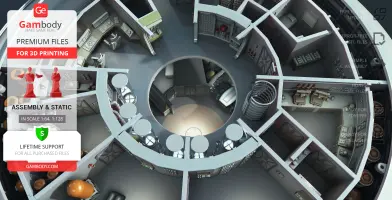
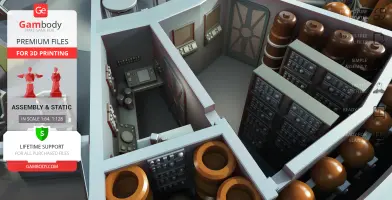
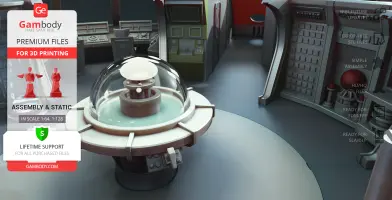
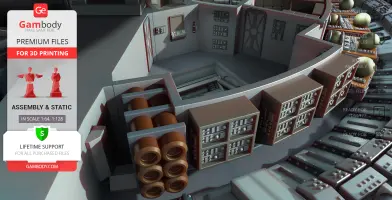
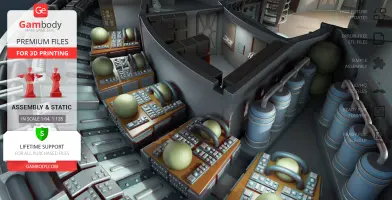
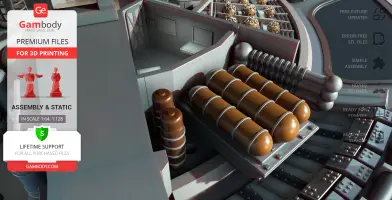
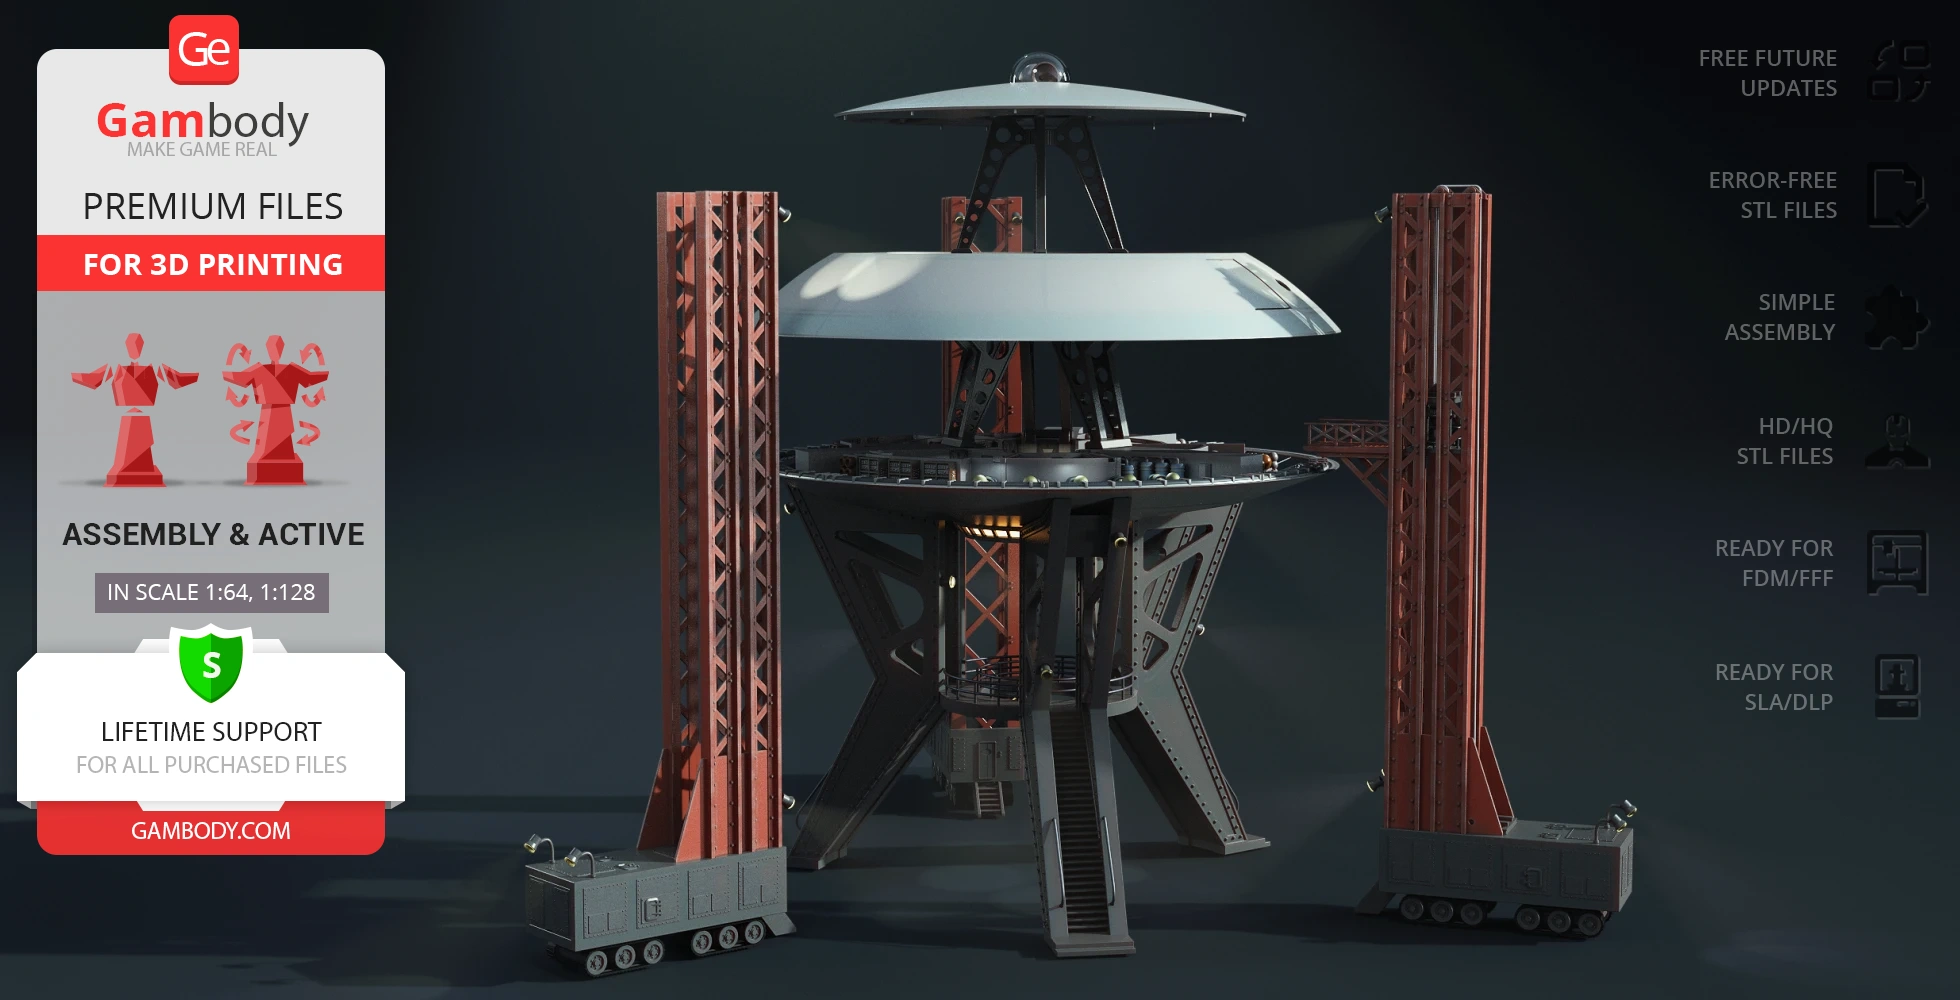
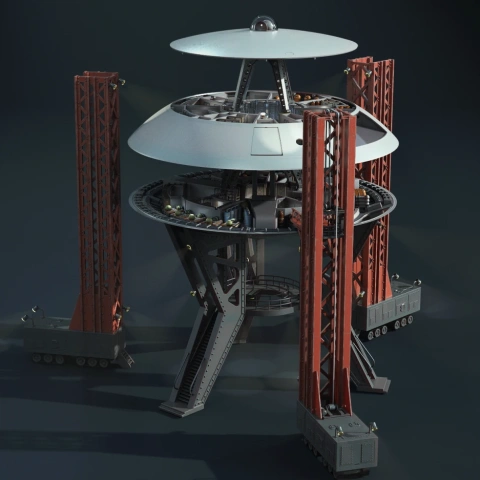
Jupiter 2 interior layout was designed by Gambody contributing 3D artist to give you an opportunity to print the sections inside the legendary vessel transport Jupiter 2 recreating such details as control panels, staterooms, laboratories, equipment, and tanks, among others. What makes this sci-fi spaceship interior so special is that it is adapted for 3D printing with multi-color technology and you can experiment with the design, while the brackets support will help every printing hobbyist make an impressive display of their 3D printing project. Get the STLs of Jupiter 2 Interior to let your creativity flow!
ADAPTATION FOR 3D PRINTING
Jupiter 2 Kit 2: Interior 3D printing design is an active assembly model and its moderation and adaptation for different types of 3D printers took the Gambody team 70 hours in total.
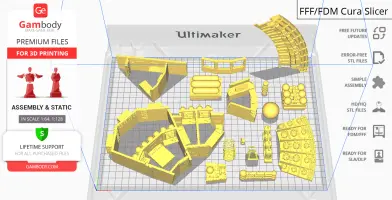
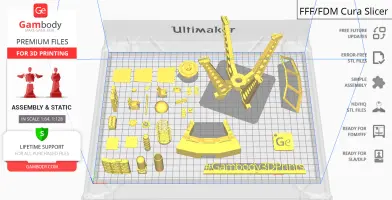
For you to receive the cleanest 3D printing result possible, minimize the amount of filament needed for generated support, and make use of the active elements designed by Gambody Engineers, the design was divided into convenient assembly parts.
All assembly parts in the 1.0 FFF/FDM version are provided in STL files in recommended positions that were worked out in order to ensure the smoothness of the details’ surfaces after printing and that the 3D printing beginners won’t face difficulties when placing the parts on a build plate. When downloading any model’s file you will also receive “Assembly Manual” for 1.0 FFF/FDM and 1.0 DLP/SLA versions in PDF and video formats. We highly recommend that you get acquainted with the “Assembly Video” and “Assembly Manual” before getting down to the Jupiter 2 Kit 2: Interior 3D model.
The design is saved in STL files, a format supported by most 3D printers. All STL files for 3D printing have been checked in Netfabb and no errors were shown.
The 3D model’s scale was calculated from the length of the spacecraft. The 3D printer design’s chosen scales are 1:64 for the FFF/FDM version, and 1:128 for the DLP/SLA version.
VERSIONS’ SPECIFICATIONS
1.0 FFF/FDM version features:
- Contains 57 parts;
- A printed design is 415 mm tall, 444 mm wide, 444 mm deep;
- Interior Kit is an add-on to the Exterior Kit;
- Detailed upper deck interior;
- Detailed lower deck interior;
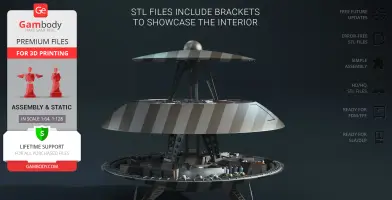
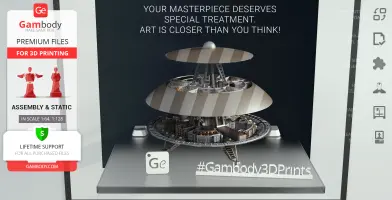
- STL files include brackets to showcase the interior;
- There are tunnels for LED wiring to light up the interior sections;
- All parts are divided in such a way that you will print them with the smallest number of support structures.
DLP/SLA 1.0 version features:
- Contains 57 parts;
- A printed design is 208 mm tall, 222 mm wide, 222 mm deep;
- Interior Kit is an add-on to the Exterior Kit;
- Detailed upper deck interior;
- Detailed lower deck interior;
- STL files include brackets to showcase the interior;
- There are tunnels for LED wiring to light up the interior sections;
- All parts are divided in such a way to fit the build plates and to ensure that support structures are generated where needed.
You can get the STL files of Jupiter 2 Kit 2: Interior for 3D printing immediately after the purchase! Just click the green Buy button in the top-right corner of the model’s page. You can pay with PayPal or your credit card.
Watch the tutorial on how to assemble the 3D printed Jupiter 2 Kit 2: Interior from the provided 3D print files on Gambody YouTube channel.
Also, you may like other Vehicles 3D printer designs.
________
FAQ:
Generic
Below you can find printing recommendations for Cura, Bambu Studio, Simplify3D, Slic3r and PrusaSlicer software.
Disclaimer: The following printing settings are a recommendation, not an obligation. The parameters can vary depending on the peculiarities of your 3D printer, the material you use, and especially the particular assembly part you are working with. Each part that any model comprises often needs preliminary review, and you are free to tweak the settings the way you find suitable.
Note:
You can scale up the model (downscaling for FFF/FDM 3D printers is not recommended!);
All connectors should be printed at 100% Infill.
Bambu Lab printing recommendations:
These basic 3D printing settings recommendations for beginners were tested in Bambu Studio 1.9.1. Test models were printed on the Bambu Lab A1, Bambu Lab A1 Mini, Creality Ender 3 S1, Anycubic Kobra 2, and Anycubic Vyper using PLA and PETG filaments.
To avoid printing problems, we recommend the following settings: download
Cura printing recommendations:
These are averaged settings which were tested in the Cura 5.2.1 slicer. Test models were printed on Anycubic Vyper, Creality Ender 3 Pro with PLA filament.
To avoid printing problems, we recommend the following settings: download
Simplify3D printing recommendations:
These are averaged settings which were tested in the Simplify3D 5.0.0 slicer. Test models were printed on Anycubic Vyper, FLSUN v400, Ender3 S1 with PLA filament.
To avoid printing problems, we recommend the following settings: download
Slic3r printing recommendations:
These basic 3D printing settings recommendations for beginners were tested in Slic3r 1.3.0 software. Test models were printed on Ultimaker 2, Creality Ender 3, Creality Cr-10S pro v2, Anycubic I3 Mega, Anycubic I3 MegaS, Anycubic Vyper with PLA and PetG filaments.
To avoid printing problems, we recommend the following settings: download
PrusaSlicer printing recommendations:
These basic 3D printing settings recommendations for beginners were tested in PrusaSlicer 2.3.1. Test models were printed on Ultimaker 2, Creality Ender 3, Creality Cr-10S pro v2, Anycubic I3 Mega, Anycubic I3 MegaS, Anycubic Vyper with PLA and PETG filaments.
To avoid printing problems, we recommend the following settings: download


Comments