This 3D printing design of Kid Buu consists of files in StereoLithography (.Stl) format that is optimized for 3D printing.
Before printing the files, we strongly recommend reading the PRINTING DETAILS section.
WHAT WILL YOU GET AFTER PURCHASE?
- 4 versions of Kid Buu STL files for FFF/FDM, DLP/SLA, DLP/SLA Eco, SLS — files for all versions are available for download after the purchase;
- STL files of high-poly Kid Buu model for 3D printing consist of 26 files;
- Sizes for:
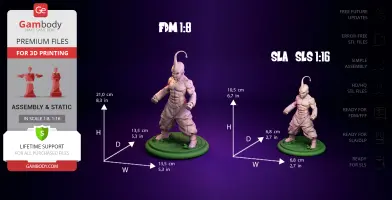
- FFF/FDM: 210 mm tall, 135 mm wide, 135 mm deep;
- DLP/SLA/SLS: 105 mm tall, 68 mm wide, 68 mm deep;
- Assembly Manual for FFF/FDM 1.0 and DLP/SLA 1.0 versions in PDF and video formats;
- Detailed settings that we provide as a recommendation for Cura, Bambu Studio, Simplify3D, Slic3r and PrusaSlicer for the best print;
- Full technical support from the Gambody Support Team.
Detailed information about these 3D printer STL files is available in the DESCRIPTION section.
ABOUT THIS 3D MODEL
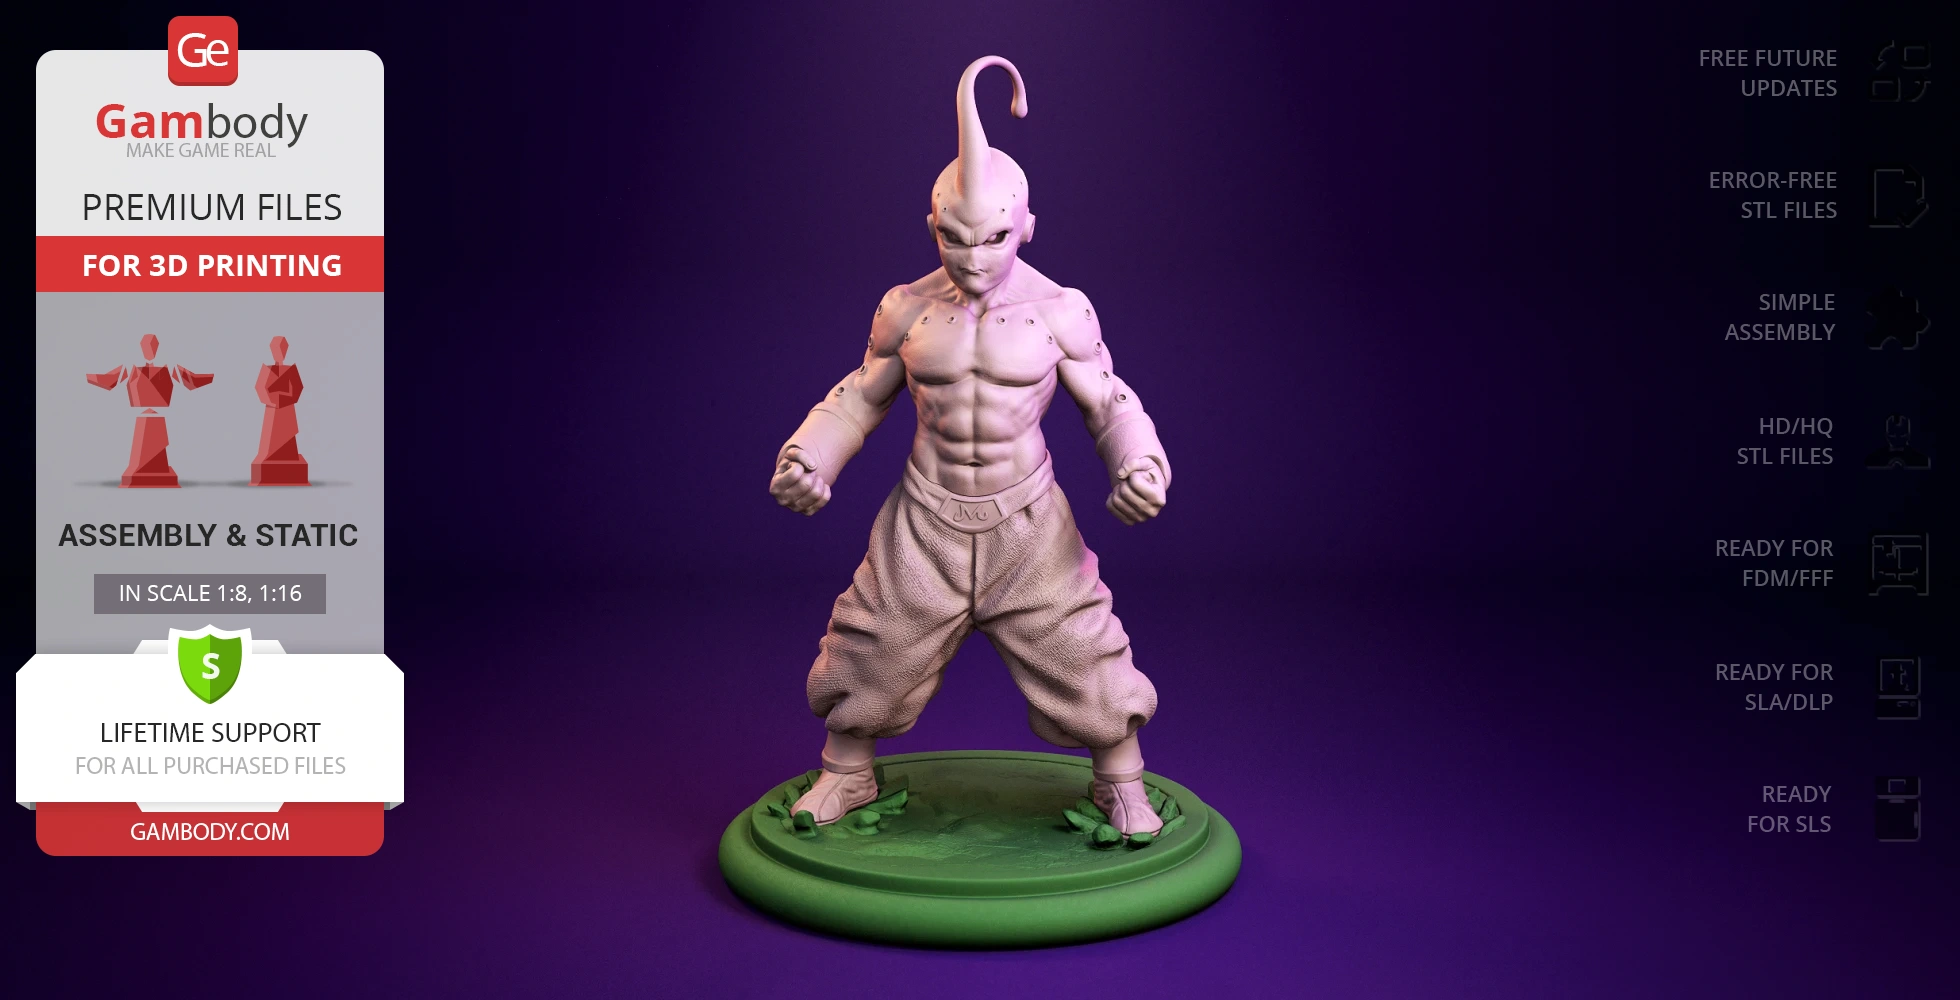
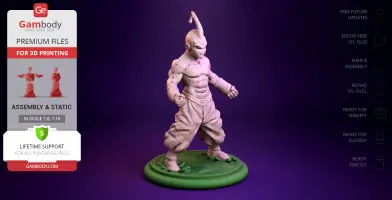
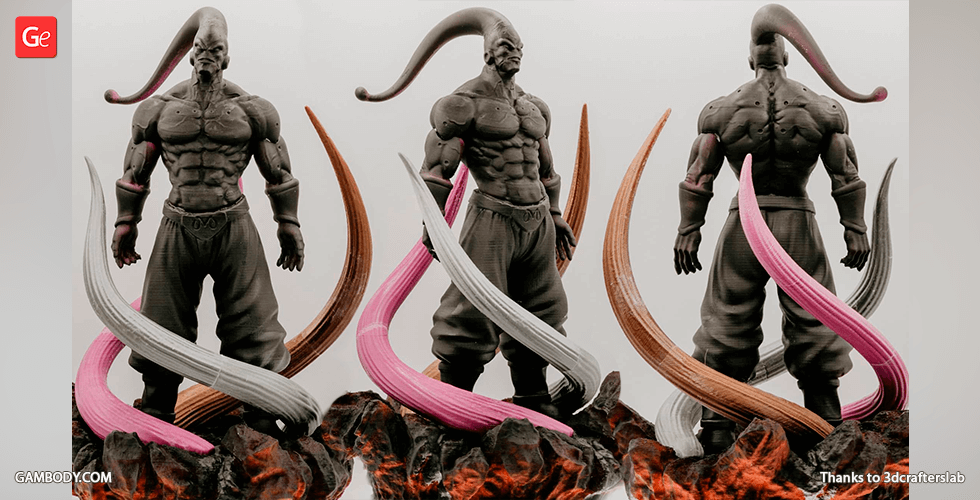
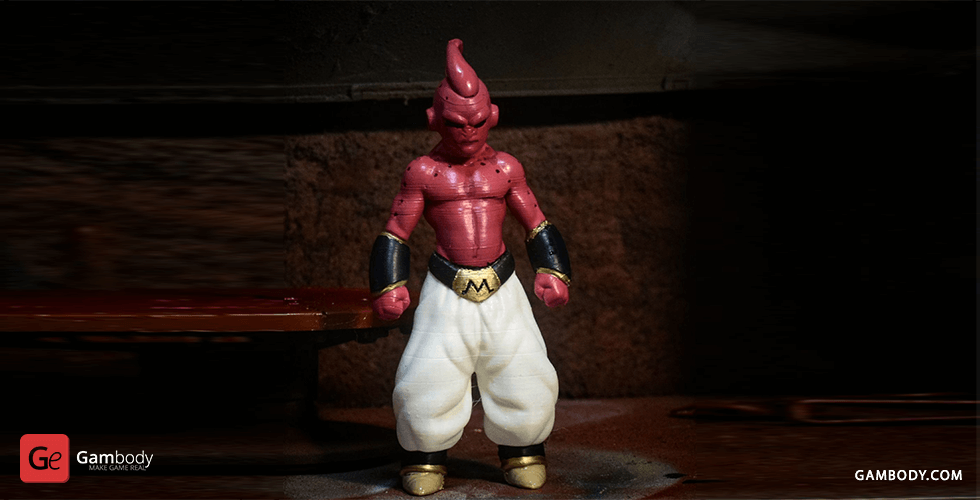
The list of transformations of Majin Buu, the final antagonist of Dragon Ball series, is pretty extensive: from childish Kid Buu to powerful Super Buu, each form differs both externally and internally. While the youngest, Kid Buu is considered to be the most evil and deadliest form of Majin Buu, whose main aim is the destruction of the whole universe. The character was rated as one of the greatest villains of all time and there is no doubt that this title is fully deserved.
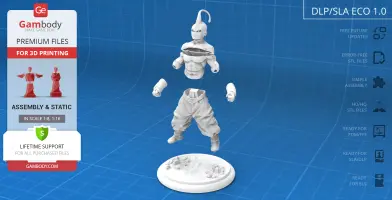
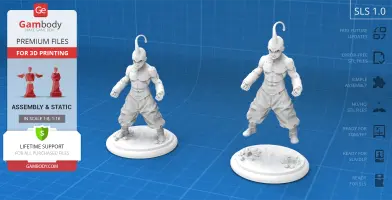
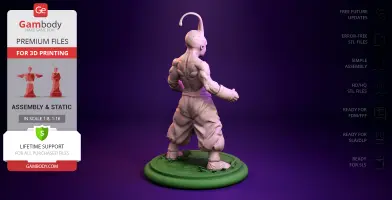
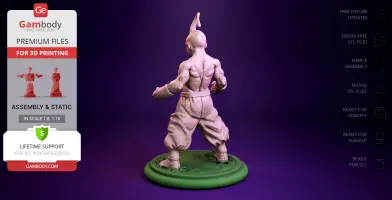
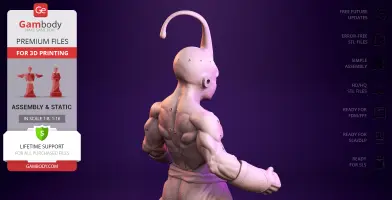
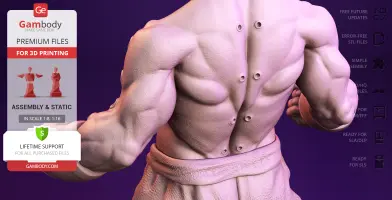
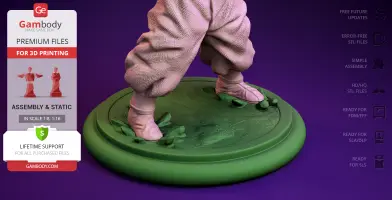
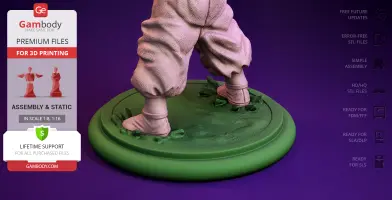
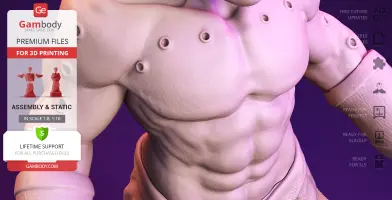
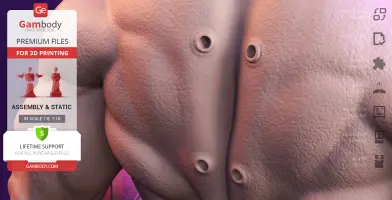
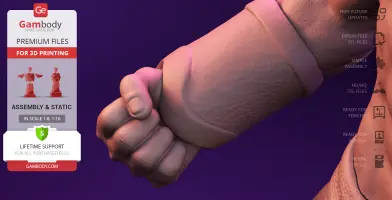
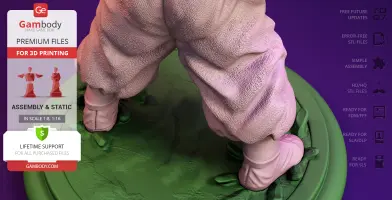
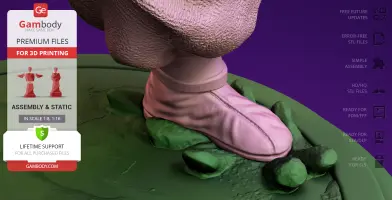
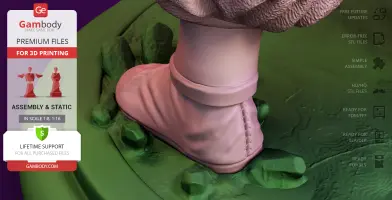
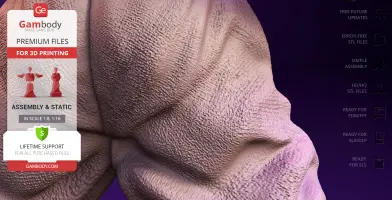
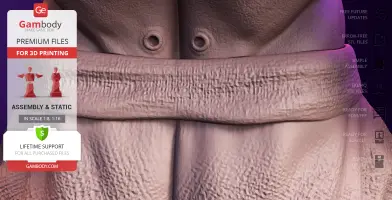
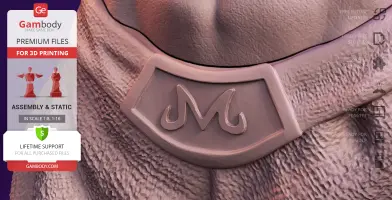
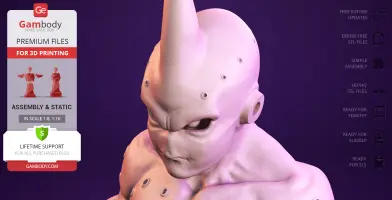
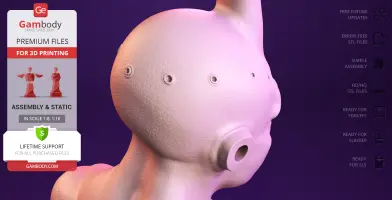
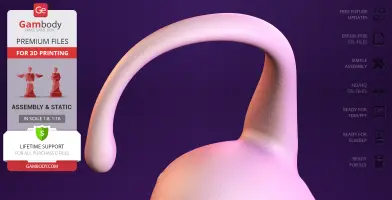
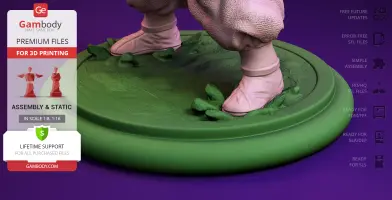
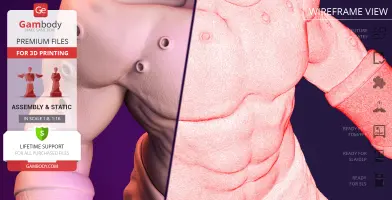
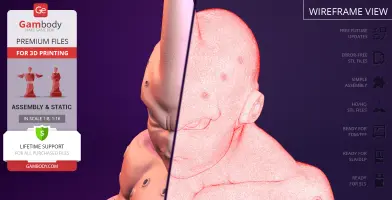
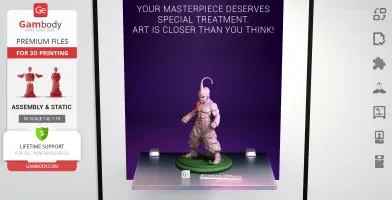
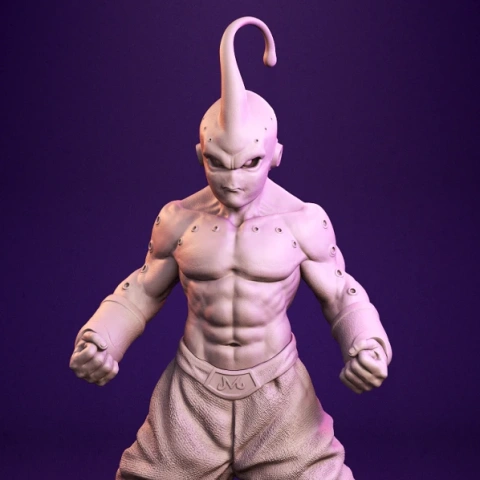
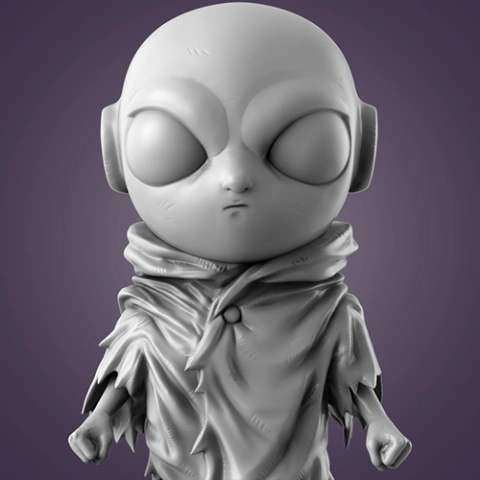
Our contributing 3D artist could not leave this bright personality without attention and presented a 3D printer model that recreates the essence of Kid Buu as well as possible. The aggressive posture of the hero and his malicious facial expression immediately make it clear that you are facing a very strong opponent. The distinctive features of Buu are its antenna, used for attacking victims, and rows of pores on both sides of his head, arms, and body, and the author did a good job on their depiction. The sculpting of the muscled body of the villain and its clothing consisting of baggy pants, light boots, arm covers and a belt showing the Majin symbol, show the big mastery of the creator for preserving proportions and details, as well as designing textures. Replenish your Dragon Ball collection with Kid Buu and enjoy both the quality of the files and the perfection of the design!
ADAPTATION FOR 3D PRINTING
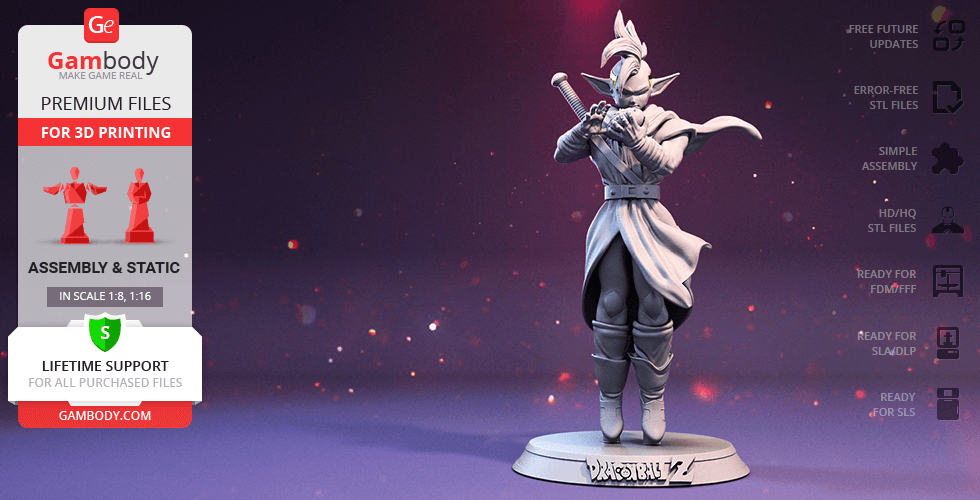
Kid Buu 3D printing design is a static assembly model and its moderation and adaptation for different types of 3D printers took the Gambody team 50 hours in total. The model's anatomy and proportions were thoroughly reviewed during the moderation process for the character to be depicted harmoniously in the intended pose.
The model's cutting was chosen by our team to minimise the amount of generated support and some of the parts were hollowed out for you to save resin in the Eco version. In order to conceal the places where the assembly parts of the model are connected, Kid Buu was divided into convenient assembly parts.
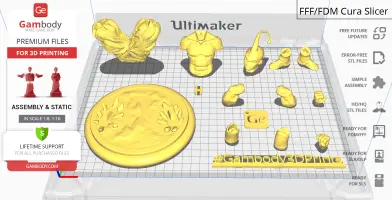
All assembly parts in the FFF/FDM 1.0 version are provided in STL files in recommended positions that were worked out in order to ensure the smoothness of the details’ surfaces after printing and that the 3D printing beginners won't face difficulties when placing the parts on a build plate. When downloading any model's file you will also receive "Assembly Manual" for FFF/FDM 1.0 and DLP/SLA 1.0 versions in PDF format. We highly recommend that you get acquainted with the “Assembly Video” and "Assembly Manual" before getting down to Kid Buu model.
The design is saved in STL files, a format supported by most 3D printers. All STL files for 3D printing have been checked in Netfabb and no errors were shown.
The model's scale was calculated from the height of Kid Buu. The 3D printing design's chosen scales are 1:8 for the FFF/FDM version and 1:16 for the DLP/SLA/SLS versions.
VERSIONS’ SPECIFICATIONS
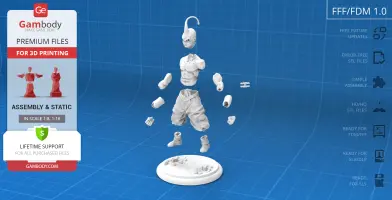
FFF/FDM 1.0 versions features:
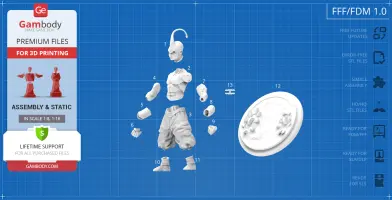
- Contains 13 parts;
- A printed model is 210 mm tall, 135 mm wide, 135 mm deep;
- All parts are divided in such a way that you will print them with the smallest number of support structures.
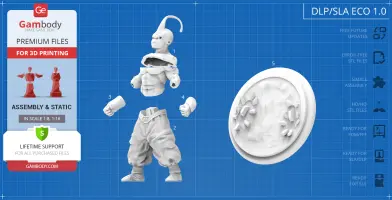
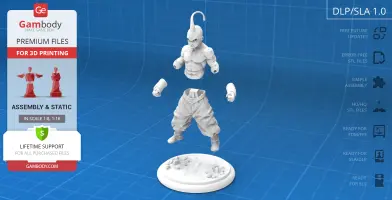
DLP/SLA 1.0 versions features:
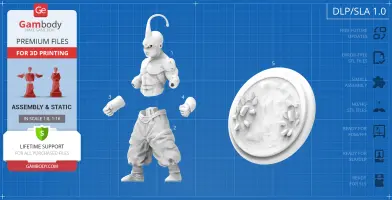
- Contains 5 parts;
- A printed model is 105 mm tall, 68 mm wide, 68 mm deep;
- All parts are divided in such a way to fit the build plates and to ensure that support structures are generated where needed.
DLP/SLA Eco 1.0 versions features:
- Contains 5 parts;
- A printed model is 105 mm tall, 68 mm wide, 68 mm deep;
- Some parts are manually hollowed out to save resin.
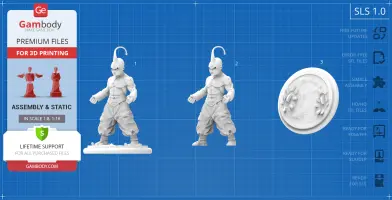
SLS 1.0 versions features:
- Contains 3 parts - a solid Kid Buu model on and separately from the platform.
You can get the STL Files of Kid Buu immediately after the purchase! Just click the green Buy button in the top-right corner of the model’s page. You can pay with PayPal or your credit card.
Watch the tutorial on how to assemble the 3D Printed Kid Buu model from the provided 3D Print Files on Gambody YouTube channel.
Also, you may like other Anime 3D Printing Designs.
_______
FAQ:
Generic
Below you can find printing recommendations for Cura, Bambu Studio, Simplify3D, Slic3r and PrusaSlicer software.
Disclaimer: The following printing settings are a recommendation, not an obligation. The parameters can vary depending on the peculiarities of your 3D printer, the material you use, and especially the particular assembly part you are working with. Each part that any model comprises often needs preliminary review, and you are free to tweak the settings the way you find suitable.
Note:
You can scale up the model (downscaling for FFF/FDM 3D printers is not recommended!);
All connectors should be printed at 100% Infill.
Bambu Lab printing recommendations:
These basic 3D printing settings recommendations for beginners were tested in Bambu Studio 1.9.1. Test models were printed on the Bambu Lab A1, Bambu Lab A1 Mini, Creality Ender 3 S1, Anycubic Kobra 2, and Anycubic Vyper using PLA and PETG filaments.
To avoid printing problems, we recommend the following settings: download
Cura printing recommendations:
These are averaged settings which were tested in the Cura 5.2.1 slicer. Test models were printed on Anycubic Vyper, Creality Ender 3 Pro with PLA filament.
To avoid printing problems, we recommend the following settings: download
Simplify3D printing recommendations:
These are averaged settings which were tested in the Simplify3D 5.0.0 slicer. Test models were printed on Anycubic Vyper, FLSUN v400, Ender3 S1 with PLA filament.
To avoid printing problems, we recommend the following settings: download
Slic3r printing recommendations:
These basic 3D printing settings recommendations for beginners were tested in Slic3r 1.3.0 software. Test models were printed on Ultimaker 2, Creality Ender 3, Creality Cr-10S pro v2, Anycubic I3 Mega, Anycubic I3 MegaS, Anycubic Vyper with PLA and PetG filaments.
To avoid printing problems, we recommend the following settings: download
PrusaSlicer printing recommendations:
These basic 3D printing settings recommendations for beginners were tested in PrusaSlicer 2.3.1. Test models were printed on Ultimaker 2, Creality Ender 3, Creality Cr-10S pro v2, Anycubic I3 Mega, Anycubic I3 MegaS, Anycubic Vyper with PLA and PETG filaments.
To avoid printing problems, we recommend the following settings: download








Comments