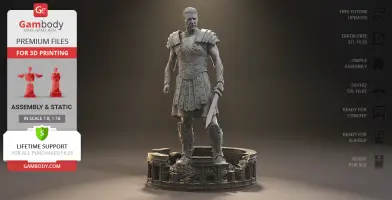
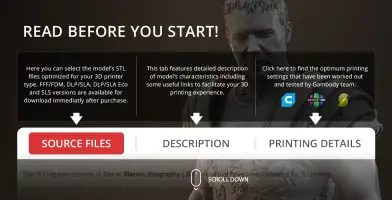
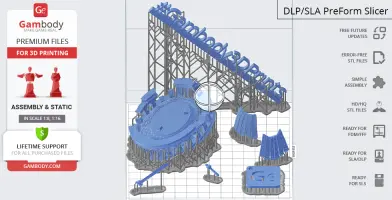
This 3D printing design of Gladiator Maximus consists of files in StereoLithography (.Stl) format that is optimized for 3D printing.
Before printing the files, we strongly recommend reading the PRINTING DETAILS section.
WHAT WILL YOU GET AFTER PURCHASE?
- 4 versions of Gladiator Maximus STL files for FFF/FDM, DLP/SLA, DLP/SLA Eco, and SLS — files for all versions are available for download after the purchase;
- STL files of high-poly Gladiator Maximus model for 3D printing consist of 44 files;
- Sizes for:
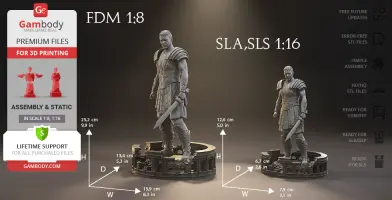
- FFF/FDM: 252 mm tall, 159 mm wide, 134 mm deep;
- DLP/SLA/SLS: 126 mm tall, 79 mm wide, 67 mm deep;
- Assembly Manual for 1.0 FFF/FDM and 1.0 DLP/SLA versions in PDF and video formats;
- Detailed settings that we provide as a recommendation for Cura, Bambu Studio, Simplify3D, Slic3r and PrusaSlicer for the best print;
- Full technical support from the Gambody Support Team.
Detailed information about these 3D printer STL files is available in the DESCRIPTION section.
ABOUT THIS 3D MODEL
“A general who became a slave. A slave who became a gladiator. A gladiator who defied an emperor.”
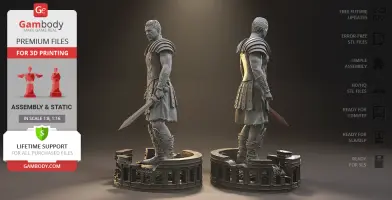
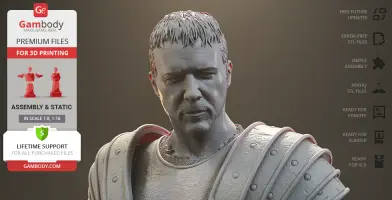
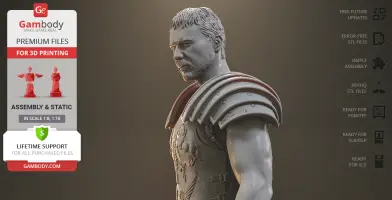
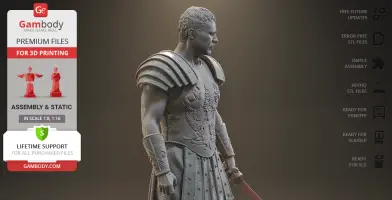
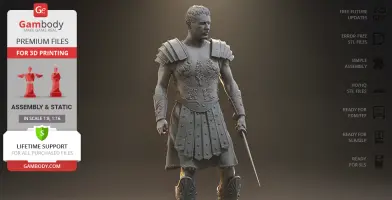
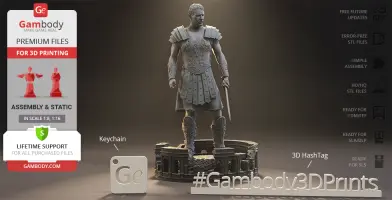
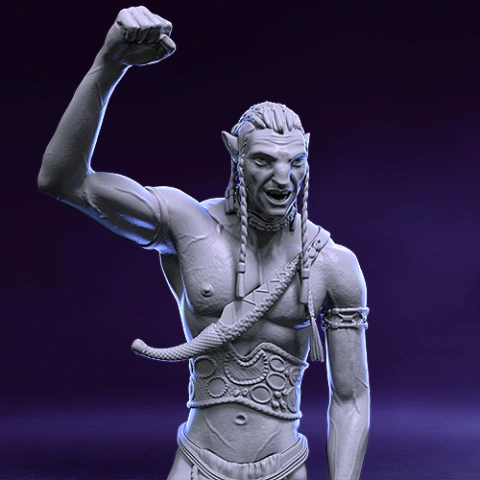
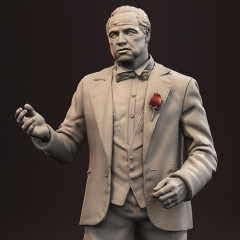
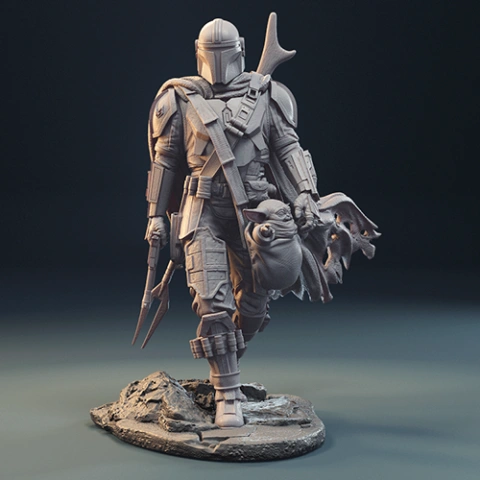
Betrayed and sold into slavery by his Emperor’s son, former Roman general Maximus succeeds in the arena as a gladiator and seeks vengeance for the murders of his family and his emperor. An excellent cast, intriguing plot and spectacular gladiatorial combat have fairly earned Ridley Scott’s 2000 movie a status of one of the most beloved historical epics of all time.
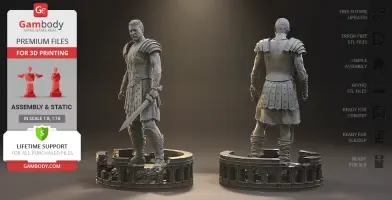
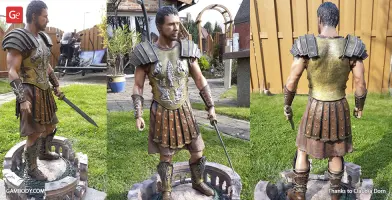
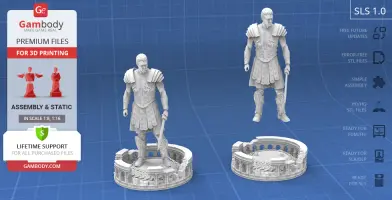
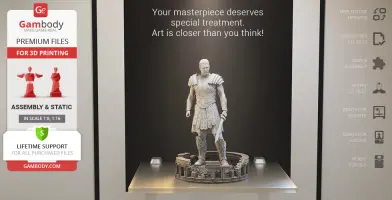
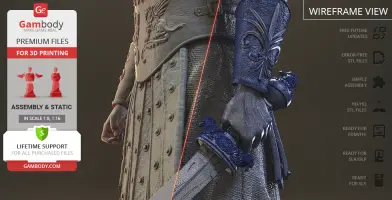
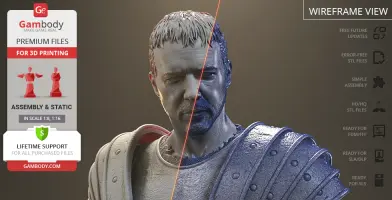
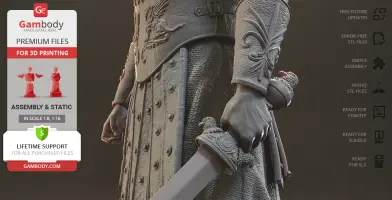
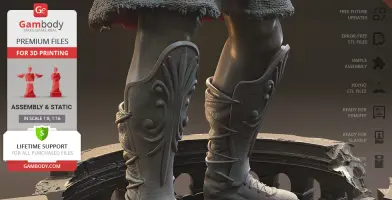
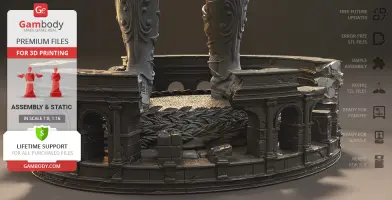
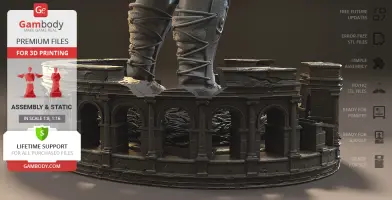
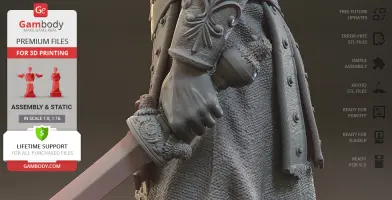
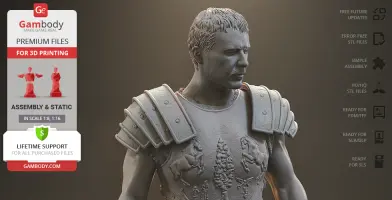
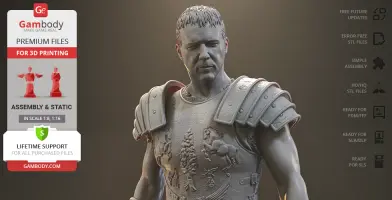
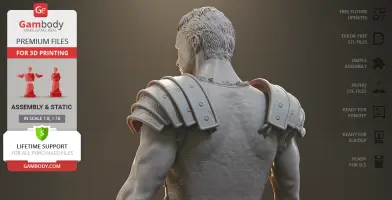
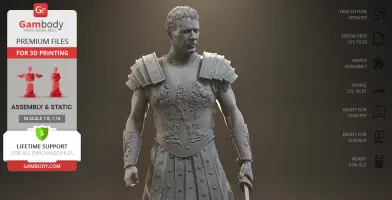
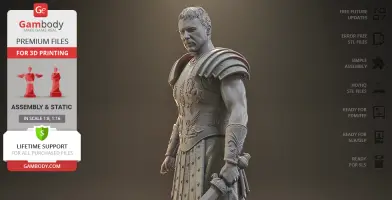
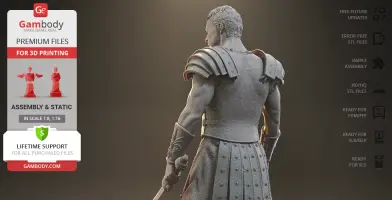
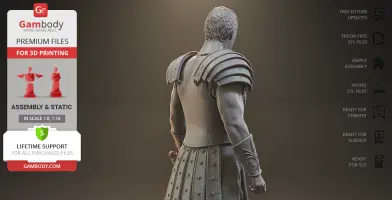
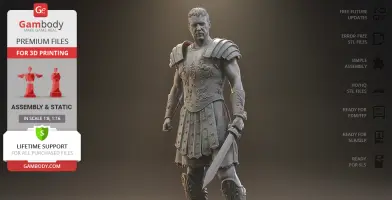
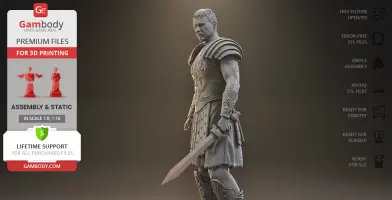
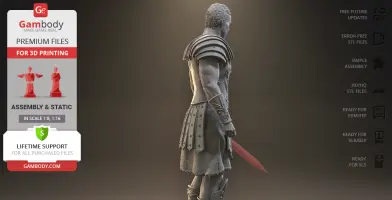
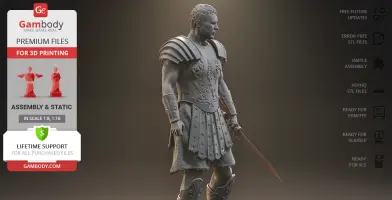
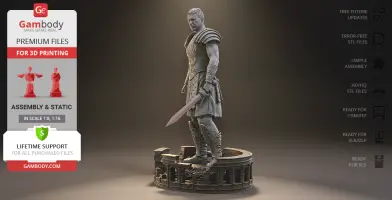
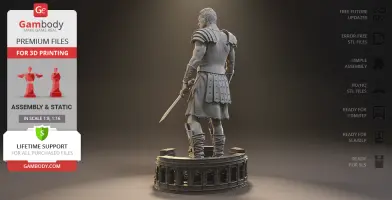
The way that our contributing 3D artist depicted the champion of the people does justice both to the image of the courageous gladiator and the brilliant portrayal by Russell Crowe. The 3D artist’s choice of Maximus’ armour and sword points at the final movie battle scene being the source of the author’s inspiration. By then, the gladiator had already adorned his breastplate with symbols representing his many losses - there is a wolf's head, two-winged sphynx, Maximus’ wife and son, his horses, a tree and an angel. The character holds a sword that Maximus wields during the final battle while standing in the middle of Colosseum ruins - a perfect scene to be eternalised by the means of 3D printing!
ADAPTATION FOR 3D PRINTING
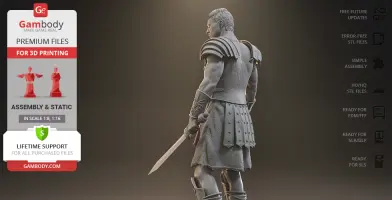
Maximus Gladiator 3D printing design is a static assembly model and its moderation and adaptation for different types of 3D printers took Gambody team 34 hours. The model's anatomy and proportions were thoroughly reviewed during the moderation process for the armoured gladiator to be depicted harmoniously in the intended pose.
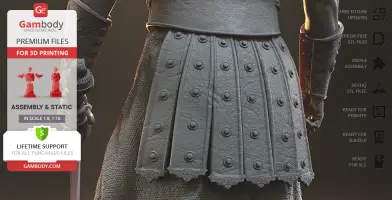
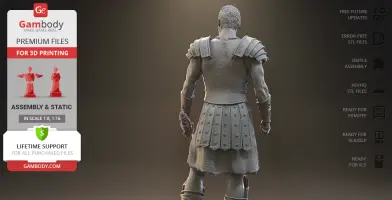
The model’s cutting was chosen by our team to minimise the amount of generated support and some of the parts were hollowed out for you to save resin in the Eco version. In order to conceal the places where the assembly parts of the model must be connected, the model was cut along the contour of the Maximus’ armour seams.
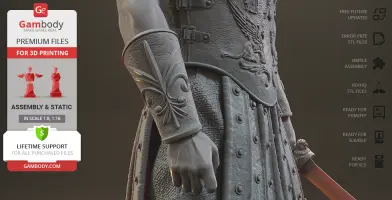
For you to achieve the cleanest 3D printed result, the model's pteruges, spaulders, bracers, leg guards, etc. are provided as separate assembly parts. Moreover, to ensure the convenient assembly of the model, Maximus’ sword was extracted from gladiator’s hold and split as well.
All assembly parts come in STL files in recommended positions that were worked out in order to ensure the smoothness of the details’ surfaces after printing and so that the 3D printing beginners won't face difficulties when placing the parts on a build plate. When downloading any model's file you will also receive "Assembly Manual" for 1.0 FFF/FDM and 1.0 DLP/SLA versions in PDF format.
The 3D print model is saved in STL files, a format supported by most 3D printers. All STL files for 3D printing have been checked in Netfabb and no errors were shown.
The model's scale was calculated from Maximus' actual height which is 1820 mm. The 3D printing design's chosen scale is 1:8 for the FFF/FDM version and 1:16 for the DLP/SLA/SLS versions.
VERSIONS' SPECIFICATIONS
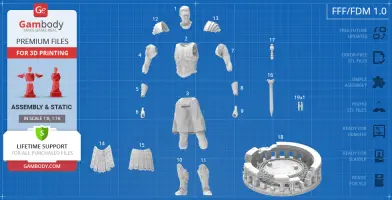
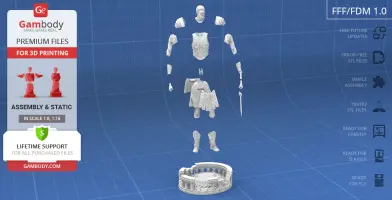
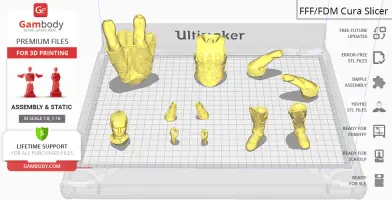
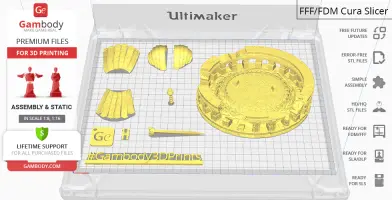
1.0 FFF/FDM version features:
- Contains 19 parts;
- A printed model is 252 mm tall, 159 mm wide, 134 mm deep;
- The assembly kit includes lock 19_ge_lock_10H(x1) to attach the model's legs to the body securely without glue;
- All parts are divided in such a way that you will print them with the smallest number of support structures.
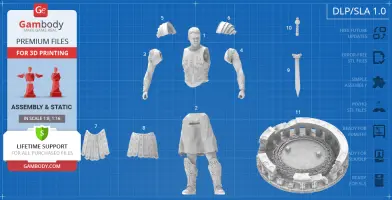
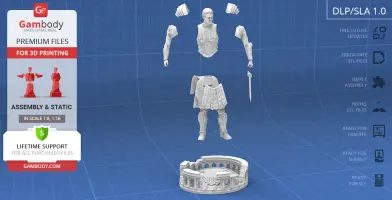
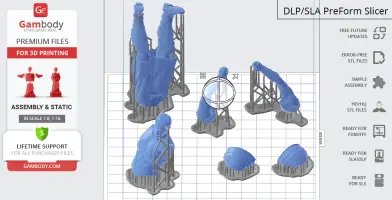
1.0 DLP/SLA version features:
- Contains 11 parts;
- A printed model is 126 mm tall, 79 mm wide, 67 mm deep;
- All parts are divided in such a way to fit the build plates and to ensure that support structures are generated where needed.
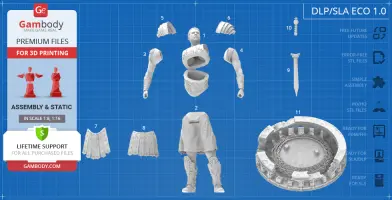
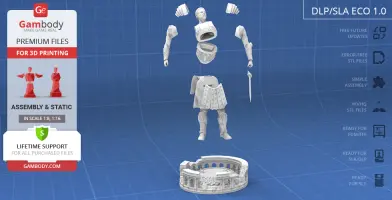
1.0 DLP/SLA Eco version features:
- Contains 11 parts;
- A printed model is 126 mm tall, 79 mm wide, 67 mm deep;
- Contains some hollowed out parts to save resin.
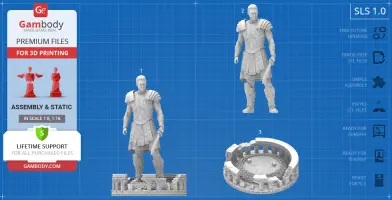
1.0 SLS version features:
- Made as a solid one-piece Gladiator Maximus model;
- A printed model is 126 mm tall, 79 mm wide, 67 mm deep;
- Contains 3 parts - a solid Gladiator Maximus model and the model with the platform separated.
You can get the STL Files of Gladiator Maximus 3D Print Model immediately after the purchase! Just click the green Buy button in the top-right corner of the model’s page. You can pay with PayPal or your credit card.
Watch the tutorial on how to assemble the 3D Printed Gladiator Maximus Model from the provided 3D Print Files at Gambody YouTube channel.
Also, you may like other Movies 3D Print Models.
_______
FAQ:
Generic
Below you can find printing recommendations for Cura, Bambu Studio, Simplify3D, Slic3r and PrusaSlicer software.
Disclaimer: The following printing settings are a recommendation, not an obligation. The parameters can vary depending on the peculiarities of your 3D printer, the material you use, and especially the particular assembly part you are working with. Each part that any model comprises often needs preliminary review, and you are free to tweak the settings the way you find suitable.
Note:
You can scale up the model (downscaling for FFF/FDM 3D printers is not recommended!);
All connectors should be printed at 100% Infill.
Bambu Lab printing recommendations:
These basic 3D printing settings recommendations for beginners were tested in Bambu Studio 1.9.1. Test models were printed on the Bambu Lab A1, Bambu Lab A1 Mini, Creality Ender 3 S1, Anycubic Kobra 2, and Anycubic Vyper using PLA and PETG filaments.
To avoid printing problems, we recommend the following settings: download
Cura printing recommendations:
These are averaged settings which were tested in the Cura 5.2.1 slicer. Test models were printed on Anycubic Vyper, Creality Ender 3 Pro with PLA filament.
To avoid printing problems, we recommend the following settings: download
Simplify3D printing recommendations:
These are averaged settings which were tested in the Simplify3D 5.0.0 slicer. Test models were printed on Anycubic Vyper, FLSUN v400, Ender3 S1 with PLA filament.
To avoid printing problems, we recommend the following settings: download
Slic3r printing recommendations:
These basic 3D printing settings recommendations for beginners were tested in Slic3r 1.3.0 software. Test models were printed on Ultimaker 2, Creality Ender 3, Creality Cr-10S pro v2, Anycubic I3 Mega, Anycubic I3 MegaS, Anycubic Vyper with PLA and PetG filaments.
To avoid printing problems, we recommend the following settings: download
PrusaSlicer printing recommendations:
These basic 3D printing settings recommendations for beginners were tested in PrusaSlicer 2.3.1. Test models were printed on Ultimaker 2, Creality Ender 3, Creality Cr-10S pro v2, Anycubic I3 Mega, Anycubic I3 MegaS, Anycubic Vyper with PLA and PETG filaments.
To avoid printing problems, we recommend the following settings: download


Comments