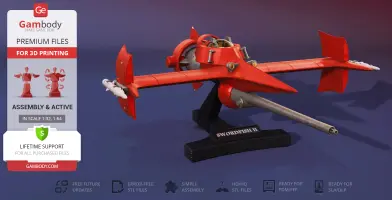
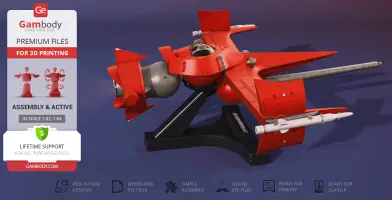
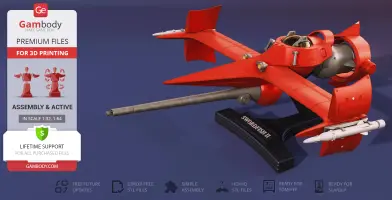
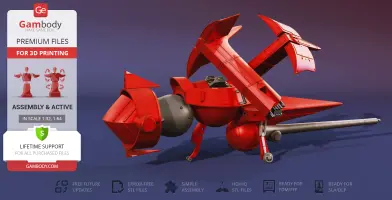
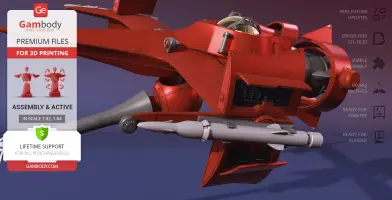
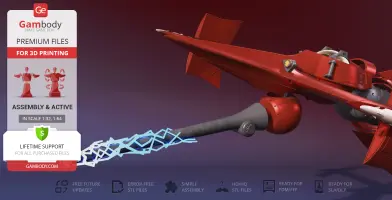
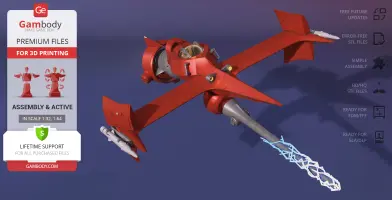
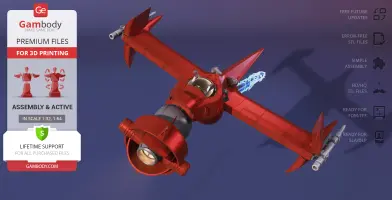
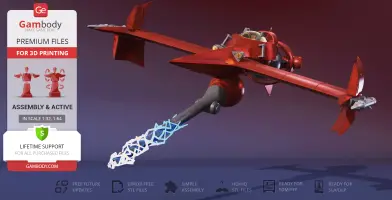
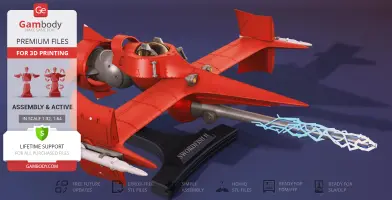
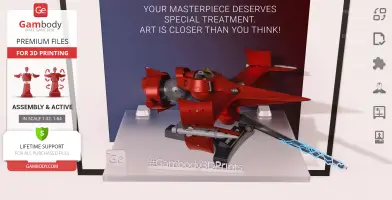
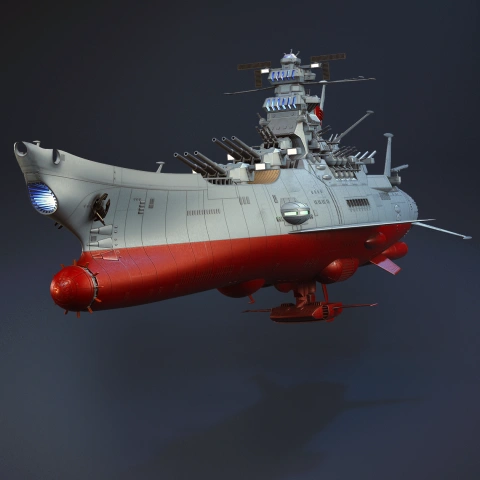
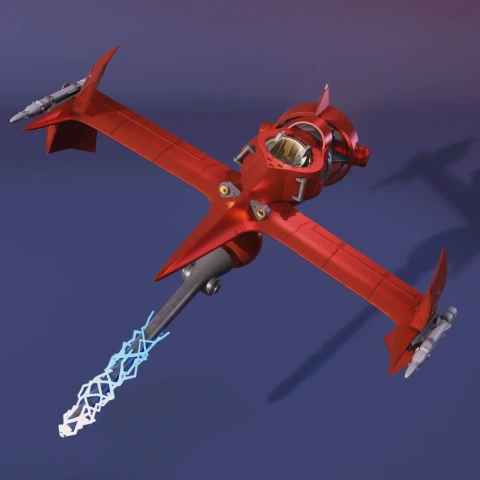
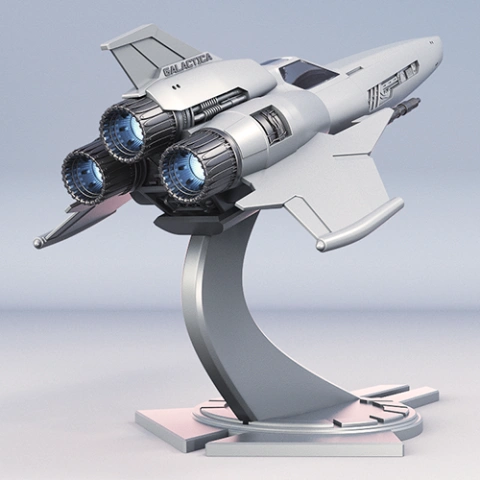
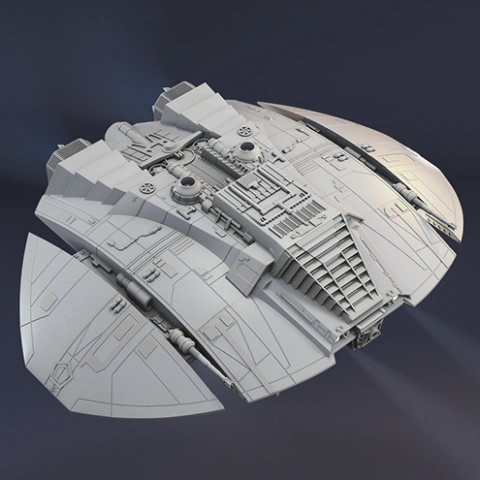
Swordfish II piloted by Spike Spiegel, the former member of Red Dragon Syndicate, now the bounty hunter who together with Jet Black hunts after criminals of the Solar System, is a ship characteristic of which attributes it to the comprehensively armed, high-speed craft. This remodeled MONO racer has a powerful propulsion system and together with armament consisting of missiles, machine guns, and a high-powered plasma cannon, is a key advantage of Spike during aerial battles.
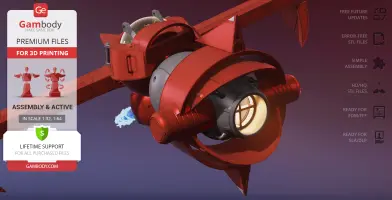
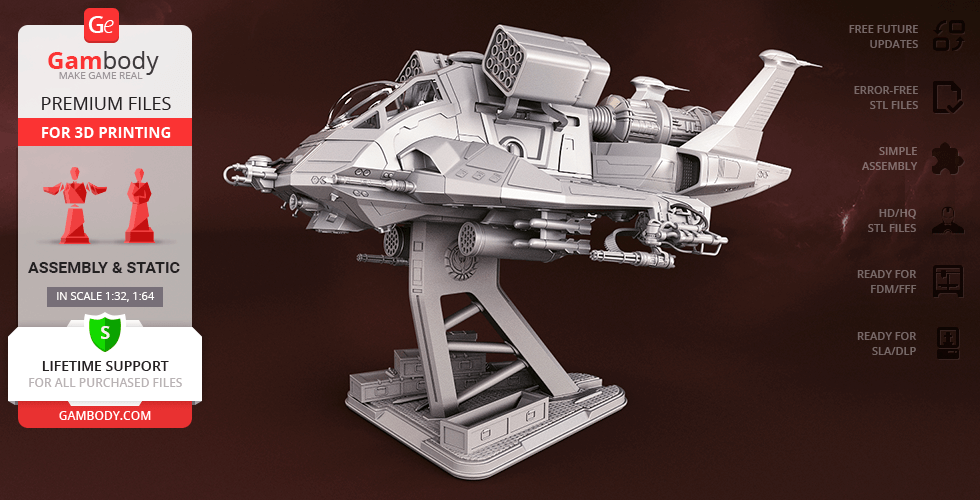
Swordfish II made a huge impression on our contributing 3D artists and this fascination led to the creation of a model for 3D printing which every anime series fan will appreciate. Swordfish II has a design and articulation that fully corresponds to the characteristics of the vehicle shown in Cowboy Bebop. The number of movable/detachable elements is a record for Gambody marketplace and, from our point of view, this racer is a marvel of engineering. Getting this model you will get a vivid experience that can’t be compared with anything!
ADAPTATION FOR 3D PRINTING
Swordfish II model for 3D printing is an active assembly model and its moderation and adaptation for different types of 3D printers took the Gambody team 119 hours in total.
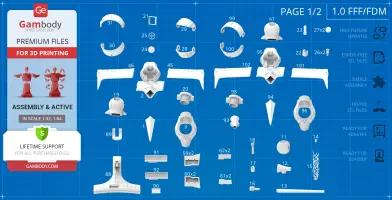
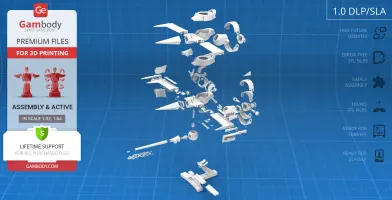
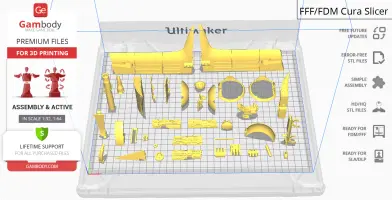
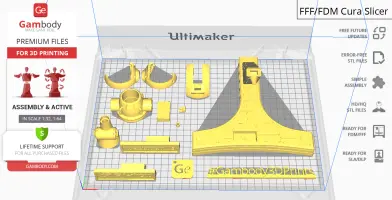
For you to receive the cleanest 3D printing result possible, minimize the amount of filament needed for generated support, and make use of the active elements designed by Gambody Engineers, the craft was divided into convenient assembly parts.
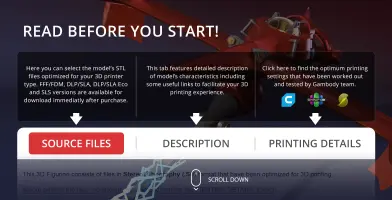
All assembly parts in the FFF/FDM 1.0 version are provided in STL files in recommended positions that were worked out in order to ensure the smoothness of the details’ surfaces after printing and that the 3D printing beginners won’t face difficulties when placing the parts on a build plate. When downloading any model’s file you will also receive “Assembly Manual” for FFF/FDM 1.0 and DLP/SLA 1.0 versions in PDF and video formats. We highly recommend that you get acquainted with the “Assembly Video” and “Assembly Manual” before getting down to the Swordfish II 3D printing model.
The model is saved in STL files, a format supported by most 3D printers. All STL files for 3D printing have been checked in Netfabb and no errors were shown.
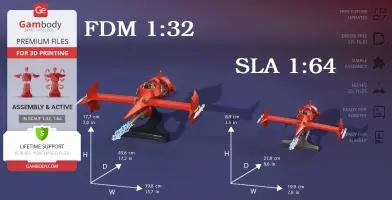
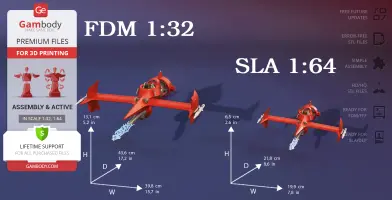
The model’s scale was calculated from the length of Swordfish II which is 13800 mm. The 3D printing model’s chosen scales are 1:32 for the FFF/FDM version and 1:64 for the DLP/SLA version.
VERSIONS’ SPECIFICATIONS
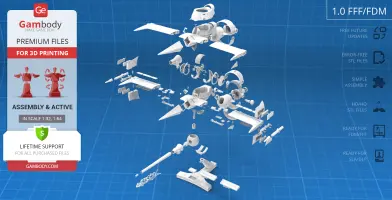
FFF/FDM 1.0 version features:
Contains 102 parts;
A printed model is 131 mm tall, 398 mm wide, 436 mm deep;
A printed model on the stand is 177 mm tall, 398 mm wide, 436 mm deep;
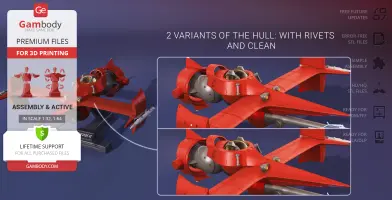
2 variants of the hull: with rivets and clean;
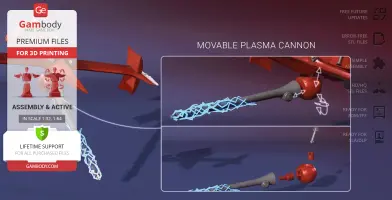
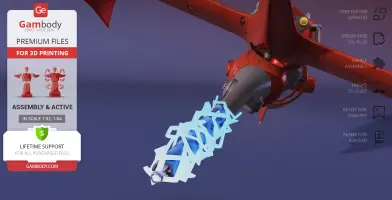
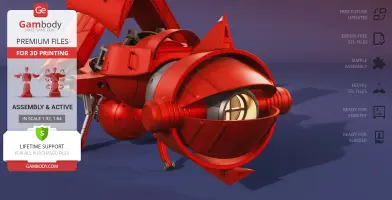
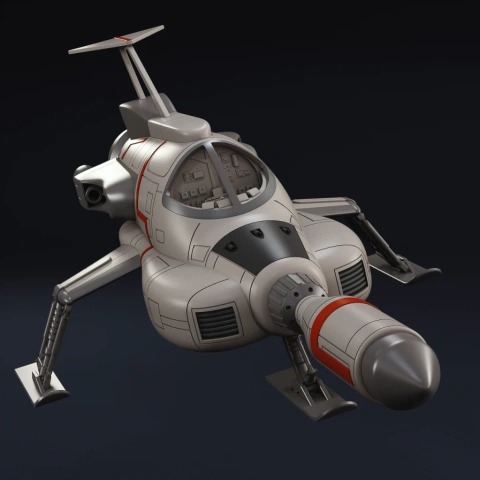
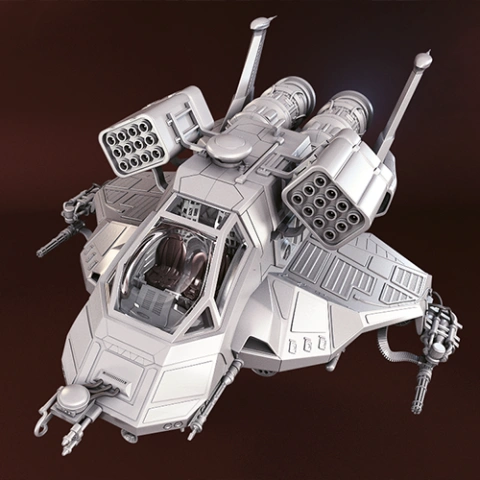
Movable plasma cannon;
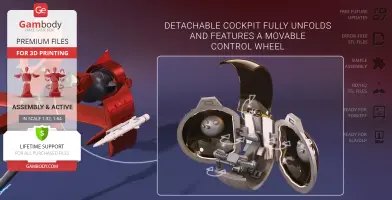
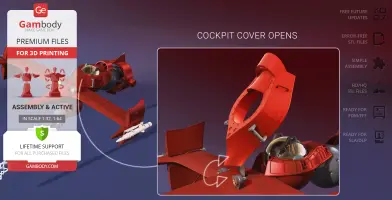
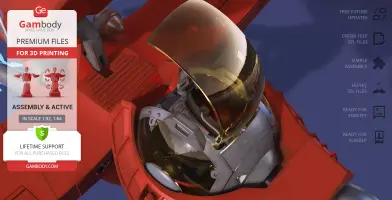
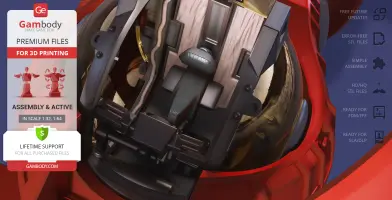
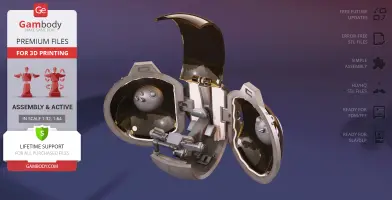
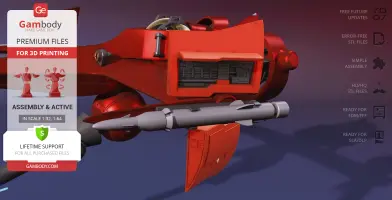
Detachable cockpit fully unfolds and features a movable control wheel;
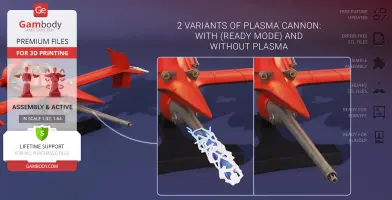
2 variants of plasma cannon: with (ready mode) and without plasma;
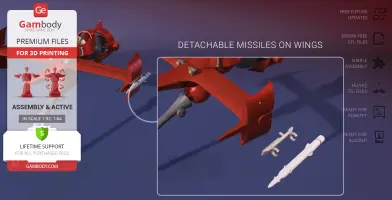
Detachable missiles on wings;
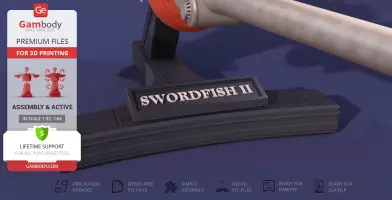
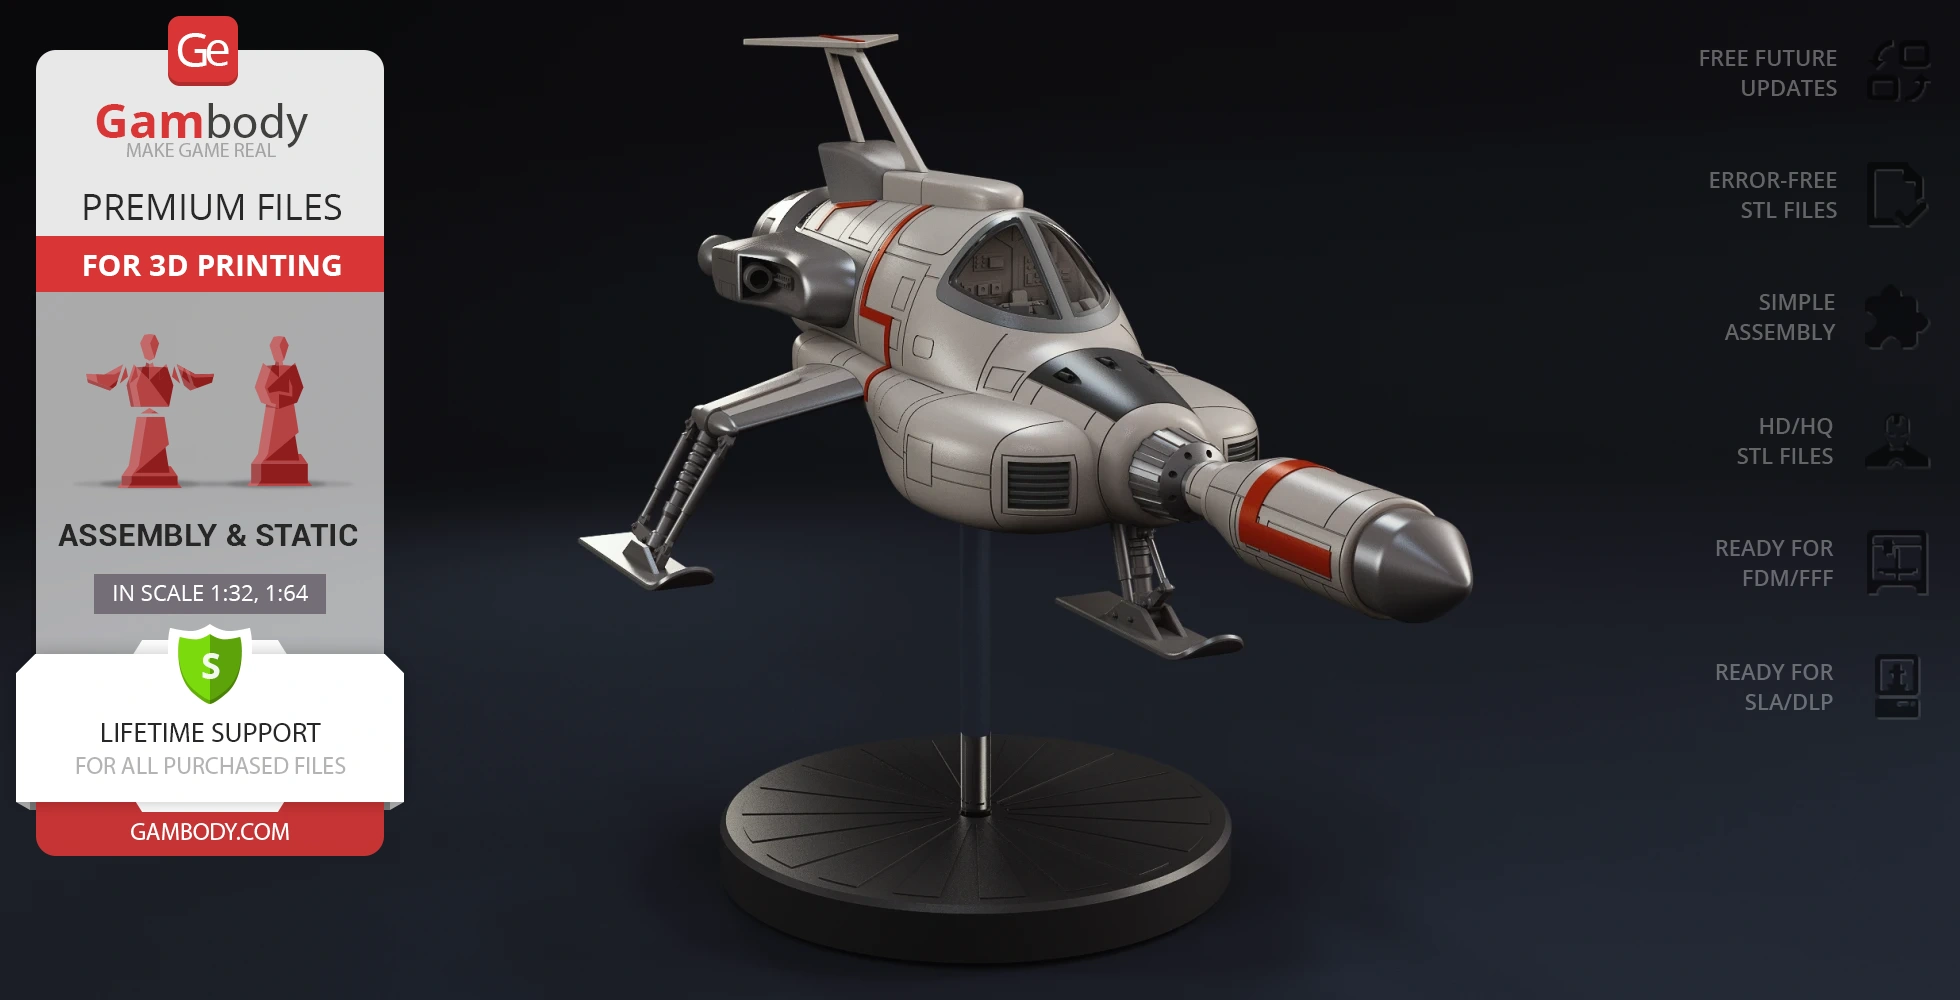
3 variants of the stand plate: a plug and the nameplates;
Cockpit cover opens;
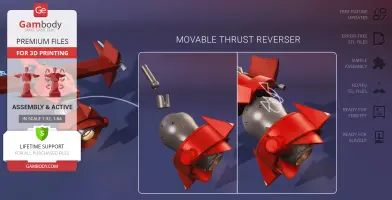
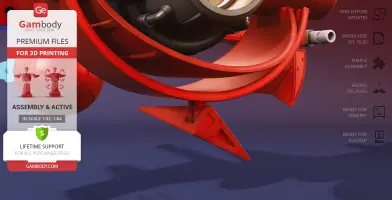
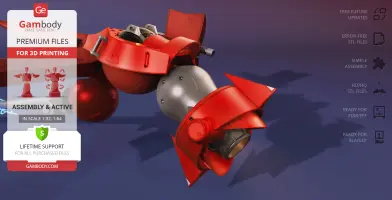
Movable thrust reverser;
Ventral fin turns;
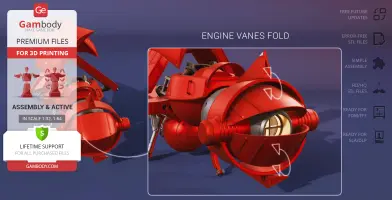
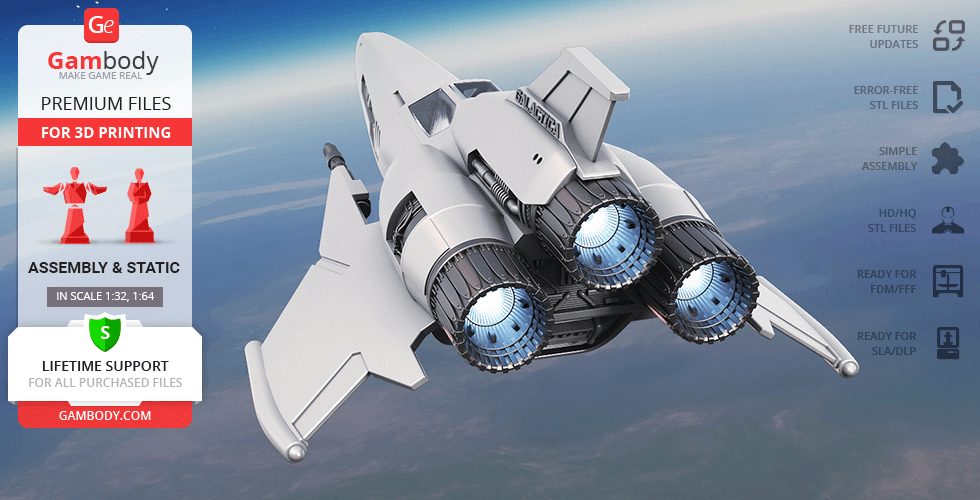
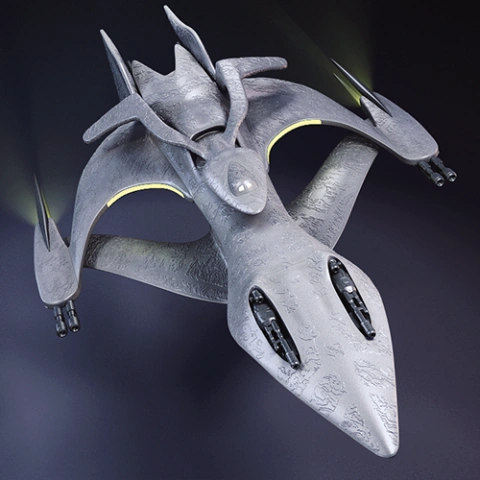
Engine vanes fold;
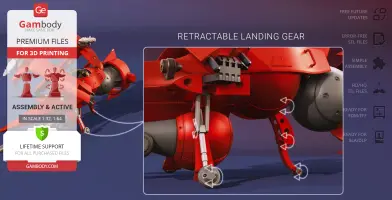
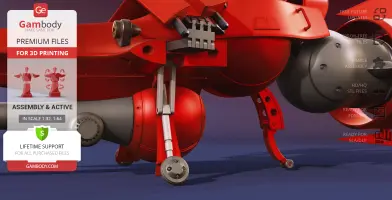
Retractable landing gear;
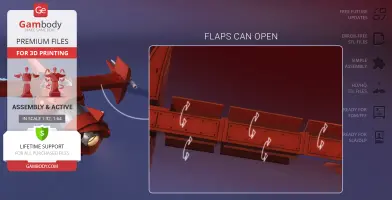
Flaps сan open;
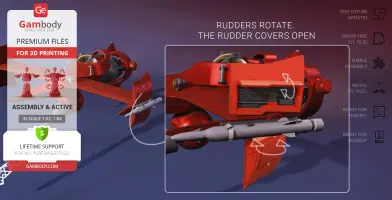
Rudders rotate. The rudder covers open;
The wings can be folded up;
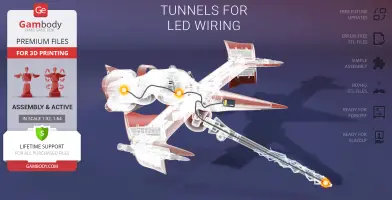
Tunnels for LED wiring to illuminate the cockpit, engine, cannon and headlights;
All parts are divided in such a way that you will print them with the smallest number of support structures.
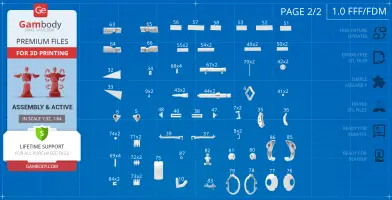
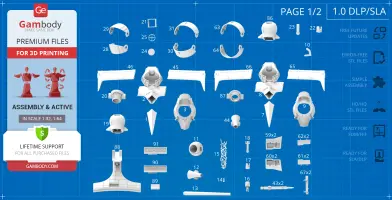
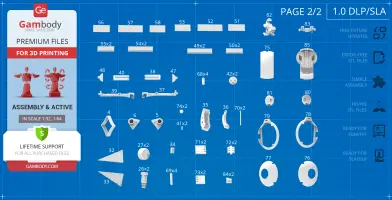
DLP/SLA 1.0 version features:
Contains 91 parts;
A printed model is 65 mm tall, 199 mm wide, 218 mm deep;
A printed model on the stand is: 89 mm tall, 199 mm wide, 218 mm deep;
2 variants of the hull: with rivets and clean;
Movable plasma cannon;
Detachable cockpit fully unfolds and features a movable control wheel;
2 variants of plasma cannon: with (ready mode) and without plasma;
Detachable missiles on wings;
3 variants of the stand plate: a plug and the nameplates;
Cockpit cover opens;
Movable thrust reverser;
Ventral fin turns;
Engine vanes fold;
Retractable landing gear;
Flaps сan open;
Rudders rotate. The rudder covers open;
The wings can be folded up;
Tunnels for LED wiring to illuminate the cockpit, engine, cannon and headlights;
All parts are divided in such a way to fit the build plates and to ensure that support structures are generated where needed.
You can get the Swordfish II model for 3D printing immediately after the purchase! Just click the green Buy button in the top-right corner of the model’s page. You can pay with PayPal or your credit card.
Watch the tutorial on how to assemble a Swordfish II 3D Printing Model onGambody YouTube channel.
Below you can find printing recommendations for Cura, Bambu Lab, Simplify3D, Slic3r and PrusaSlicer software.
Disclaimer: The following printing settings are a recommendation, not an obligation. The parameters can vary depending on the peculiarities of your 3D printer, the material you use, and especially the particular assembly part you are working with. Each part that any model comprises often needs preliminary review, and you are free to tweak the settings the way you find suitable.
Note:
You can scale up the model (downscaling for FFF/FDM 3D printers is not recommended!);
All connectors should be printed at 100% Infill.
Bambu Lab printing recommendations:
These basic 3D printing settings recommendations for beginners were tested in Bambu Studio 1.9.1. Test models were printed on the Bambu Lab A1, Bambu Lab A1 Mini, Creality Ender 3 S1, Anycubic Kobra 2, and Anycubic Vyper using PLA and PETGfilaments.
To avoid printing problems, we recommend the following settings:download
Cura printing recommendations:
These are averaged settings which were tested in the Cura 5.2.1 slicer. Test models were printed on Anycubic Vyper, Creality Ender 3 Pro with PLA filament.
To avoid printing problems, we recommend the following settings:download
Simplify3D printing recommendations:
These are averaged settings which were tested in the Simplify3D 5.0.0 slicer. Test models were printed on Anycubic Vyper, FLSUN v400, Ender3 S1 with PLA filament.
To avoid printing problems, we recommend the following settings:download
Slic3r printing recommendations:
These basic 3D printing settings recommendations for beginners were tested in Slic3r 1.3.0 software. Test models were printed on Ultimaker 2, Creality Ender 3, Creality Cr-10S pro v2, Anycubic I3 Mega, Anycubic I3 MegaS, Anycubic Vyper with PLA and PetG filaments.
To avoid printing problems, we recommend the following settings:download
PrusaSlicer printing recommendations:
These basic 3D printing settings recommendations for beginners were tested in PrusaSlicer 2.3.1. Test models were printed on Ultimaker 2, Creality Ender 3, Creality Cr-10S pro v2, Anycubic I3 Mega, Anycubic I3 MegaS, Anycubic Vyper with PLA and PETG filaments.
To avoid printing problems, we recommend the following settings:download
You are about to report Swordfish II 3D Printing Model | Assembly + Action for violating our
Terms and Conditions.
Please take a few moments to fill in the following information.
Welcome!
We're glad you're here! Before you continue, let's set a few preferences to improve your experience on our marketplace. By clicking "Sure, go ahead", you agree to our use of cookies to make your visit more enjoyable and personalized. This helps us offer you tailored product recommendations and relevant marketing content. Enjoy your time with Gambody, and thank you for choosing us!


Comments