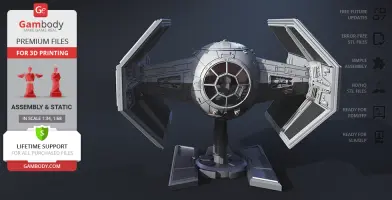
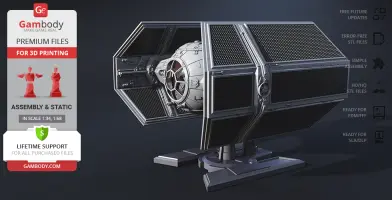
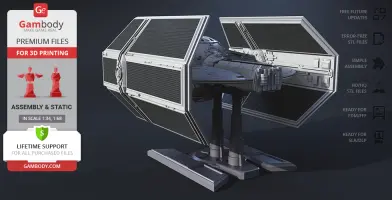
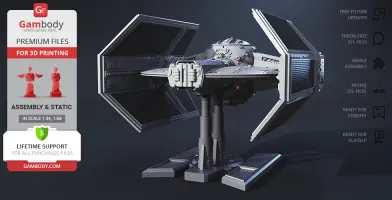
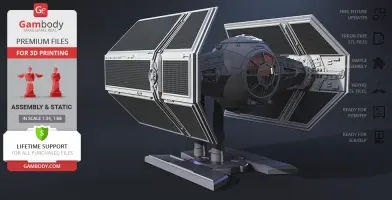
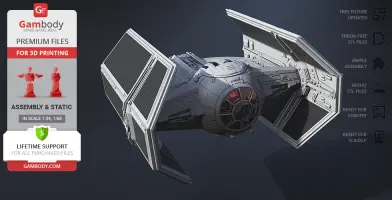
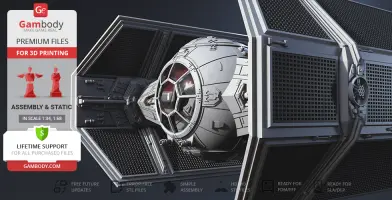
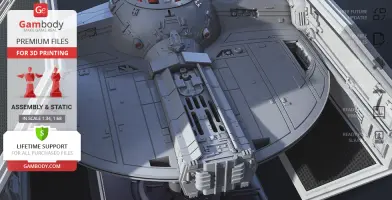
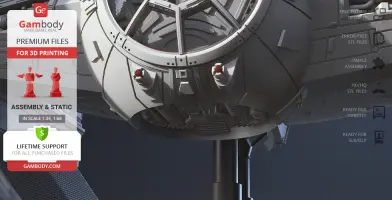
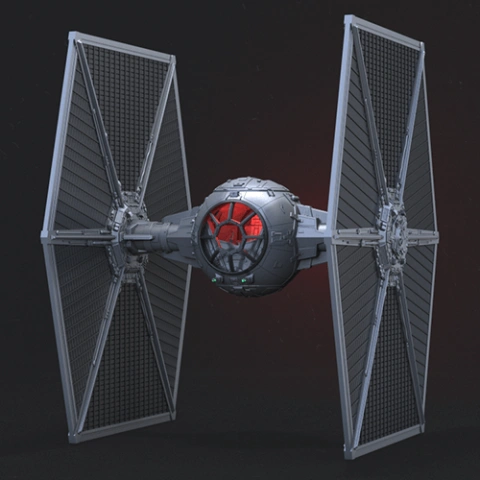
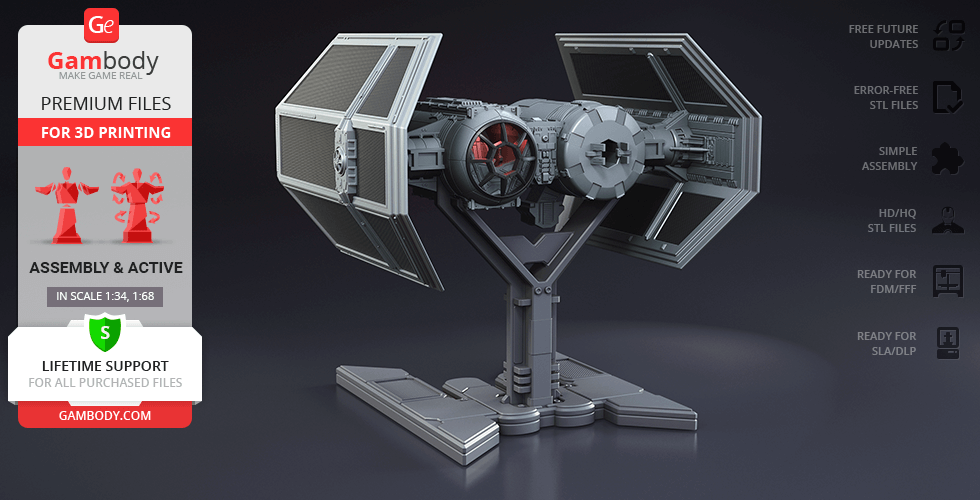
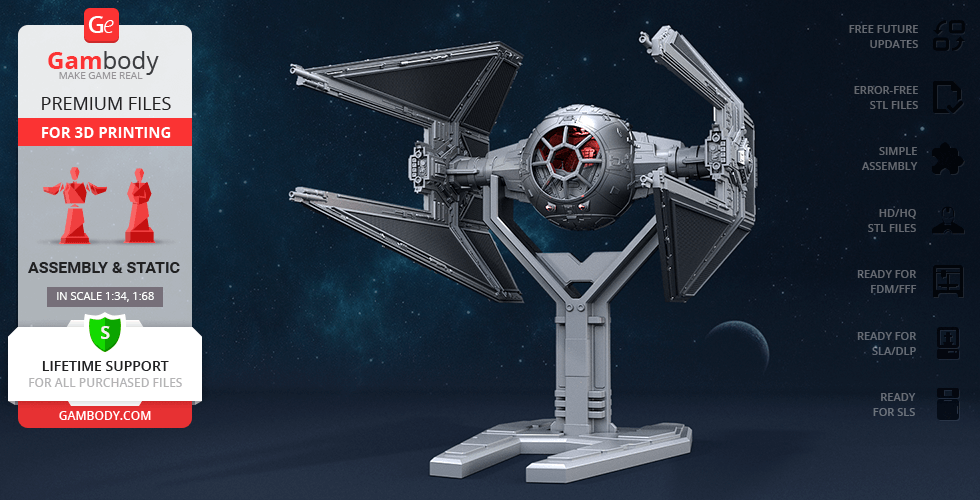
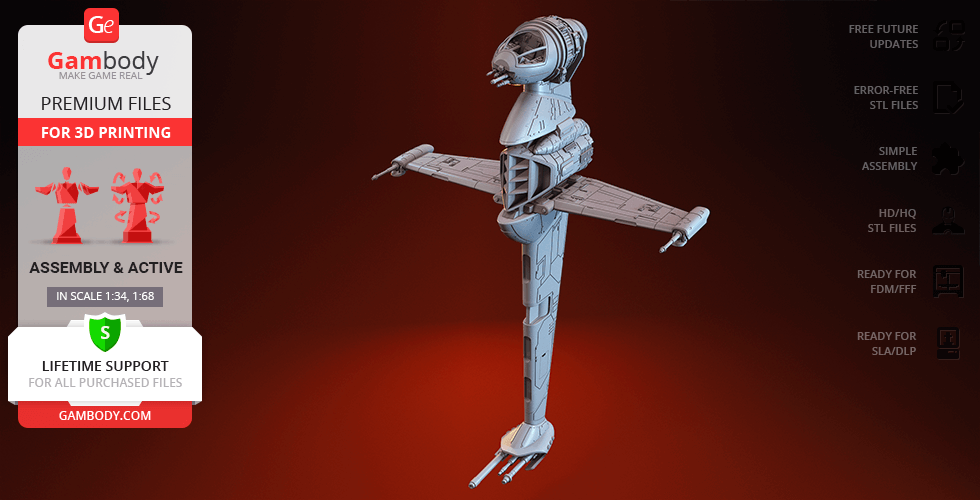
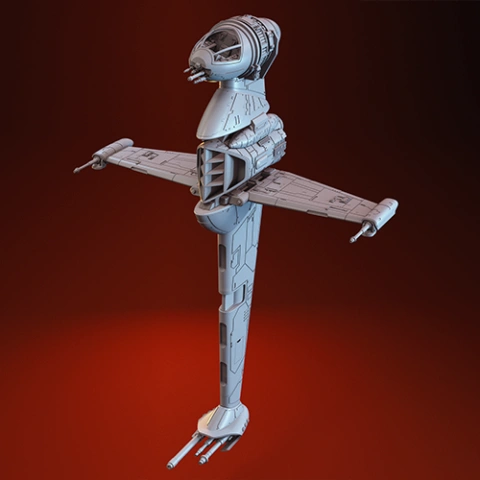
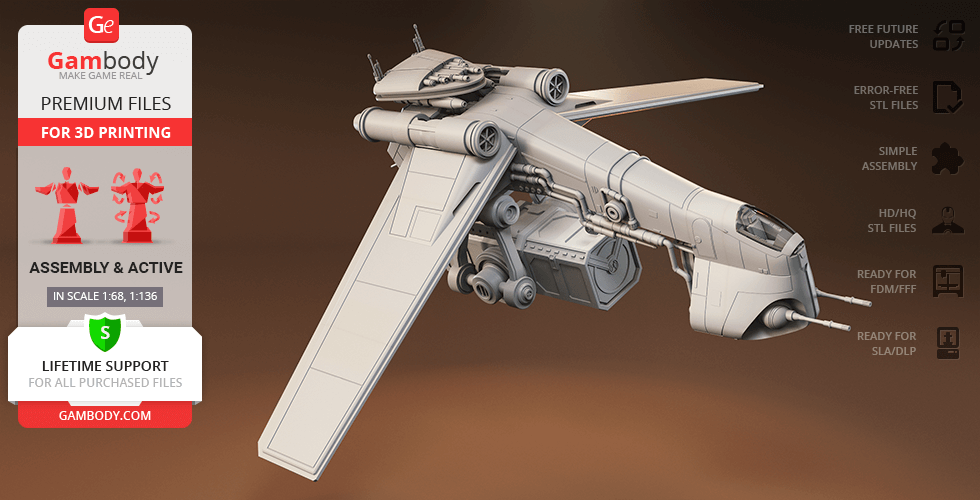
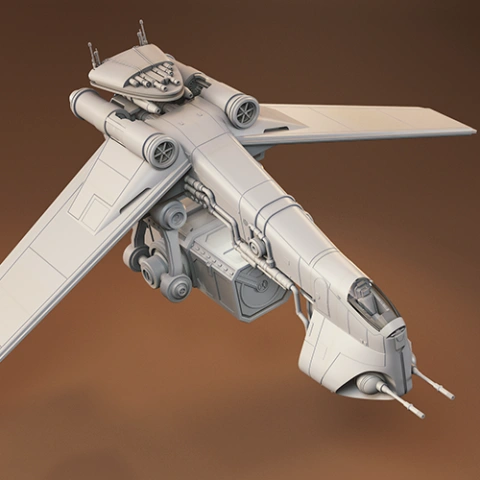
This 3D Model of TIE Advanced from Star Wars consists of files in StereoLithography (.Stl) format that is optimized for 3D printing.
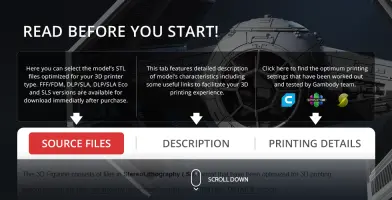
Before printing the files, we strongly recommend reading the PRINTING DETAILS section.
WHAT WILL YOU GET AFTER PURCHASE?
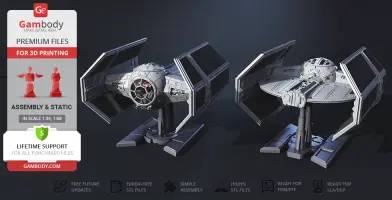
2 versions of TIE Advanced STL files for FFF/FDM and DLP/SLA - files for all versions are available for download after the purchase
STL files of high-poly TIE Advanced 3D Model for 3D printing consist of 111 parts
Sizes:
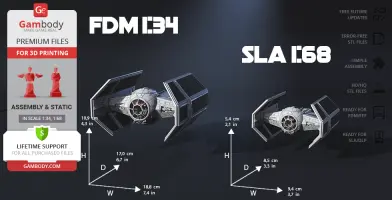
- FFF/FDM: 109 mm tall, 188 mm wide, 170 mm deep
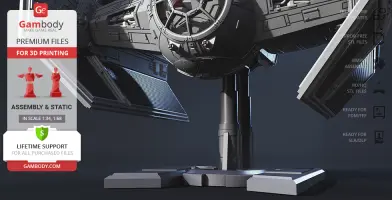
- 151 mm tall, 188 mm wide, 170 mm deep (on stand)
- DLP/SLA: 54 mm tall, 94 mm wide, 85 mm deep
- 76 mm tall, 94 mm wide, 85 mm deep (on stand)
Assembly Manual for FFF/FDM 1.0 and DLP/SLA 1.0 versions in PDF format
Detailed settings that we provide as a recommendation for Cura, Simplify3D, Slic3r and PrusaSlicer for the best print- Full technical support from the Gambody Support Team
Detailed information about this 3D printing model is available in the DESCRIPTION section.
ABOUT THIS 3D MODEL
"Few starfighters strike fear into the hearts of their enemies like the TIE Advanced. A deadly combination of speed, maneuverability, and advanced technology, this ship is a true symbol of Imperial power."
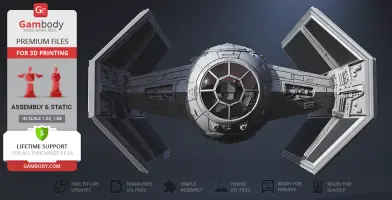
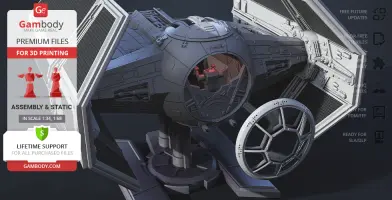
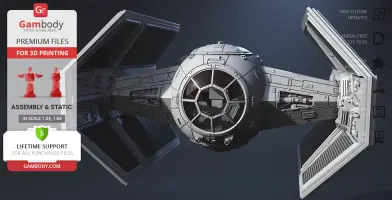
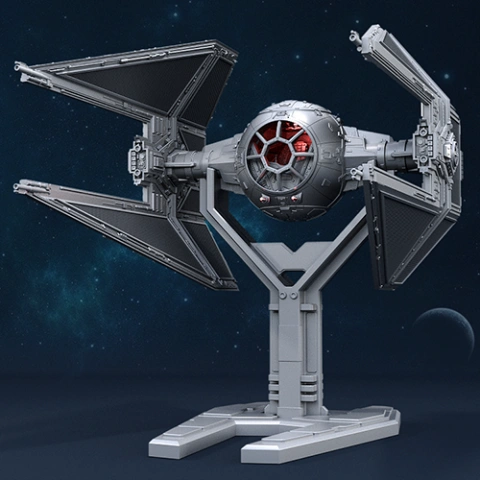
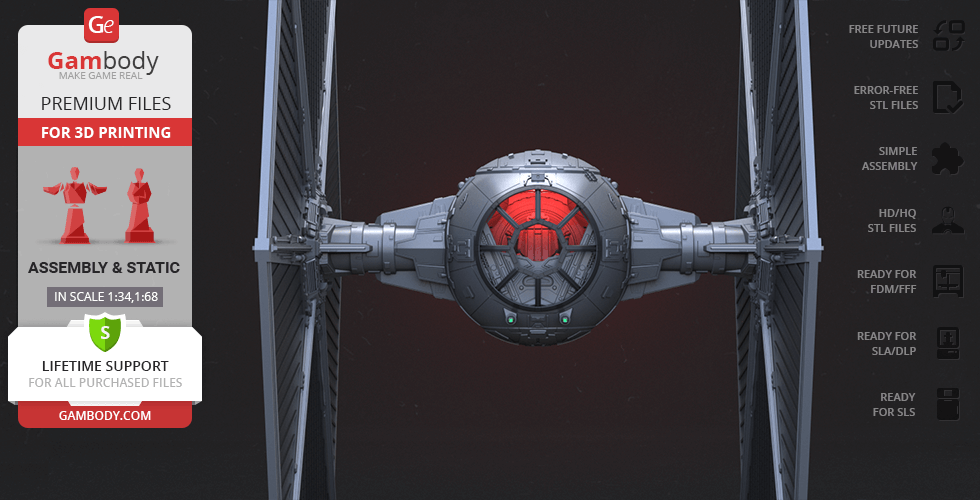
The TIE Advanced, also known as the TIE Advanced x1, is a formidable starfighter in the TIE line of Imperial ships. It was an upgraded version of the TIE fighter, equipped with advanced technology and improved weaponry.
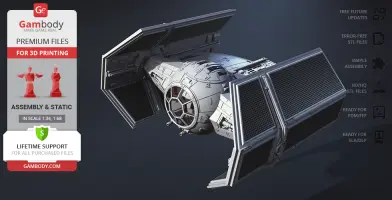
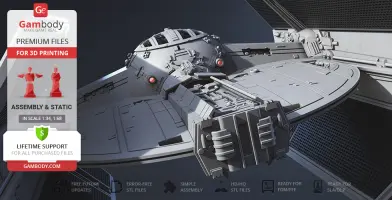
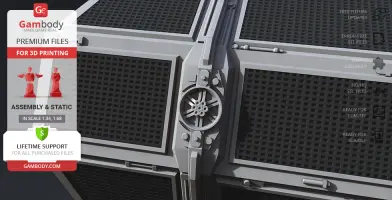
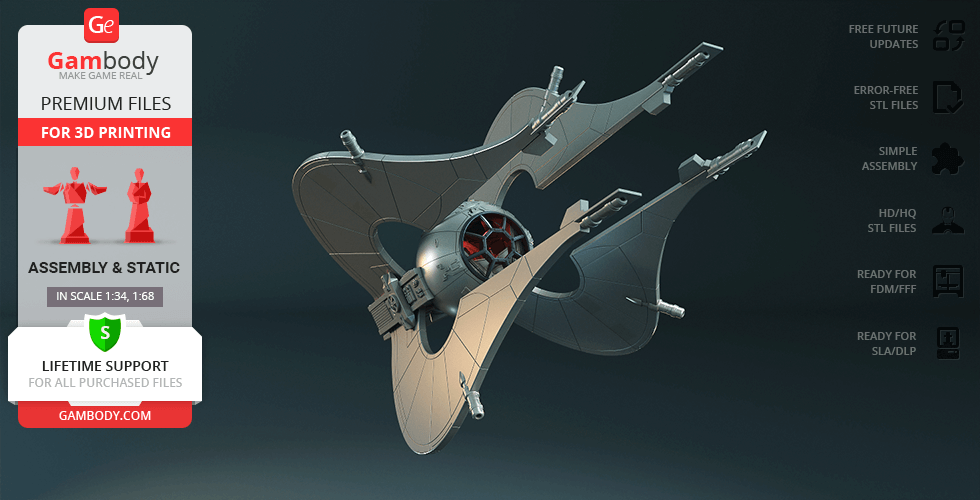
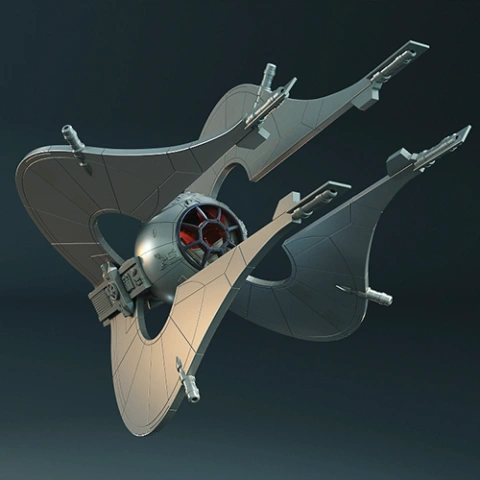
The TIE Advanced featured a sleek and ominous design, with angled wings and a distinctive black color scheme. Its advanced engines allowed it to achieve incredible speeds and maneuverability, surpassing even the TIE interceptor.
In terms of armaments, the TIE Advanced was equipped with heavy laser cannons and proton torpedoes, making it a deadly force in space combat. It was also outfitted with a sophisticated targeting system and hyperdrive, allowing it to make pinpoint strikes on enemy targets and quickly escape danger.
The TIE Advanced was famously piloted by Darth Vader during the Battle of Yavin, where he engaged in a dogfight with Luke Skywalker in his X-wing. Despite being heavily outnumbered, Vader was able to use the TIE Advanced's advanced technology to outmaneuver the rebel pilots and nearly destroy the Death Star.
While not as heavily armed as the TIE bomber, the TIE Advanced's speed and agility made it a favorite among Imperial pilots, particularly those with Force abilities like Vader. Its advanced technology and deadly weaponry made it a formidable symbol of Imperial power, striking fear into the hearts of rebel pilots across the galaxy.
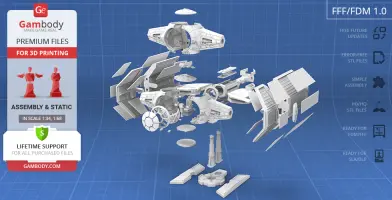
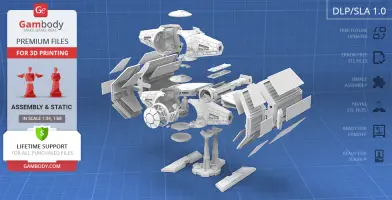
ADAPTATION FOR 3D PRINTING
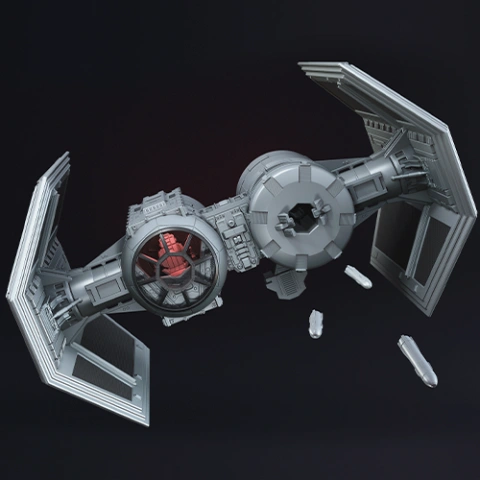
TIE Advanced for 3D printing is an active assembly model and its moderation and adaptation for different types of 3D printers took the Gambody team 58 hours in total. For you to receive the cleanest 3D printing result possible and to minimize the amount of filament needed for generated support the intimidating fighter model was divided into many assembly parts. All assembly parts are provided in STL files in recommended positions that were worked out in order to ensure the smoothness of the details’ surfaces after printing and that the 3D printing beginners won't face difficulties when placing the parts on a build plate. When downloading any model's file you will also receive "Assembly Manual" for FFF/FDM 1.0 and DLP/SLA 1.0 versions in PDF format. We highly recommend that you get acquainted with the “Assembly video” and "Assembly Manual" before getting down to the TIE Advanced model.
The model is saved in STL files, a format supported by most 3D printers. All STL files for 3D printing have been checked in Netfabb and no errors were shown. The model’s scale was calculated from the width of the TIE Bomber which is 6200 mm. The 3D printing model’s chosen scale is 1:34 for the FFF/FDM version and 1:68 for the DLP/SLA version.
VERSIONS' SPECIFICATIONS
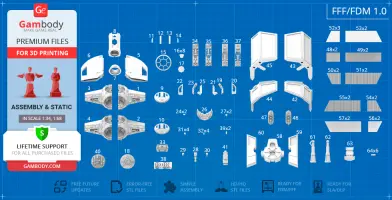
FFF/FDM 1.0 version features:
- Contains 64 parts;
- A printed model on stand 151 mm tall, 188 mm wide, 170 mm deep;
- A printed model without stand 109 mm tall, 188 mm wide, 170 mm deep;
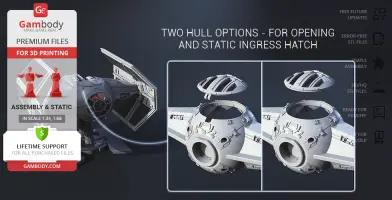
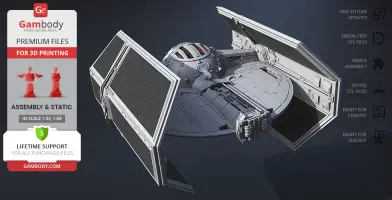
- There are two hull options - for opening and static hatch;
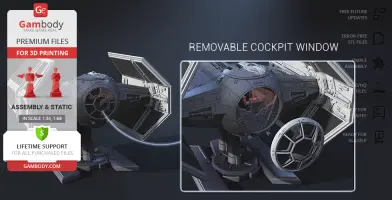
- Removable cockpit window;
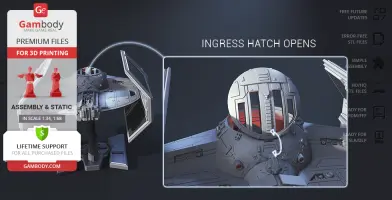
- Ingress hatch opens;
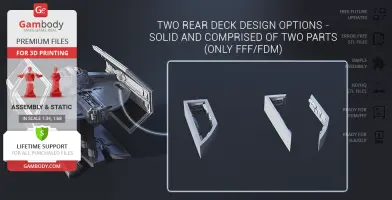
- Two rear deck design options solid and comprised of two parts;
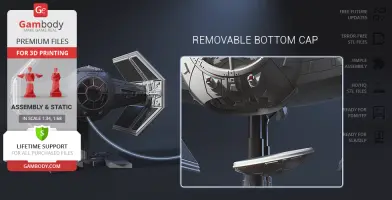
- Removable bottom cap;
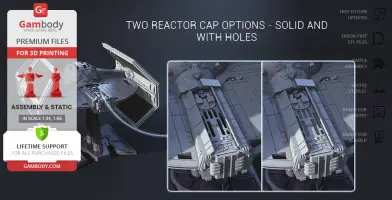
- Two reactor cap options - solid and with holes;
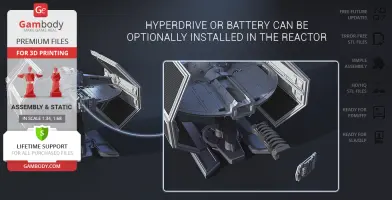
- Hyperdrive or battery can be optionally installed in the reactor;
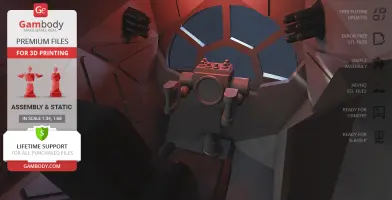
- Tunnels for LED wiring were introduced for you to light up the starboard cockpit;
- All parts are divided in such a way that you will print them with the smallest number of support structures.
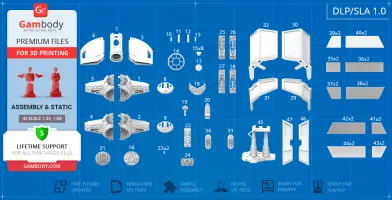
DLP/SLA 1.0 version features:
- Contains 47 parts;
- A printed model on stand 76 mm tall, 94 mm wide, 85 mm deep;
- A printed model without a stand 54 mm tall, 94 mm wide, 85 mm deep;
- There are two hull options - for opening and static hatch;
- Removable cockpit window;
- Ingress hatch opens;
- Removable bottom cap;
- Two reactor cap options - solid and with holes;
- Hyperdrive or battery can be optionally installed in the reactor;
- Tunnels for LED wiring were introduced for you to light up the starboard cockpit;
- All parts are divided in such a way to fit the build plates and to ensure that support structures are generated where needed.
You can get the model of TIE Advanced for 3D Printing immediately after the purchase! Just click the green Buy button in the top-right corner of the model’s page. You can pay with PayPal or your credit card.
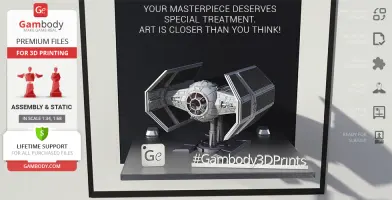
Watch the tutorial on how to assemble TIE Advanced 3D Printing Model at Gambody YouTube channel.
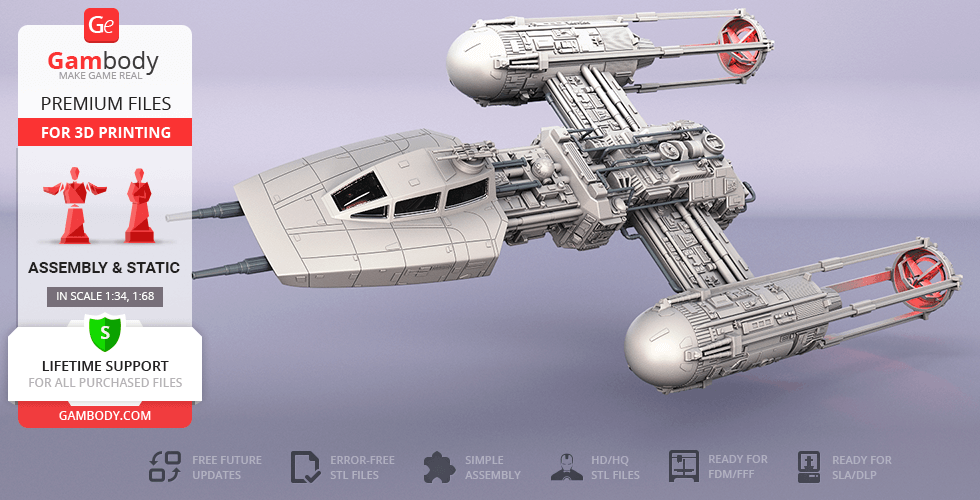
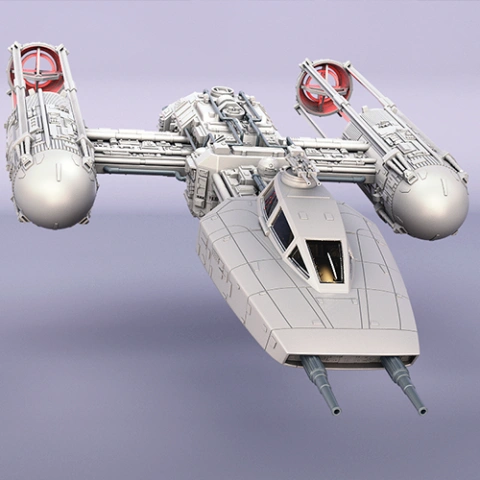
Also, you may like other Star Wars 3D Printing Models and TIE starfighters, as well as other Space Ships 3D Printing Models.
_______
FAQ:
Generic
Below you can find printing recommendations for Cura, Bambu Studio, Simplify3D, Slic3r and PrusaSlicer software.
Disclaimer: The following printing settings are a recommendation, not an obligation. The parameters can vary depending on the peculiarities of your 3D printer, the material you use, and especially the particular assembly part you are working with. Each part that any model comprises often needs preliminary review, and you are free to tweak the settings the way you find suitable.
Note:
You can scale up the model (downscaling for FFF/FDM 3D printers is not recommended!);
All connectors should be printed at 100% Infill.
Bambu Lab printing recommendations:
These basic 3D printing settings recommendations for beginners were tested in Bambu Studio 1.9.1. Test models were printed on the Bambu Lab A1, Bambu Lab A1 Mini, Creality Ender 3 S1, Anycubic Kobra 2, and Anycubic Vyper using PLA and PETG filaments.
To avoid printing problems, we recommend the following settings: download
Cura printing recommendations:
These are averaged settings which were tested in the Cura 5.2.1 slicer. Test models were printed on Anycubic Vyper, Creality Ender 3 Pro with PLA filament.
To avoid printing problems, we recommend the following settings: download
Simplify3D printing recommendations:
These are averaged settings which were tested in the Simplify3D 5.0.0 slicer. Test models were printed on Anycubic Vyper, FLSUN v400, Ender3 S1 with PLA filament.
To avoid printing problems, we recommend the following settings: download
Slic3r printing recommendations:
These basic 3D printing settings recommendations for beginners were tested in Slic3r 1.3.0 software. Test models were printed on Ultimaker 2, Creality Ender 3, Creality Cr-10S pro v2, Anycubic I3 Mega, Anycubic I3 MegaS, Anycubic Vyper with PLA and PetG filaments.
To avoid printing problems, we recommend the following settings: download
PrusaSlicer printing recommendations:
These basic 3D printing settings recommendations for beginners were tested in PrusaSlicer 2.3.1. Test models were printed on Ultimaker 2, Creality Ender 3, Creality Cr-10S pro v2, Anycubic I3 Mega, Anycubic I3 MegaS, Anycubic Vyper with PLA and PETG filaments.
To avoid printing problems, we recommend the following settings: download


Comments